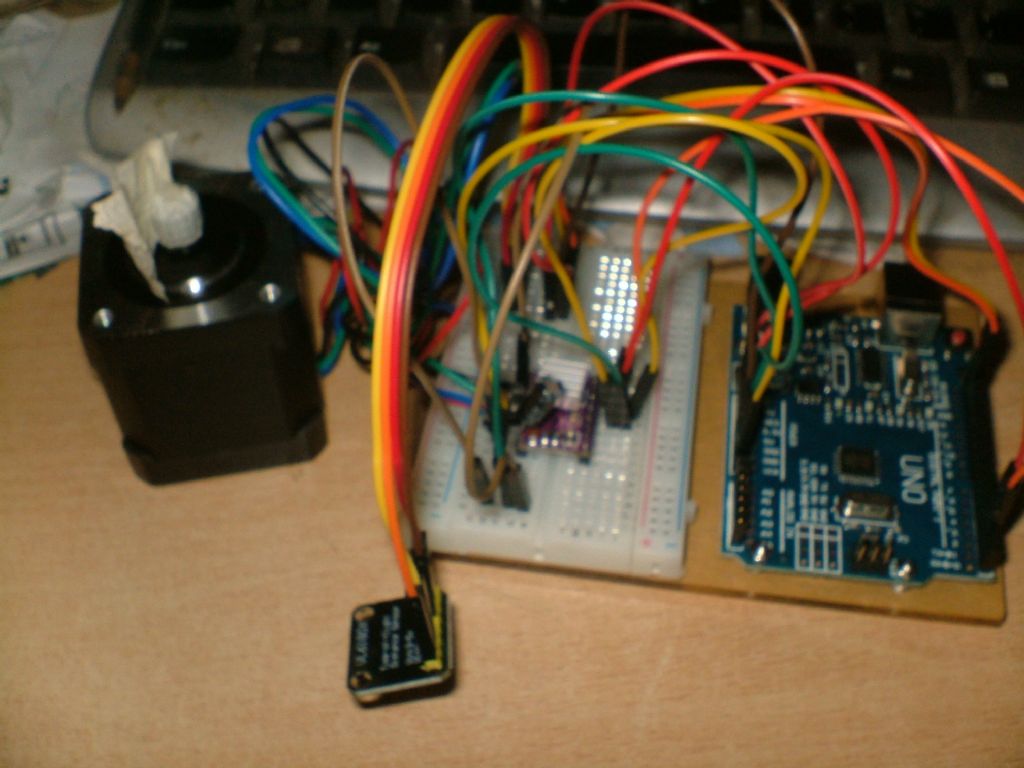
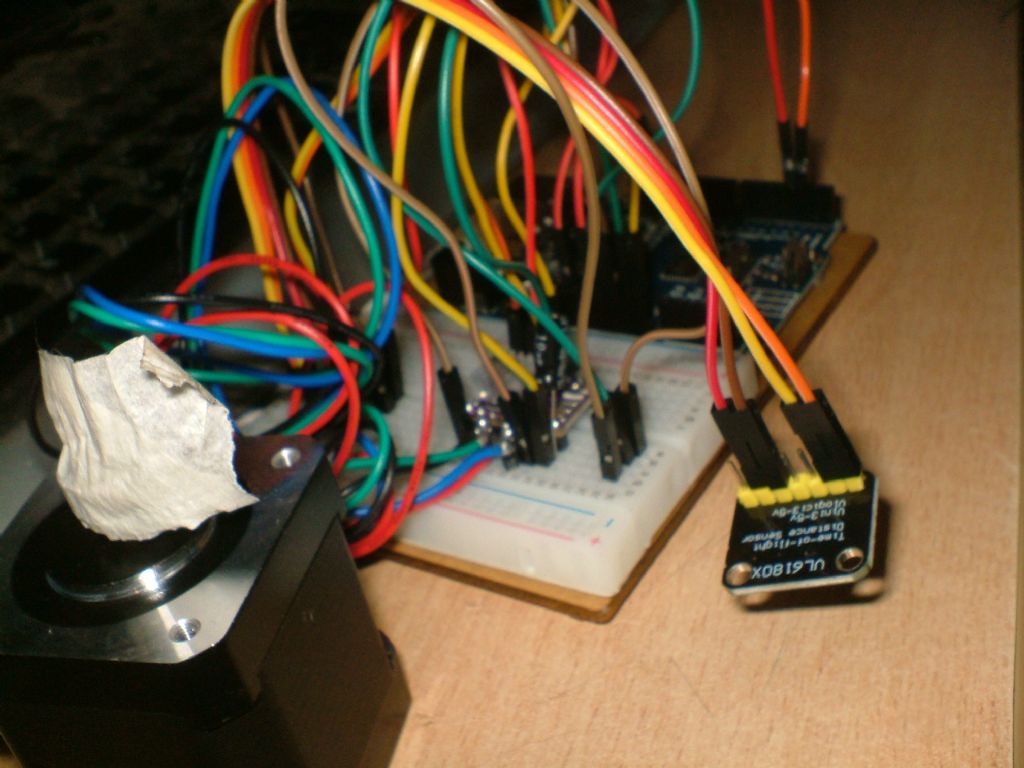
I've just realised I'm using the 8825 and not the 4988
my head hurts
I doubt it will make a massive difference. The basic behaviours and pins are compatible. I think the 8825 can handle slightly more current and maybe do a bit more microstepping.
If you really want your head to hurt then look at the various Trinamic TMC series driver boards from Waterott – again the same basic design and at the simplest level you can replace the 4988 like for like but wayyy more settings to mess around with.
Thanks to Ady1 for posting a way for experimenting with the A4988 with one stepper motor. Could you see using that to control a rotary table or an indexer? How about just the x axis on a mill or the leadscrew on a lathe? Maybe it would work for the cross slide. Hmm… how about two of them, one on the leadscrew and one on the cross slide to work in a coordinated fashion to precisely fashion odd shapes?
Maybe! The AccelStepper library includes the MultiStepper class to allow you to move two or more steppers in sync with each other. It can also drive Unipolar steppers (via some power transistors) if you have a need to use the ultra cheap 28BYJ geared steppers that were made for moving air conditioner flaps. If you want to do something out of the ordinary and are happy to write and test the code then AccelStepper is great. If you want something you can send G code to from your CAM tool then it isn't.
// Reduce range max convergence time and ALS integration
// time to 30 ms and 50 ms, respectively, to allow 10 Hz
// operation (as suggested by Table 6 ("Interleaved mode
// limits (10 Hz operation)" in the datasheet).
sensor.writeReg(VL6180X:YSRANGE__MAX_CONVERGENCE_TIME, 05);
//sensor.writeReg16Bit(VL6180X:YSALS__INTEGRATION_PERIOD, 10);
sensor.setTimeout(1000);
// stop continuous mode if already active
sensor.stopContinuous();
// in case stopContinuous() triggered a single-shot
// measurement, wait for it to complete
delay(300);
// start interleaved continuous mode with period of 100 ms
//sensor.startInterleavedContinuous(100);
sensor.startRangeContinuous(10);
Serial.begin(57600);
//ideas
// Look at docs to see how to improve accuracy
// only use samples that converged
// look into whether samples are used twice or other issues with the uncoltrolled loop
// allow more variability in the output of the sensor and average in the mcu
// measure drift by connecting to the CNC machine to get precise moves
I found this while I was looking for something else:
**LINK**
It seems to be a simulator for Gcode, and is apparently still under development. Th site seems quite open about its capabilities and future plans – I thought it might be useful to someone finding their way around this subject.
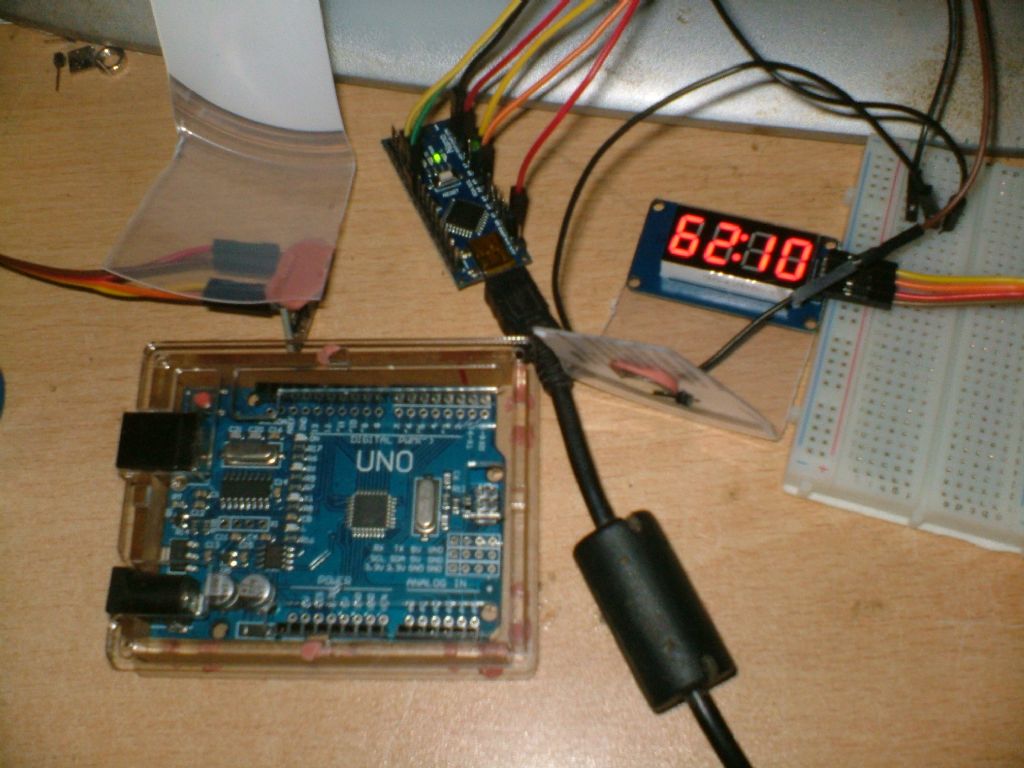
I found these things which do the same kind of job as the UNO but are a lot smaller
Might be handy for someone. Pretty fiddly to solder the pins on but they seem to work ok if you use the Duemilanove option with the ATmega328P chip for compiling and uploading your code
They use a mini usb, NOT a micro usb (the fat small one)
The black wires to the breadboard are me using a common ground for the sensor and display
Looks like the standard Arduino Nano? Less memory than Uno, not enough for GRBL I think. They are useful and more breadboard friendly since they don't have any odd pin spacings. I have two running clocks.
The Arduino NANO V3 runs the same processor (Atmega 328) at the same speed (16 MHz) as the UNO, although earlier versions used the Atmega 168. It has the same memory (Memory, EEPROM and RAM) as the UNO. and the same digital/PWM IO ports. The NANO has 8 analog pins as opposed to 6 on the UNO.
The NANO uses a Mini USB connector, and has no power connection Jack, compared to the UNO, but does run on the same power, supplied to the Vin pin.
Physically, the NANO is much smaller than the UNO, and for some purposes is more useful, as you noted – its pins are spaced evenly at 0.1", and don't have the odd gap between blocks of pins like the UNO, so it is more 'breadboard friendly'.
I have a NANO running GRBL quite happily – there is plenty of information online about this.
I stand corrected, thanks! I must admit I only used a Uno for my GRBL xslide controller because I had one. Another advantage is it takes a CNC shield which makes construction easier.
Hi, John – with you a 100% about the CNC shield. I started long ago messing with UNOs, and used them to control my solar and domestic water heating, and our pumped water supply from a well 200 metres away from the house.
Then I wanted to build an X/Y plotter to make printed circuits, either by plotting directly on the PCB with a resist pen, or using an engraver to cut away the copper. This went through lots of iterations, one of which dumped the L298 stepper drivers in favour of Texas Instruments DRV8825s – I wanted to use 4, and couldn't find a shield at the time to do that (I think they exist now), so I set about making my own. For some reason, I ended up looking at the NANO at this point – I think it was because I could only find the UNO with the connection pins (or whatever they are called) already soldered in place, and I found this restricted the layout somewhat, but I can get the NANO with no pins fitted, so it took up considerably less space – and this was when I found out that the NANO has the same, or slightly better capability as the UNO.
One thing that I have since realised is that GRBL on the UNO has the capability to drive three axes, and usually the relevant shields allow a fourth axis to be 'cloned' from these – I think this is because the UNO does not have sufficient pins for a 4th Axis (or spindle or whatever), but the NANO has two extra analog pins (which can also be used as digital pins), so a bit of programming work should make it possible to use GRBL and 4 independent axes with a NANO – I haven't got that far as yet, but one day I might!
As far as I can see, the drawback to the NANO is that they always seem to be slightly more expensive than the UNO, if you worry about a few pennies!
Another interesting variant I played with is the Sparkfun Turbo UNO – this runs at 48 MHz, and has many capabilities beyond the UNO, but is compatible with UNO shields and the programming IDE – some info here:
One thing that I have since realised is that GRBL on the UNO has the capability to drive three axes…
Another interesting variant I played with is the Sparkfun Turbo UNO – this runs at 48 MHz, and has many capabilities beyond the UNO
There is a bunch of stuff going on to make use of more recent microcontrollers and/or drive more axes. No doubt a good deal of it is 'bleeding edge' but if you want more than 3 axes or capabilities that won't fit into the memory on an Uno then it's worth looking around to see if anything 'out there' suits. For example…
Thanks for the tip, Andy – interesting to read, but I'm going the way indicated by Ady1 in his first post in this thread "CNC for poor people" – most things are easy if you can throw indefinite money at it, but for me the challenge is to do it as simply and cheaply as possible. For sure Arduinos are stretched to provide anything like full CNC capability, but half the fun is trying to do it that way – it may not work in the end, but I'm enjoying trying to work out how to do it, much as Ady1 seems to.
Nonetheless, its interesting to read about other efforts, and the guy in your link has some interesting ideas, and for sure I'm not beyond appreciating them.
I posted another thread about making a cnc coil winder controlled by grbl. I upgraded the mill feed controller with another 8825 to drive the winder spindle as the z axis so now I have a useful self contained 2 axis controller that I can also use on the mill, driving the dividing head as well as power feed for example. GRBL is very useful!
Now I think I have a Ward division controller spare….
I have both Universal Gcode Sender and bCNC available to use on the Raspberry Pi but use bCNC because it will show the toolpath. UGS would show it too on a more powerful computer.
……
Hi Ronald, interested to see you are using bCNC on a Pi. Are you using a touchscreen for this please? And was the installationnreasonably straightforward? I tried installing bCNC on a Ubuntu laptop but despite carefully following the recommended install scripts it failed to install tkinter and I haven't yet been able to fix that. A Pi might be an interesting platform for some "CNC-lite" milling I'm thinking about.
Some installations on a Raspberry Pi are simple, some very complex. I don't remember bCNC as being at all difficult. I don't have a touchscreen, just a computer monitor that I affixed to the wall. I like having a (relatively) large screen as my eyesight isn't real good but I can see the buttons with this screen. If you don't have a lot of things on the Raspberry Pi that you need to save, I found that using an install image makes the process painless.Raspberry Pi image