Just about to start on the valve chest and valve parts, I dont have any 2.5mm rod or a reamer but I do have them in 3.0mm. Would I be ok in changing up to 3.0mm I would need to thread the valve nut M3 and I guess modify the valve rod slot from 4 to 3.75mm..? or is it best I stay with 2.5mm, I can order in some 2.5 and a reamer if it its best to stay with that size.
In your build note for the base you mention that you hand ground a blunt cutter to machine the decorative moulding did that cut both the 2mm step and the 2mm radius in one. I have a couple of blunt cutters, I thought I would have a go.
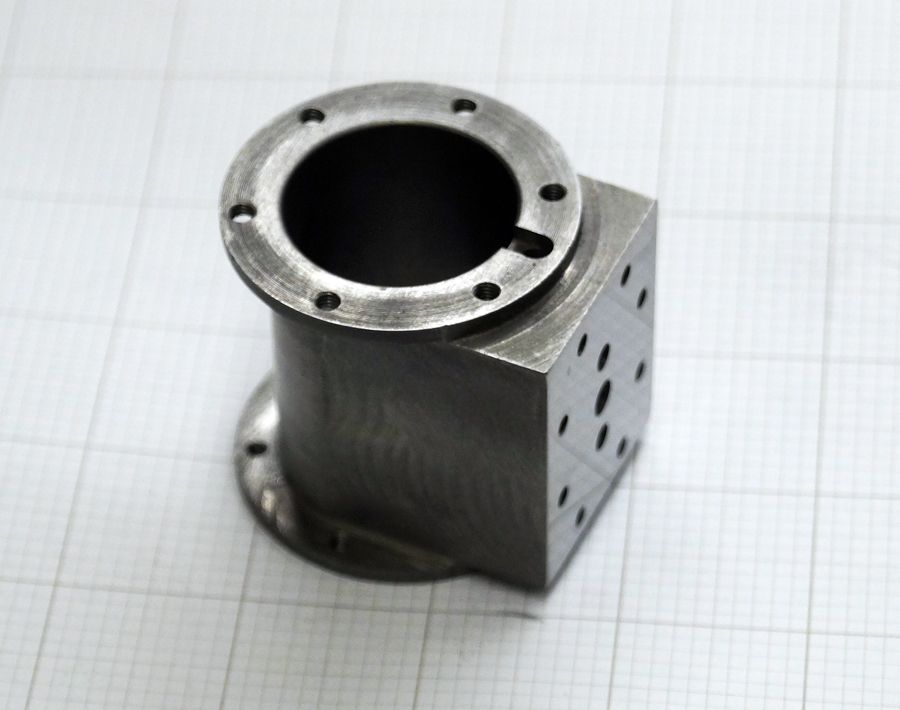
Apart from honing the cylinder is finished, there is something very satisfying producing parts like this from a block of bar stock, well for me anyway.
Excellent, but if made from one piece of bar stock how did you do it Ron?
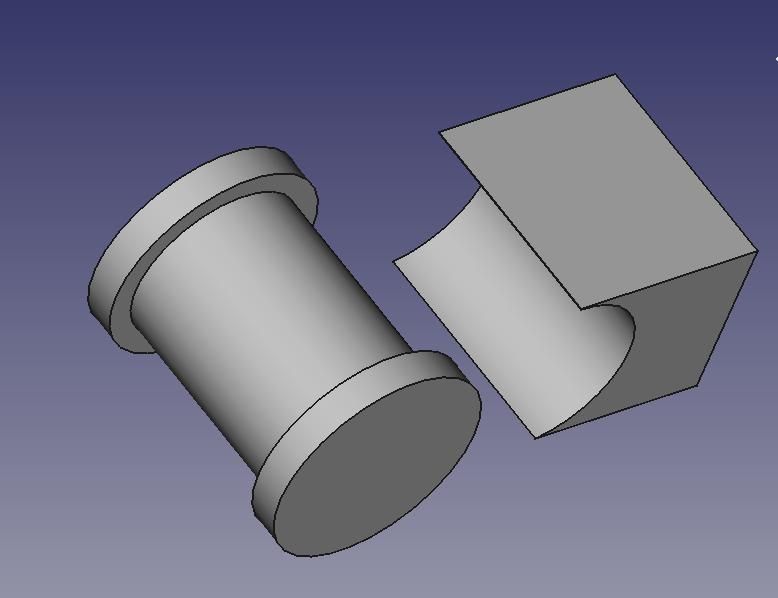
My similar version was made as two parts brazed together because I couldn't think of an easy way to make it as a single object. So, I made a cylinder with flanges and a separate valve block to fit the cylinder.
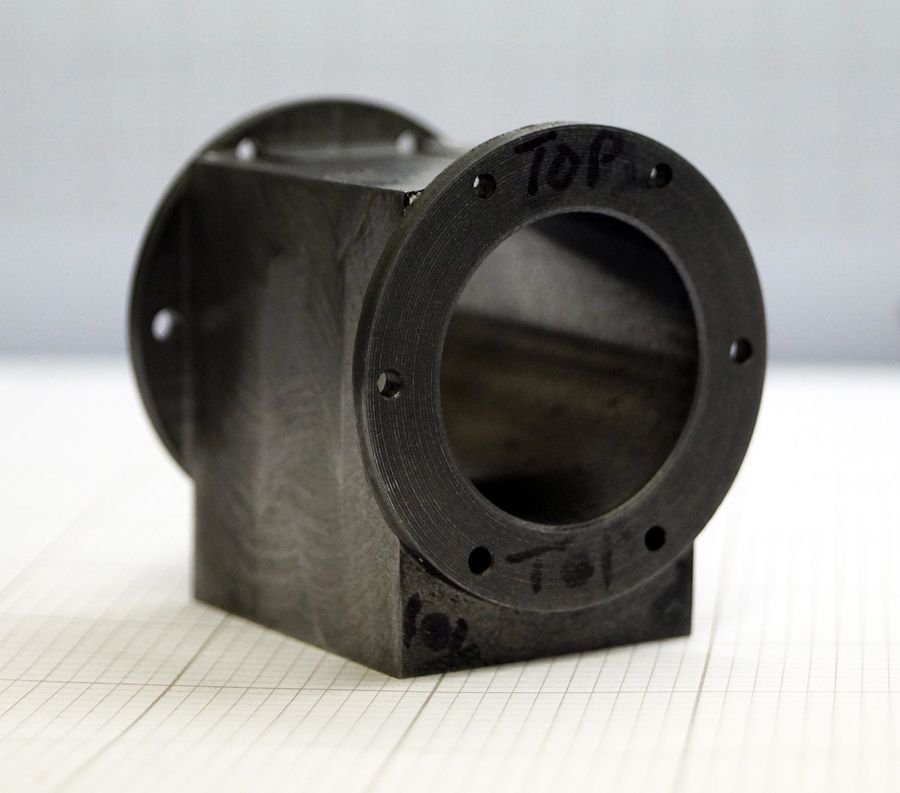
My version:
Being self-taught I'm never quite sure I'm doing it right and I'm certainly not efficient!
You need to read my build article Dave which will walk you through the method step by step with pictures as well
Actually I also do them your way sometimes depending on the particular cylinder, just that as this one was designed for a relative beginner it avoids silver soldering, though in a lot of cases JB Weld will do.
Hi Dave, yep nothing clever on my part I just followed Jasons build guide, though I have done it this way on 3 previous cylinders so I am becoming an old hand at it now…
It's the magic where the sharp top edges are smoothed into the cylinder that has me beat. I shall look at ME4618 and Jason's Build Thread later!
I ought to have a go at another engine. I started collecting stuff for Jason's flame licker ages ago and have been repeatedly diverted. Lack of discipline…
I would like to present my comedy of errors, I could have rectified it first but no point in hiding your mistakes.
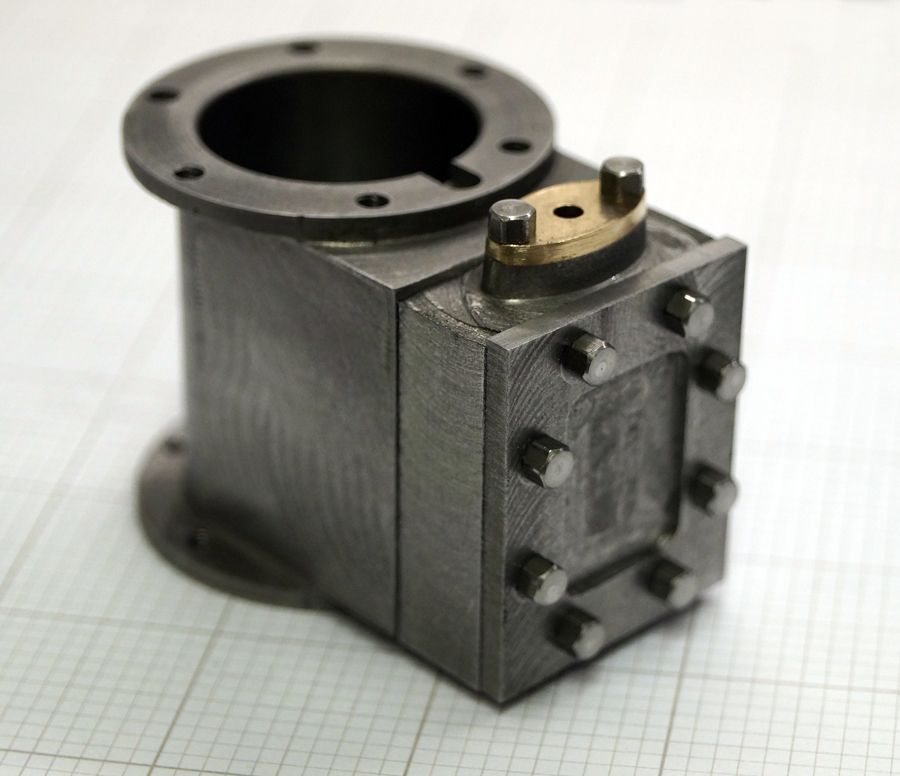
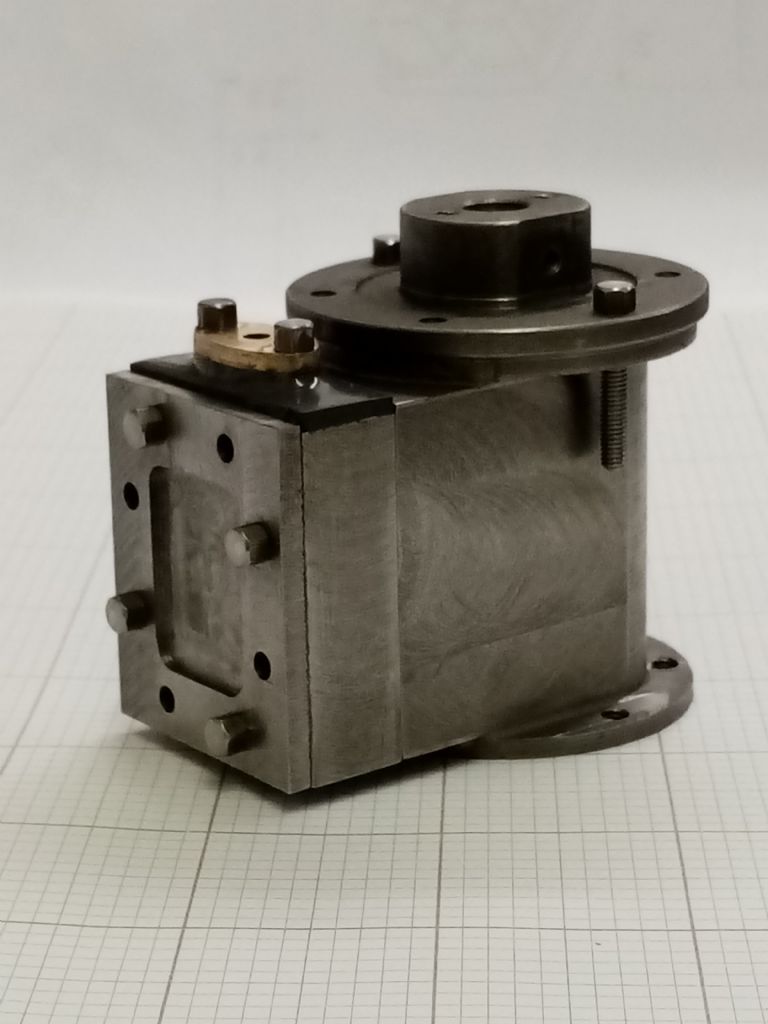
I have made the valve chest its cover and fitted and shaped the valve gland and its boss, you can probably see that things dont look quite right .
Firstly the sides of the chest and the cylinder dont match, the dimension side to side is 27mm. The chest is spot on the cylinder is 27.6mm (dont ask) so needs 0.3mm skimming off each side to match the chest.
You can also see that the top face of the chest is too low by 0.9mm there are two reasons, the first is my error when shaping the gland and boss using the boring head I went too deep. A pretty poor show really when you consider I was working to a DRO setting. The second reason is that towards the bottom of one of the plunge cuts the tool grabbed and dug in about 0.2mm, cant explain that one as all the other cuts had no problem.
So it will be a case of getting out the JB to build up the top face to the correct height, anyway the shaping of the gland and boss turned out well so thats one blessing at least.
Ron. if you wrap a bit of brown vinyl packing tape or even masking tape around the chest it will act as a dam to stop the JBWeld running down the sides, once set file the edges flush and probably turn the top in the 4-jaw.
never the easiest to do without the tool catching if teh bottom of it is fairly flat but could have been worse, I blame the recycles iron
Thanks Jason for the tip of using the tape, sounds a good plan.
Looks like I was lucky and got off lightly, I also had fun and games yesterday turning up the valve gland. I am a big fan of GT inserts but struggled with them yesterday on the bronze gland, I was taking 1.0mm cuts taking the 16mm down to the 5mm spigot and tool dug in twice, changed to 0.5mm cuts but still the same problem. So I changed to a MT insert and problem solved, I am guessing that the GT,s are too sharp for brass and bronze, though I turned the main bearings with a GT no problems but no more than 0.25 cuts.
Should anyone be in need of metals, M-machine are still up and running. I just phoned them and ordered some material for the engine which they hope to cut and ship out today, cant beat that for service considering the current situation.
Made the adjustments, the cylinder sides and the chest now match. Plus I have increased the height of the chest with JBWeld after my machining error. I am in two minds how to finish the top of the chest, I am tempted to curve the edges down to meet the top of the chest cover and the cylinder. When the JB settled out it produced a nice curved fillet around the boss, looks quite casting like.
Should anyone be in need of metals, M-machine are still up and running. I just phoned them and ordered some material for the engine which they hope to cut and ship out today, cant beat that for service considering the current situation.
I am impressed, I ordered on Wednesday at 12.00 and the order was delivered at 10.00 this morning. On checking the order one item was the wrong size, phoned them and they told me to keep the wrong item and the correct size piece will be FOC and despatched this afternoon.
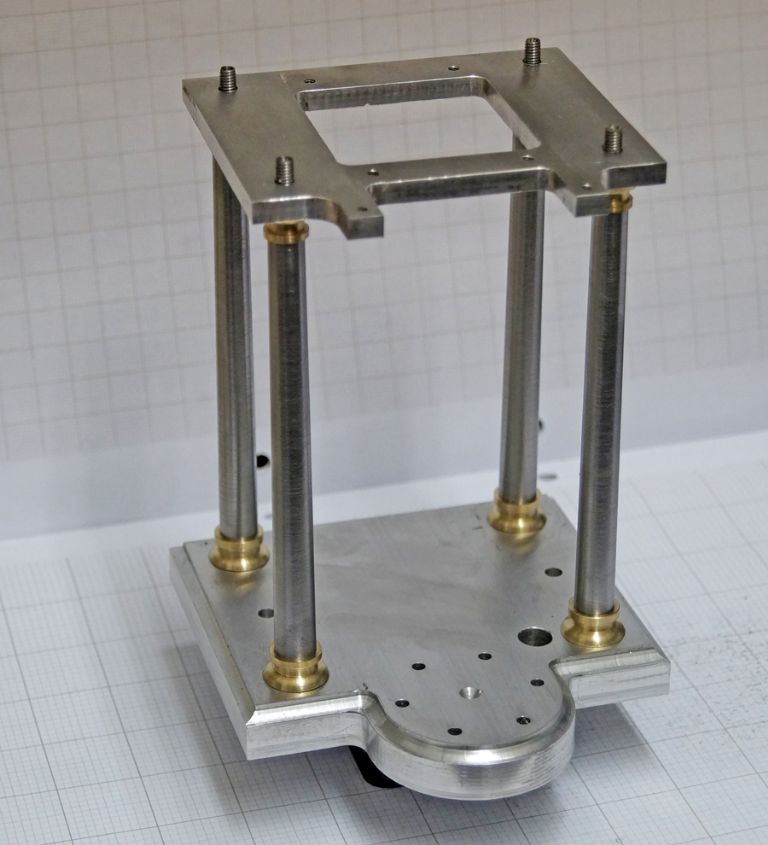
Made the entablature this afternoon, just needs a clean up. I had made a start on the four columns but gave that up as a bad job. I was using some 10mm bright bar that I had been given a while back, dont know what it is other than rubbish, I tried MT and GT inserts and HSS plus numerous settings but I couldnt get a finish it was like a ploughed field. So I ordered some EN1A and got on with the entablature.
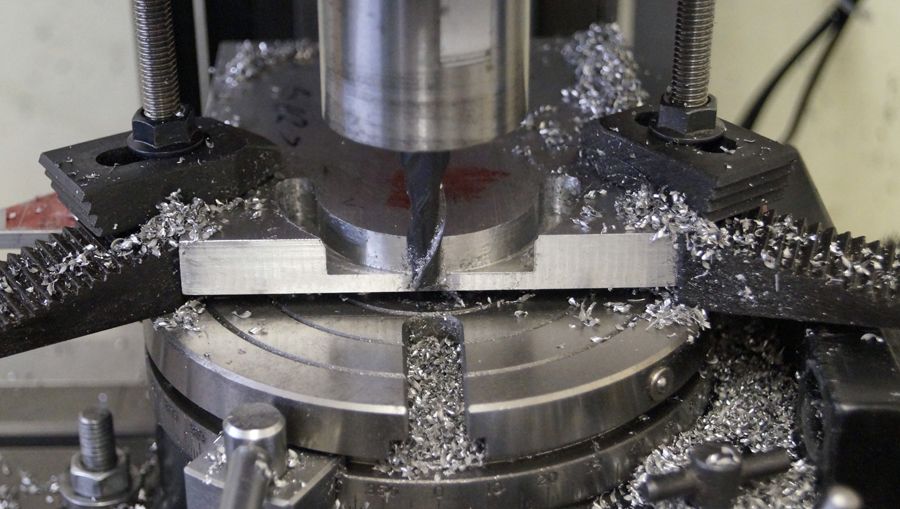
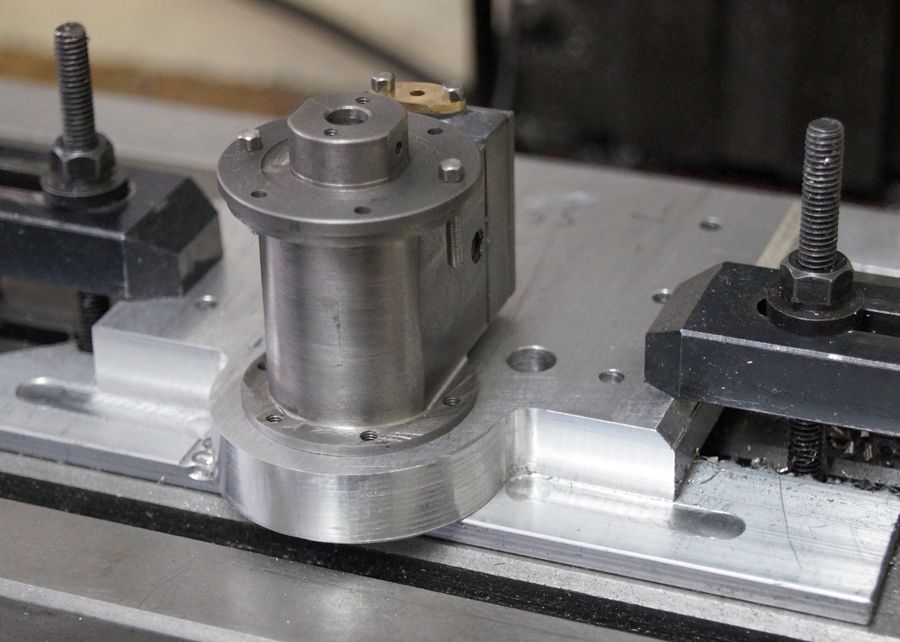
I managed to fit the base onto the 5 inch rotary to cut the cylinder seat, a bit unconventional way of using the packing pieces. I thought I may have to knock up a mounting plate but just managed to squeeze it on.
I dont have a 2 flute 8mm alu cutter so had to go with a 3 flute TiAIN coated HSS but 1750 rpm, 1.0mm cuts and some lubrication and it cut very cleanly.
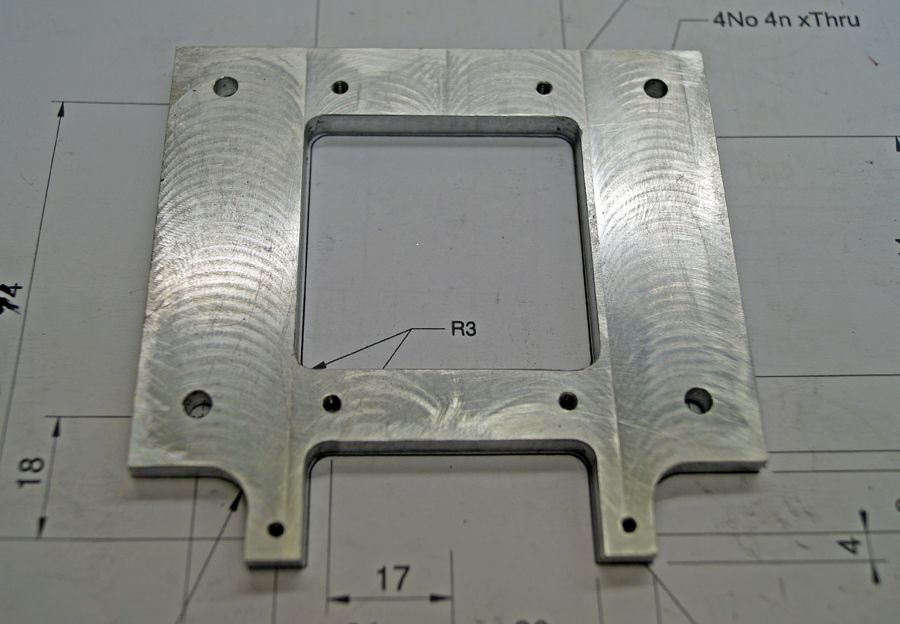
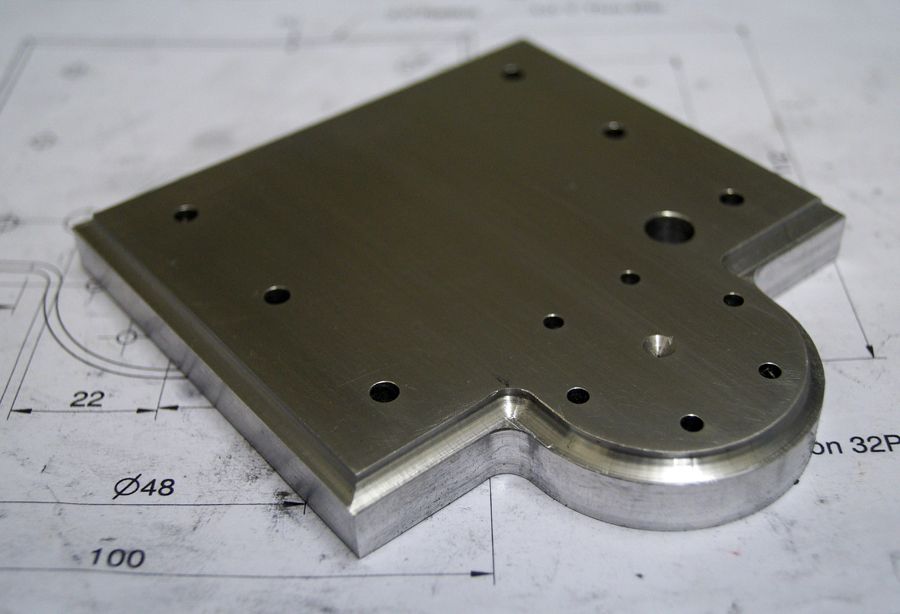
Its coming along the base is almost done, I have gone with a 12mm thick base though I have made a couple of mistakes. You can see a chamfered top edge along the right hand side, I had to machine away my attempt at the decorative edge which didnt go too well. I ground a blunt end mill into a form tool but couldnt get it right so I have a round ended cutter on the way and I am going to put a 3mm radius around the top edge which should look ok.
The M6 tapped hole in the cylinder side and the 8mm hole in the base are the exhaust, they are shown on the left on the drawing mine are on the right..
Anyway quite pleased with the radiused seat for the cylinder that has gone well on the rotary.
Added the decorative edge to the base plate which is now finished, the edge didnt turn out too bad and I,m quite happy with it considering. Its maybe a tad heavy (3mm rad) but I had to go that size to get over my failed attempt at creating the form that Jason shows on the drawing, I think it will look ok once painted.
These parts that you are making look very good Ron, amazed at all these lumps of material your using.Where do you get your stock of metal from as I find it a bit of a struggle to find larger sizes.
I tend to get most of my material from M-machine, great service, pricing is good and they cut to what size you want. Its priced either per foot or for larger sizes or more expensive material priced per inch. They have a vast range of material and sizes so for instance the base plate in the photo is from a 12 inch length of 4 inch x 1/2inch alu and the entablature plate is from a 12 inch of 100mm x 6mm alu which I reduced to 5mm thickness.
I also tend to buy smaller sizes of ground rod, free cutting steel, brass etc from GLR Kennions, they also offer good service though they are a bit more expensive than M-machine but they were the first supplier I used when I started and like the thought that you may be helping keep the smaller suppliers in business.
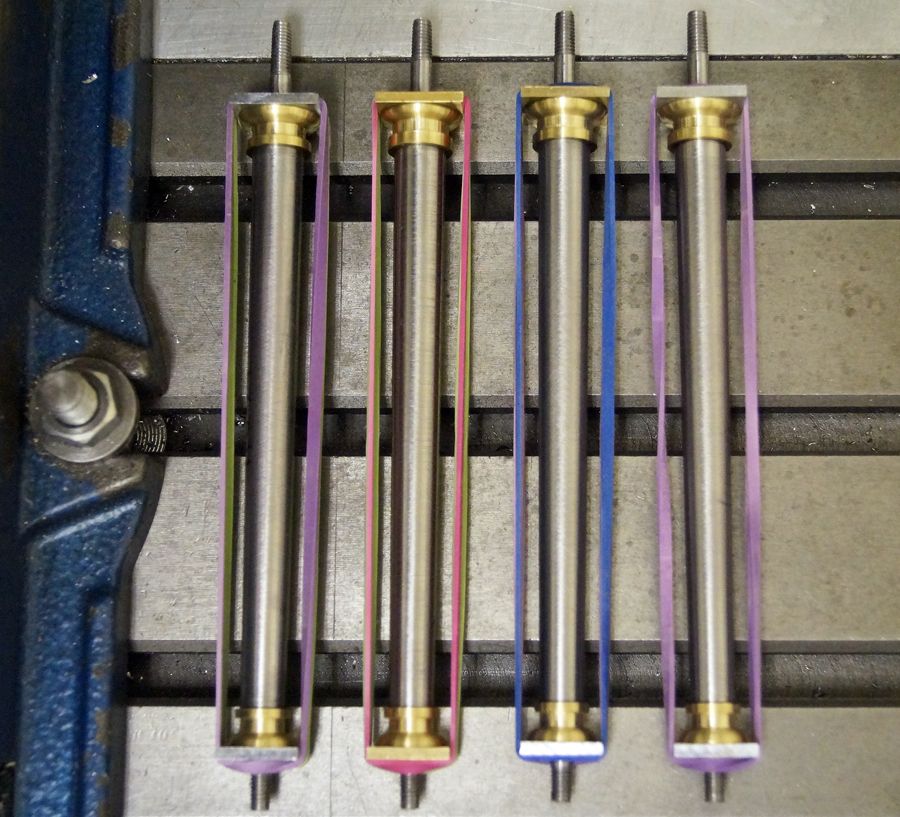
Columns assembled, just waiting for the adhesive to dry and then back on the lathe to all be faced to length. The squares are a mix of brass and aluminium, I used material from the ends/offcut box and the columns are painted so they will be fine.