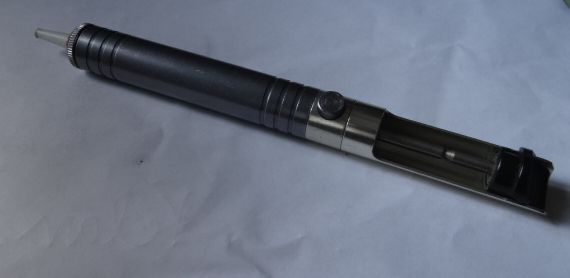
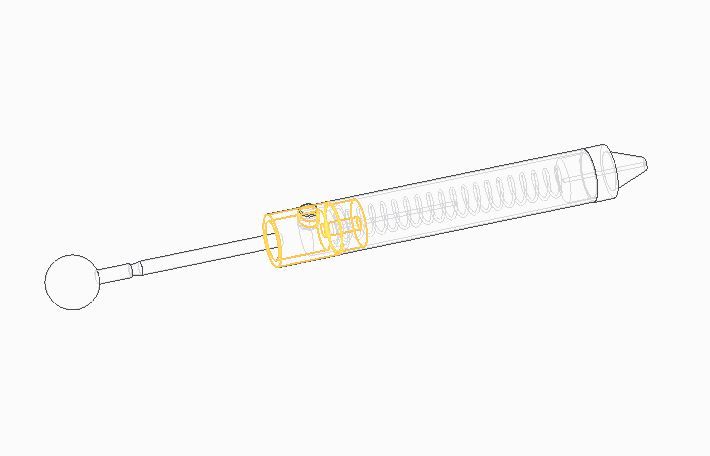
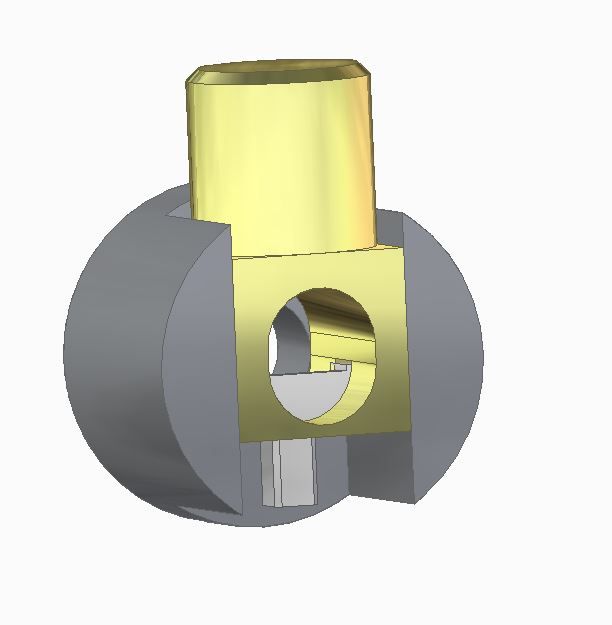
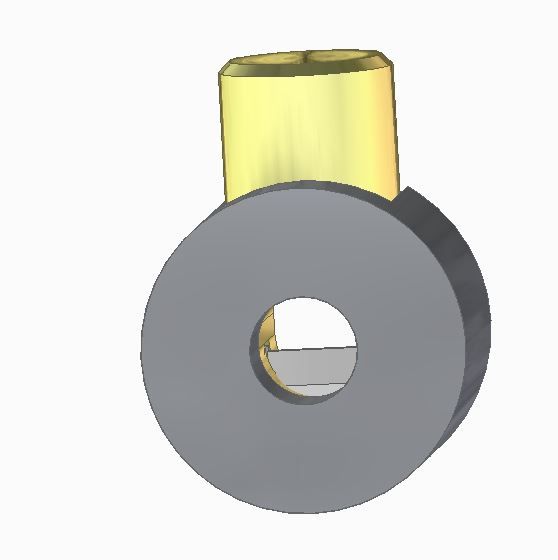
Self-training in Solid-edge led me to model a Solder Sucker:
Although my focus is learning CAD, I'm also keeping an eye on the possibility of making a real one.
The 5mm diameter rod and thumb-piece on the left compress a piston against a coil spring until a notch in the rod engages with some sort of trigger under the button. When the button is pressed, the sear releases and the piston whizzes back creating a vacuum into which any molten solder under the nozzle flies.
The rod is stopped from ejecting out of the tool by a circlip. Interesting design point: it doesn't smack straight into metal – it's cushioned by a washer and foam pad.
Happy with the circlip except it needs a 0.6mm wide square edged slot to be cut into the rod's end. As cutting a slot that narrow for a small circlip is a bit tricky, I wondered about other ways of securing the rod.
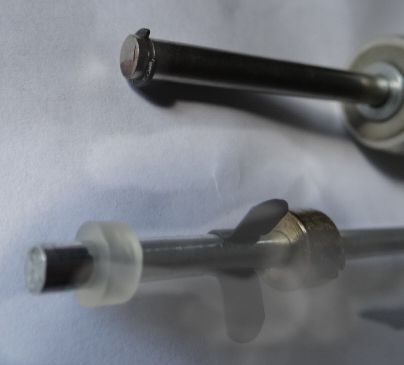
In the picture, circlip at top, Meccano methods below.
Sorry about the ghostly photo, but from left to right: a flexible rubber collar that grips the rod firmly; a steel U-clip; and a brass collar with set-screw.
I think the Meccano methods are all unsuitable for a retaining a rod propelled by a coil spring. Can anyone suggest another way of keeping the rod in place?
The one I had at work used a large headed screw running into a tapped hole in the end of the rod. Spring pressed on the screw which also held the piston, made some sort of not quite hard plastic so it acted as a buffer for the end of travel stop. Spring was only just long enough so it ran out of force about when piston got to the end.
As usual the (nylon) nozzle unit unscrewed so the removed solder could be shaken out of the tube and wiped off the spring. Having virtually no spring pressure left at end of travel made it easier to get the nozzle on without cross threading. The (cheapy) I got for home use has agood dela or residual pressure so the nozzle has to be pushed quite hard to engage the thread.
Having the spring pressure taken by the screw head that also holds the piston means the operating rod is pretty much just along for the ride minimising any force on the threads. Don't see any reason for the piston to be a super fit in the barrel so simply screwing (with loctite?) the piston onto the rod should do fine.
Mini-thin insert, It's what I bought mine for. I find a 0.7mm groove works well with that thickness e clip.
failing that turn end of rod to 3mm make a button shaped head with a 3mm hole, slip over the 3mm spigot and loctite or pein the end of the rod over. Or thread and screw on a plastic ball or other suitable shaped object. Or tap the end M3 and screw in a round head screw
Which is why I reckoned it was nylon or something similar. My own is much less melt prone.
I guess thats why there were several extra nozzles in the box. Its what stores issued when I drew mine. Still had a spare or two when the spring died after two or three decades. But then I was lab rat not electronics guru so circuit work was occasional not the daily grind.
Surely the piston needs to be secured to the rod? In which case turn the end of the rod down a bit for a shoulder, then a nut to secure the piston. Mine has the rod extended into the nozzle at small diameter to clear out the solder you've just sucked in
Surely the piston needs to be secured to the rod?…
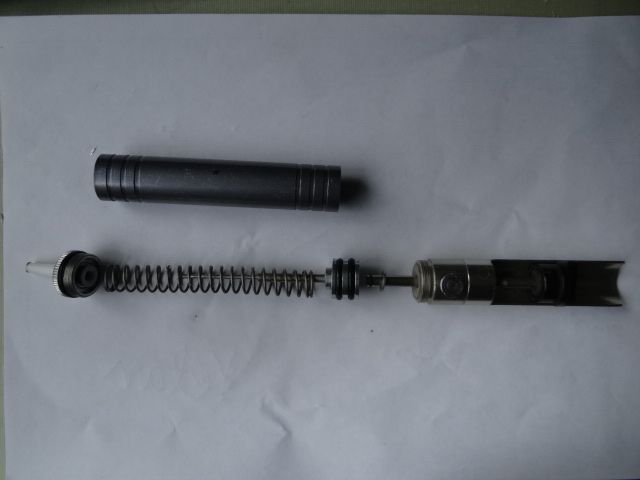
While I mull over the other answers, for which thanks very much, here's the sucker in bits, showing the piston isn't secured to the rod. (Trust me – the detail isn't deliberately lost in the gloom.)
I think the rod and piston aren't attached because it makes the tool easier to assermble and disassemble, though possibly the circlip is cheaper than two threading operations that might unscrew.
The CAD assembly, which is made from seven separate parts, is almost like the real thing. Tempting to have a Spot the Mistake competition though:
Hi Dave. I just took the one i have apart. It looks as though it would be easy to run a M5 die down & a shallow nut + locktite. I could completely strip to component parts & photograph if needed. Here's mine & the spring ass is already threaded as seen in pic.
Much food for thought here. I'm dithering between Jason's suggestion of buying a 'Mini-thin', example from MSC, and fitting a circlip:
Or, screwing and Loctiting a thick collar on the end; this I have the gear for. For the same reason, I like pgkpgk's hacksaw and two circlip suggestion, and if Howard is right one circlip would do the job. Or Nigel's starlock washer. Spolit for choice now! Worth experimenting.
MySolder sucker doesn't quite work as I thought. It creates a vacuum with a spring powered piston exactly as expected, but the other side of the piston is almost competely sealed. The only way air can escape is through the narrow gap between the push rod and the trigger mechanism. Must be deliberate, because it would be easy to drill an air vent. I think it's made this way so the compressed air brakes and cushions the rod and piston to stop them smacking hard into the back end.
Another mystery is how the trigger button works. As far as I can tell this part of the sucker is a press-fit assembly and I don't want to break it open. I guess something like this, where a sear is pushed up by a coil spring (not shown), and the brass block slides down to push it out of the way:
Many thanks – several good suggestions I hadn't thought of.
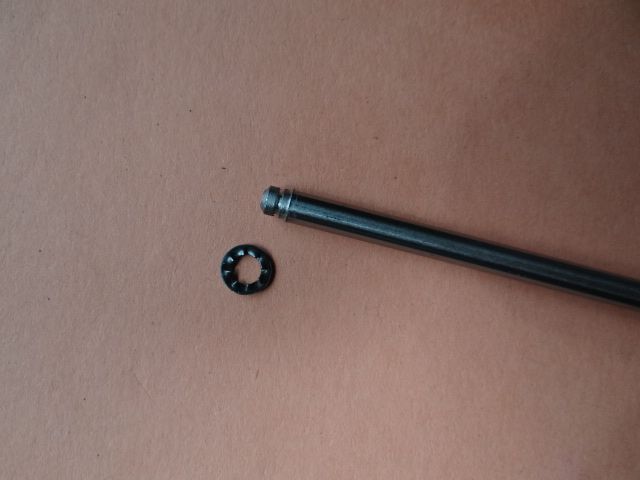
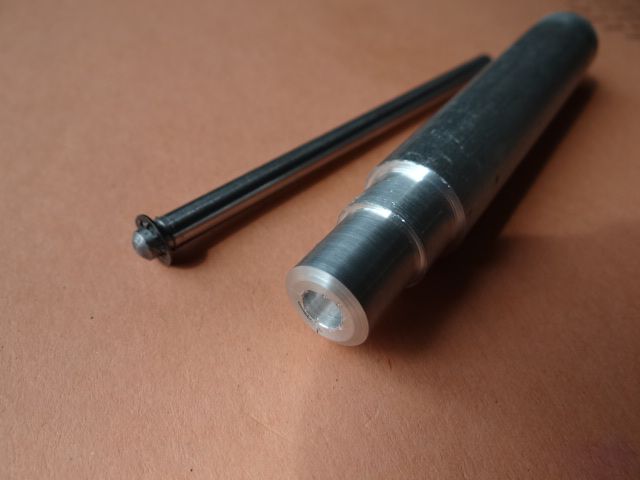
Reporting back, after wasting an hour looking for a circlip or starlock washer, I turned down a 5mm rod to suit an ordinary lock washer, chamfered the end, and added a reasonable groove with a junior hacksaw:
Then made a punch out of scrap box aluminium, and it worked!
Not as strong as a proper circlip or a starlock I'm sure, but not bad. More than good enough to retain a shaft that wasn't knocked about.
I'm so fed up failing to finding the circlips I've saved over the years that I shall order a box. Owning loads of spare parts is only useful if you can find the one you need.
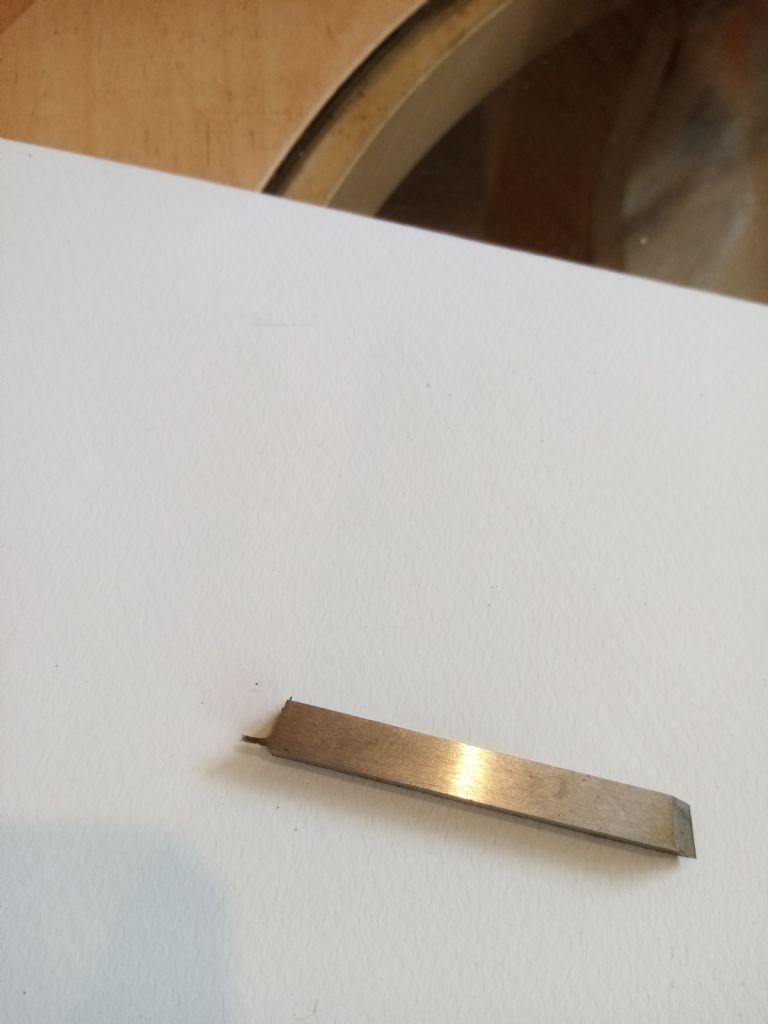
Here's one I made earlier, cost next to nothing and has cut dozens of grooves for e clips. How do you make it? Very carefully. You need a holder for the bit of HSSD, if you have a Worden or similar grinder it will be easier, but I used a bench grinder
I'd use a standard HSS parting-blade and thin one end of that. Or use a piece of broken hacksaw blade – it won't have the side clearance but should cut deeply enough for a small circlip.
My stocks of circlips, fibre-washers etc are the selection boxes from an auto factors. I think retailers like ToolStation sell them too. You won't use many of them and the washers always seem to be any but the right size, but it's probably the easiest and cheapest way to obtain them. Also salvage circlips from things from like scrapped printers!
Author
Posts
Viewing 21 posts - 1 through 21 (of 21 total)
Please log in to reply to this topic. Registering is free and easy using the links on the menu at the top of this page.