3D Printer Build

Advert

3D Printer Build

Home Forums 3D Printers and 3D Printing 3D Printer Build

Viewing 4 posts - 1 through 4 (of 4 total)
  • Author
    Posts
  • #31592
    Andy Dixon 1
    Participant
      @andydixon1
      Advert
      #393721
      Andy Dixon 1
      Participant
        @andydixon1

        Evening all,


        I'm starting this thread to document the build of my new 3D printer. The printer is based on the 'Dice' design by René Jurack, see his website below;

        https://well-engineered.net/index.php/en/projects/10-dice-en/12-dice-english

        The Dice design is based on a Core X-Y motion and uses linear rails on all axes so should be fast, accurate and rigid.

        I've scaled the basic design up a bit to suit the standard 200mm length of linear rail available on ebay and also to accommodate a 140mm heatbed I have on hand.

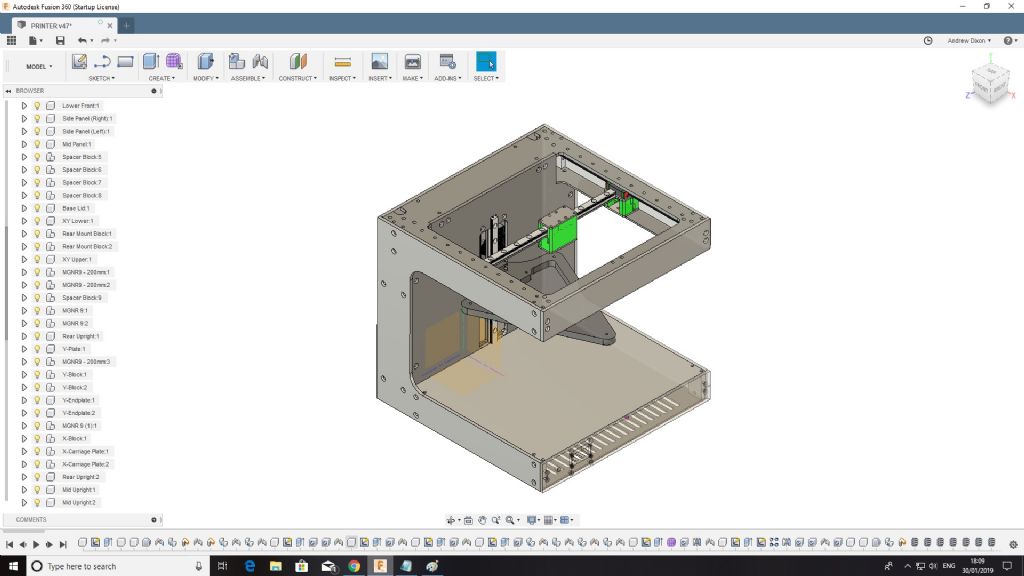
        Below should be a CAD image of the design. All of the sheet metal has been laser cut by a local firm, leaving a handful of small parts to machine.


        cad render.jpg

        I'll continue with some photos of the actual build as I go along.

        Andy

        Edited By Neil Wyatt on 31/01/2019 14:03:39

        #393896
        Neil Wyatt
        Moderator
          @neilwyatt

          Hello Andy,

          Welcome to the forum.

          Dpon't worry about the edit – it appeared your image was too big but it turned out OK in the end.

          Neil

          #395422
          Andy Dixon 1
          Participant
            @andydixon1

            Thanks Neil,


            I'm back at it, the laser cut parts turned out mostly ok ( a couple of bent parts and a few handling scratches but they'll be fine for my purposes). I used Microkerf in Leicester who were fast and quite reasonably priced, they also help with file formatting etc.

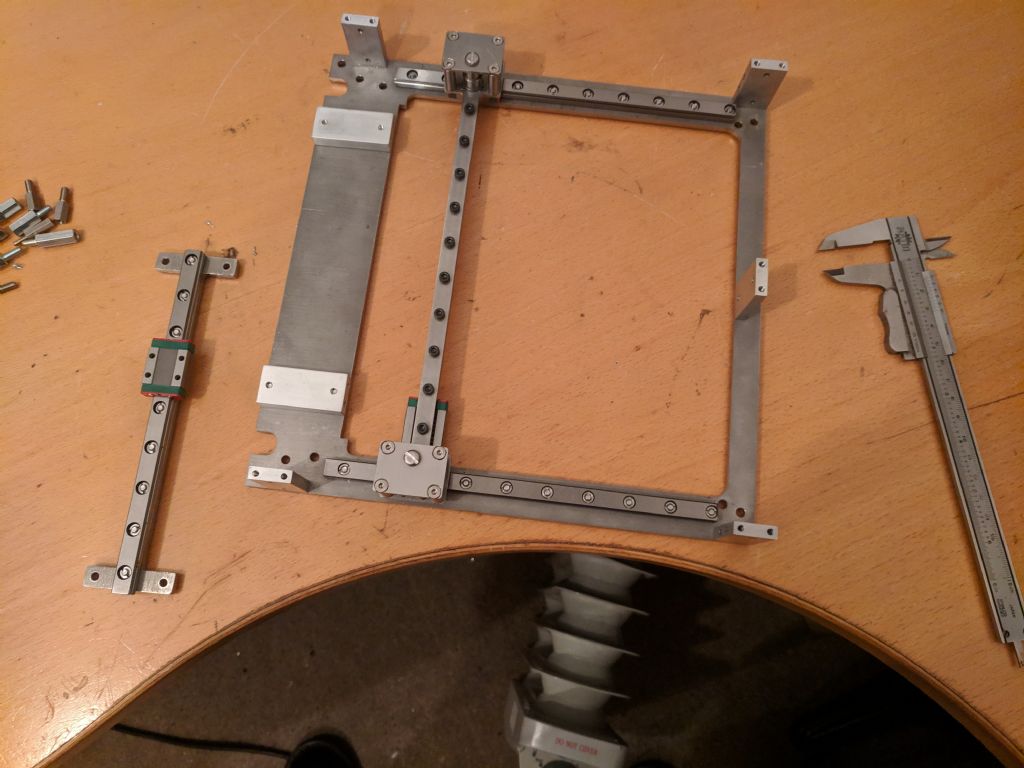
            The X-Y stage fitted up with linear rails and spacer blocks;

            XY Stage.jpg

            You can also see the Z-axis rail which was cut to length with a cutting disk in the angle grinder. Each of the linear bearings had to be disassembled and deburred, cleaned and lubricated before they worked smoothly….but they were cheap!


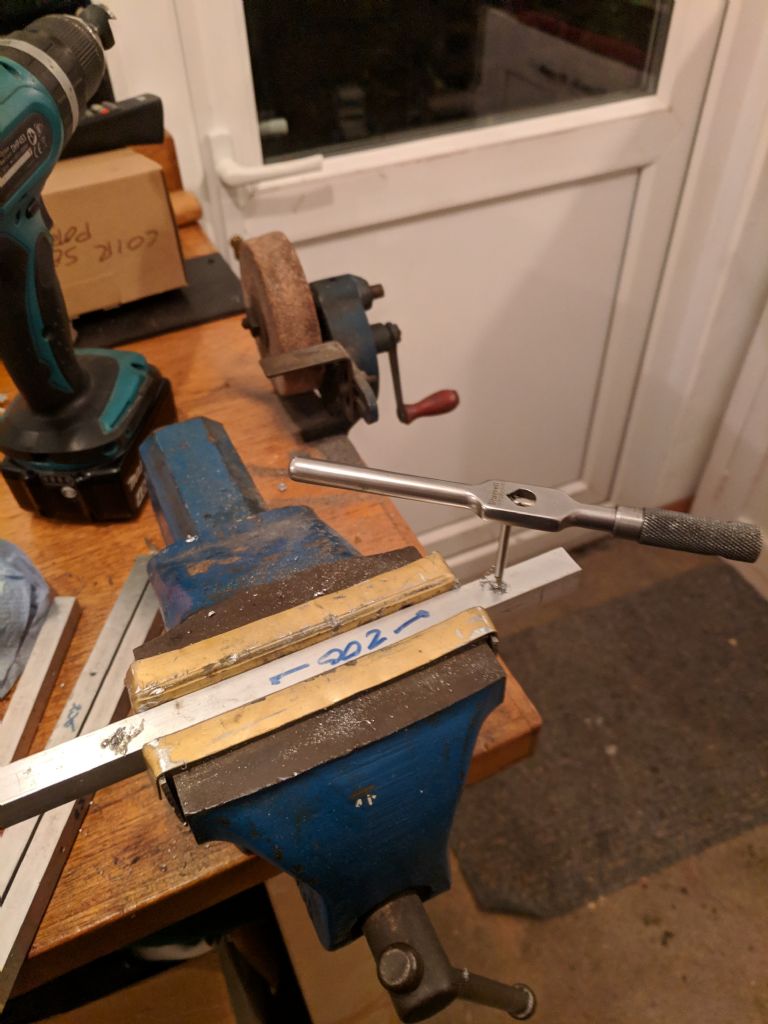
            Next up are the uprights which live inside the printer and provide mounting points as well as some stiffness to the structure. These are just aluminium profile with tapped holes, live action shot;

            tapping.jpg

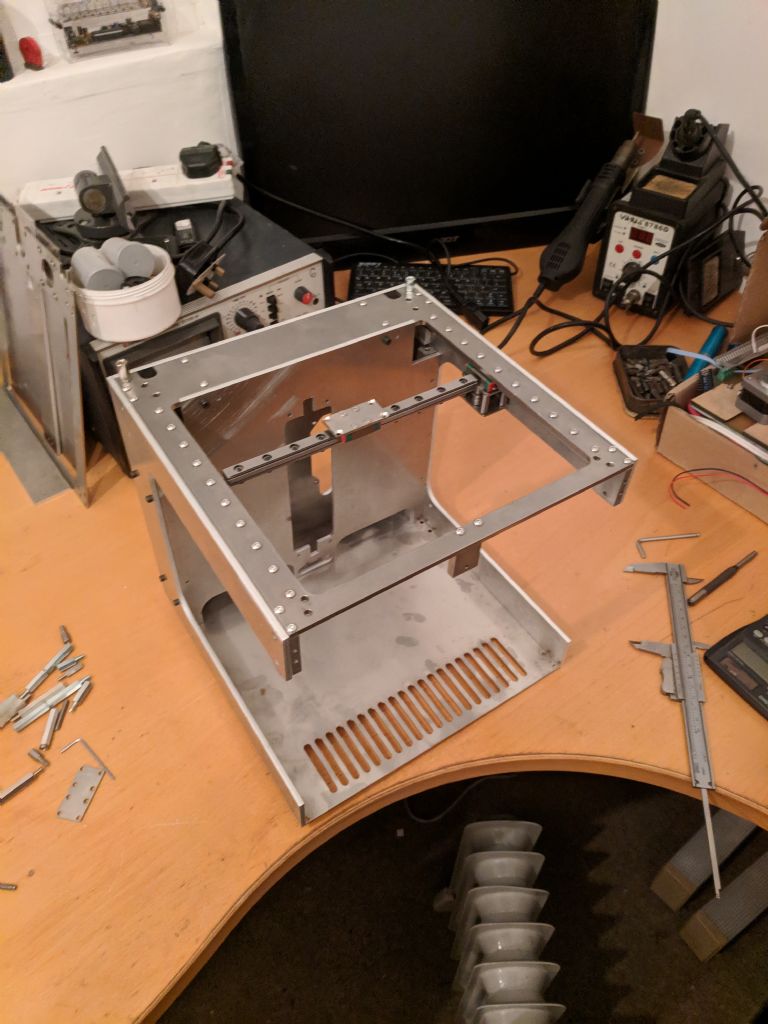
            I couldn't resist a test fit at this stage with some of the other parts to see what it'll look like;

            test fit.jpg

            That's it for now, hopefully I can make a bit of progress this weekend.


            Andy

            Edited By Andy Dixon 1 on 09/02/2019 11:22:19

          Viewing 4 posts - 1 through 4 (of 4 total)
          • Please log in to reply to this topic. Registering is free and easy using the links on the menu at the top of this page.

          Advert

          Latest Replies

          Viewing 25 topics - 1 through 25 (of 25 total)
          Viewing 25 topics - 1 through 25 (of 25 total)

          View full reply list.

          Advert

          Newsletter Sign-up