2″ Durham and North Yorkshire

Advert

2″ Durham and North Yorkshire

Home Forums Traction engines 2″ Durham and North Yorkshire

Viewing 8 posts - 1 through 8 (of 8 total)
  • Author
    Posts
  • #471335
    Jon Cameron
    Participant
      @joncameron26580

      Hello,

      I'm slowly getting to see where all the issues are with a 2" durham project that I bought, unfortunately there has been many shortcuts, and parts left as "that'll do".

      I've possibly mentioned all this elsewhere on the forum but as a recap, the issues ive found so far are as follows.

      • Boiler stays project too far from the boiler sides and are not all parallel.
      • boiler end that slots into the smokebox doesn't fit it looks as if the front tube plate was just too big and it has bowed the front end slightly. (about 1/32" so it is slightly larger dia at the front that 5"
      • The boiler inner firebox bottom hasn't been clipped back so is of varying lengths needs filing back to 5/16" all around from the foundation ring
      • The stays have already been drilled from the hornplate but as the hornplates don't sit flush im worried the stays are not drilled square for when the stays are trued up.
      • The hornplate don't sit parallel or in line with each other so the holes are slightly out.
      • the 2nd and hind axle casting, has had the holes drilled for attaching to the hornplates ad hock, and these need plugging and redrilling,
      • The same axle holes seem slightly oversize by 1/64", (need to measure them properly with a bore gauge.
      • The The front axle wasn't centred properly so the round axle ends actually have two flats in them.
      • The chimney base is not sat on the smokebox in line with the perch bracket (tilted chimneys never look good.

      I'm sure there's others not listed above but that's certainly a list to get on with. I've decided the hornplates will be scrap and may be used in the durham but not in the same form as they are now. The only thing I can trust on the boiler for reference is the barrel between the front plate and the firebox. I intend on using a parallel clamped to the back of the firebox and in line with the centre pop top and bottom, (assuming this is the reference for centreline). The boiler can then be set up in a mill on some Vee block, or just packing, and the stays milled to size with a machinist jack to the front and rear of the firebox. ( a lttle tooling project). The inner firebox bottom will be draw filled to get it to a scribed line on the copper. as I believe machining here could cause some serious issues with weeping. currently the boiler holds water without leaks but has not been subject to hydraulic yet, as if im right the machining on it will null and void the hydraulic cert as its modification to the outer shell.

      Anyhow moving on as that's yet to come and ill see what feedback I get from here on the above.

      I started to look at the 2nd and hind axle casting last night, I have made the axleblocks a good fit in the pockets, by using a marker pen and then sliding them up and down, and gently filing back where the blocks rubbed. whereas before they hardly moved, they are now free to move up and down. the mating face with the hornplates was all over, looks like it had been milled but in places the mill had gone a thou deeper and left swirly patterns on it. I draw filled the centre between the two axle bushes, to gain a datum for the rest, using a set square and a light to gauge where the high spots where, and draw filing, I have one side pretty much complete and level on the mating face.

      Now the first question, what id like to know is the holes that haven't been drilled well on the casting, been a bronze casting can I mill them over size then plug and silver solder them together. before using a drilling template to redrill them and what solder and flux would be needed, these are right next to the firebox so soft solder I assume is out the question.

      Second question how tight should the axles be within the bearing block and the 2nd shaft journal? 5/8" for the 2nd shaft, 3/4" for the rear axle. the rear axle I assume been sprung will require some form of movement to stop the rear axle locking solid when going over rough ground. If these are too loose I plan to over bore and solder a plug in same as above.

      I don't have the serviet propane torch yet, and rather than buy new castings, I figured buy the torch and appropriate burner, and mend these instead for the same kind of money.

      Jon

      Edited By Jon Cameron on 13/05/2020 10:24:15

      Advert
      #2937
      Jon Cameron
      Participant
        @joncameron26580
        #491122
        Paul Horth
        Participant
          @paulhorth66944

          Hello Jon,

          I have picked up your post rather late, as I don't look on the forum very often, so it's likely that a lot of what I say below is already out of date, apologies if so.

          I built the Durham engine a long time ago (1980 – 2000), it was my first model engineering project, and I do have quite a bit of hard earned experience as a result. I have been running it every season since then ( except this year!). However, after reading you post, and sympathising with what you are facing, I don't think I can give you any really helpful answers. I have sympathy for some of the bodges which you are having to do because I also did a lot of hole redrilling and so forth, cursing the idiot who built it.

          The first thing I would emphasise is to get the boiler hydraulically tested before doing any more work. I have the impression that your boiler was not all that well made, so there is a risk that it might not pass the hydro test, and then any work by you in fitting the hornplates, smokebox, axle bearings etc might be wasted. If it passes the test then you can breathe again and consider how much effort you are prepared to make.

          I spent a lot of effort fitting the hornplates to the boiler so that they were parallel and the three shafts in their bearings would all line up and rotate freely. This required fitting the rear axle brackets to the hornplates first, then locating one plate on the boiler, then offering up the other one with shafts through the bearings, and very carefully clamping and drilling through to the hornplate stays. Even then there was a lot of fiddling about with shims before all the shafts would turn freely. It takes only the slightest movement to lock the second shaft. Then, i had to do this job all over again, when I had to replace the boiler after 9 years with a new professional one. The rear axle is easier, there is some play in the axleboxes (in mine at any rate) and a little stiffness will soon wear off. I would say you can live with the 1/64 oversize here.

          Before you shorten the firebox lower edges, be happy about the attachment for the ashpan. These edges should be deep enough to comfortably put in a long pin to hold the sahpan in place.

          The chimney base really does have to be properly aligned. More holes to be plugged and redrilled, and make sure the joint is airtight. And make sure the smokebox is properly square to the boiler in both planes.

          The front axle journals with two flats? Familiar, mine are like that! But only a little, it doesn't show.

          When you obtain the rear axle, give yourself a little extra length, to get all the clearances you will need so that the compensating gear doesn't foul the tender bolts.This will also allow the hornplates to be a bit further apart so you can fit shims, washers etc under the bolts. I cut mine too short and had the devil of a job getting everything in.

          I have a whole list of other modifications to the Haining design which I can send you, if you decide you are going to move ahead with this engine. Good luck,

          Paul Horth

          #491143
          Jon Cameron
          Participant
            @joncameron26580

            Hello Paul, Thanks for the reply.

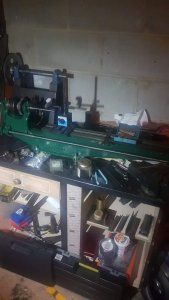
            There is a lot of work to do, I'm putting my myford back together currently then it will be sold for another bigger lathe that I have been offered. So my time is diverted there at the moment.

            The two flats on the front axle are nearly a quarter of the diameter of the axle. Which doesn't make for a good bearing, I have a lump of steel 1" thick that I got for free so that'll be used to make a new axle and turned between centres to shape, the excess been milled away.

            I'll be making a test rig for the boiler and blanking plugs to get the boiler hydraulic'd and tested for safety. I did fill it with water to see if it leaked like the proverbial sieve, gladly it didn't, so signs are promising for a hydraulic test.

            Jon

            #496305
            Jon Cameron
            Participant
              @joncameron26580

              Hello,

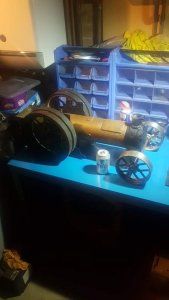
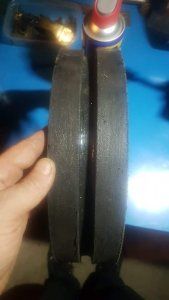
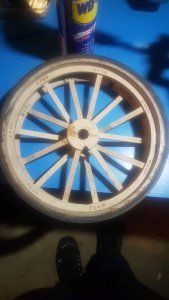
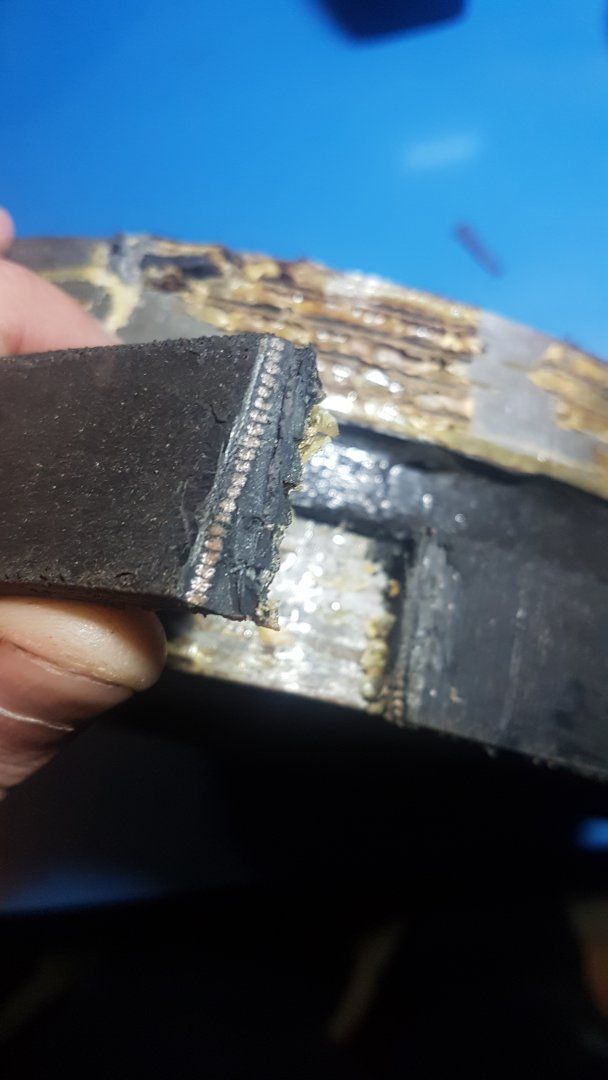
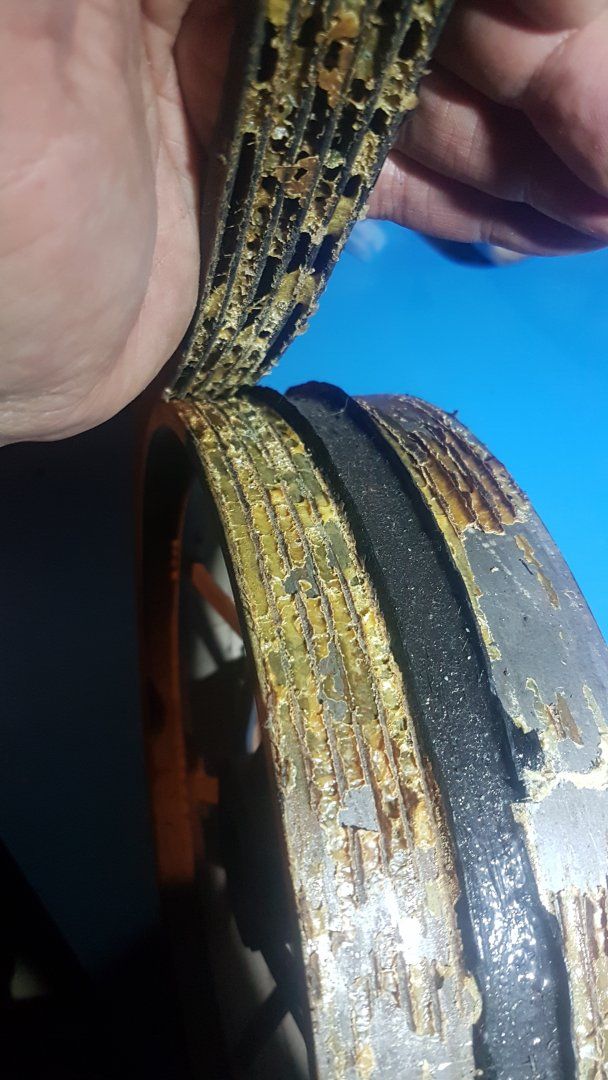
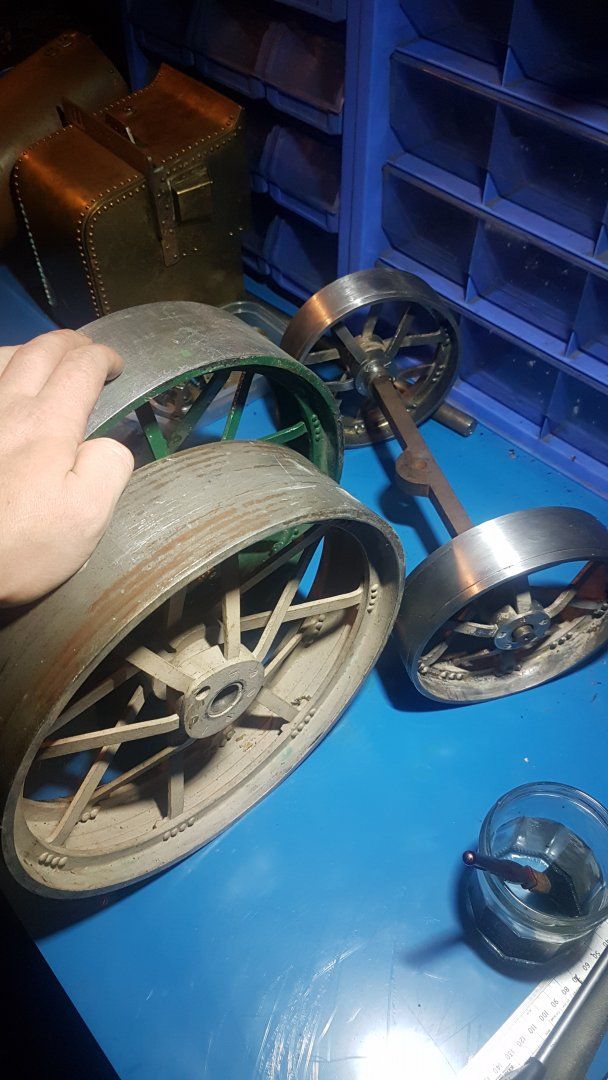
              Dispite little interest, i'll continue my postings and hopefully as it progress it may be useful or of interest to someone else. I got myself a large metal bench the other day, and this has increased space to be able to work. So With the lump of box section, angle, and sheet that is my bench, I dragged it into position and laid all the parts out. Although this will be a long haul, I need to do some bits until I get my ML4 up and running how I want it. So trying to muster up some motivation, I set about with the wheels. clearing all the gunk off the rim with a mixture of files, emery cloth, and scotch brite to get rid of the rubber, metal set, and epoxy glue that the previous owner had applied.

              durham 1.jpg

              durham2.jpg

              durham3.jpg

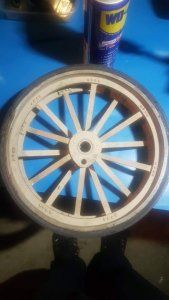
              Once its cleaned up ill get them in primer, so they don't corrode, then its onto making some tyres. I think its 1/16" less for every 1" circumference, for a tight fit, the rubber can then be profiled to a nice round corner shape, and hopefully will look like a vulcanised tyre, and also stay put when in use. The rears below will also have the same treatment.

              durham4.jpg

              durham5.jpg

              durham6.jpg

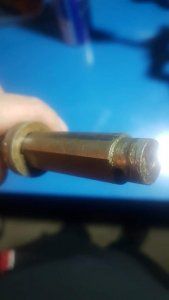
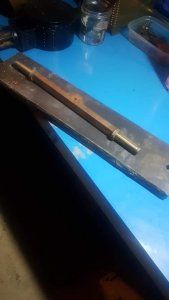
              The front axle is a bit of a no brainer, it wasn't set up between centres for machining so its a bit lopsided, also two flats where there should be a nice round profile is no good, so a new lump of steel acquired from the scrap bin at work, and ill be turning and milling a new axle happily soon, for free

              durham7.jpg

              durham8.jpg

              Need to buy some ME taps and dies for the boiler, then also mill the stays parallel with the boiler. I also need to get round to finish assembly of my ML4, so I can actually turn something.

              durham9.jpg

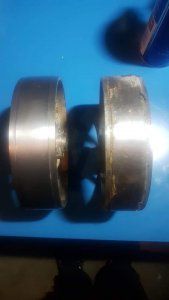
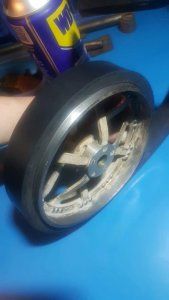
              Set about the rear wheels, removing the timing belts that had been used as tyres. These had been stuck on with what looks like some kind of epoxy glue. However it's brittle in places, so I suspect that it would have fallen off on first use, anyhow I didn't like the exposed threads of the belts, so stripped them back.

              durham10.jpg

              durham11.jpg

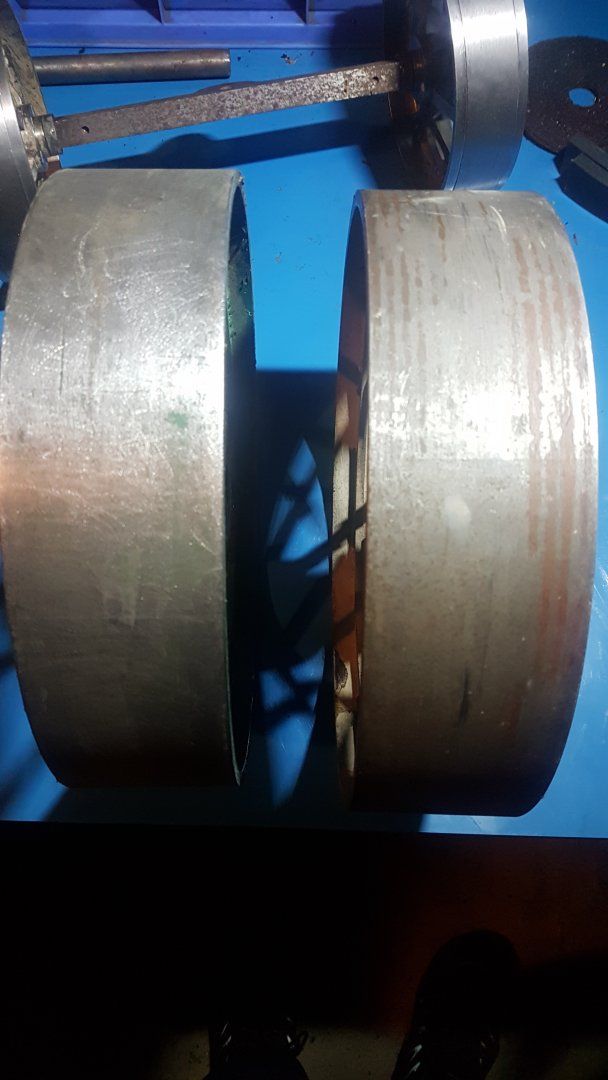
              After a lot of hard work, the glue was gone leaving just the surface of the rim.

              durham12.jpg

              Two wheels free from their timing belts.
              Next job is to strip the paint off the rear wheels. Then get them in primer and make some new tyres for them all.

              durham13.jpgJon

              Edited By Jon Cameron on 17/09/2020 12:29:33

              Edited By Jon Cameron on 17/09/2020 13:11:27

              #500040
              Jon Cameron
              Participant
                @joncameron26580

                Hello again,

                I have tried to get the boiler tested, however ended up having a falling out with the boiler tester/secretary instead. So I am looking for a new club in the north east that will actually look at the boiler for testing. In their own words "wouldn't have time to perform the test".

                So pushing onward, I have set myself a target of having the engine on its wheels, (bolted together, not balanced) by the end of the year, any additional works completed is a bonus.

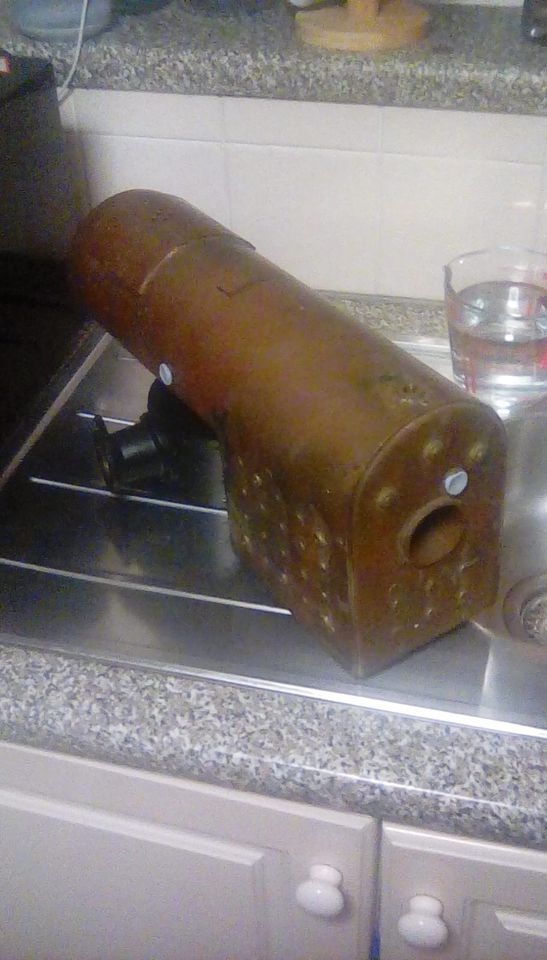
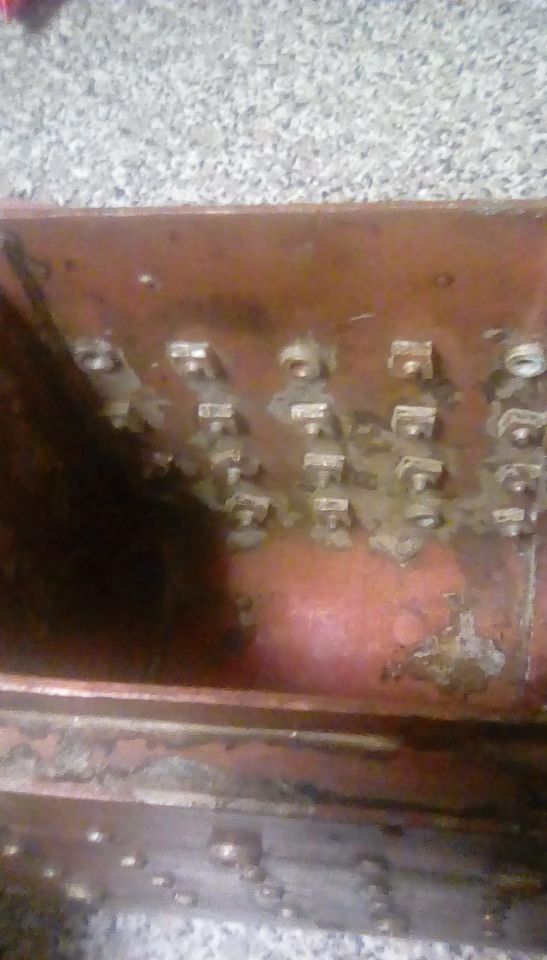
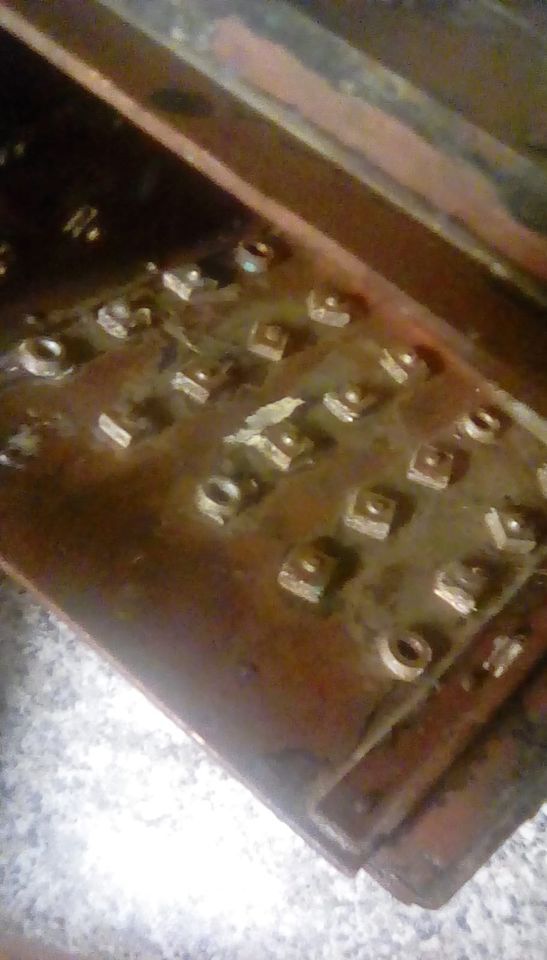
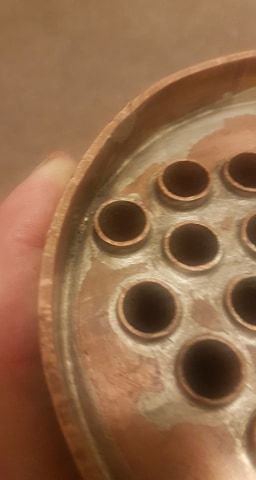
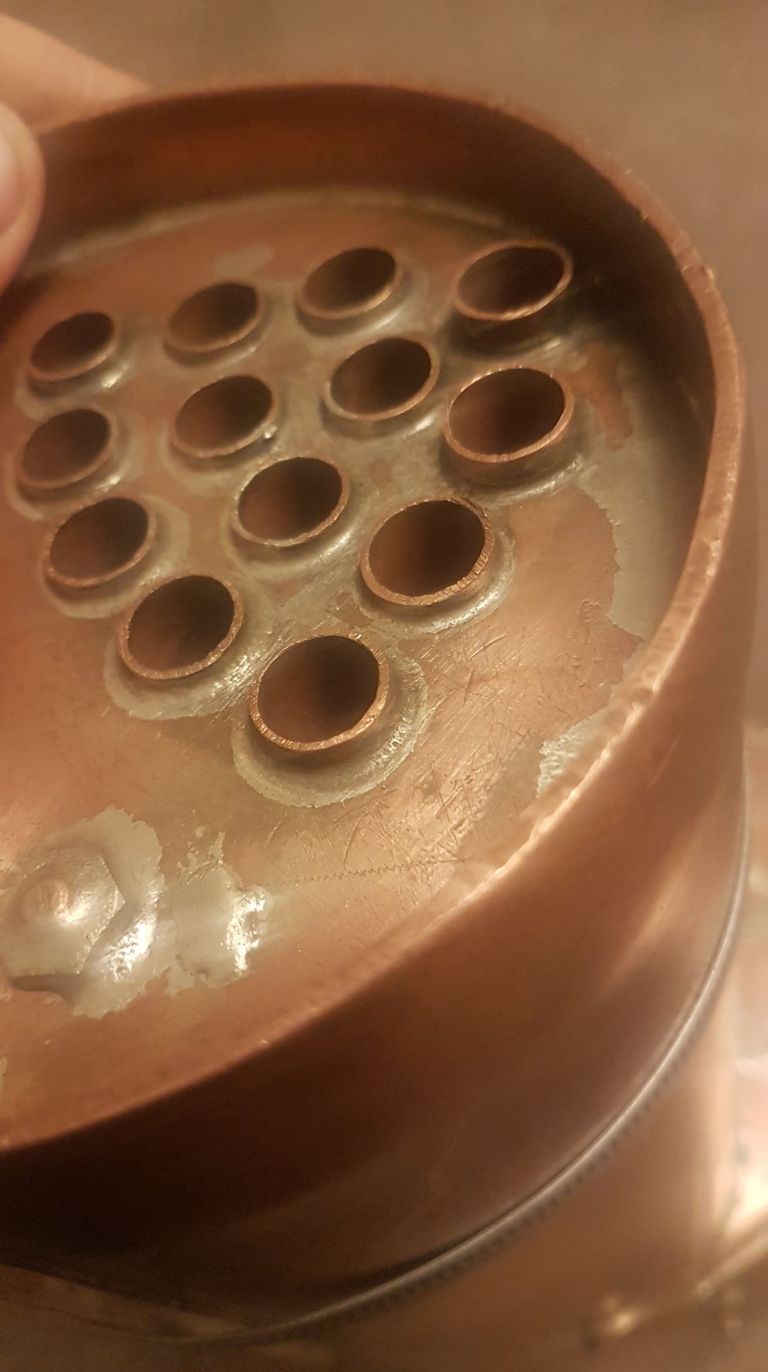
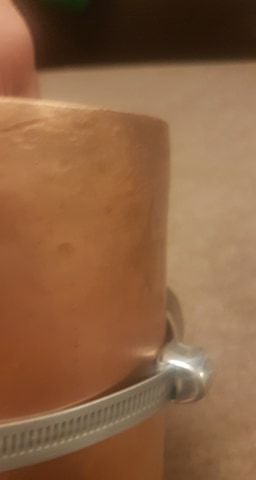
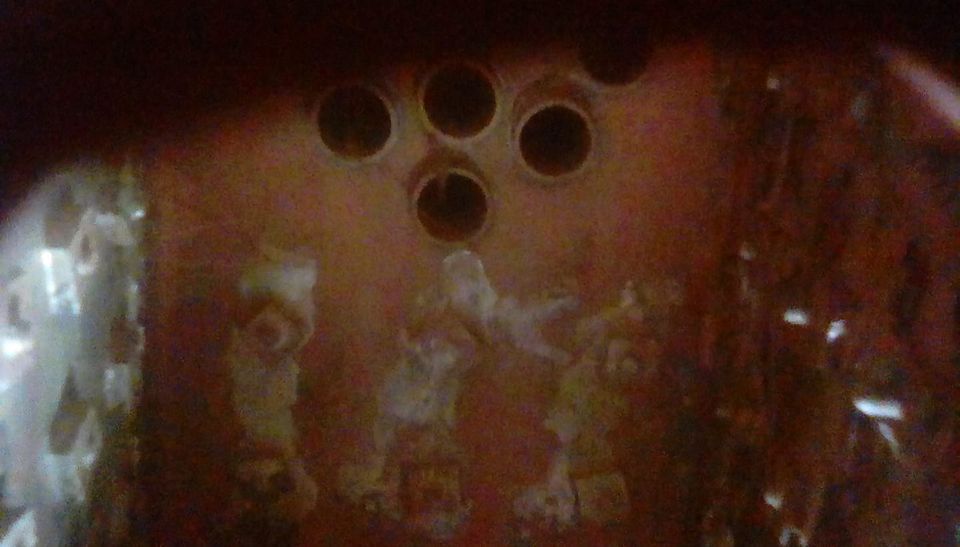
                The "wet test" that id mentioned previously, and also pics of the stays and tube plates on the boiler. I was worried about the front tube plate since it has been deformed. I believe this is an attempt to fit the smokebox that wasn't the right ID for the boiler barrel. measuring the smokebox, it is bang on 5" and as can be seen from the photos needs to be slightly bigger for fitting to the boiler end. So this will have to be bored out. After taking a lot of measurements the offside of the boilers firebox tapers out towards the foundation ring, this isn't a large amount, and wont interfere with the hornplates, I do however have to machine or file back the hollow stays so that the hornplates will stand vertically. Need to order some 2.5mm steel plates to replace the horns.

                Jon

                boiler rear nearside quarter.jpg

                inside firebox 1.jpg

                inside firebox 2.jpg

                front tubeplate 2

                front tubeplate 1

                front tubeplate 4

                front tubeplate 3

                front tubeplate 5inside firebox 3.jpg

                #500356
                Roger Best
                Participant
                  @rogerbest89007

                  Hi Jon

                  Another rescue job I see, you are a sucker for anything in need of love.

                  I am enjoying it so please carry on posting. I like small and manageable engines.

                  #500378
                  Jon Cameron
                  Participant
                    @joncameron26580

                    Hi Rog,

                    I'm not sure about small and manageable lol. Its still a big lump to move around. Managing a lot of time in the workshop and there is steady progress even if it doesn't appear so. Wheels are getting stripped of the old paint. I took the chimney saddle off, and the smokebox door, as neither were a good fit. Which would have lead to poor performance sucking in cold air through the smokebox door.

                    Funny how one step forward, one step back seems appropriate for this build. I took the smokebox into work for the tooling guy to skim the door face flat, it wasn't anything like. I didn't relish the prospect of drilling out x20 rivets, and re-riveting it back up so I could swing it on my lathe. Also to skim the back so it was parallel. This was in the hope id have a perfect smokebox ready to proceed forward.

                    When it was mounted in the lathe another issue has reared its head. The smokebox cleaned up well despite the limited grip that could be applied from the Jaws, (i didn't want it deforming). When it was first offered up to the jaws, it became very apparent the perch bracket bearing wasn't parallel with the base of the smokebox. this in effect will mean my engine will look like its has a bump with a low wall. Im going to leave it for now and see if it bugs me when mounted on its wheels, and if its noticeable. Its been deduced that the perch bracket wasn't made with good bends in the corners which have made it at a slight angle to the rear, instead of centreline of the smokebox.

                    I was going to ask the Tooling guy to turn a slight taper in the rear of the smokebox so that the two would mate together, this is when we realised the smokebox isn't actually round. When offered up light gaps (or air gaps) could be seen in some places but not others, on measuring the smokebox ID and the boiler barrel OD, I have upto 55thou to file away in places to get a decent air tight fit, and the smokebox needs to insert on the boiler another 1/4".

                    The boiler and smokebox will receive fire cement paste squirted around the inside to get a good airtight fit, when finished off and mounted to the boiler, but first I have 20 odd holes to drill in the boiler barrel end, and a lot of bluing and filing to get a snug fit on the boiler barrel end. Also the saddle to remachine before I can finally mount that on the smokebox. That'll keep me busy for a few nights over the weekend. lol

                    Jon

                  Viewing 8 posts - 1 through 8 (of 8 total)
                  • Please log in to reply to this topic. Registering is free and easy using the links on the menu at the top of this page.

                  Advert

                  Latest Replies

                  Home Forums Traction engines Topics

                  Viewing 25 topics - 1 through 25 (of 25 total)
                  Viewing 25 topics - 1 through 25 (of 25 total)

                  View full reply list.

                  Advert

                  Newsletter Sign-up