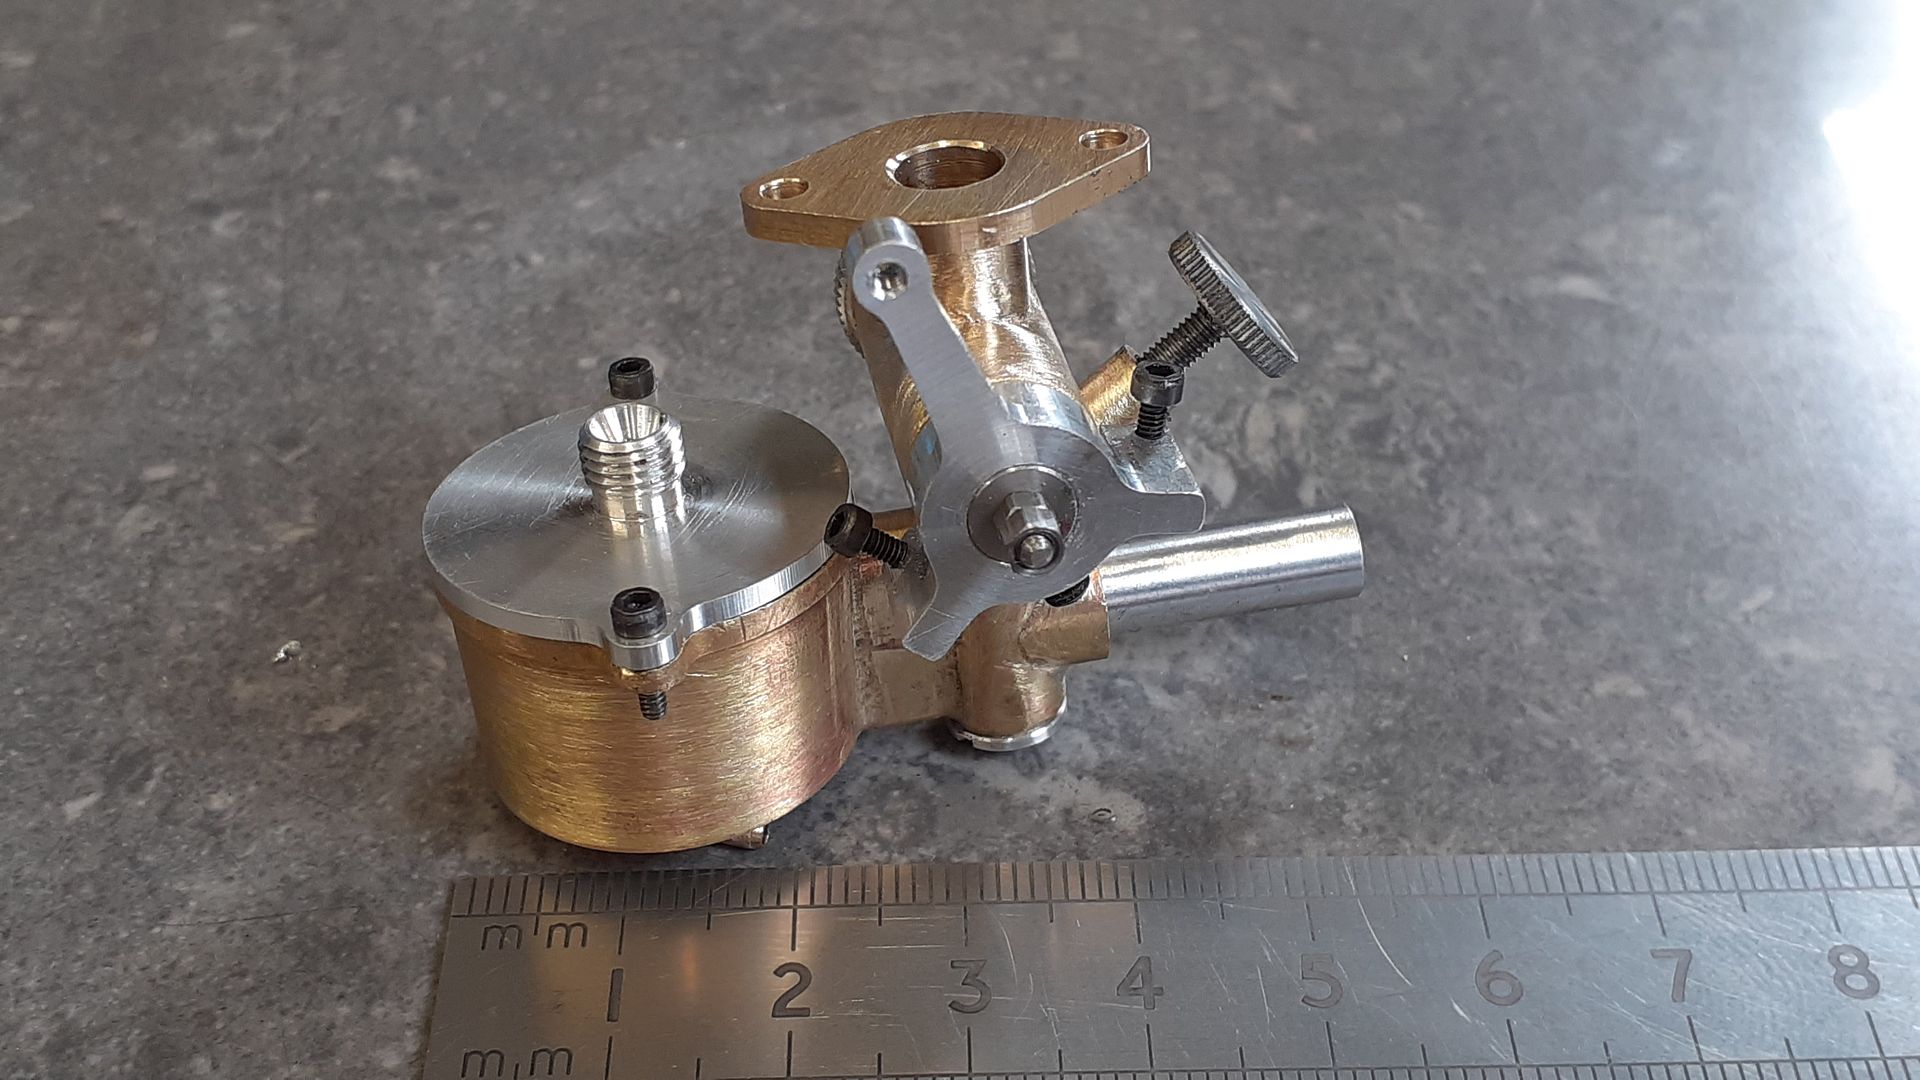
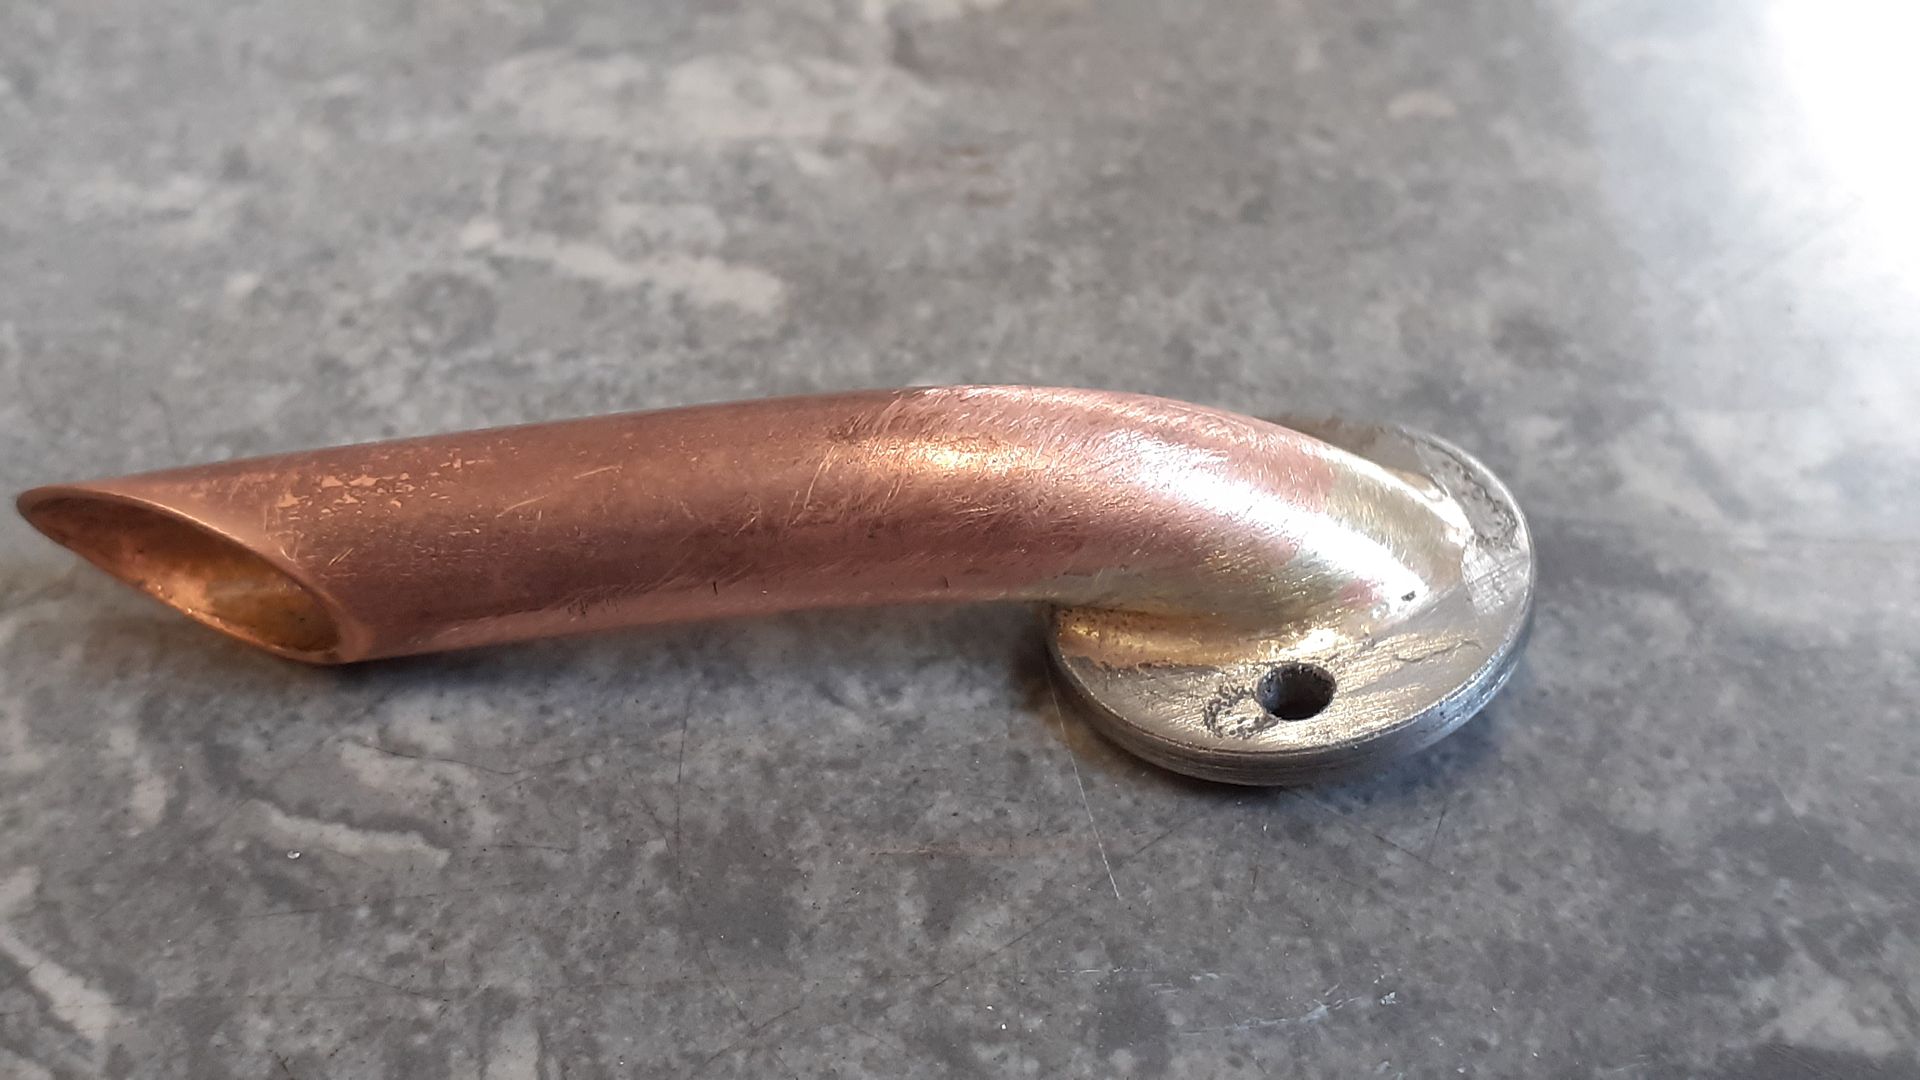
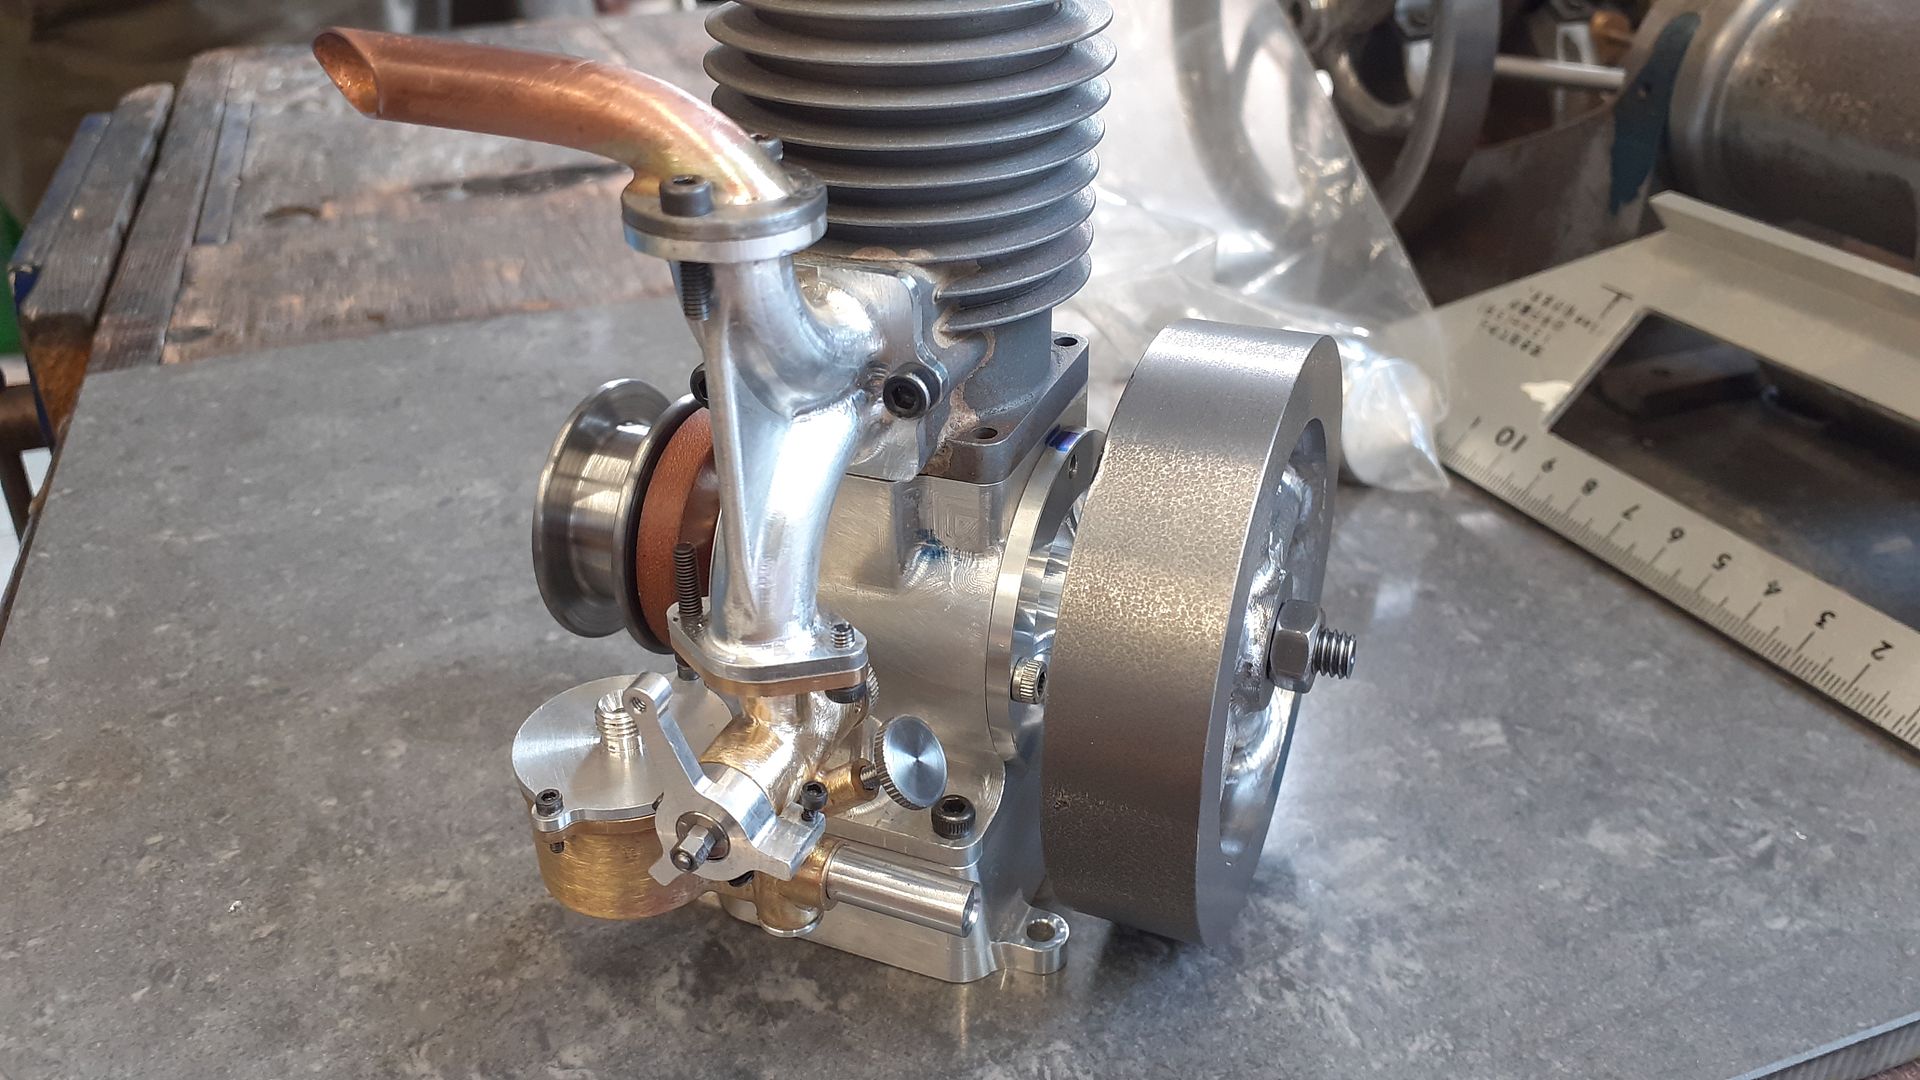
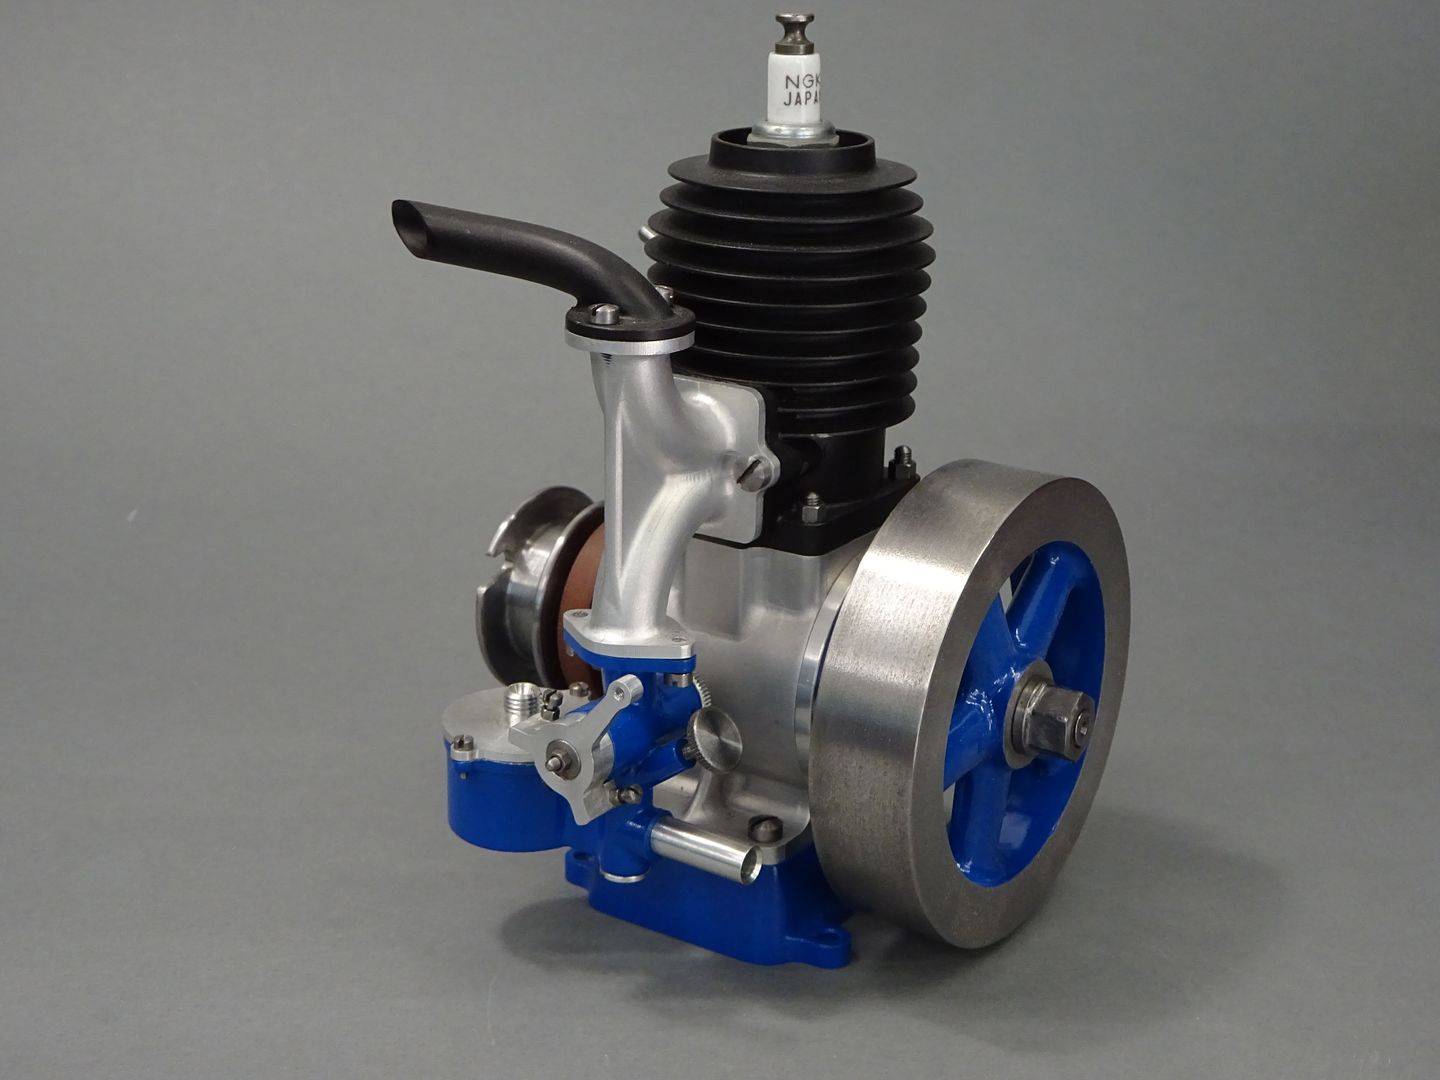
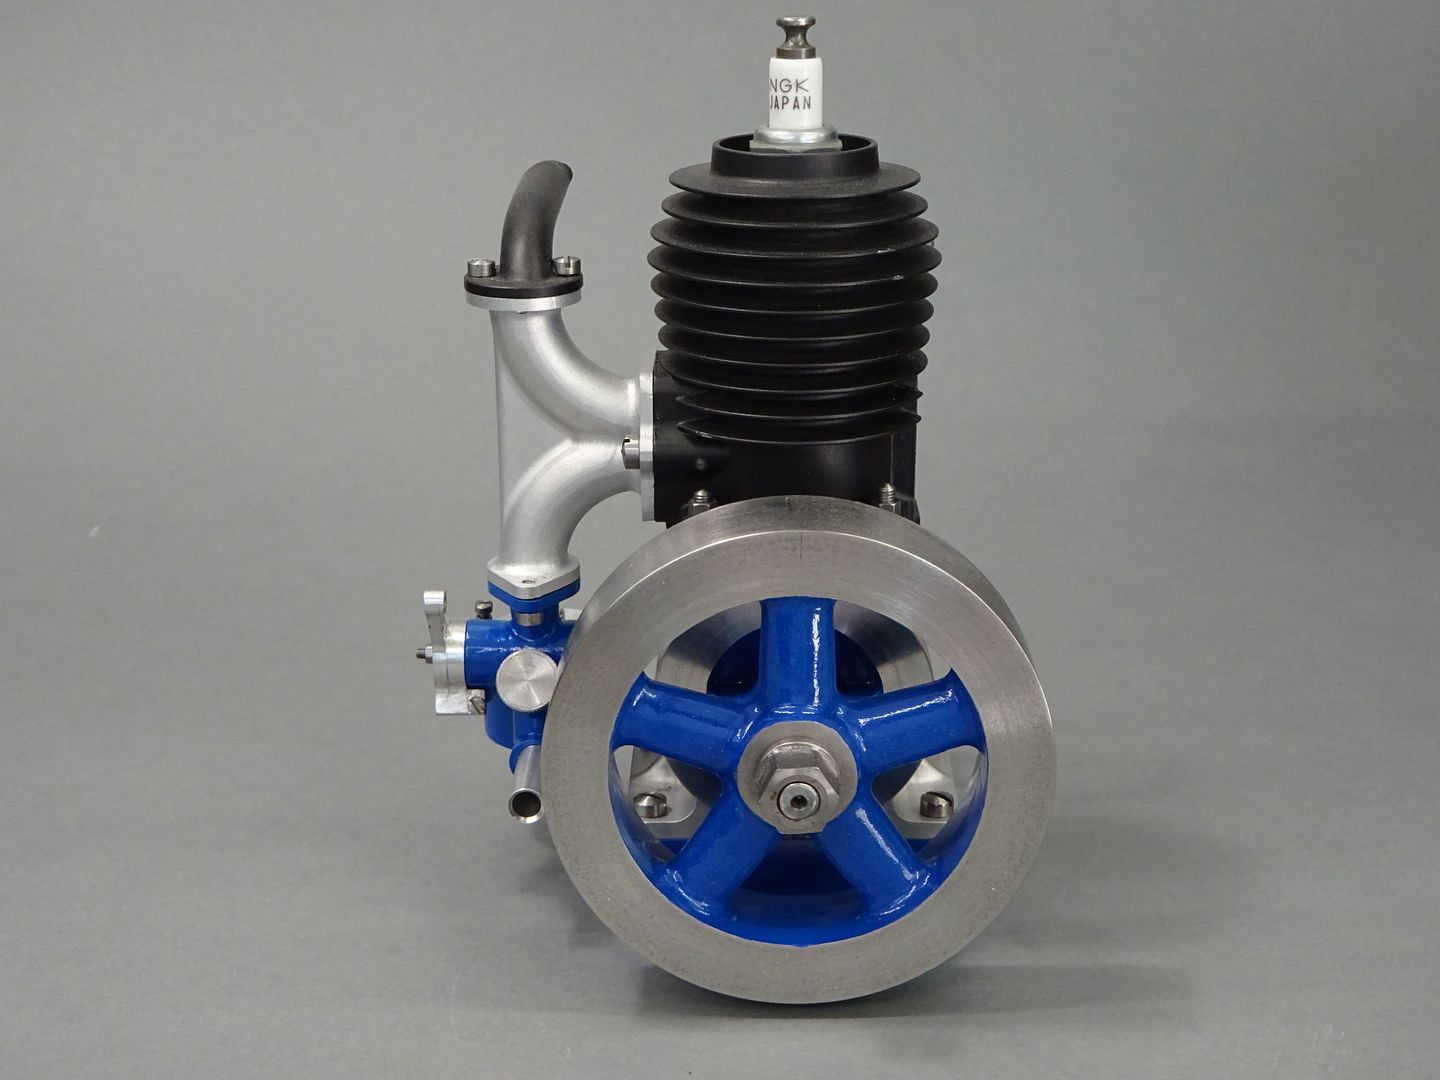
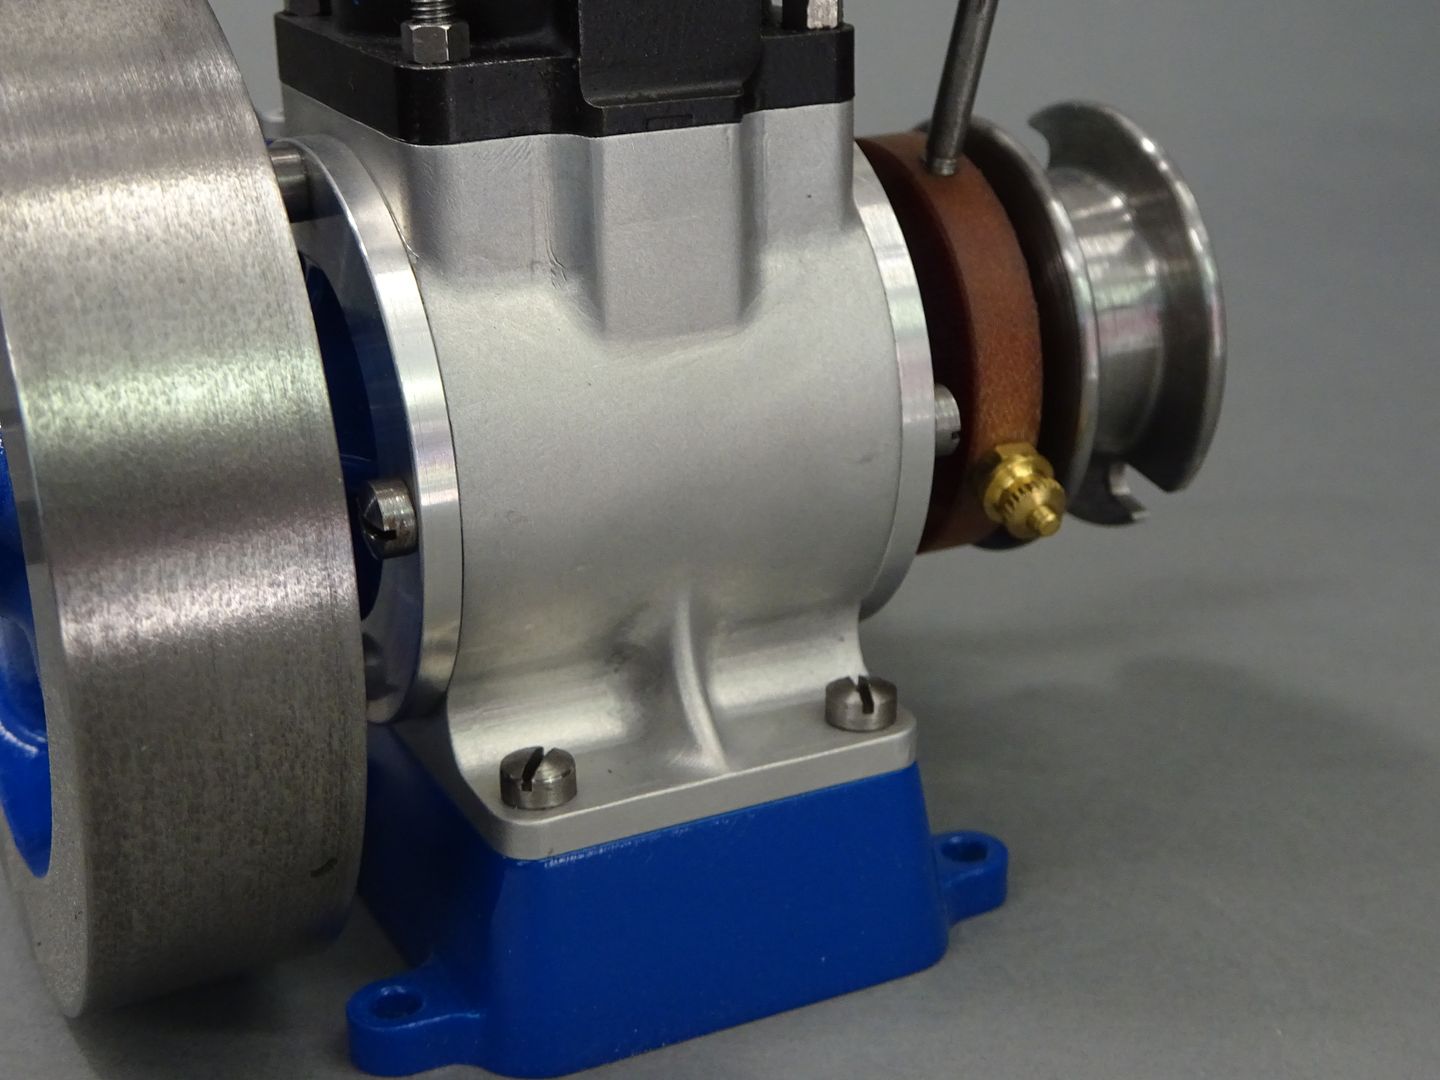
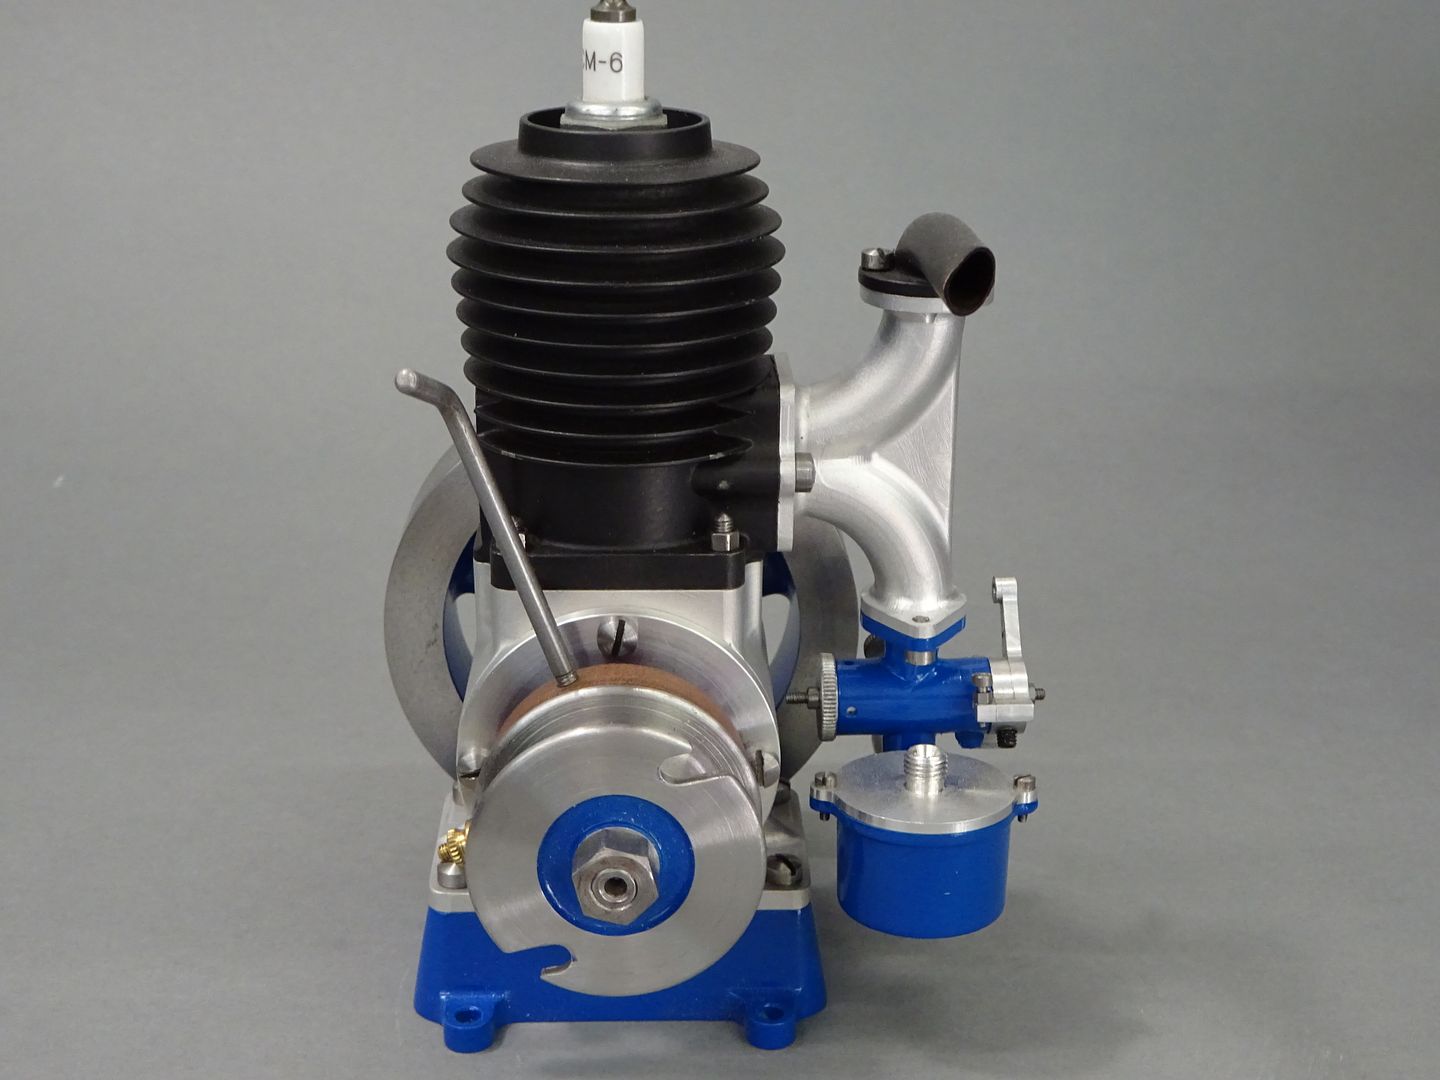
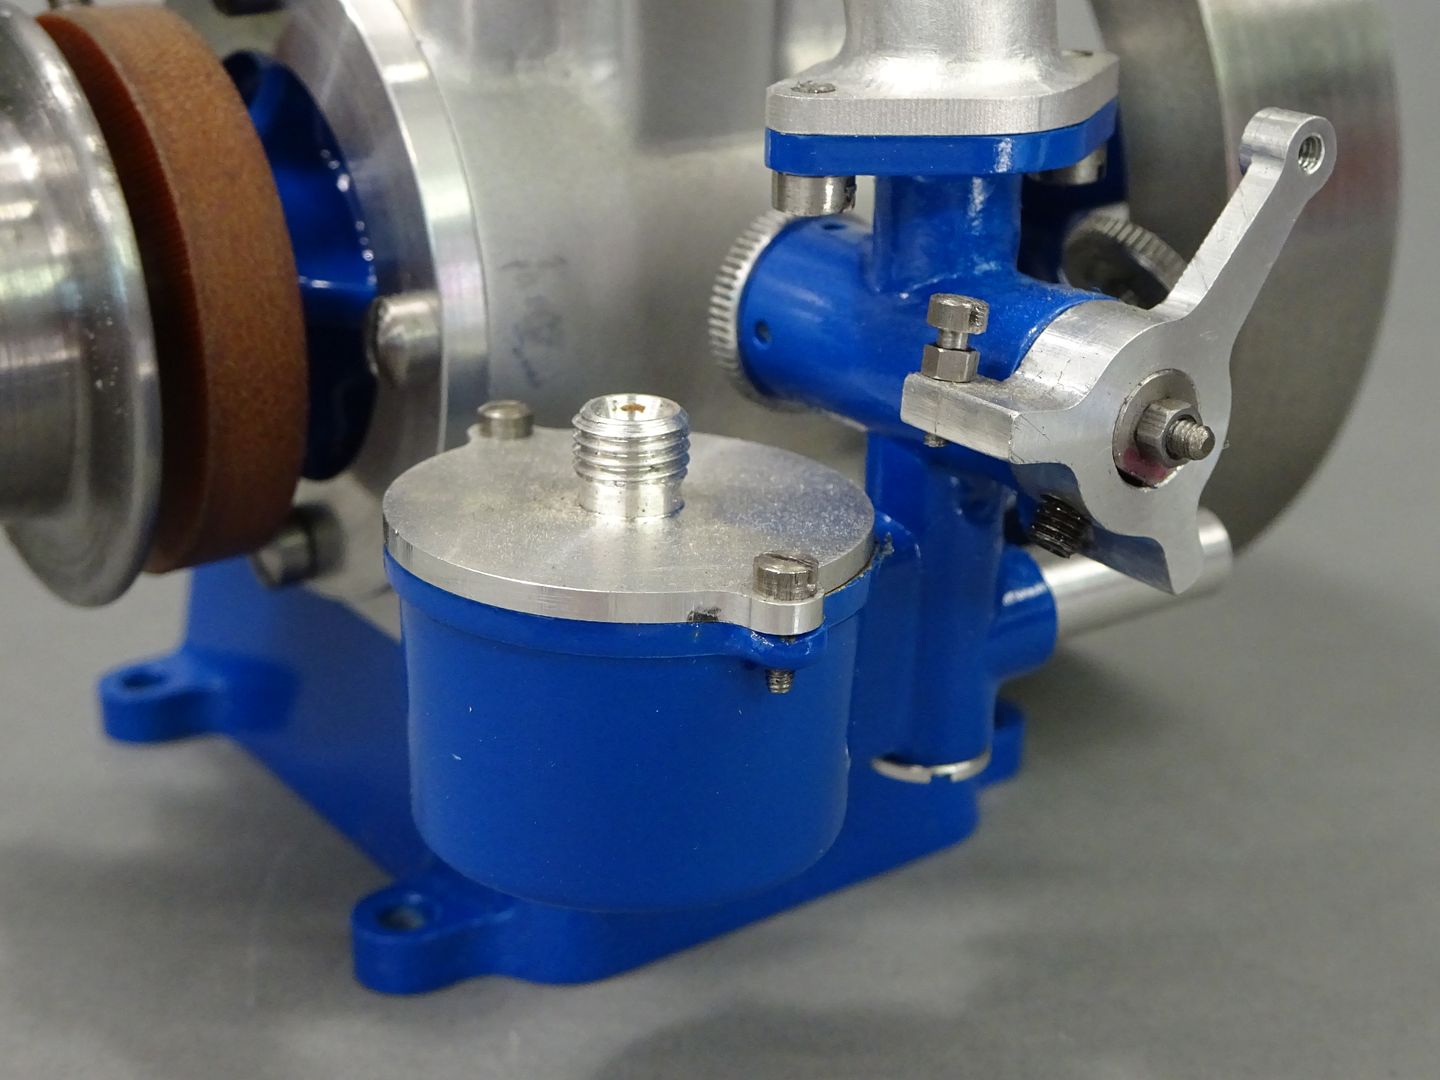
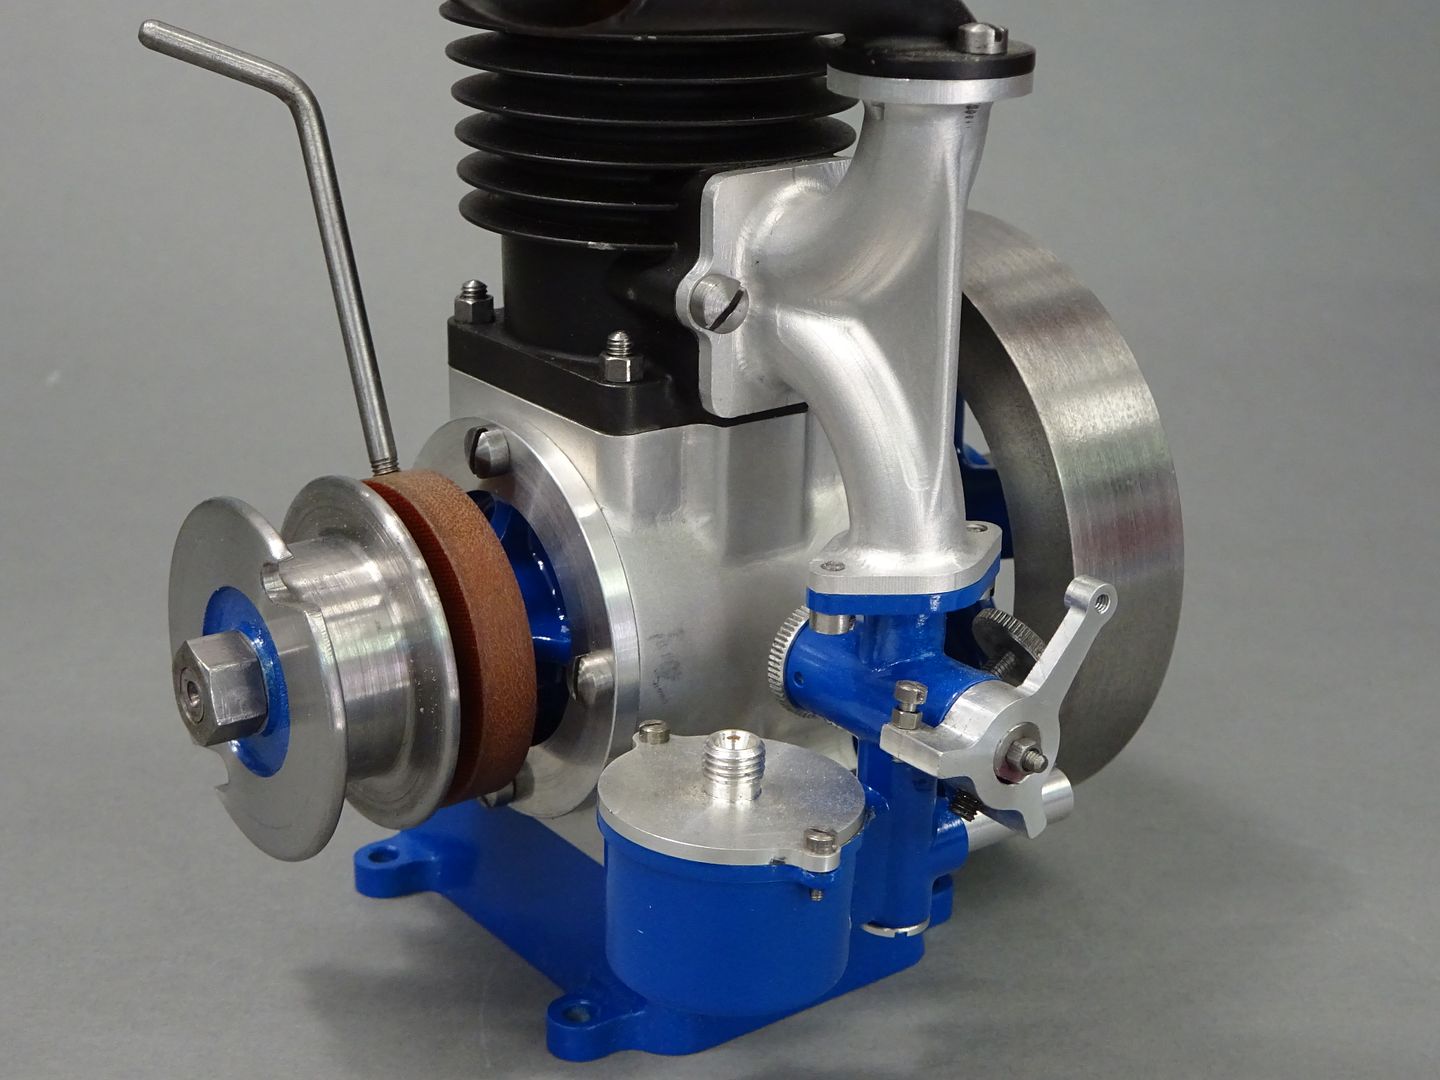
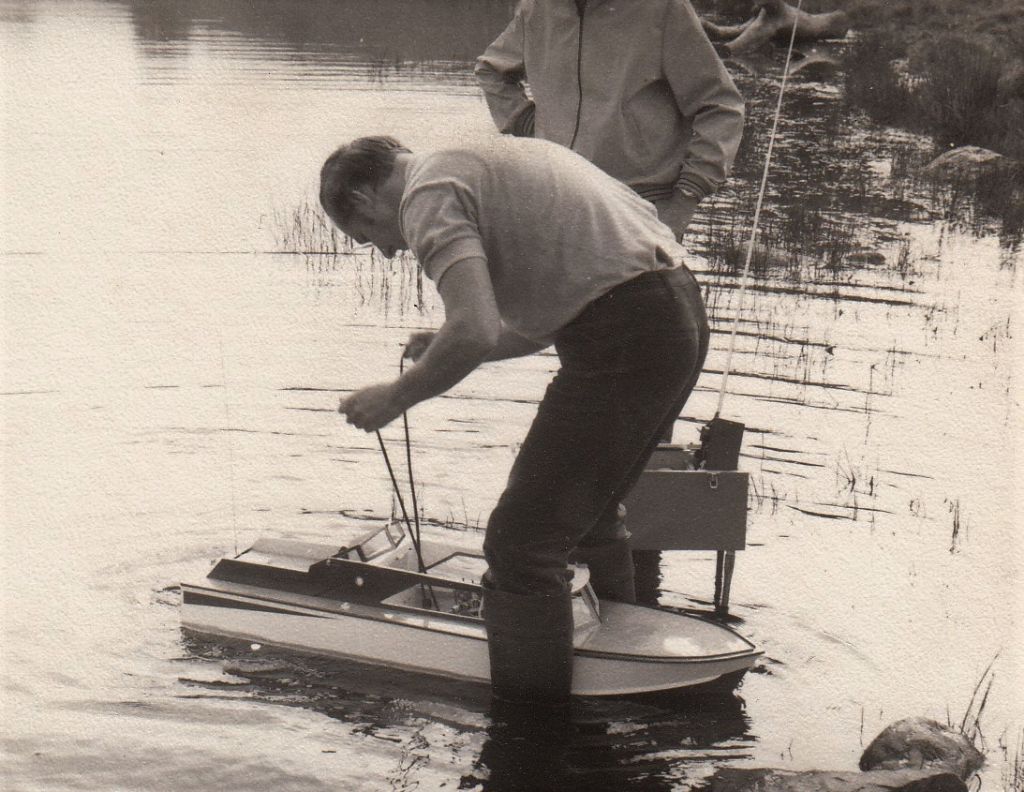
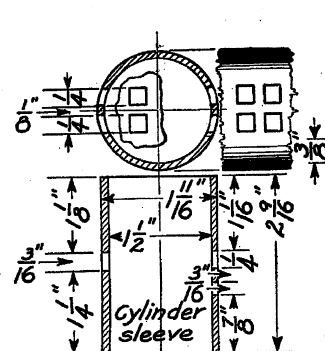
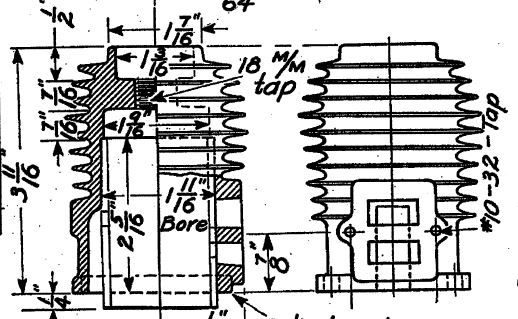
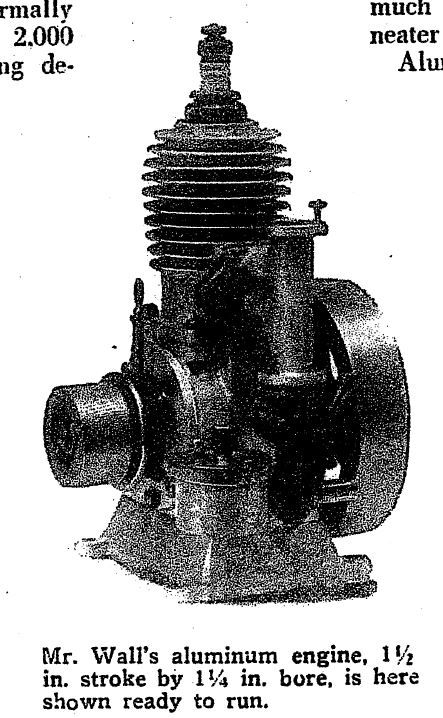
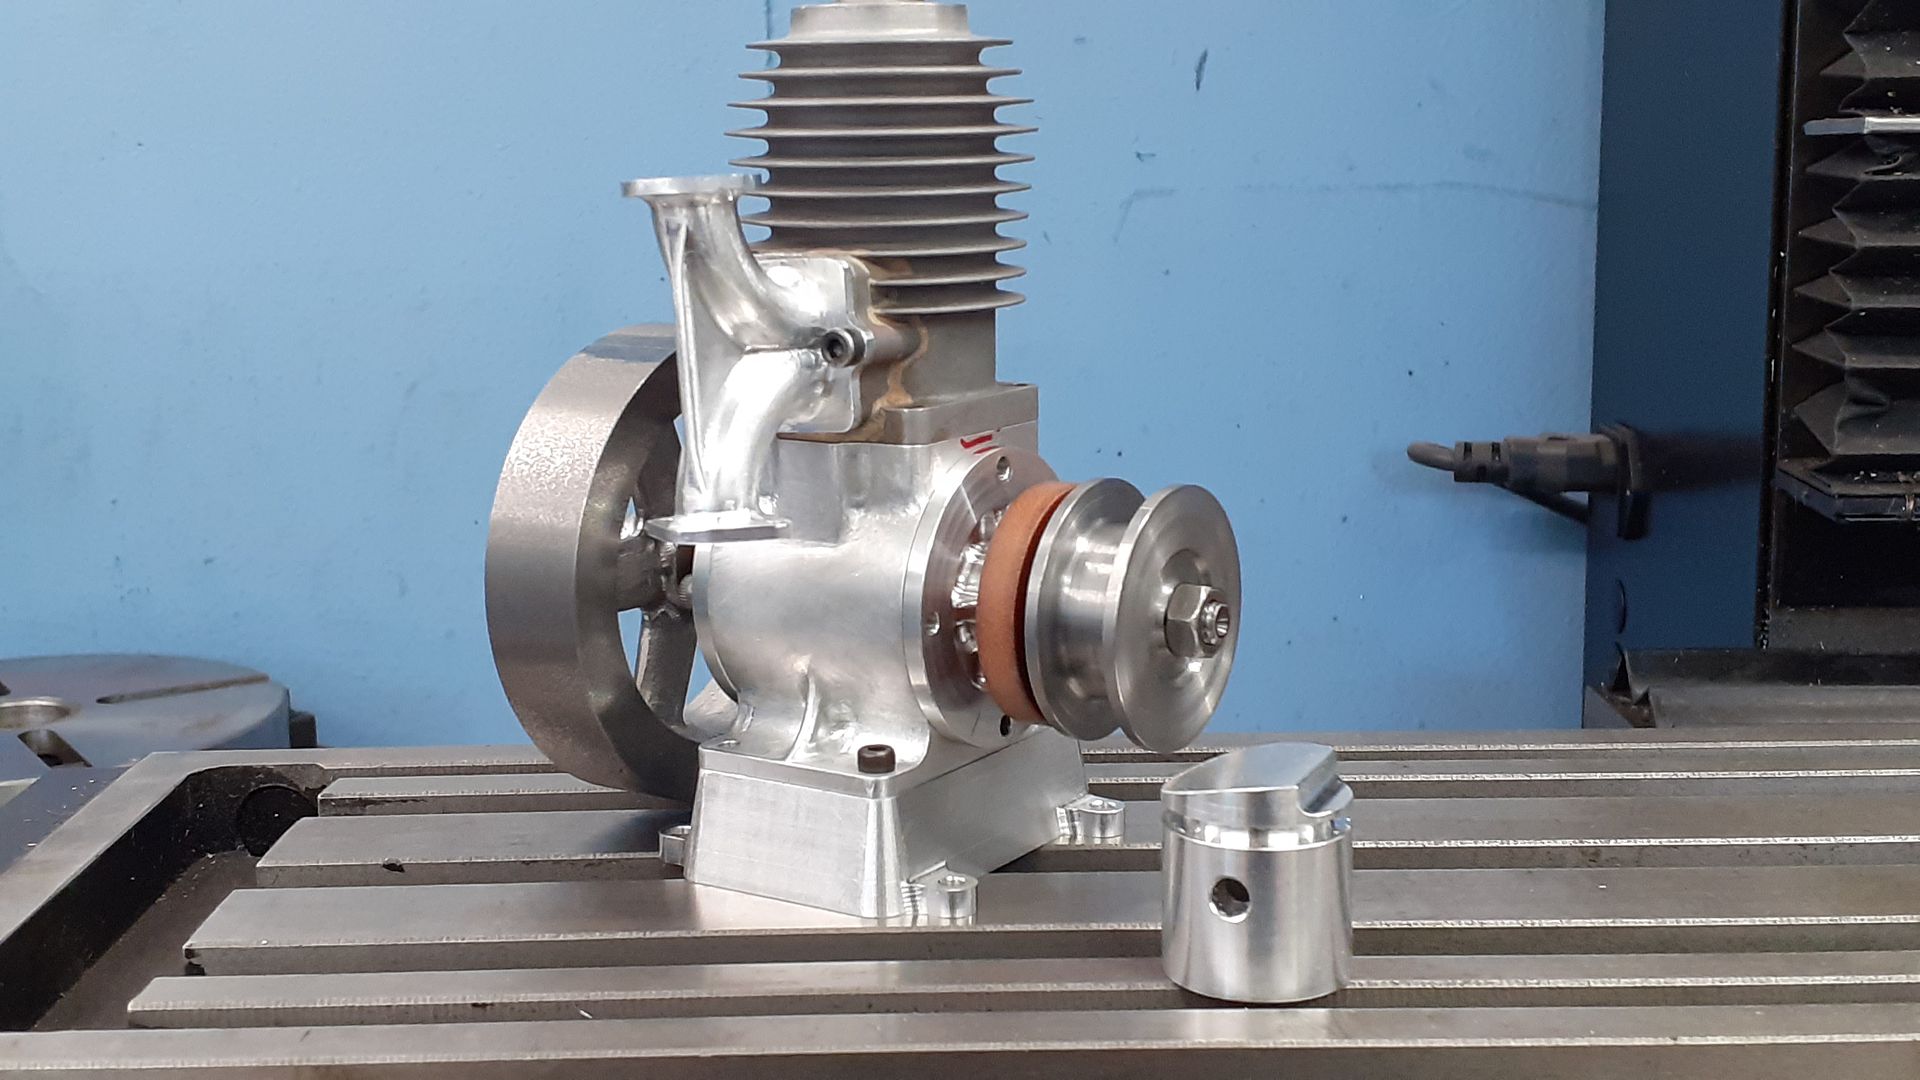
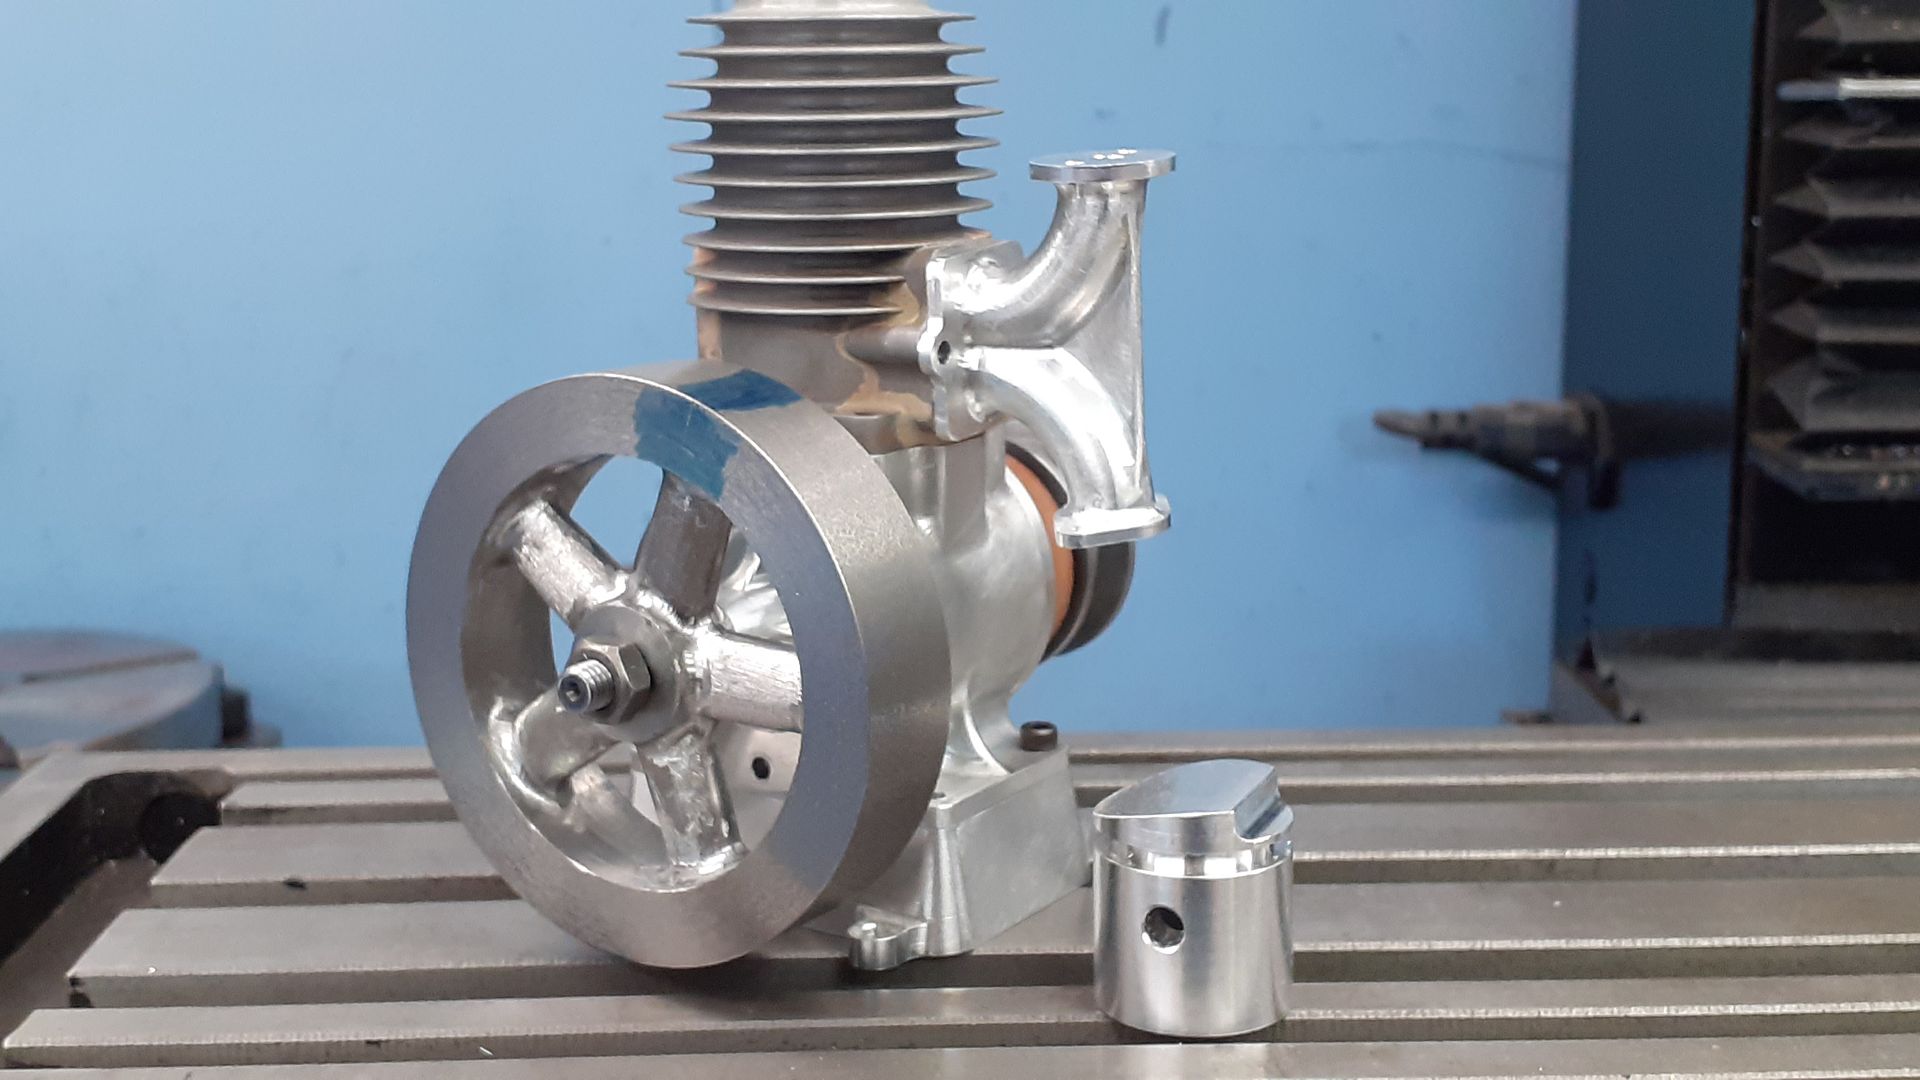
This engine is based on a design by Elmer Wall that was published in "Model mechanics and Inventions" and despite asking around I have not been able to find an up to date photo of one, the best is a rather grainy image from scans of the original magazine article.

There was some talk of the old patterns having been bought, reworked and a limited run going to be produced but again I can find no sign of any of these casting sets if they were ever actually done nor mention of the original castings that Wall produced.
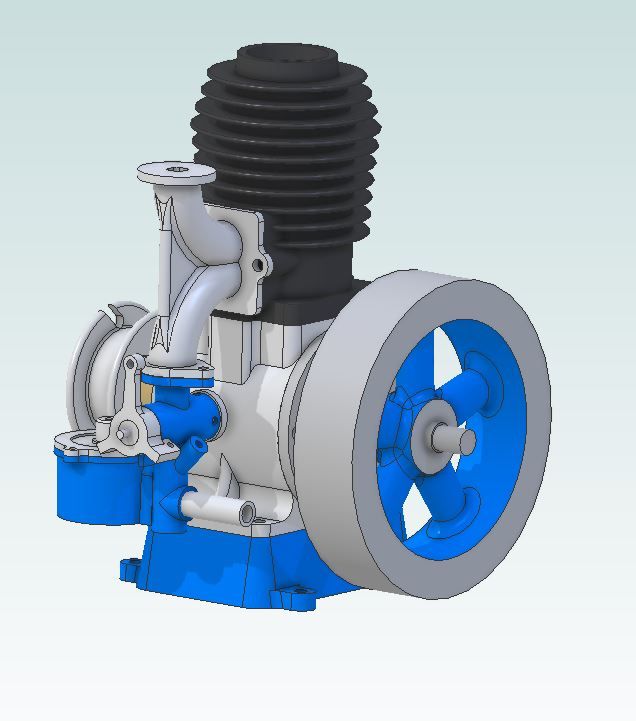
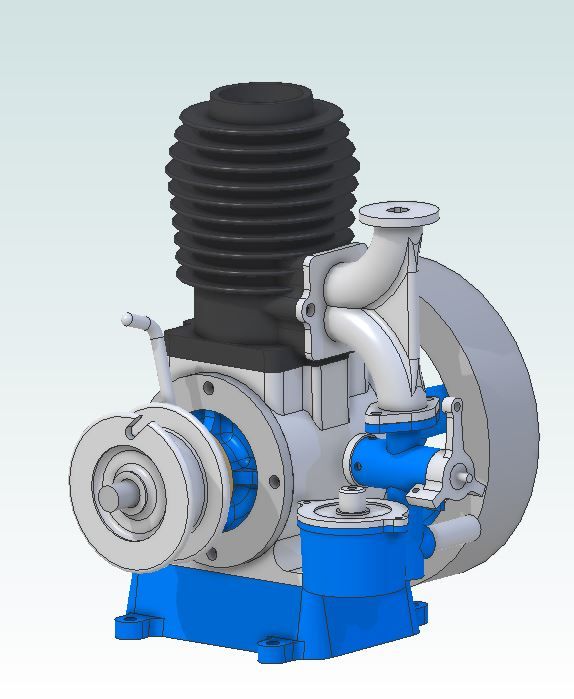
In redesigning the engine I opted for my usual 24mm bore which makes scaling the imperial sizes down to metric quite straight forward using the ratio of 1/16" on the original = 1mm on my drawings. At this size the original 36cc capacity comes down to 11cc. The parts were all 3D modelled in Alibre and assembled there two which allows for checking that things will fit and rotate rather than find problems during the build. This is something I have taken to doing with all models now as you can sort out legacy errors which saves headaches down the line, it is also a good way to get to think of how you are going to machine the parts.


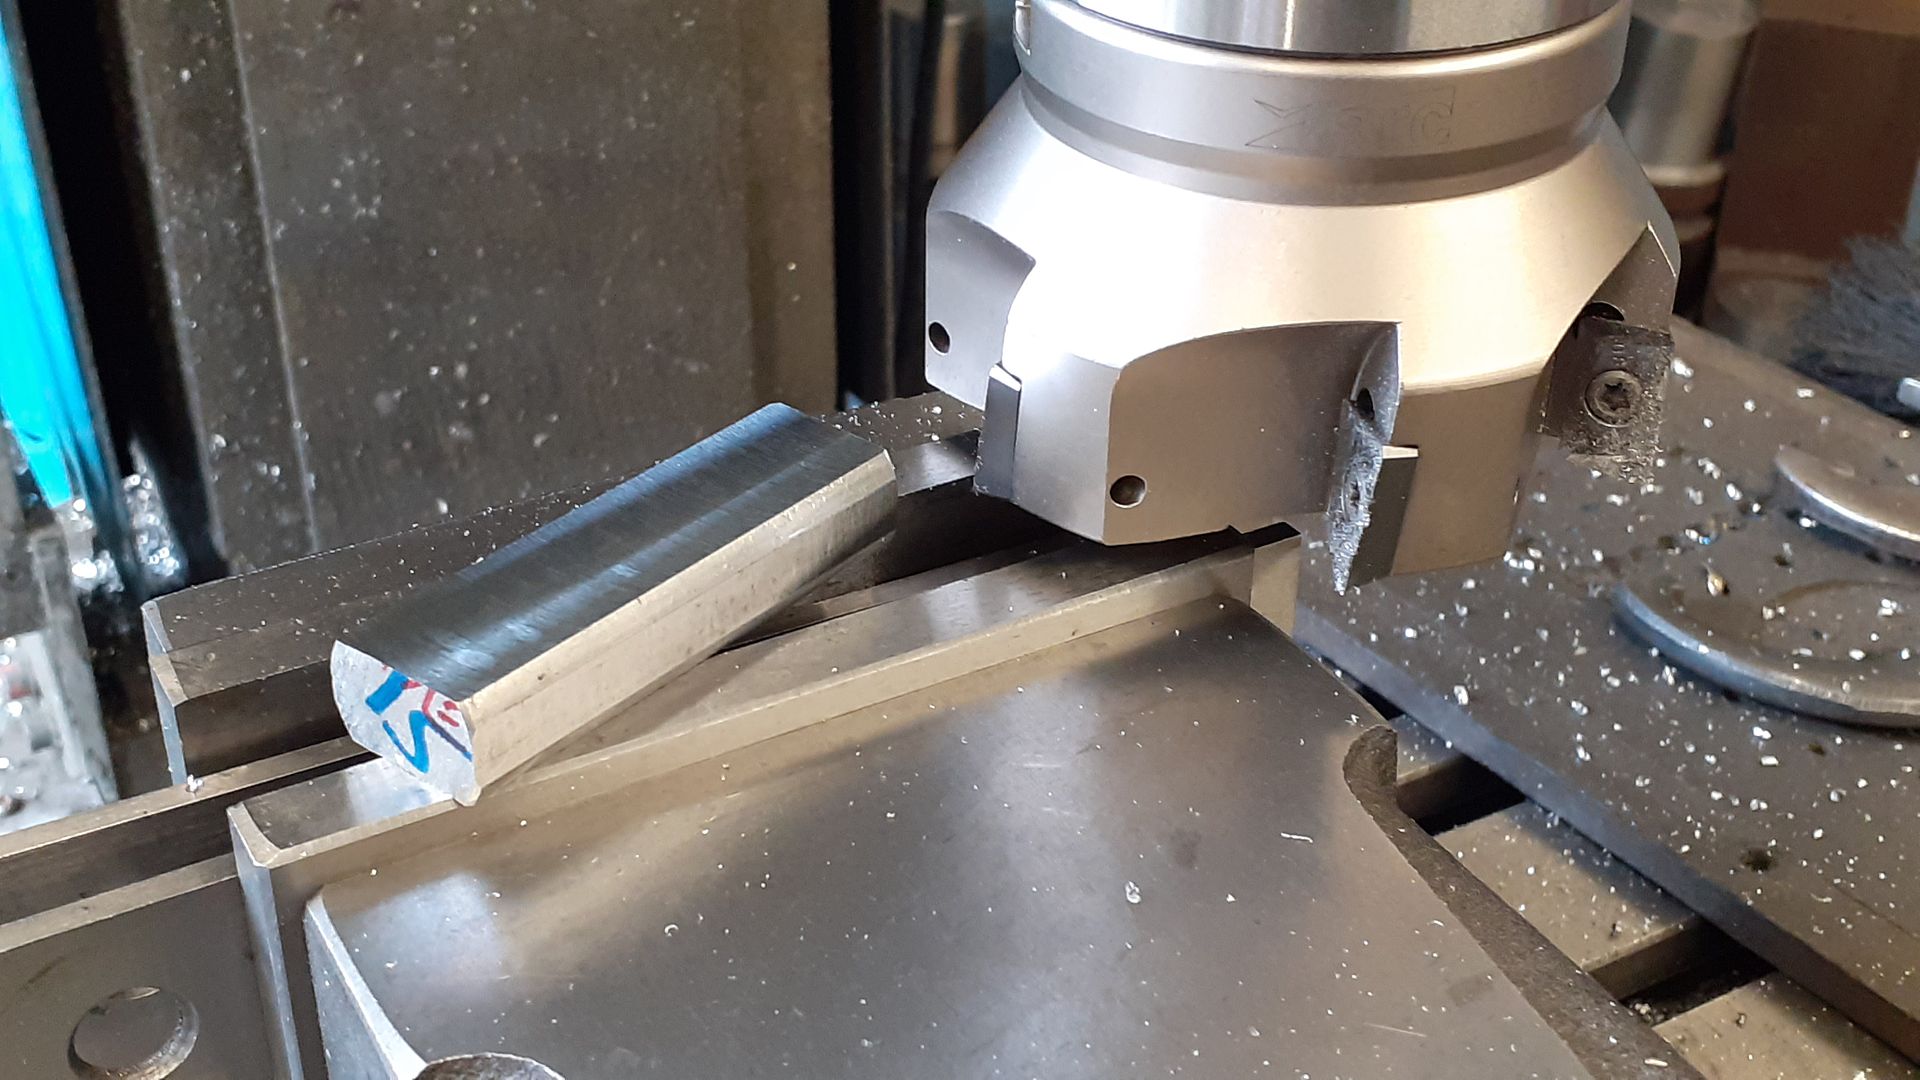
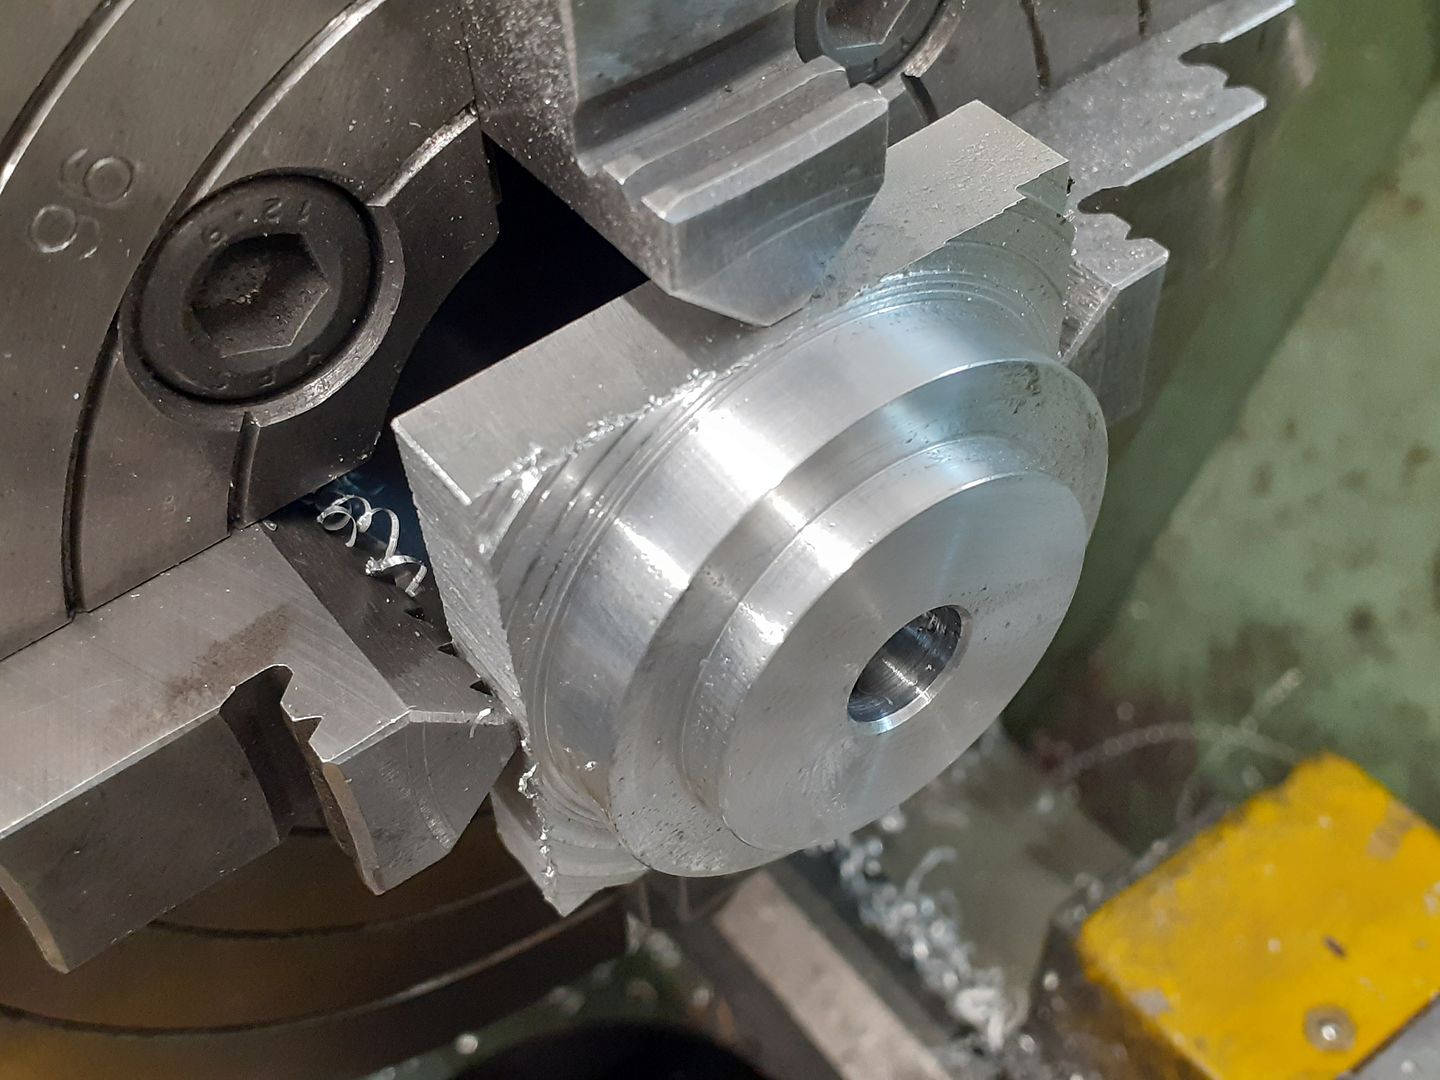
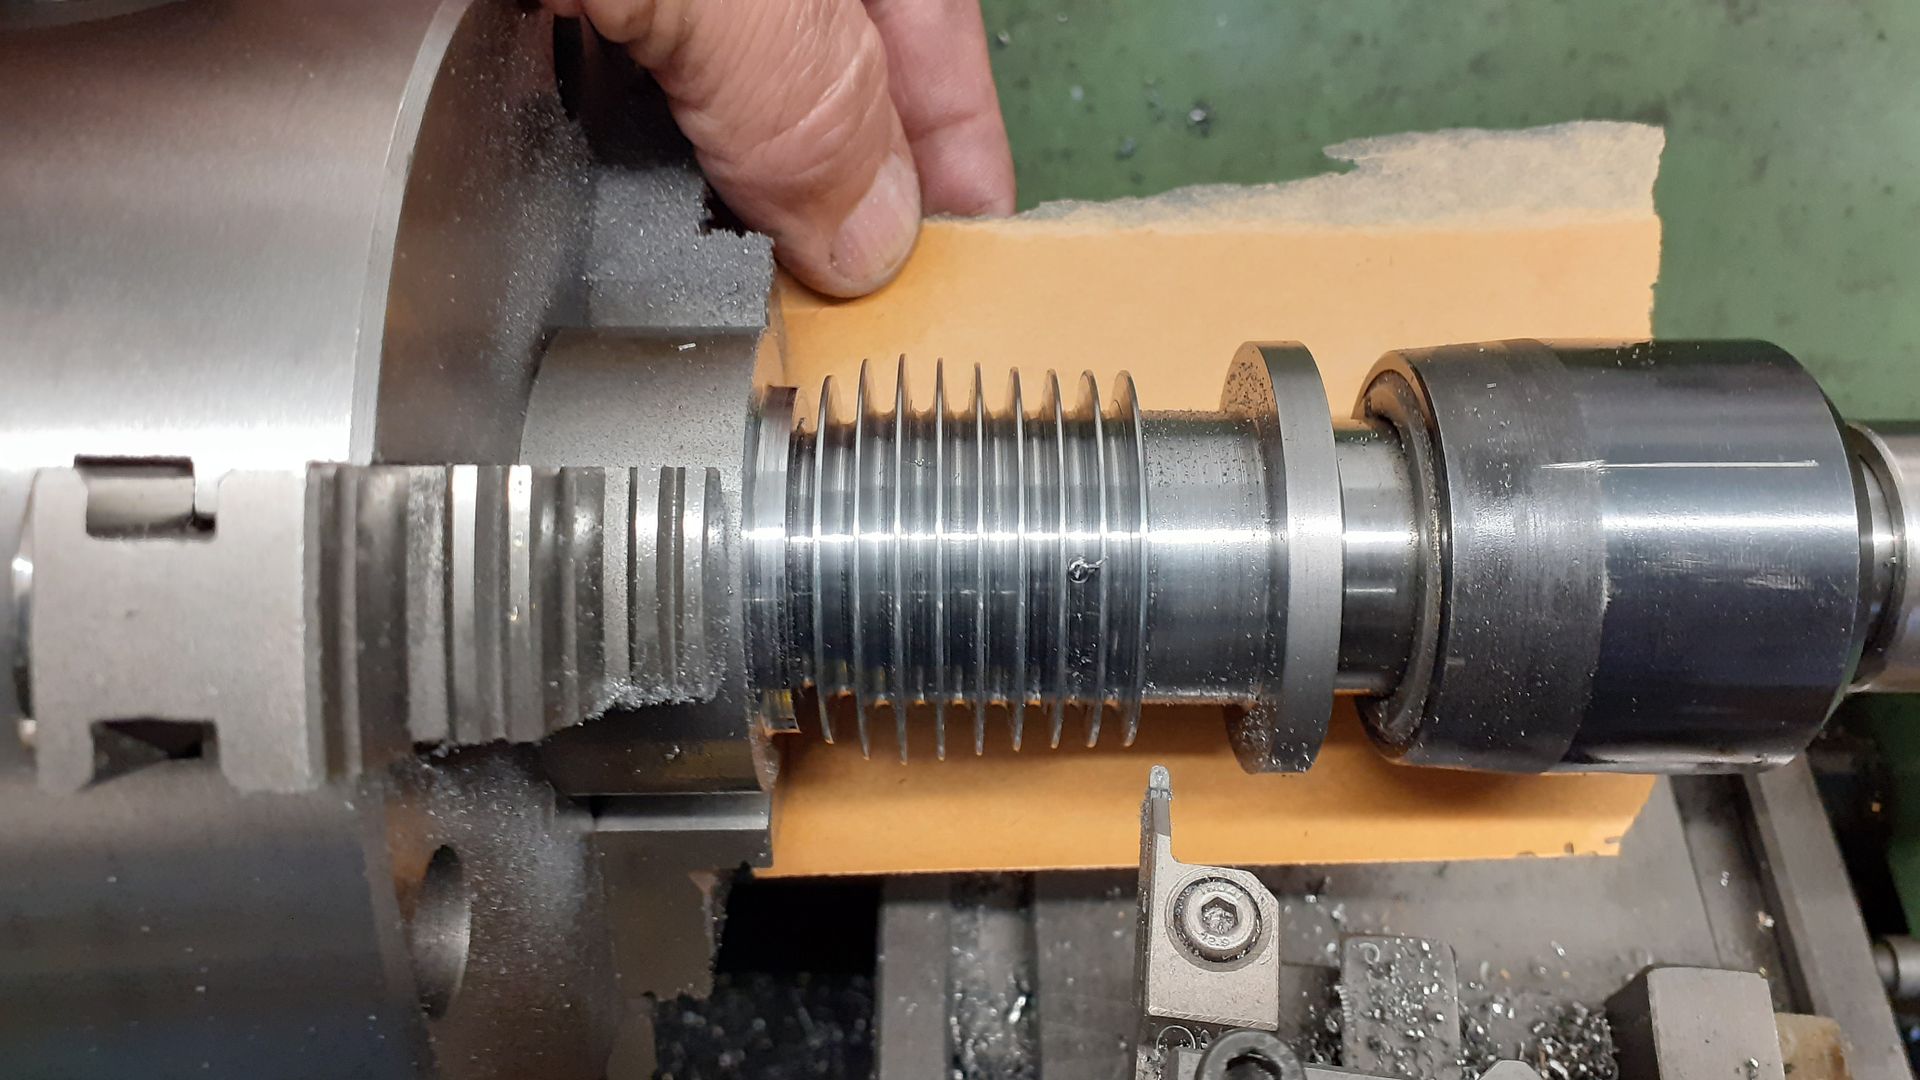
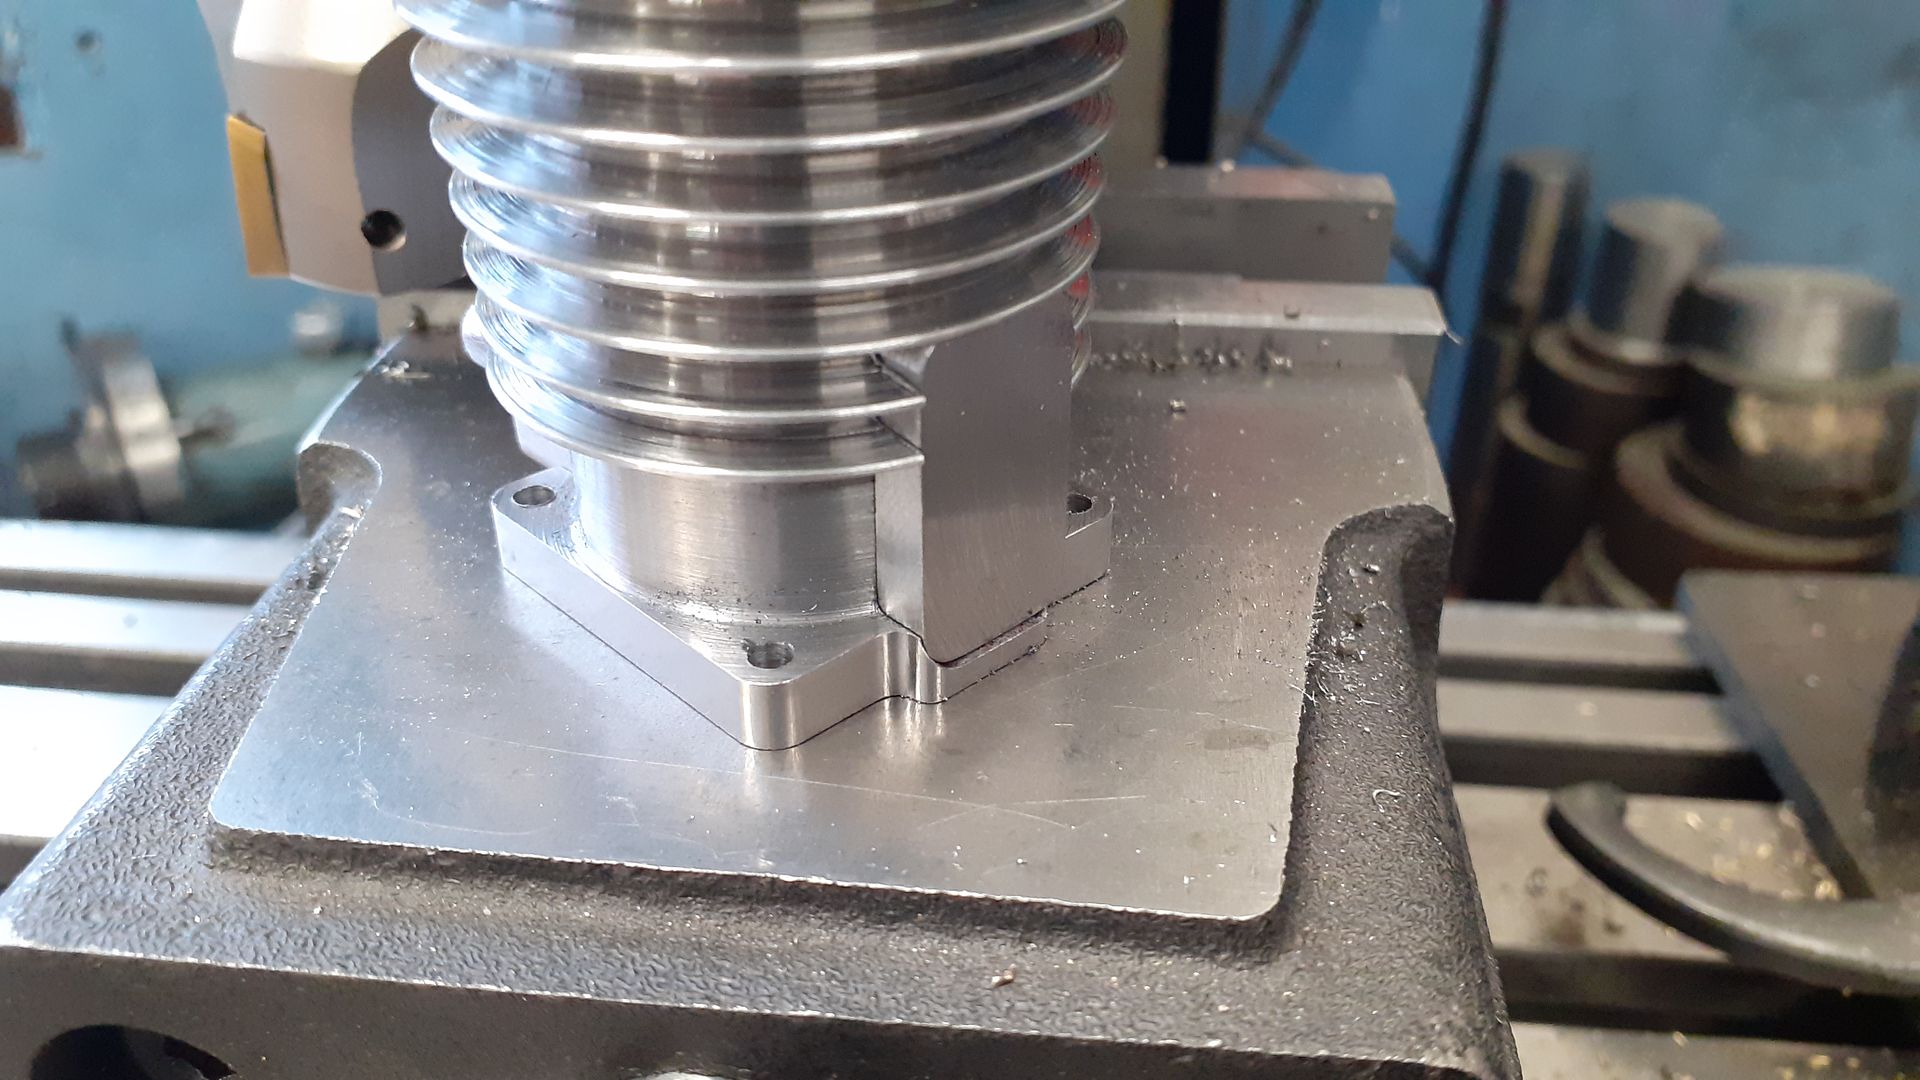
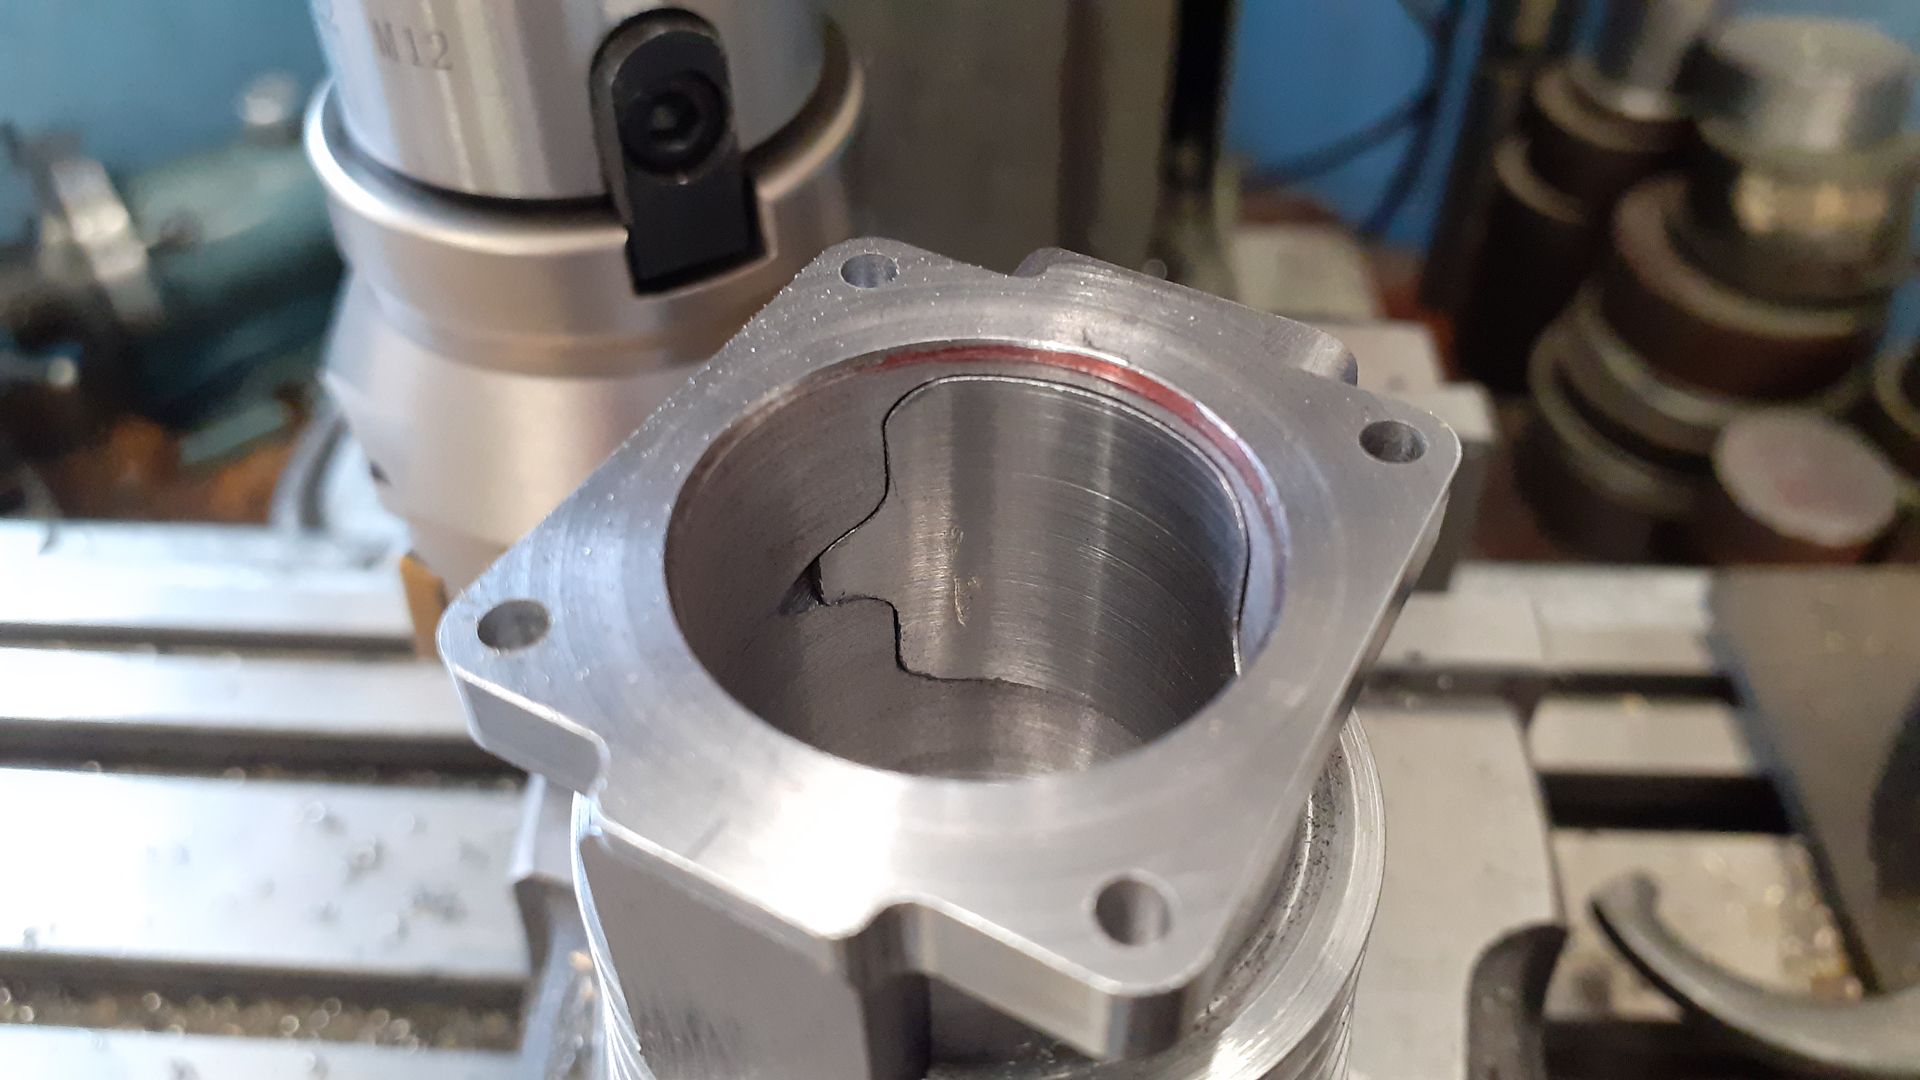
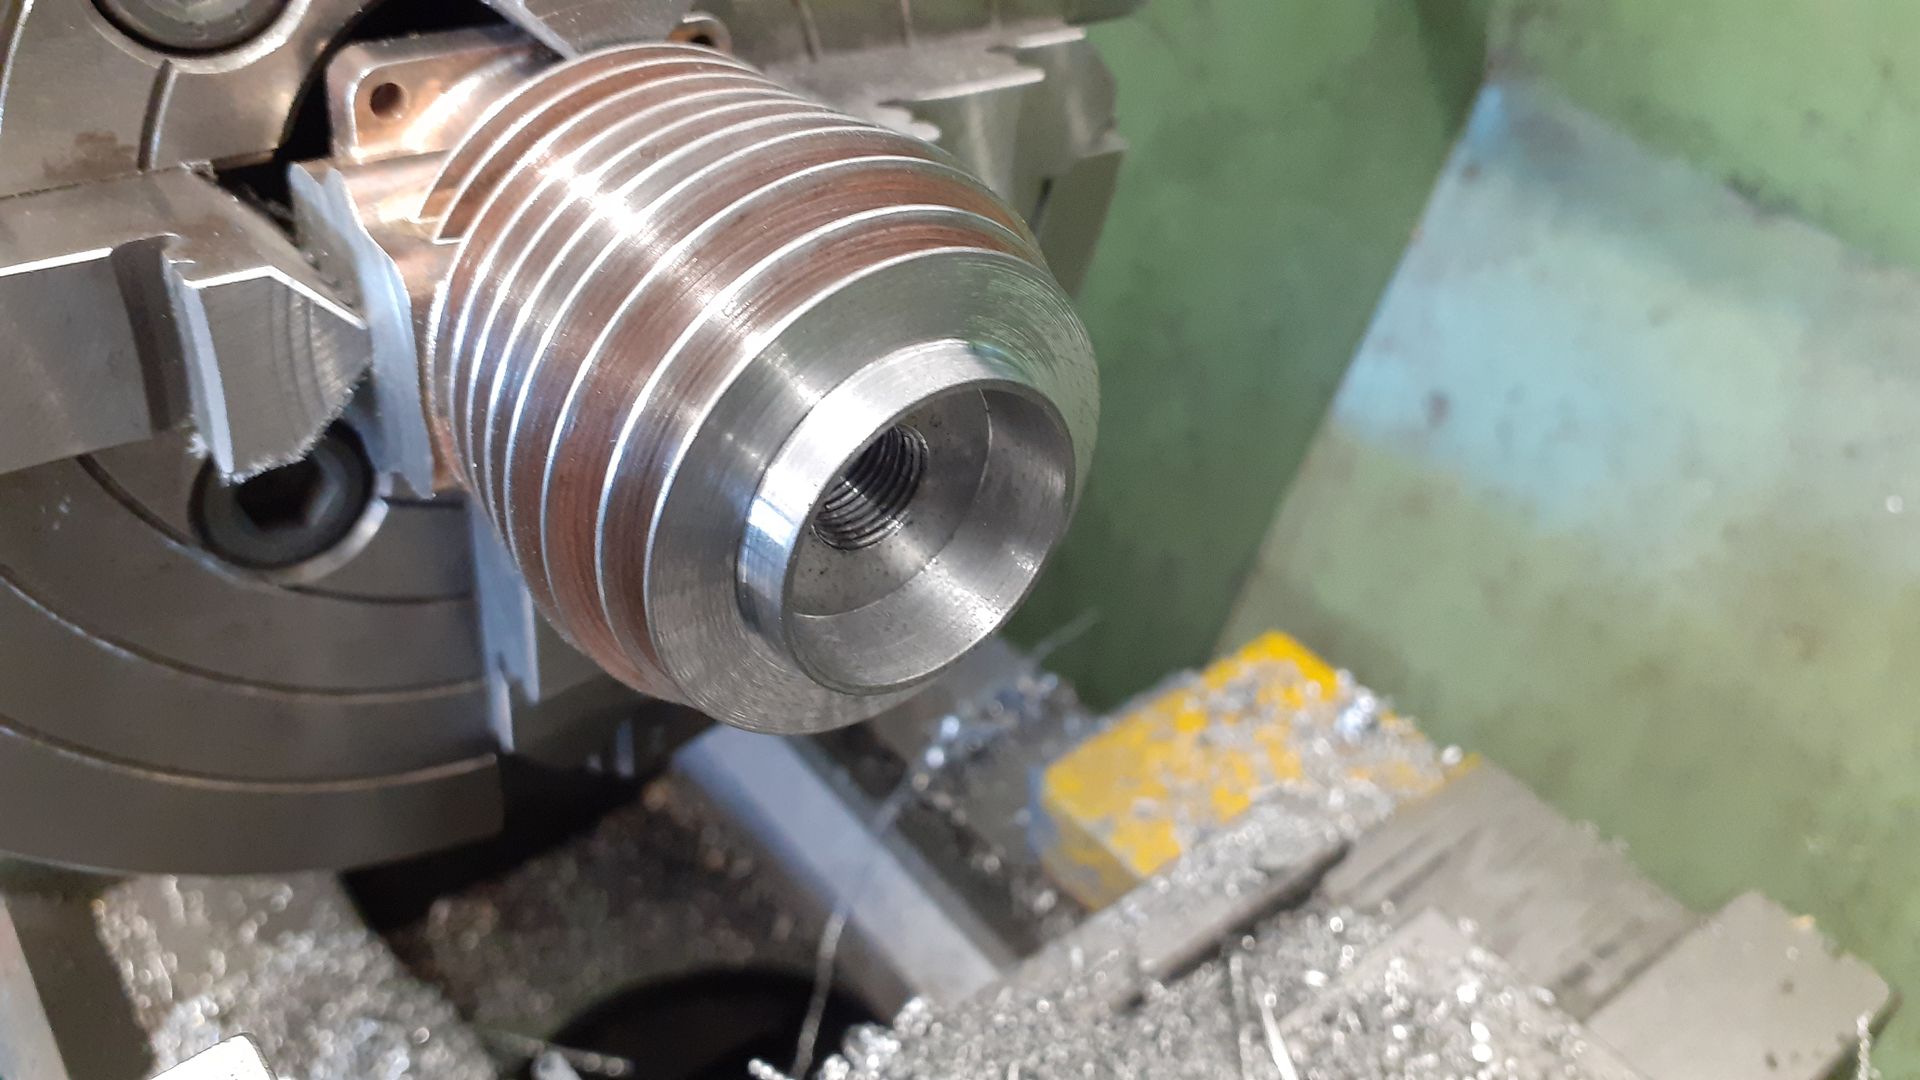
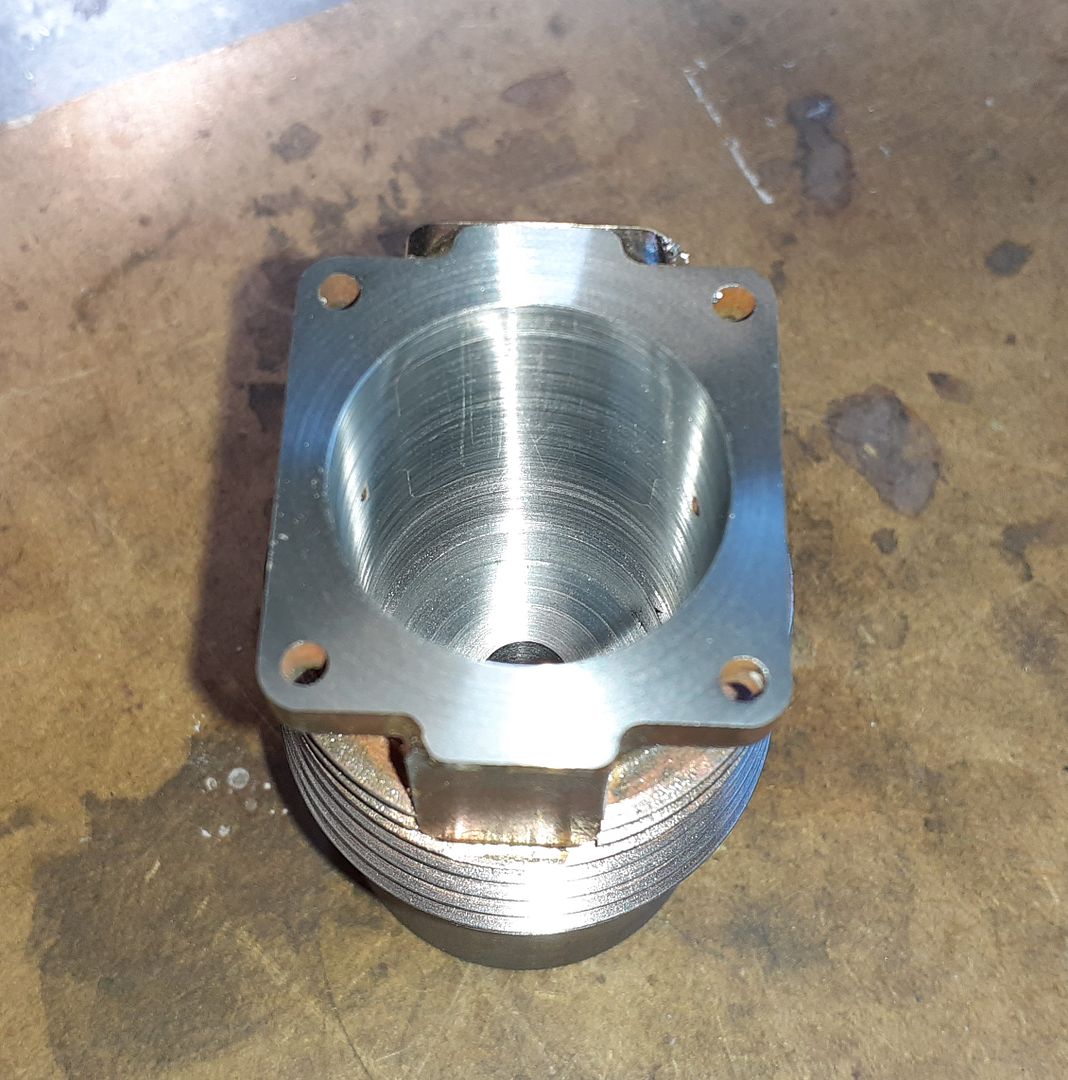
I decided to make a start with the crankcase which was from a block of 6082. After squaring up the block and marking the crank and cylinder positions it was held in the 4-jaw to bore out to diameter for the end plates and then an HSS tool was used to enlarge the cavity to clear both the crank webs and deeper still in the middle to clear the conrod big end.
.jpg)
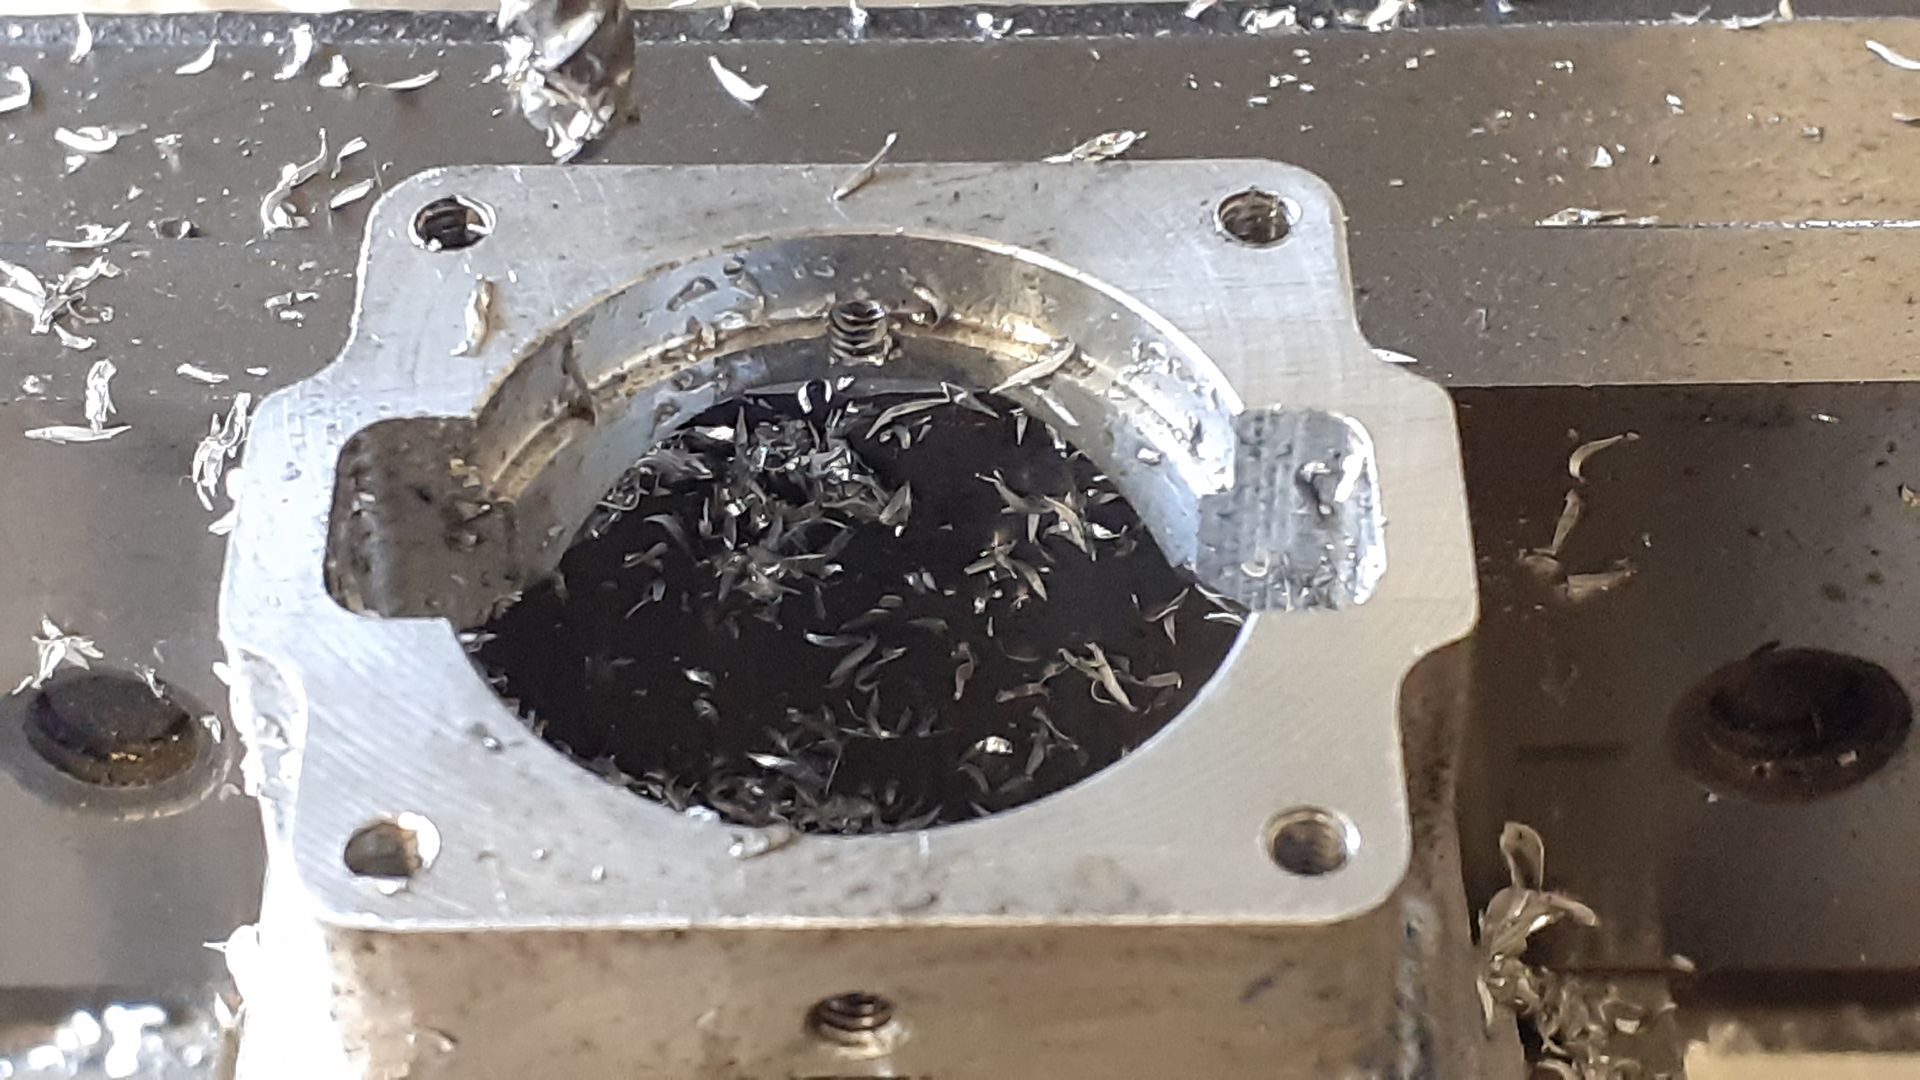
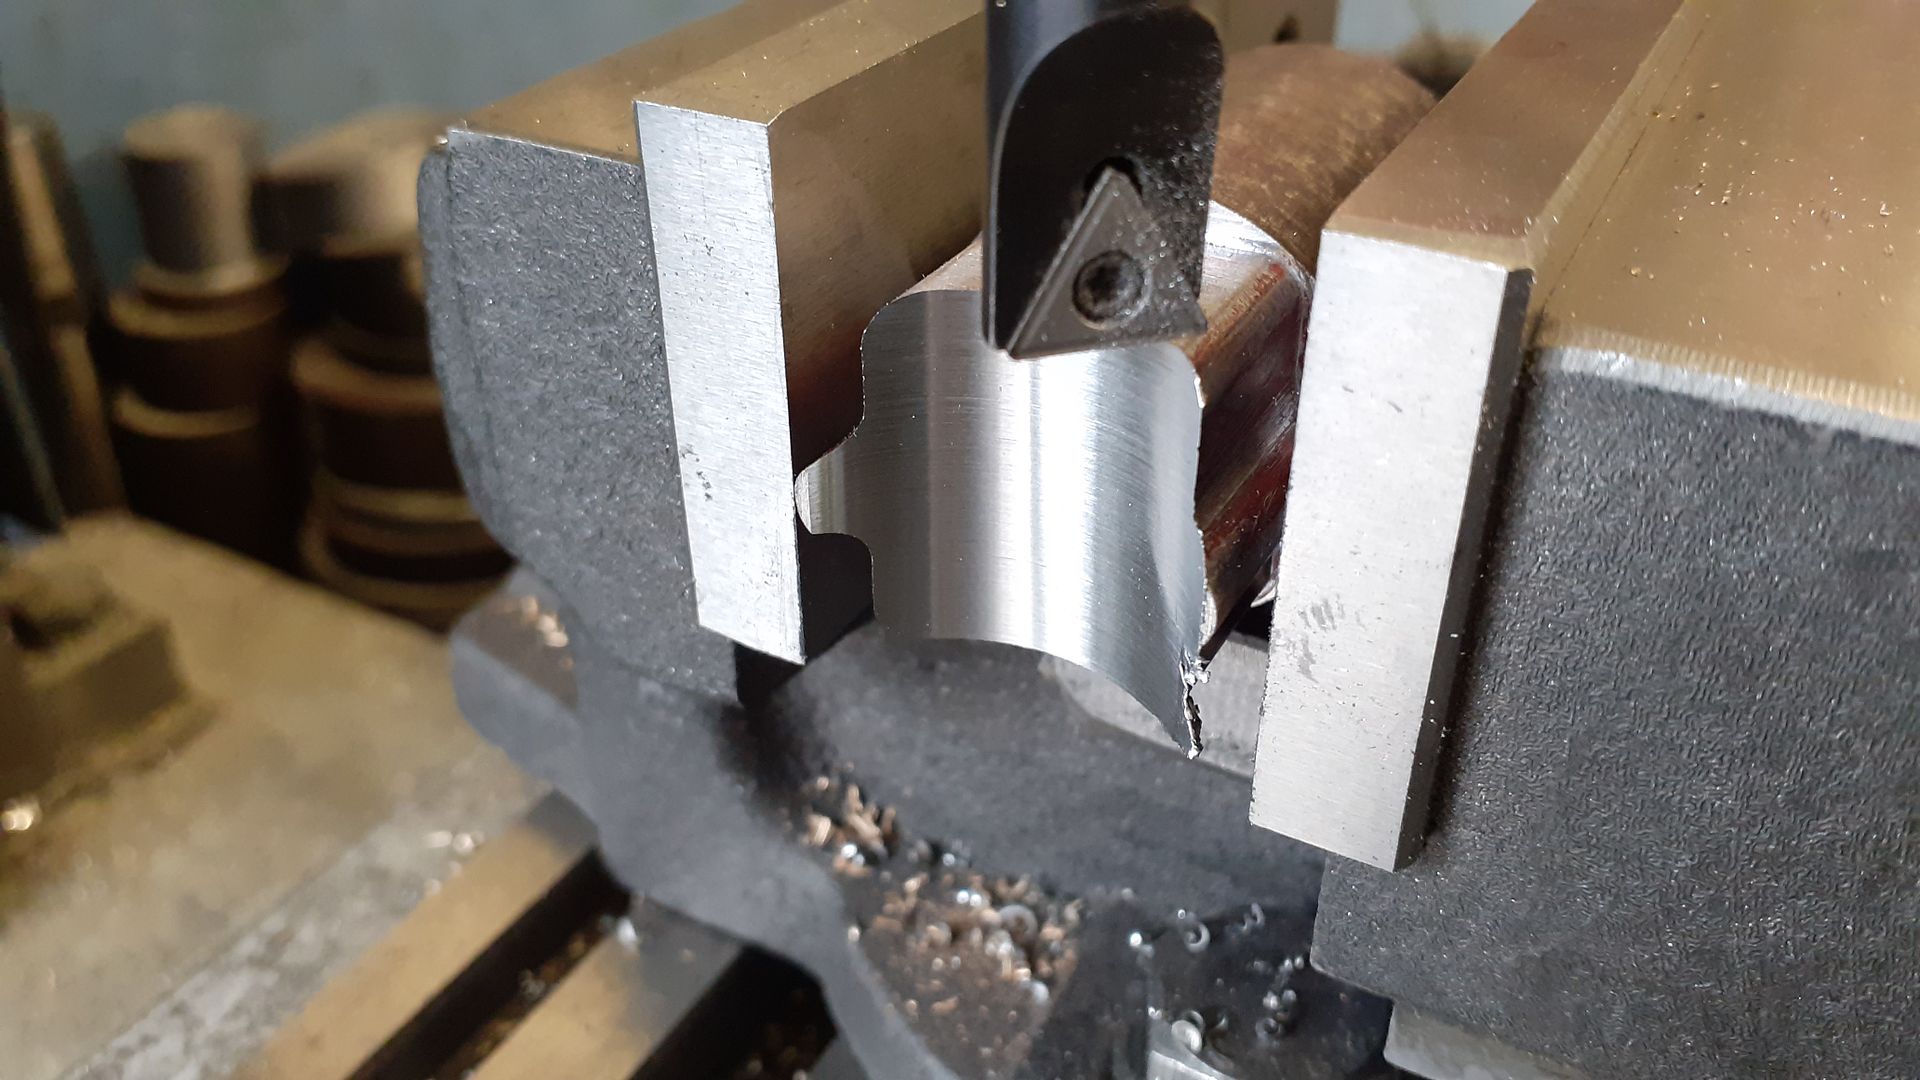
The block was then repositioned to bore the piston clearance and a larger recess to locate the cylinder liner.
.jpg)
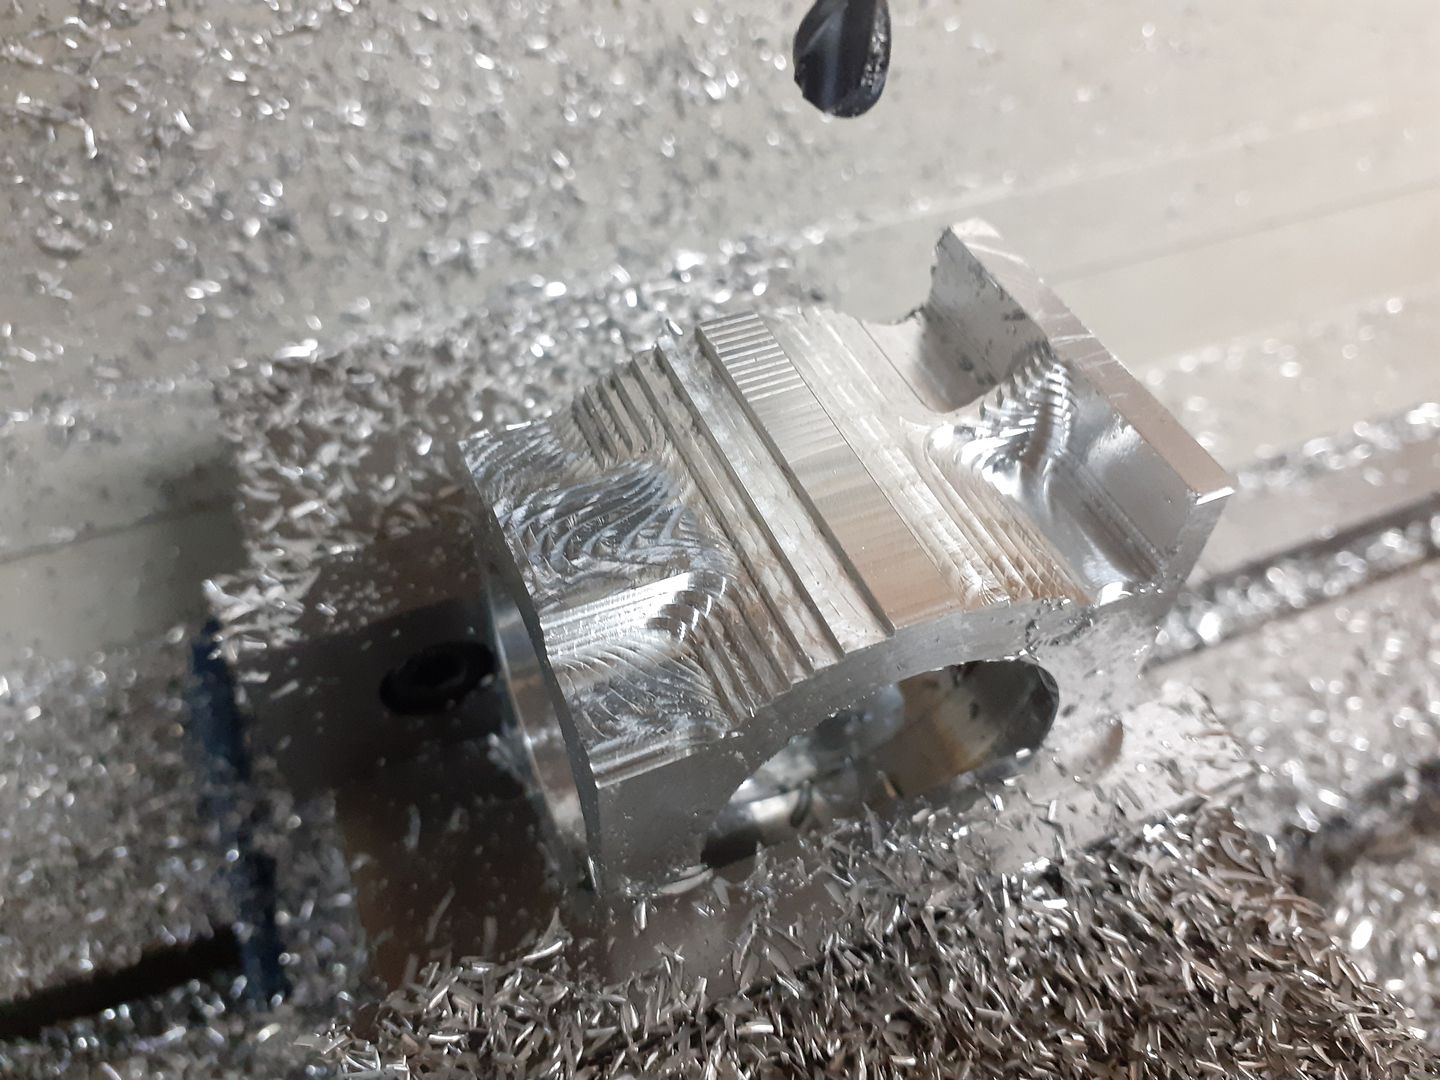
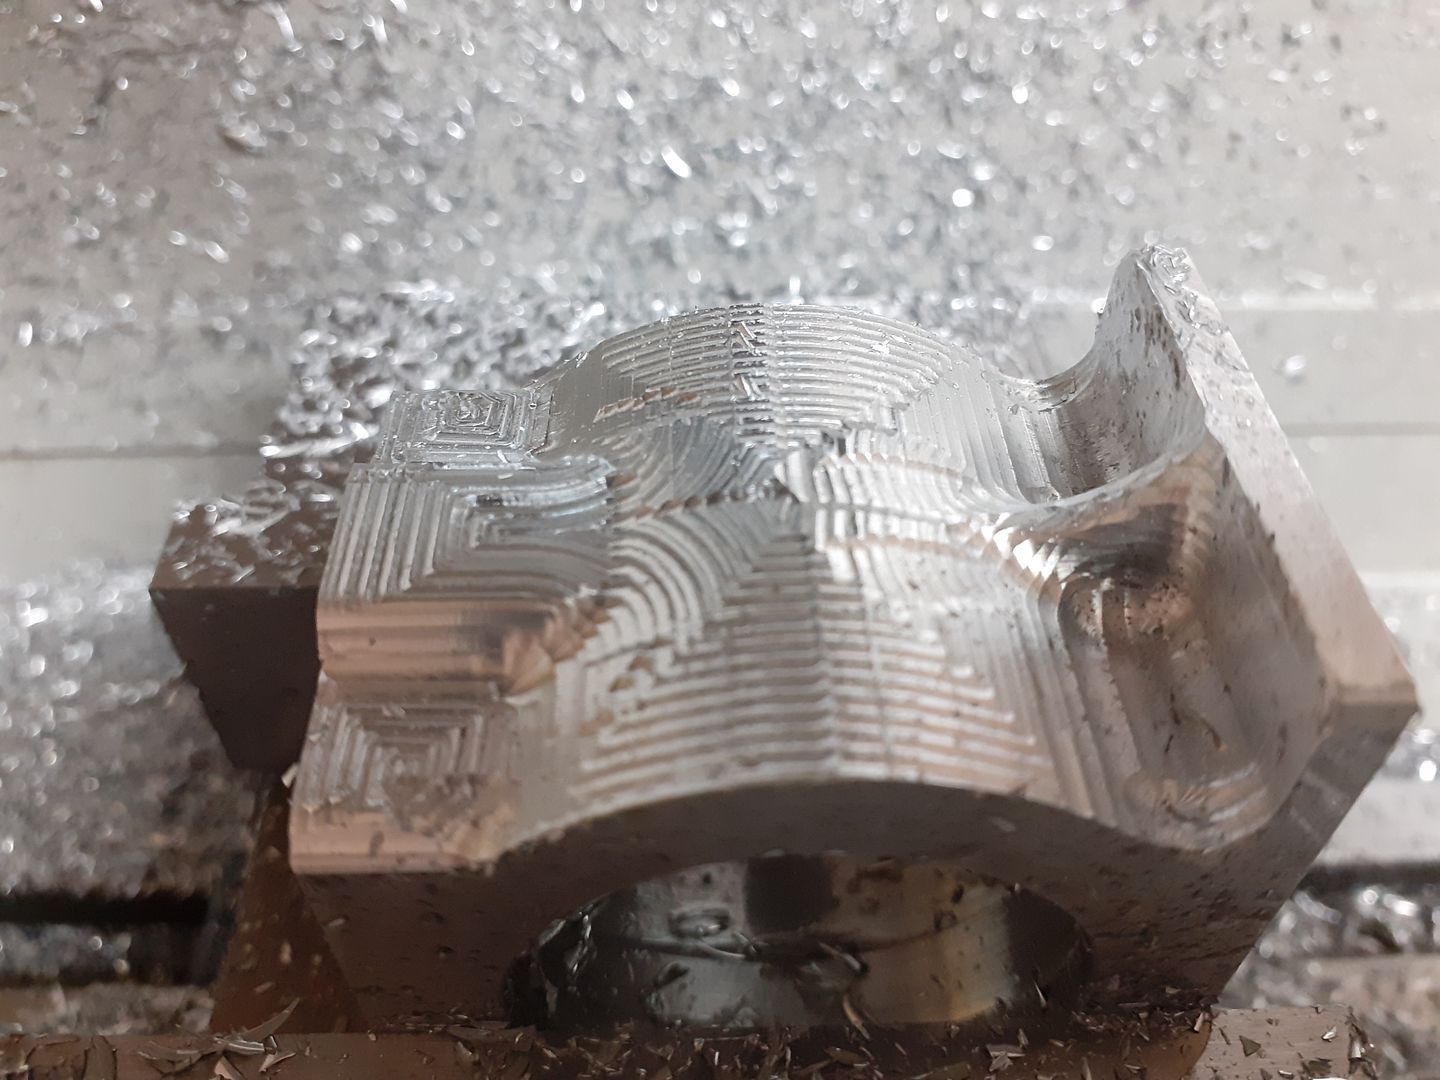
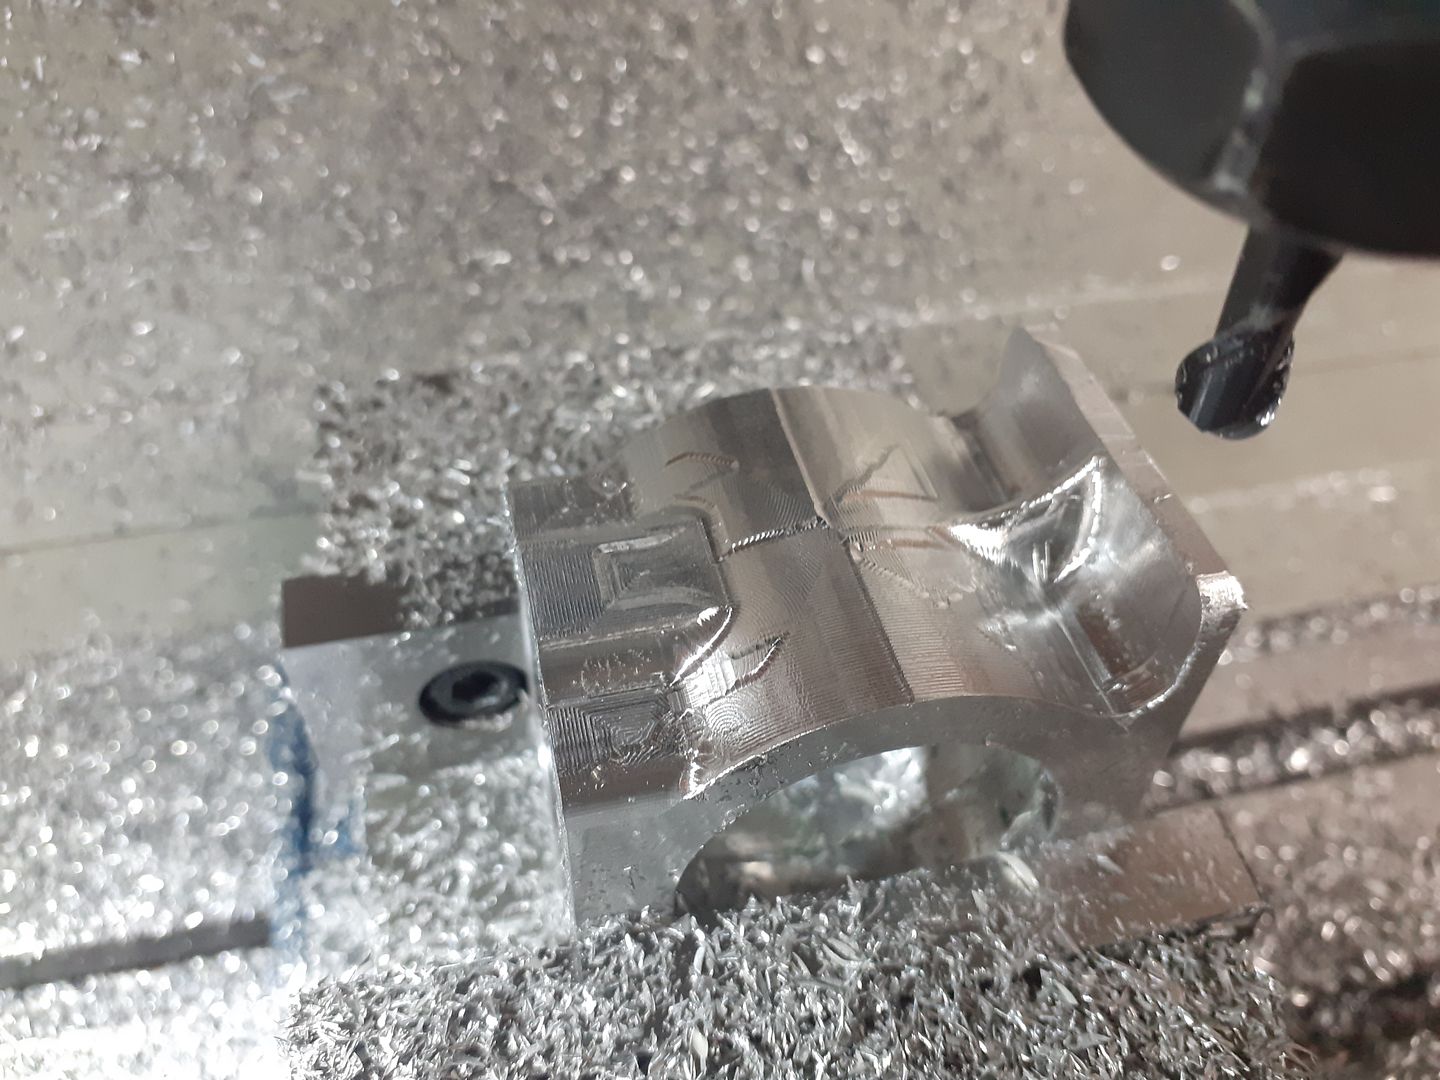
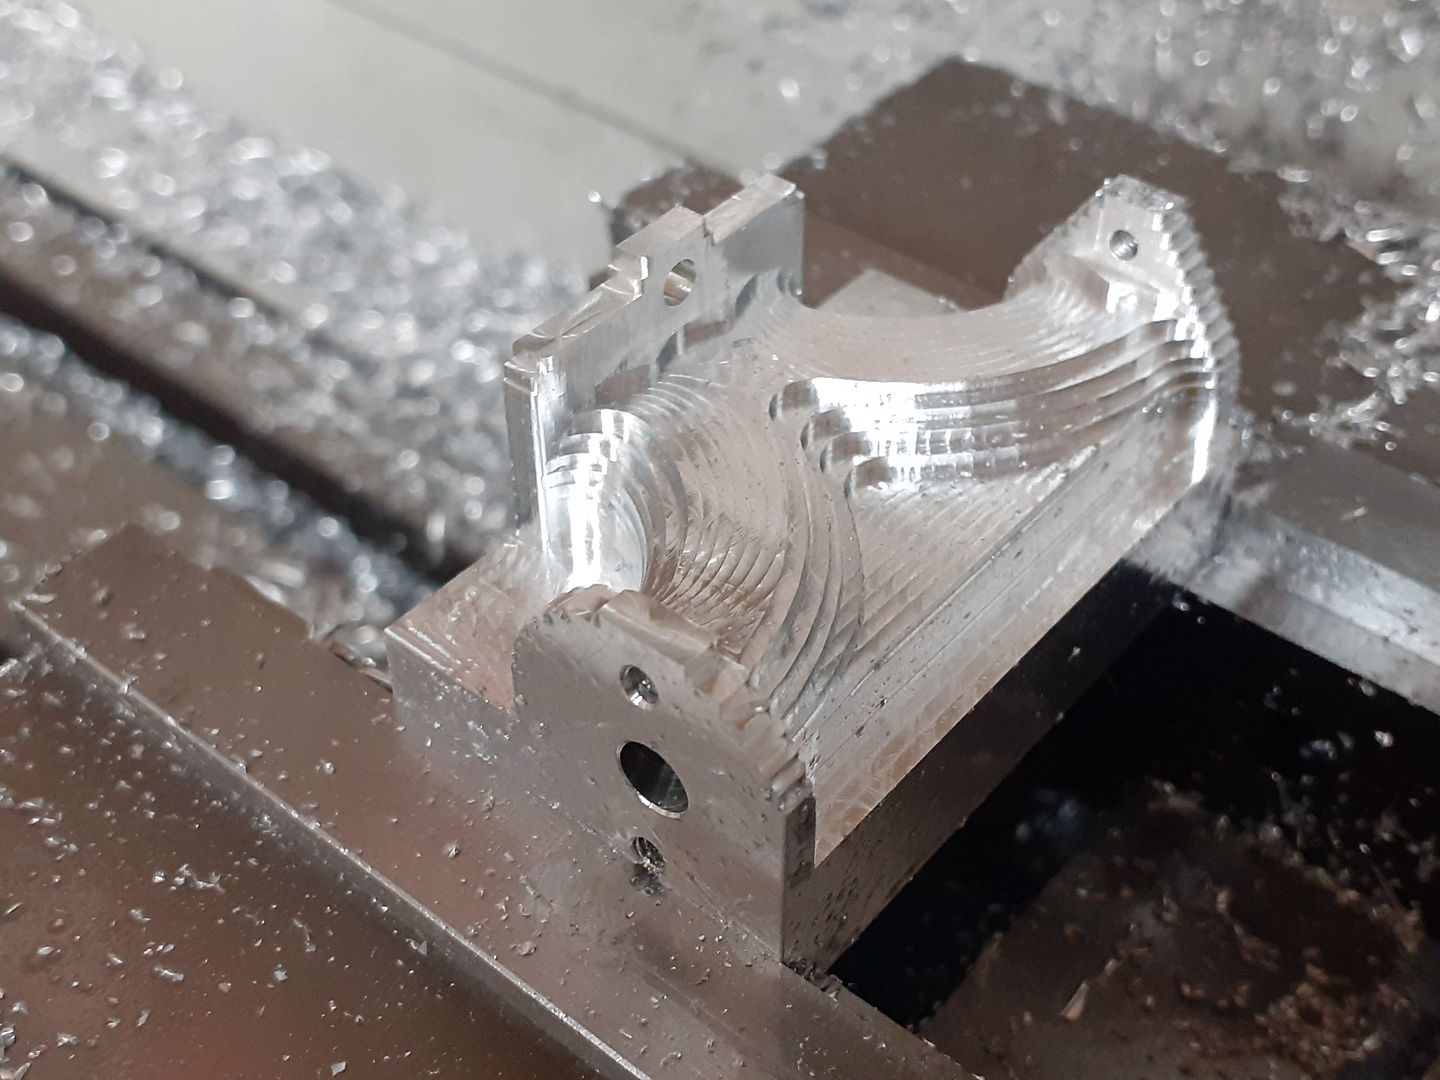
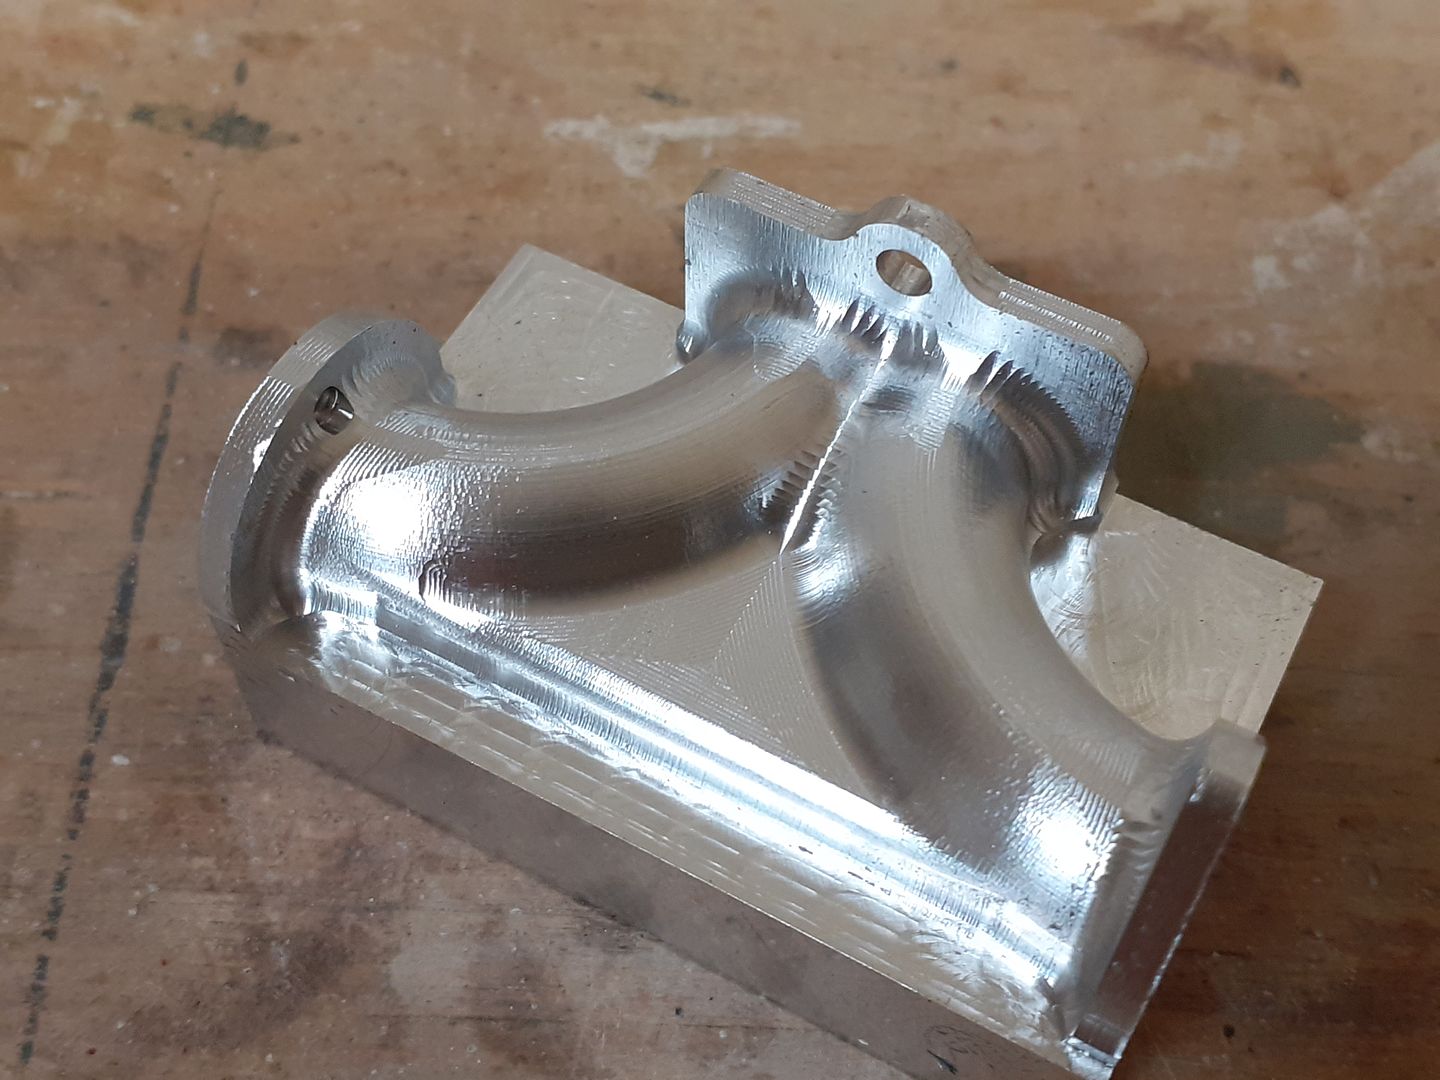
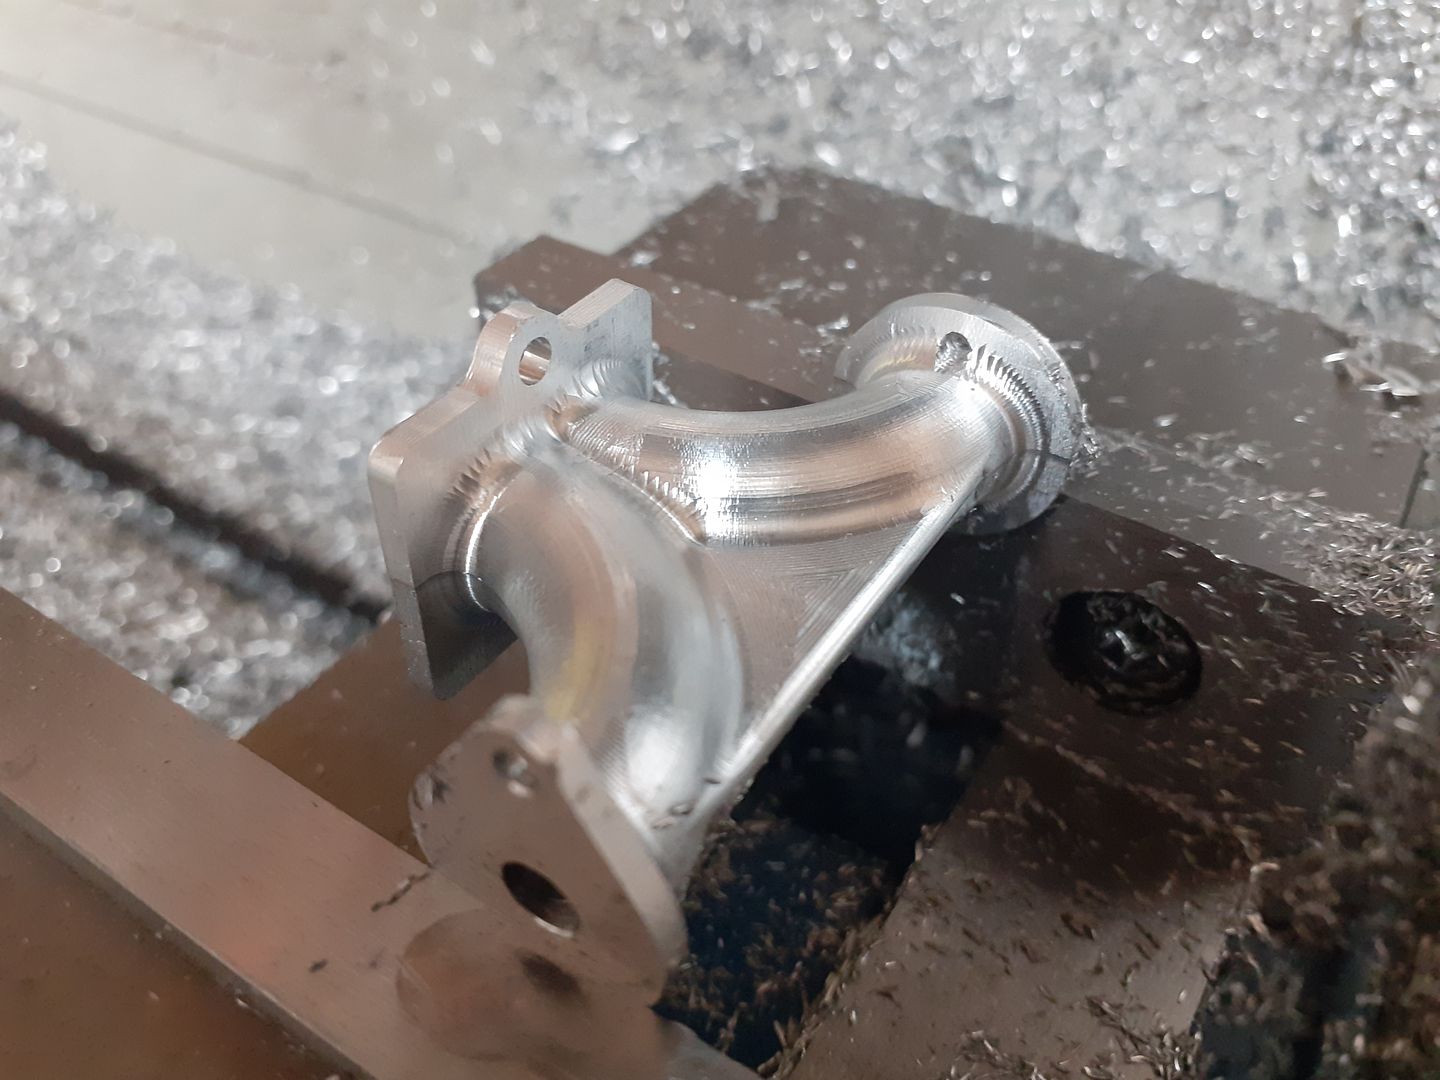
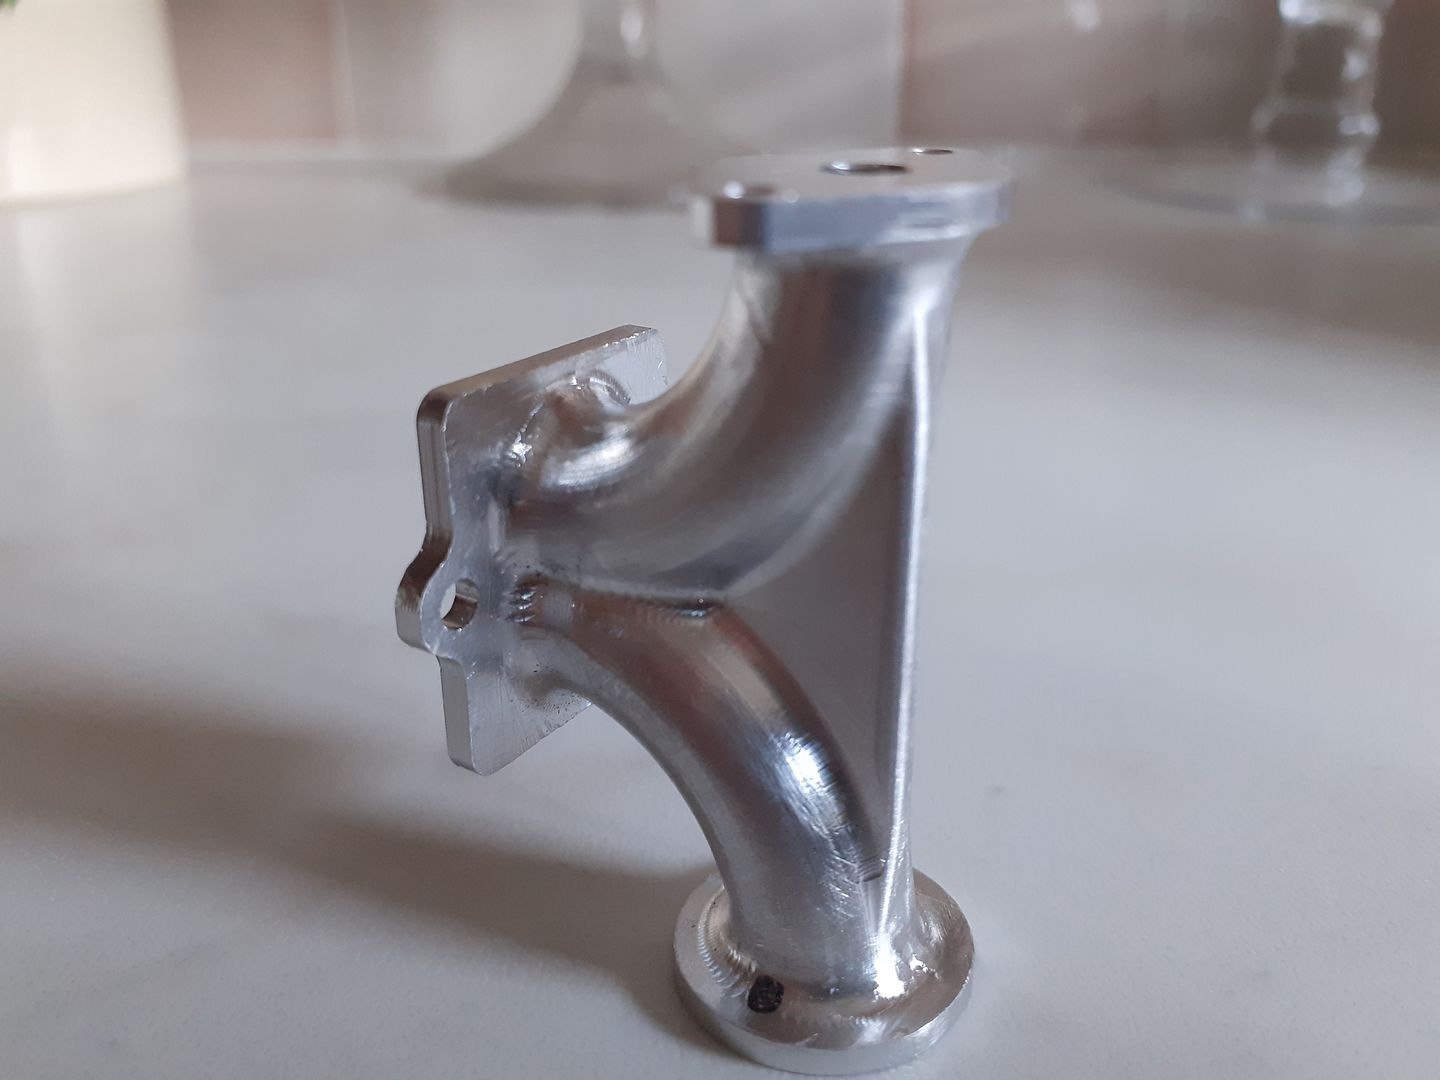
For the external shaping of the crankcase I decided to make use of the CNC, the following photos show it taking shape after each of the various stages of machining.
An adaptive clearing path was used first to remove most of the material using a 5mm flat ended 2-flute carbide cutter specifically for aluminium.

I then changed to a 6mm 2-flute ball ended carbide cutter and did a coarse "steep and shallow" path to remove most of the remaining material but leaving 0.2mm for finishing with a 1mm stepover

The same tool was then run again with a 0.3mm stepover to get a finer finish

At the time this was done I had not quite got my Z axis movement smooth so there are a few more steps than there are now but nothing a little needle file work could not sort out.
I probably showed this video in the CNC section but won't hurt to post again
DiogenesII.


.jpg)
.jpg)
.jpg)
.jpg)
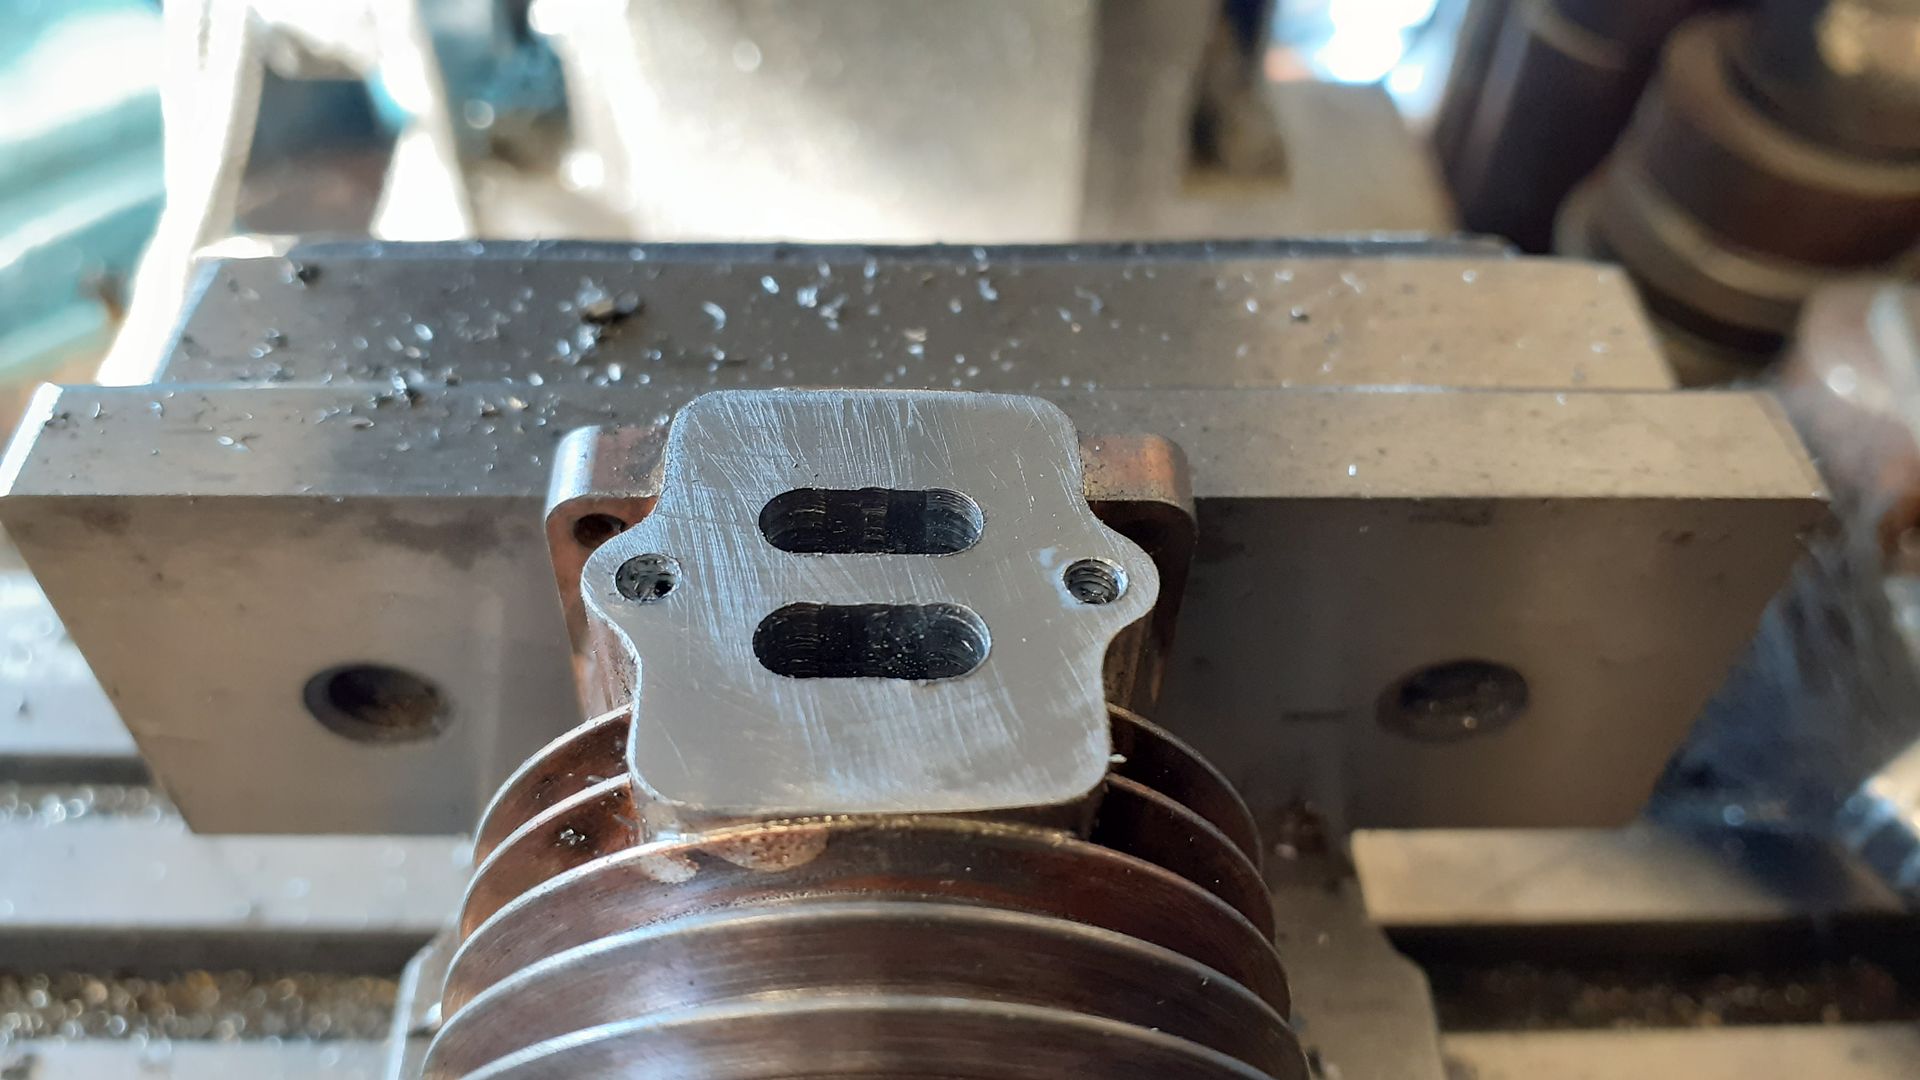
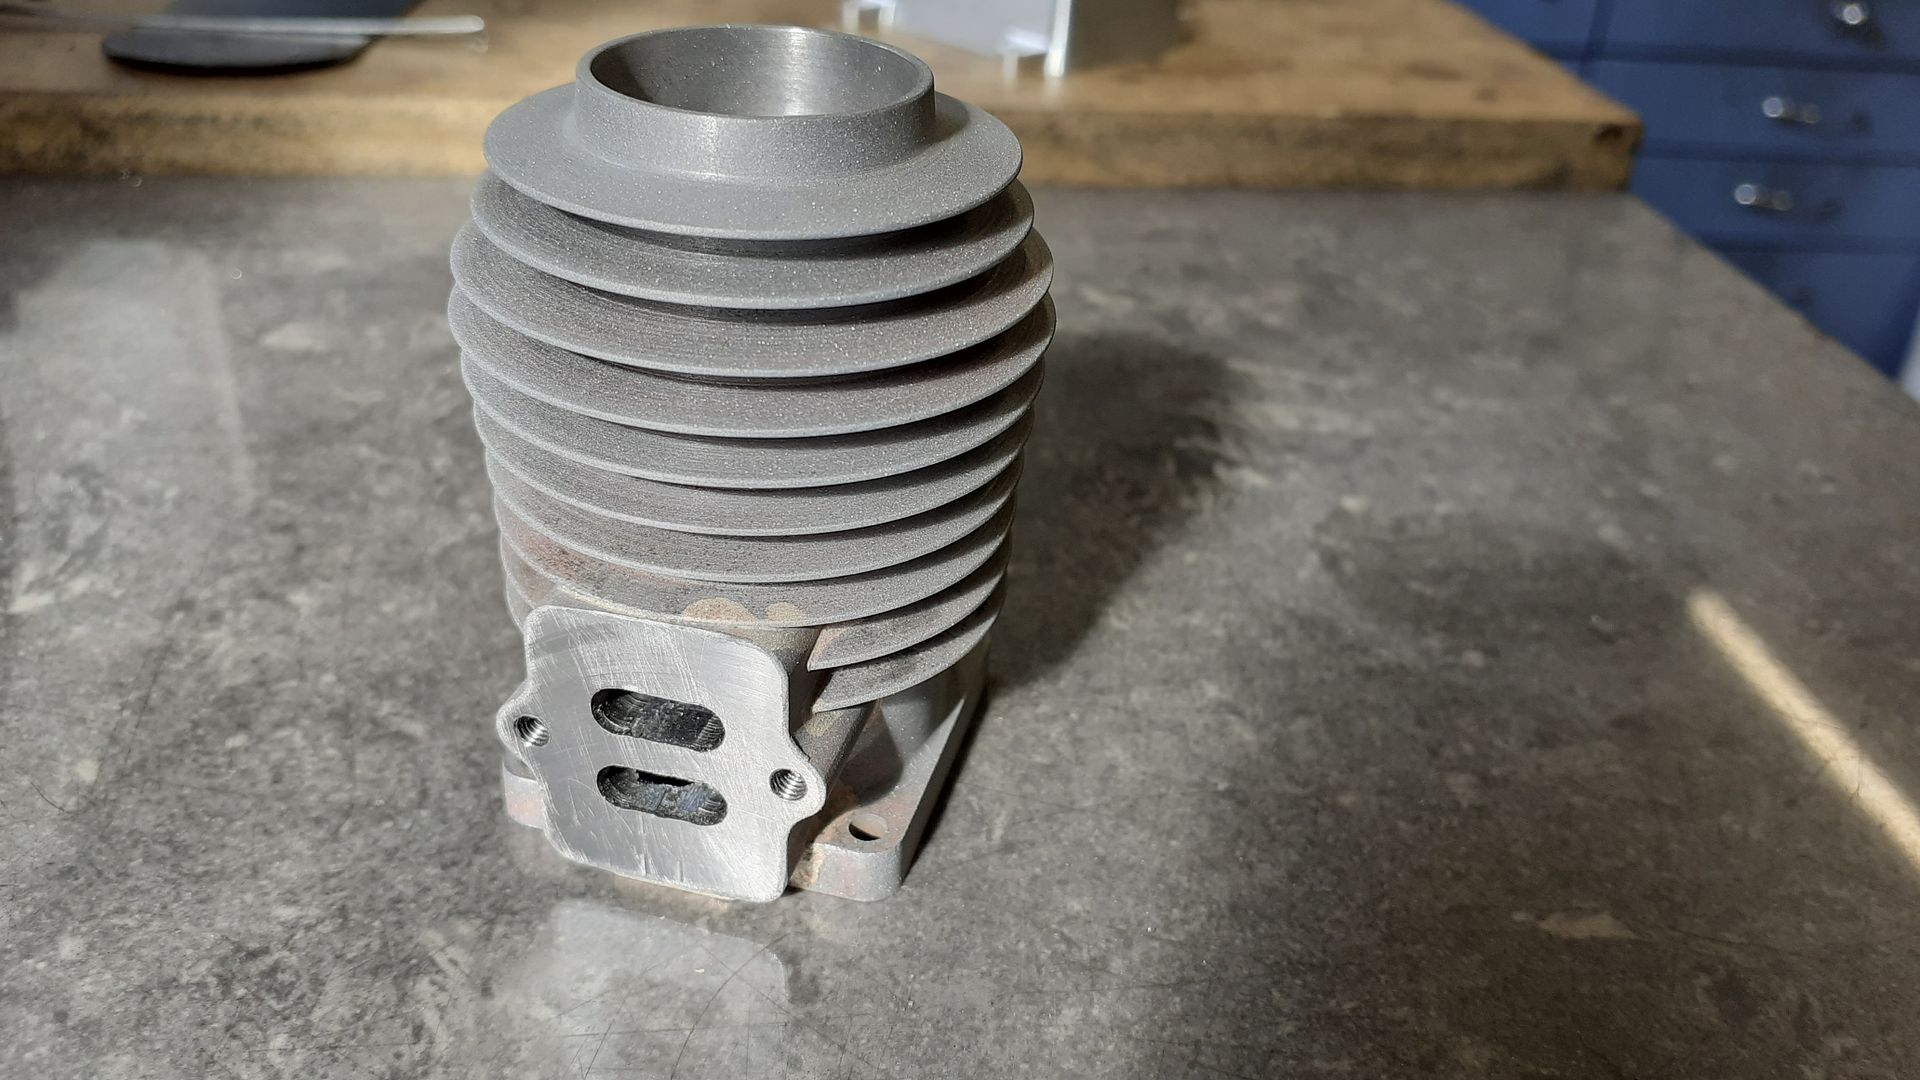
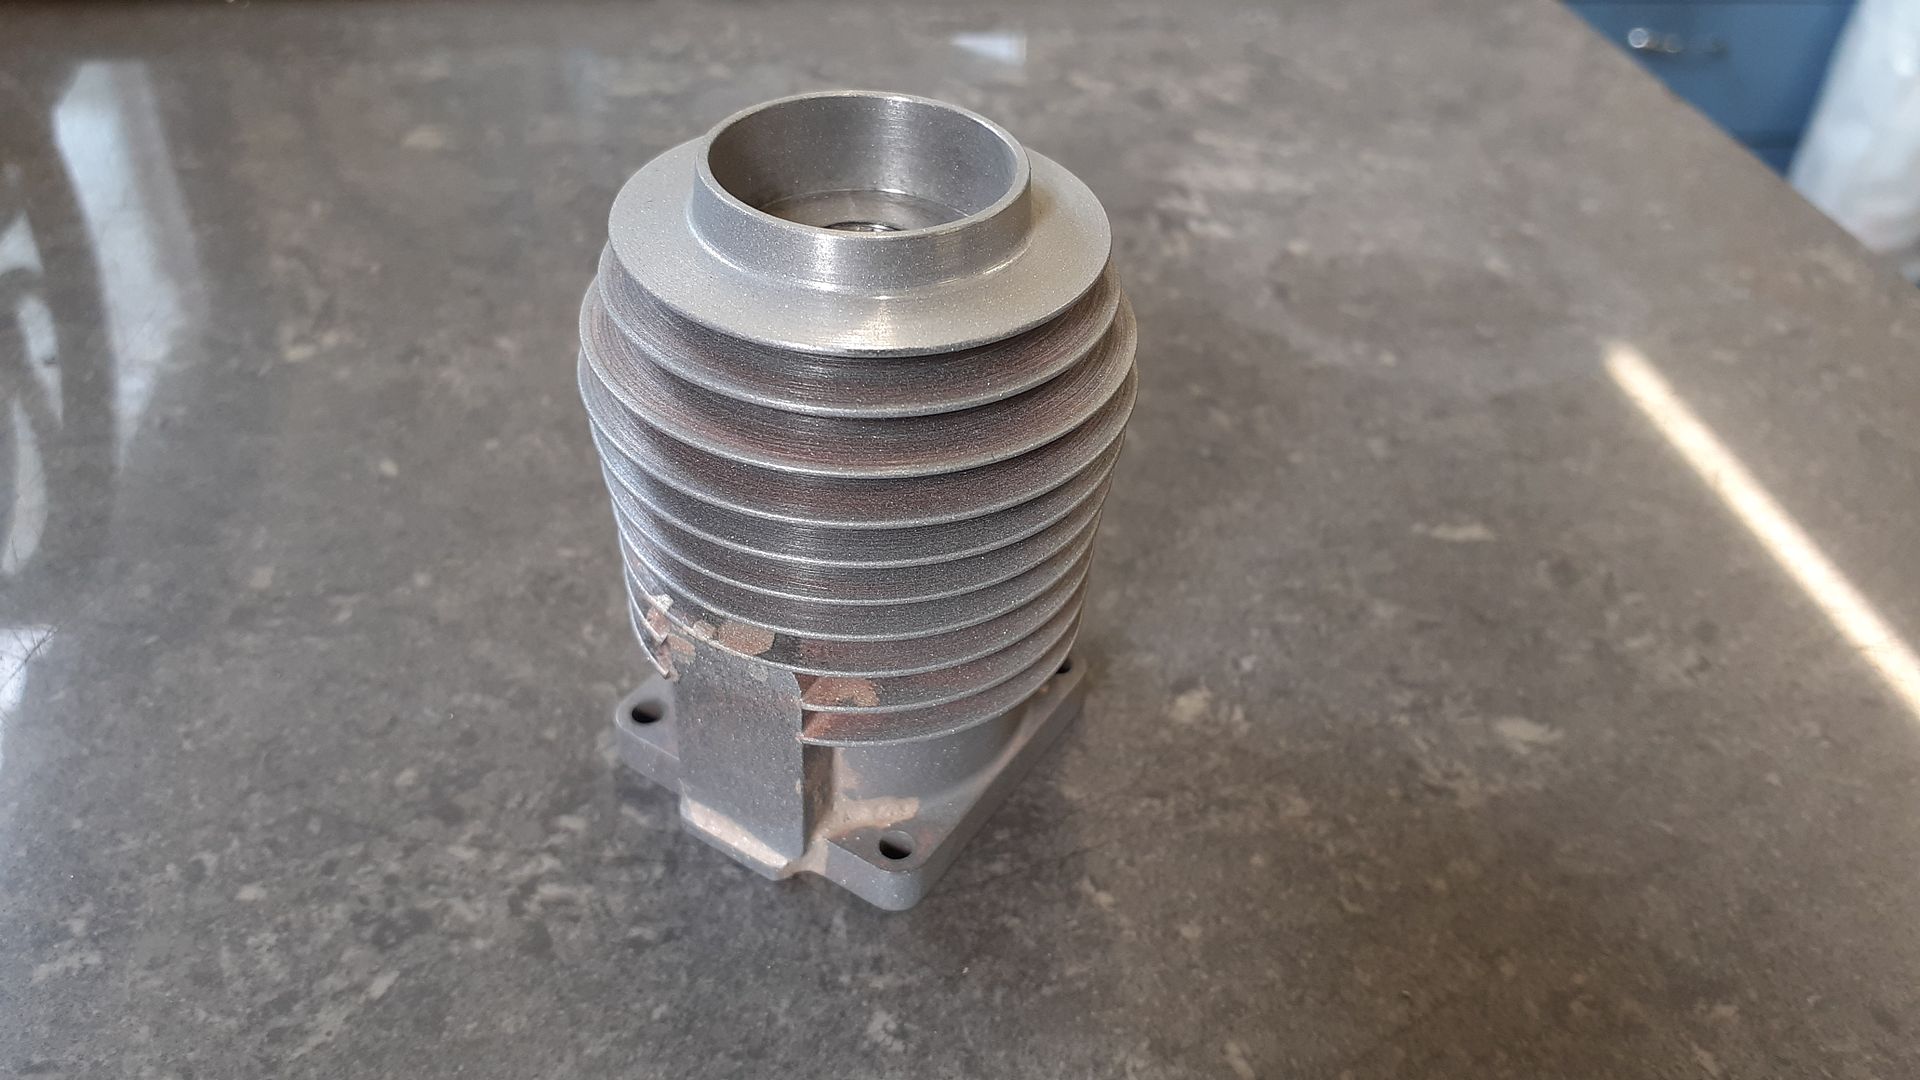
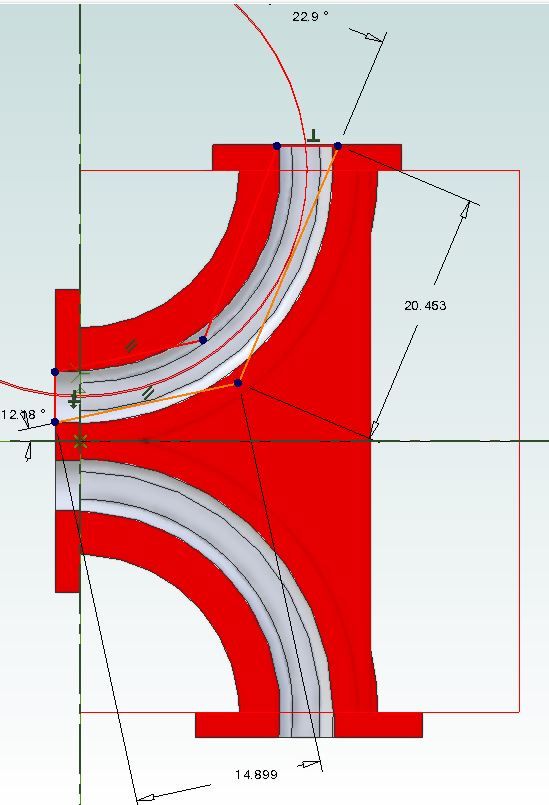
 .
.

.jpg)
.jpg)
