Vickers Inverted Engine

Advert

Vickers Inverted Engine

Home Forums Stationary engines Vickers Inverted Engine

Viewing 9 posts - 1 through 9 (of 9 total)
  • Author
    Posts
  • #774290
    JasonB
    Moderator
      @jasonb

      One of the collectors on The Stuart Models FB page posted an image of his new addition a few months ago and I thought it would make a good model.

      Vickers Table

      No idea if it is based on any specific full size engine or was ever offered as plans or castings but the cylinder and valve chest do have the look of Stevens Model Dockyard about them so it may have been built using one of their sets of cylinder castings. I’ve named it after the guy who now owns it.

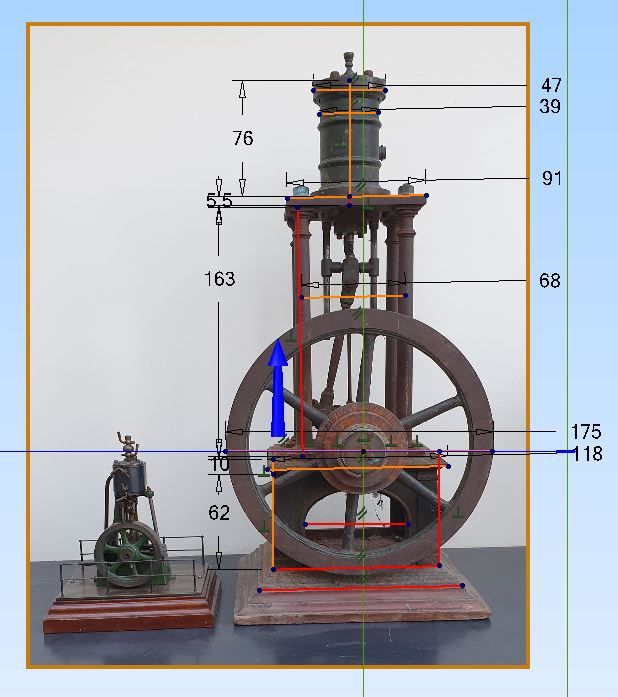
      As it was on the Stuart Group and there was some interest from others who may want to build it I thought I should at least include one Stuart casting. The proportions are not quite right to use both a 7″ flywheel and their 2″ x 1″ cylinder as this engine has a larger cylinder so I drew it around the flywheel as that would probably be the harder part for people to make. First job was to put an image into Alibre and once scaled to suit the flywheel pull a few dimensions off it. This image also shows it stood against an early Stuat No10 for an idea of size, mine will be smaller. I’ve changed a couple of bits I did not like the look of but it is basically the same.

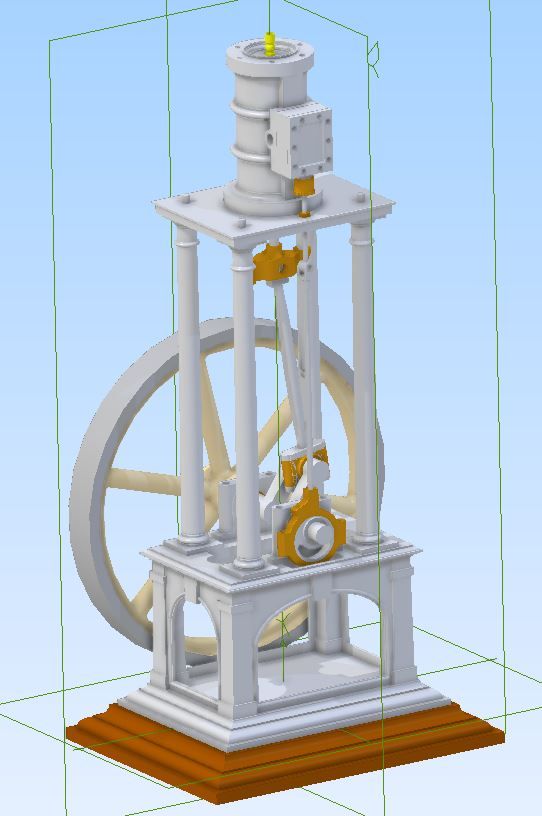
      Over a couple of evenings the various parts were drawn up and assembled, had to spend quite awhile playing with conrod length and cross head guide spacing to make sure the two did not clash but I’m quite happy with the way it looks. I will probably make my own flywheel but the image is with a Stuart one. All metric as is now my norm.

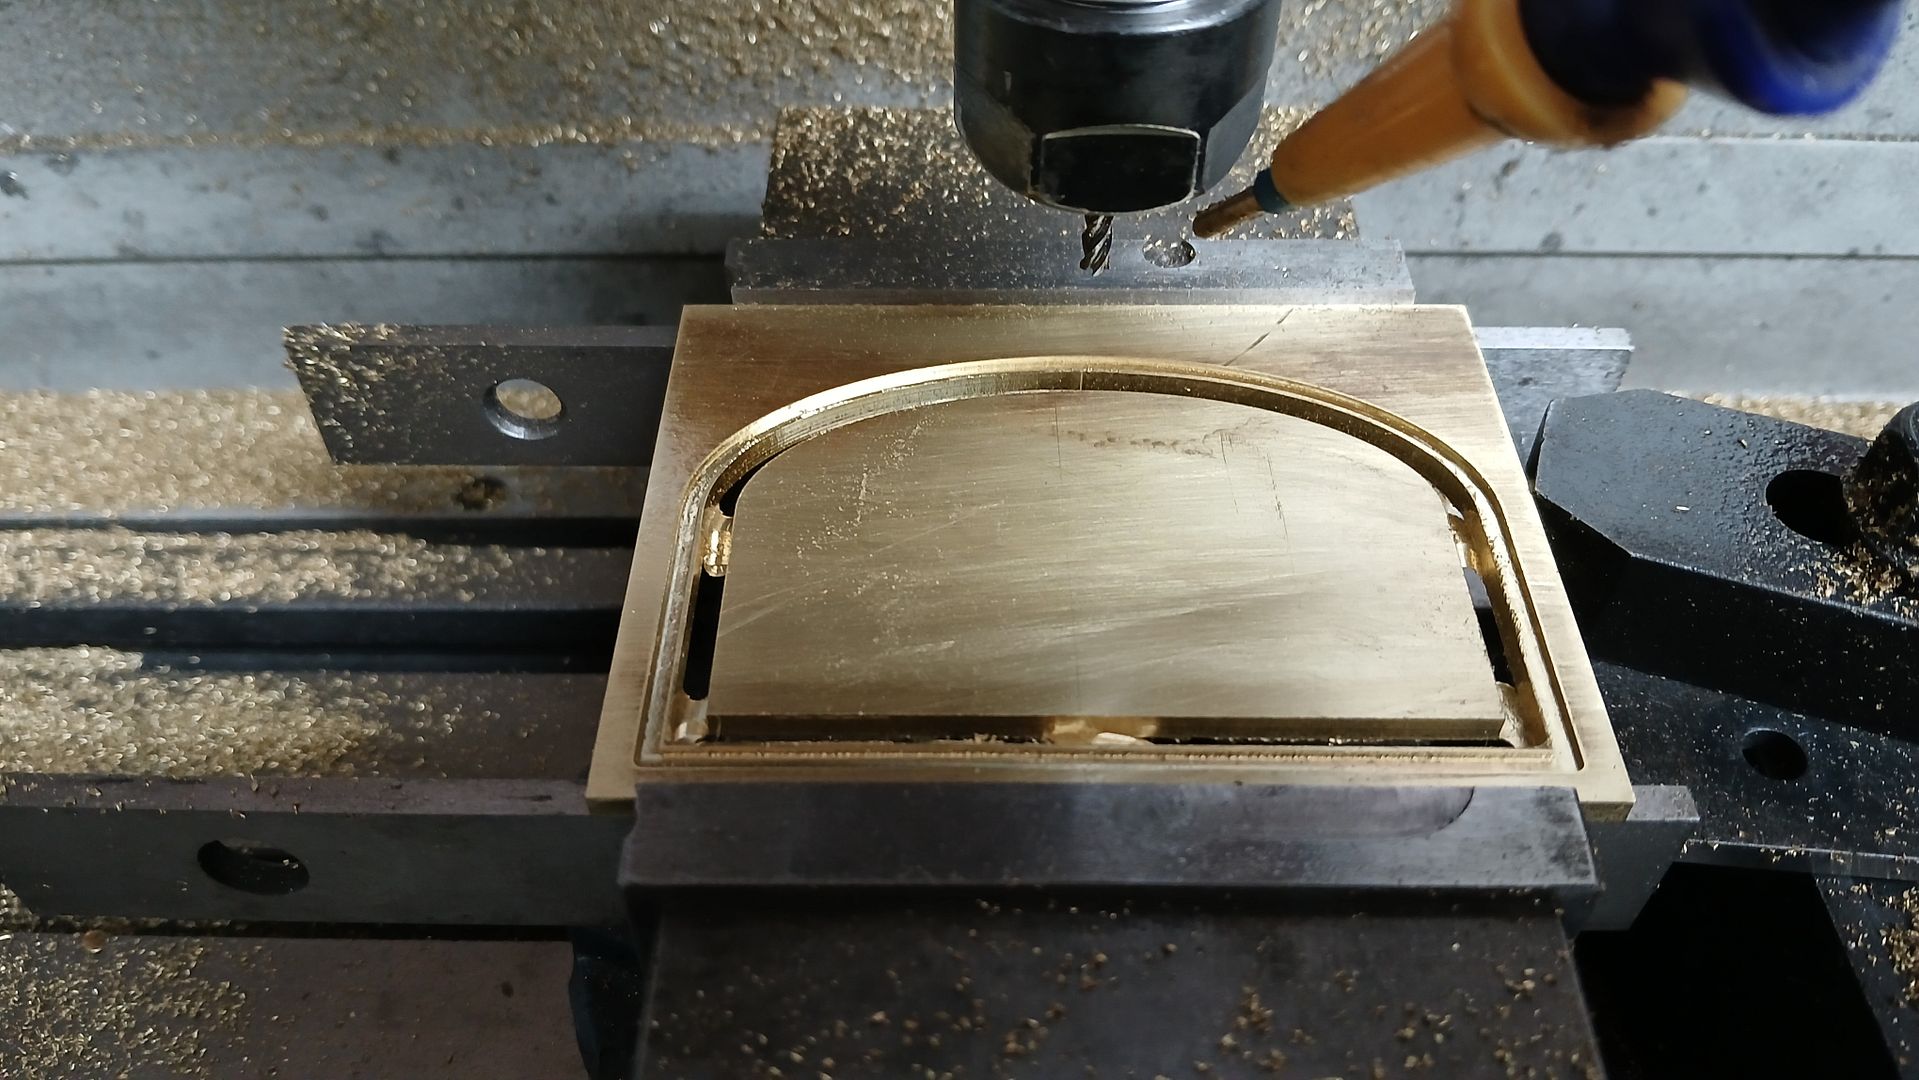
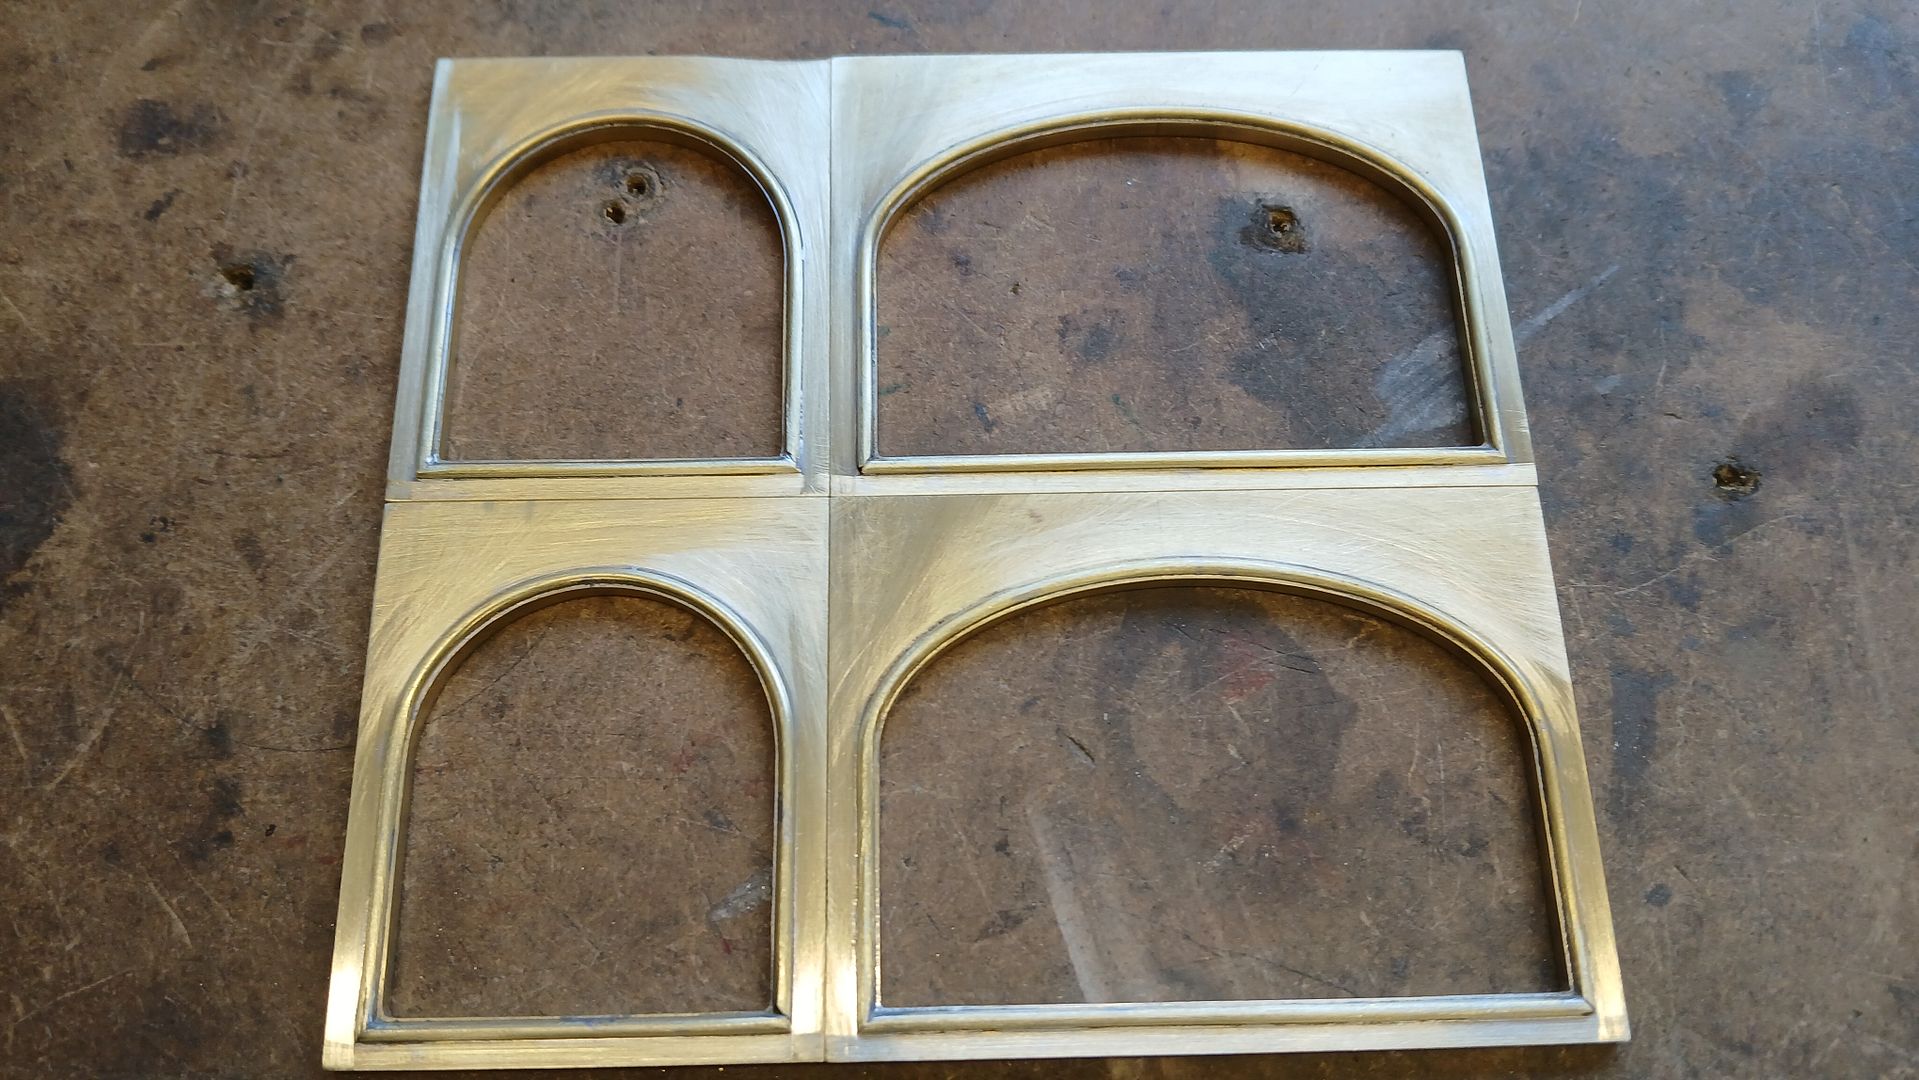
      I made a start on the four panels for the base. The usual practice would be to bend up half round beading and fix around the openings. However 1mm radius beading is not available although not hard to make your own and it also has a tendancy to curl up when you want to to lay flat around a curve. Also the beading was set back only 0.5mm from the edge of the openings. After a bit of thought I came up with a cunning plan. Rather than use half round beading I thought I would try milling a 2mm wide x 1mm deep slot and simply solder some 2mm dia brass wire into the slot.

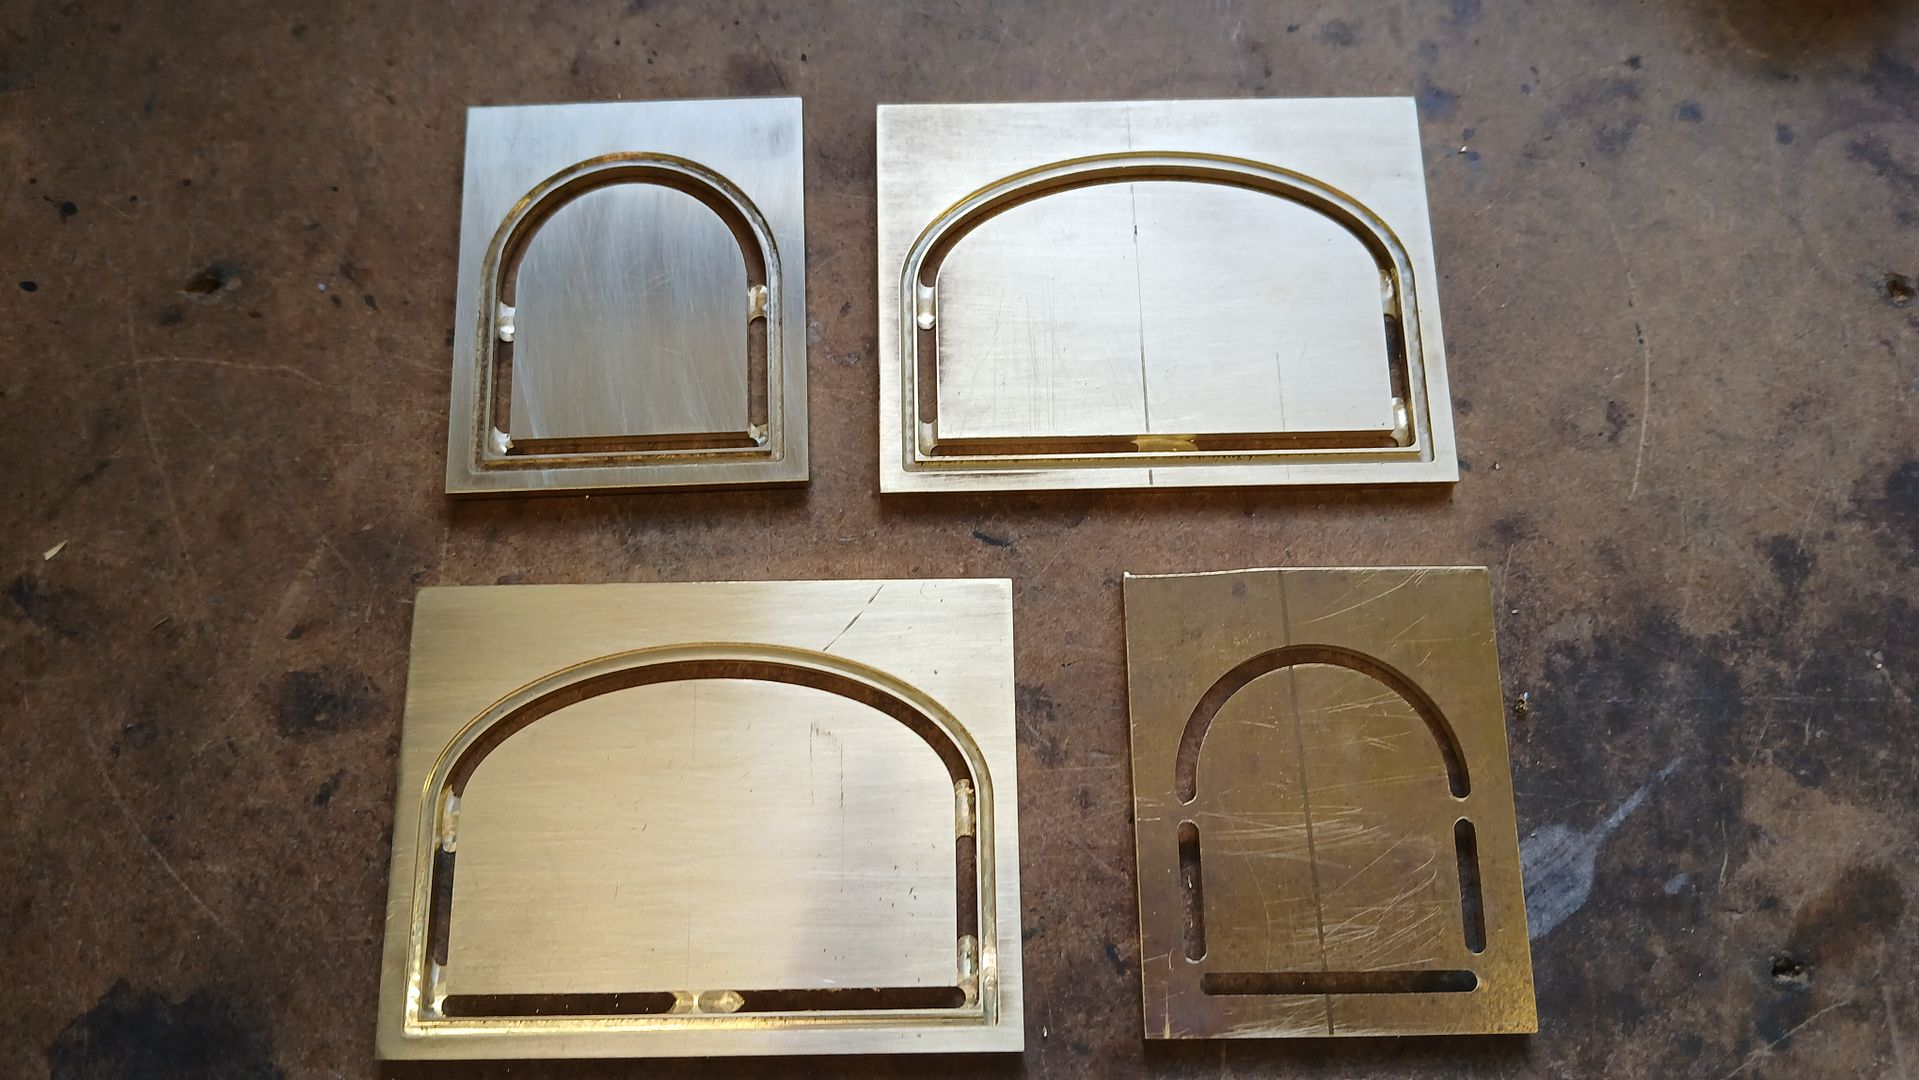
      The four plates were sized on the manual mill and then over to the Cuts Nice Curves machine to do the slots and cut out the arched hole.

      I use 4 or 5 tabs to retain the waste material rather than risk it coming loose and damaging the cutter or work, they are only 0.75mm high at the peaks so easily sawn through and tidied up with a file.

      After straightening a length of the 2mm brass wire I filed one end to 45deg for the miter joint, clamped that end into the slot and it was then easy to push the wire down into the slot with one hand as the other guided it around the arch and back down the other side. Marke and miter the end then just a straight length for the bottom.

      A bit of flux and some soft solder fixed it all together then a quick cleanup of the small amount of excess solder and they are ready for the “key stones”


      Advert
      #774304
      Nigel Graham 2
      Participant
        @nigelgraham2

        A fine project!

        I have beaded an edge by slotting small-diameter tube, simply by filing it until it broke through.

        It would be good to see the original restored. Does it owner intend that?

        #774331
        derek hall 1
        Participant
          @derekhall1

          As always, great work Jason!

          I have no experience in CAD, but it certainly is a great way to tweak a design to make sure all bits are going to fit before spending hours iron fighting, only to find some major discrepancy where the carefully made component becomes scrap…

          #774335
          JasonB
          Moderator
            @jasonb

            Thanks.


            He is likely to just give it a sympathetic clean rather than the full bling restore. It runs quite nicely so does not really need any major repair.

            Quick capture of the parts moving about, you can see the rod gets quite close to the bottom of the guide bars. There are a few small parts that I have not detailed yet but enough to get going. Oneday Nigel this could be your wagon.

            #774341
            Diogenes
            Participant
              @diogenes

              It’s a really nice engine – do you think the ‘architecture’ and detailing has that ‘Great Exhibition’ look about it?

              It has grandeur and presence.

              #774396
              JasonB
              Moderator
                @jasonb

                Certainly does, The owner thinks it is from about 1850 though I suppose it could have been modeled later than that but in the style.

                #774409
                Craig Brown
                Participant
                  @craigbrown60096

                  Very decorative, I like it alot. No doubt will turn out lovely! Look forward to seeing it progress

                  #774874
                  JasonB
                  Moderator
                    @jasonb

                    Thanks

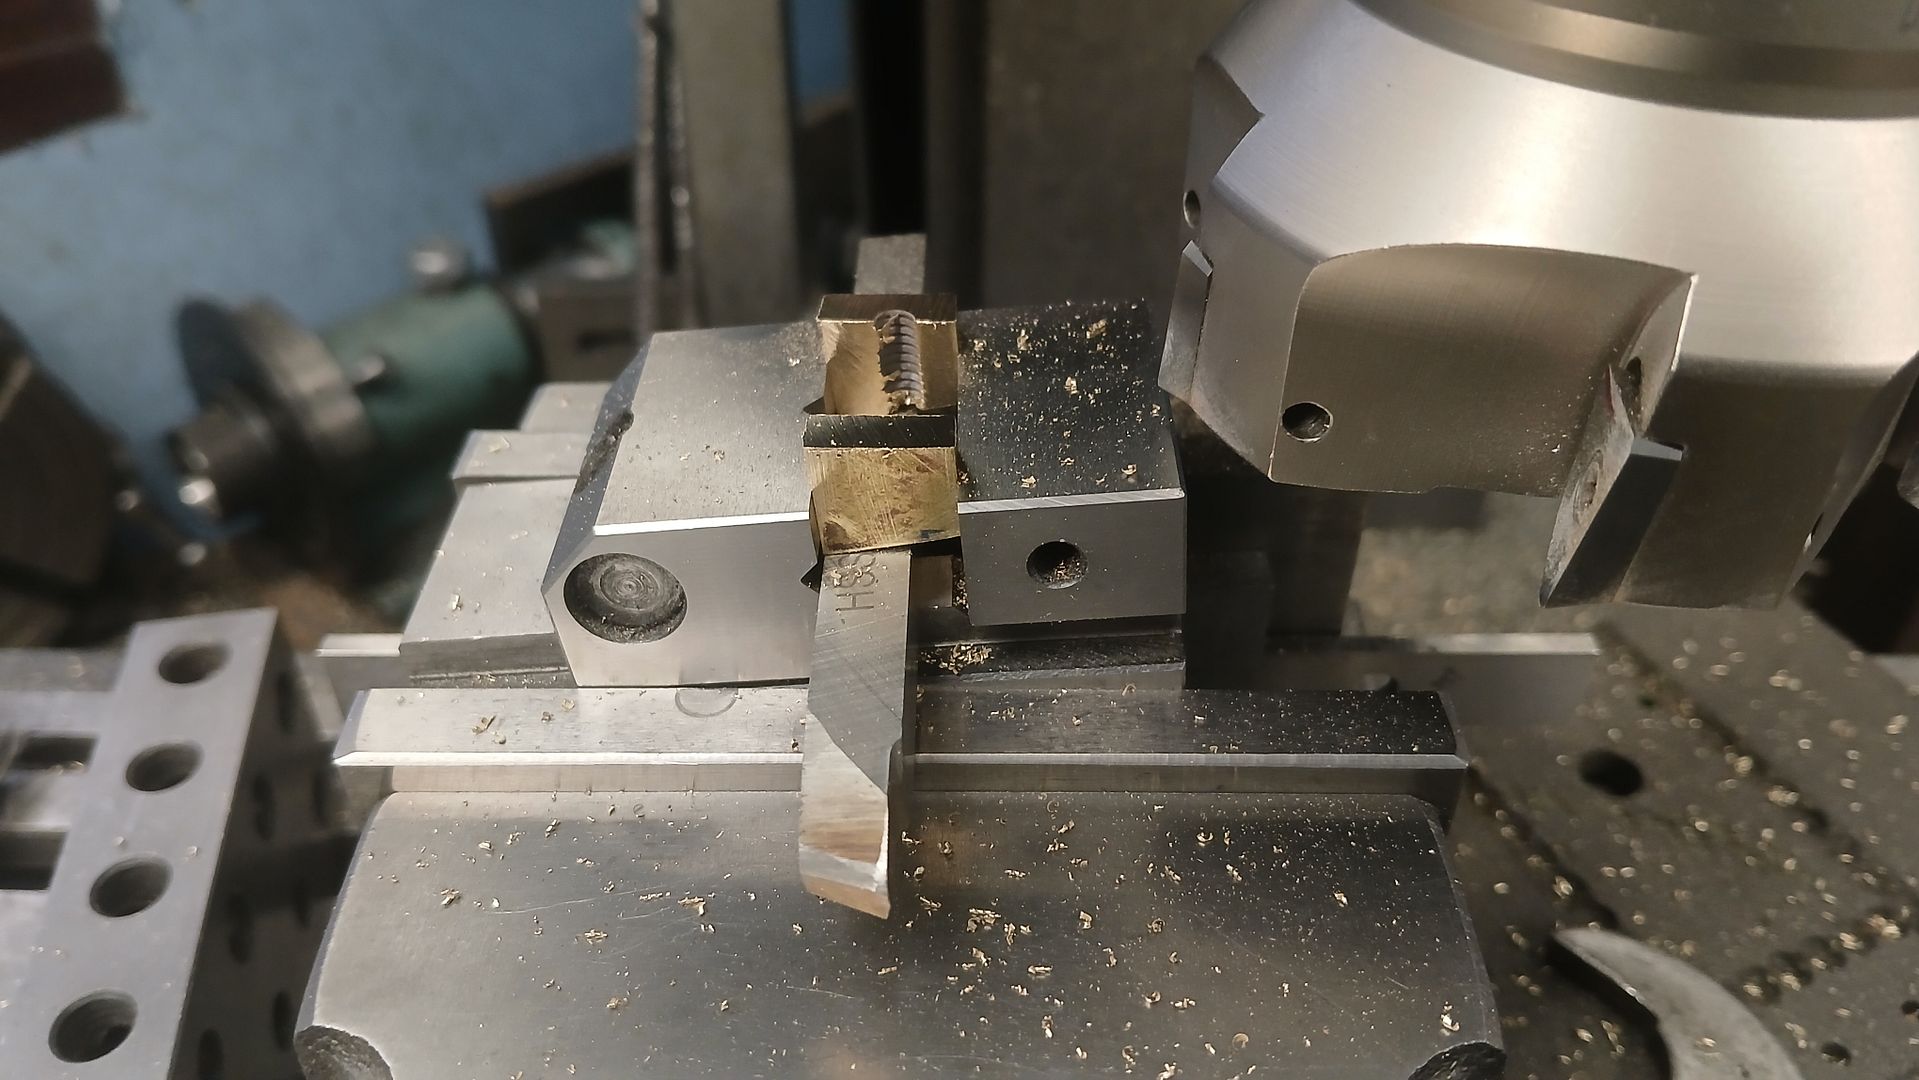
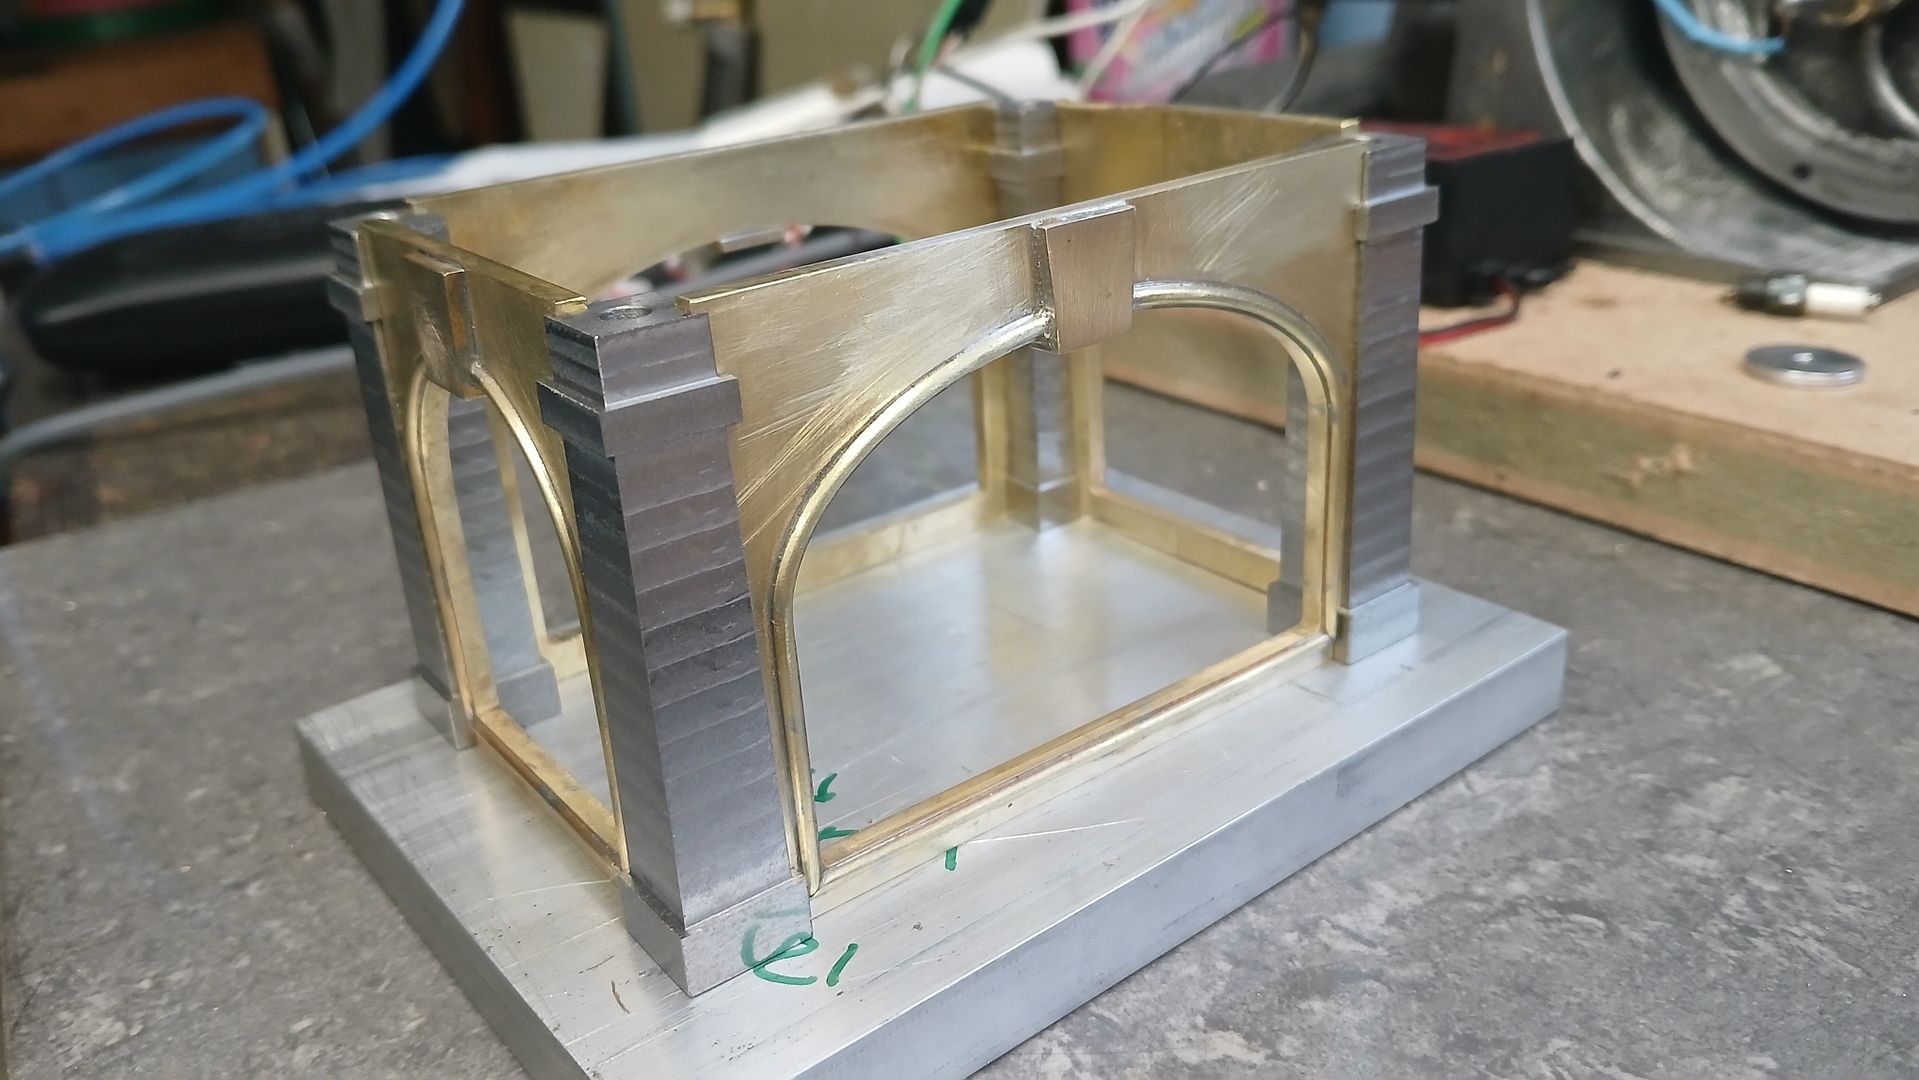
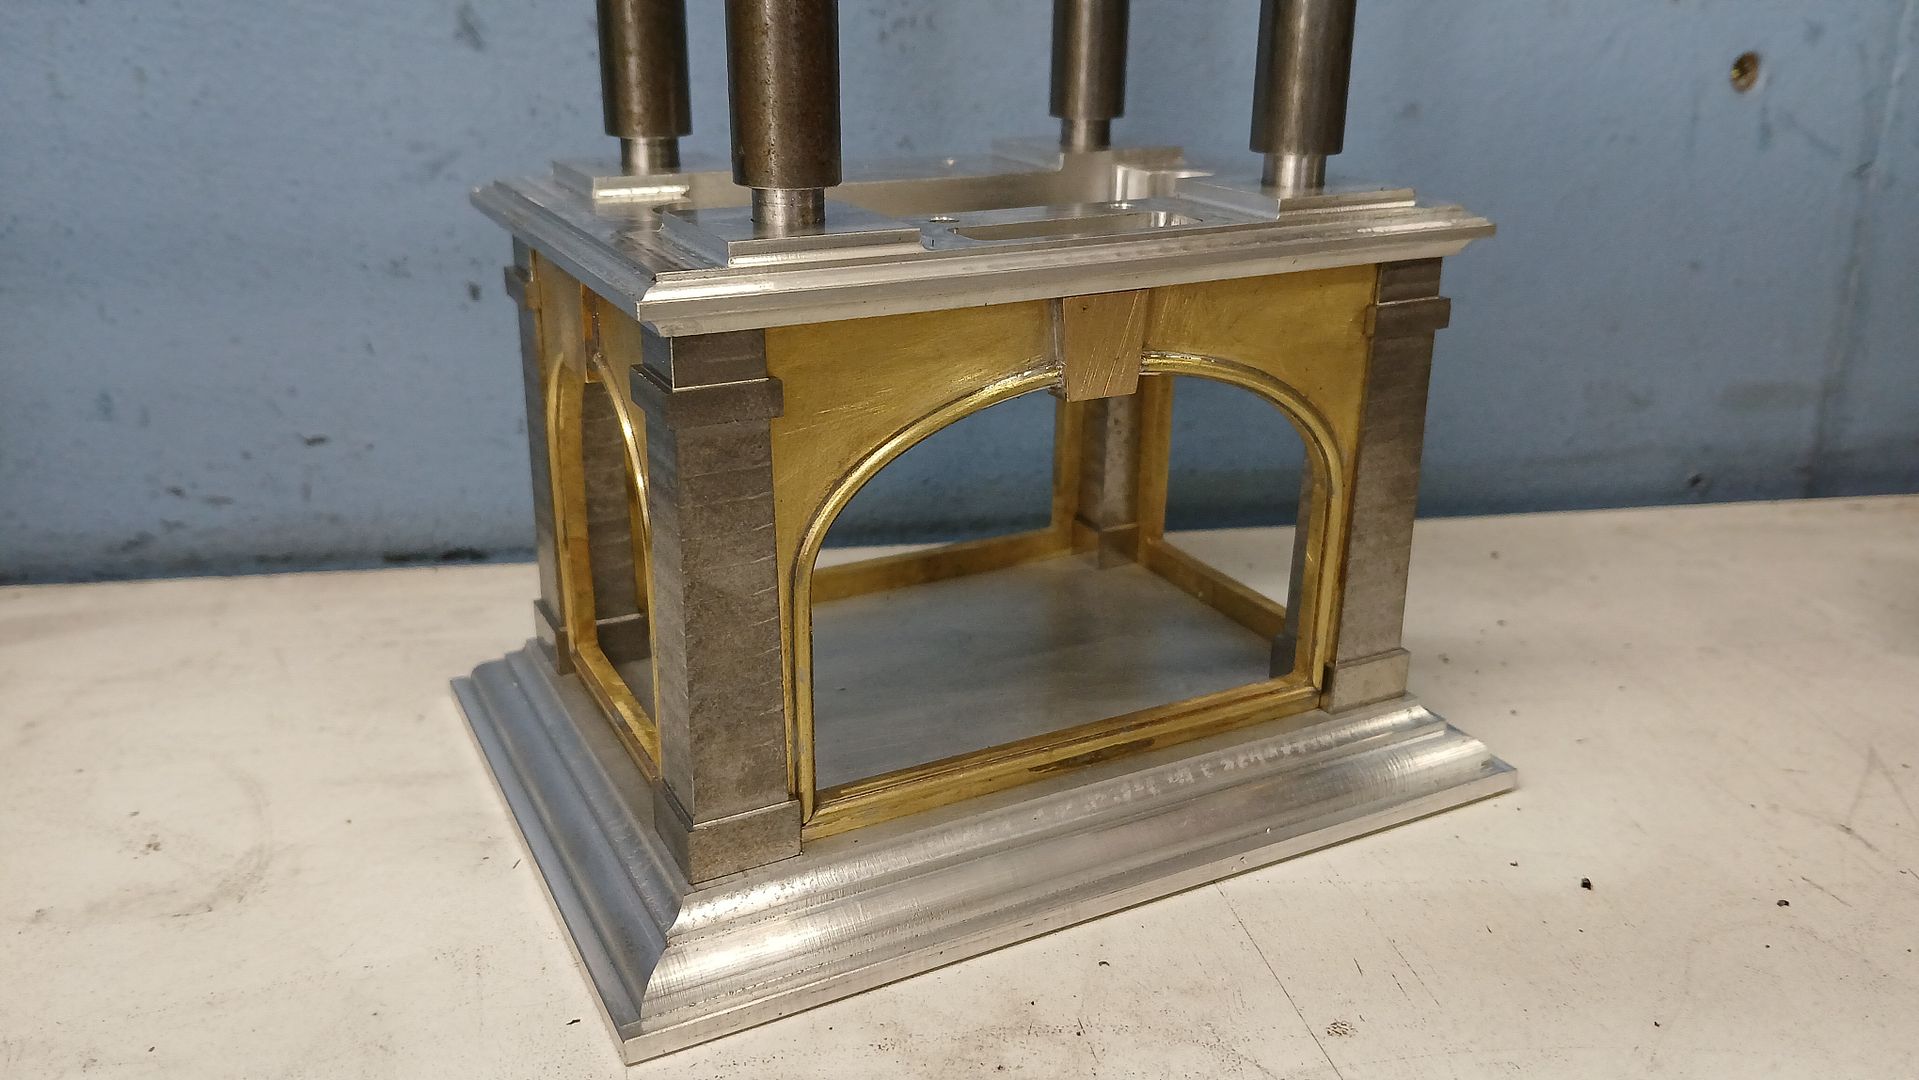
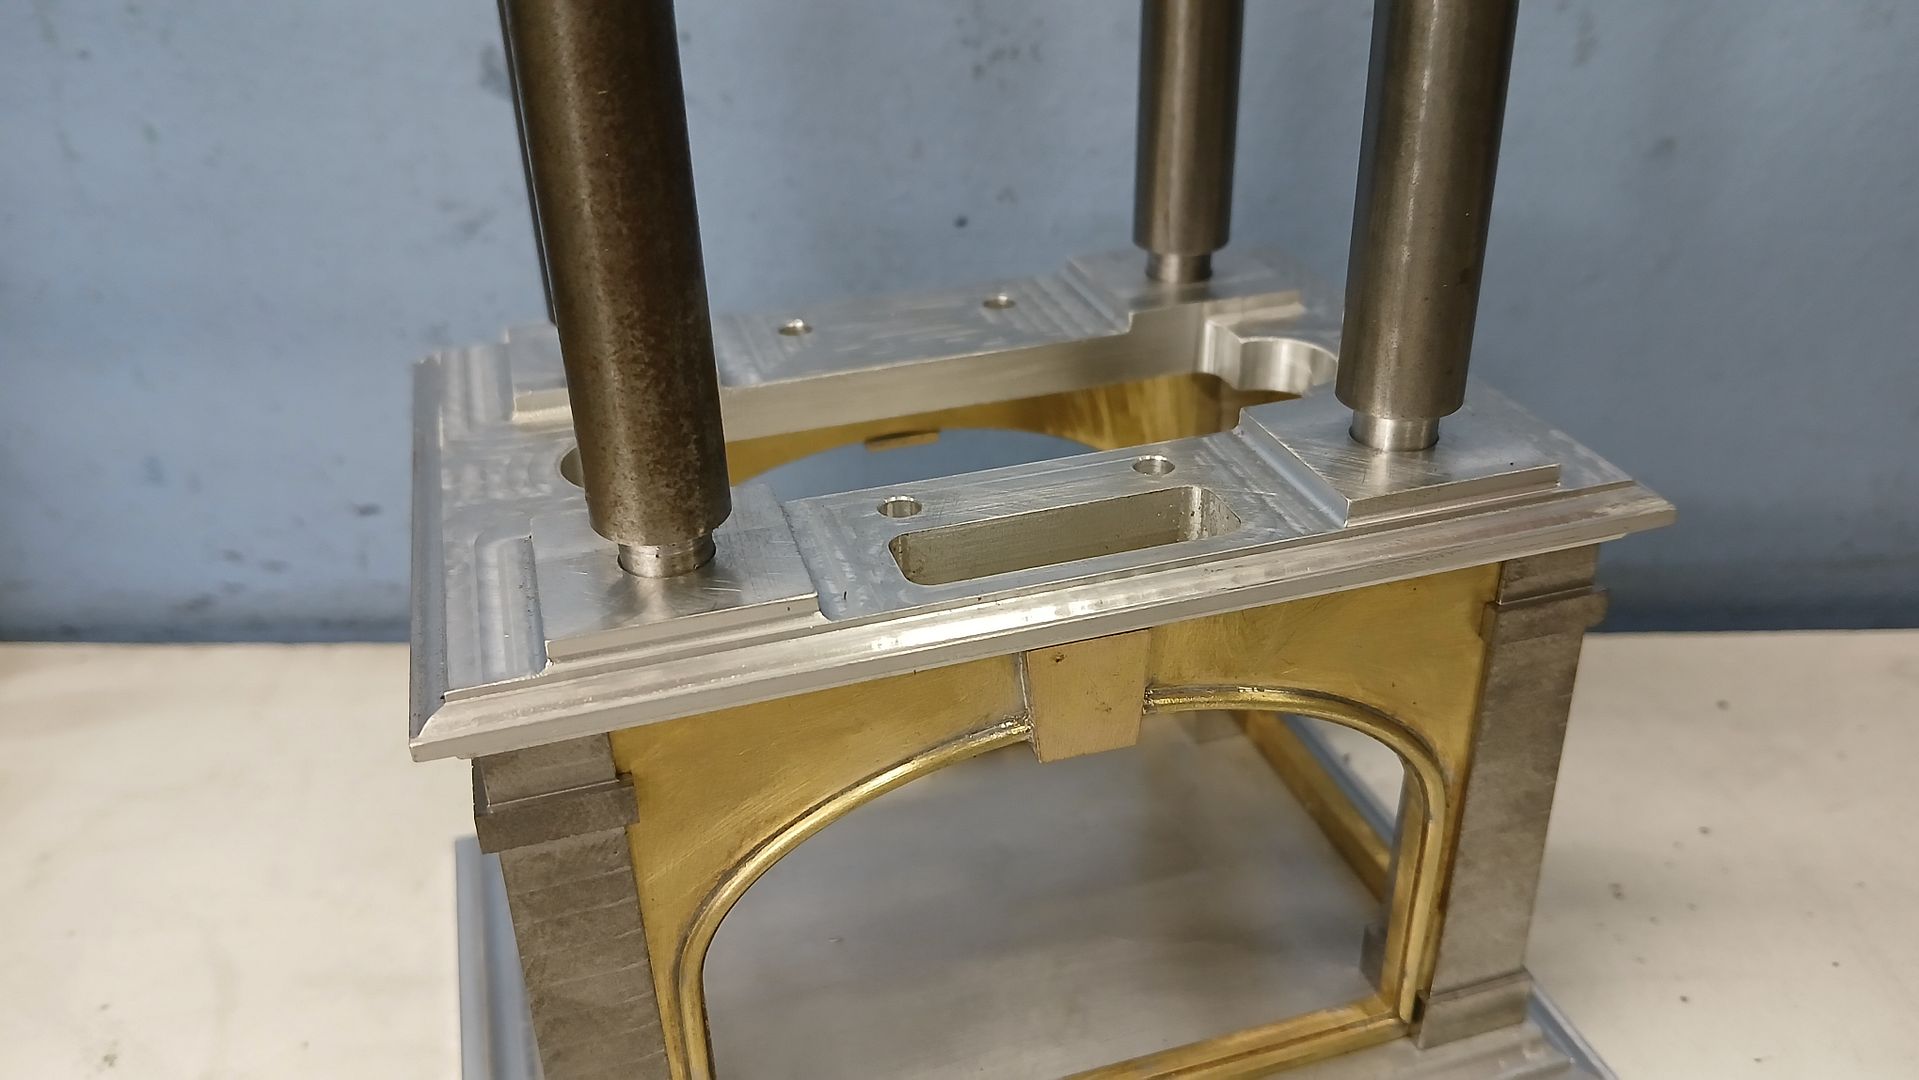
                    I used up a few scraps of brass for the keystones, first milling to overall size then with a small vice set at 5 degrees milled the two tapering sides. After that a rebate was cut so they slipped over the brass panel, there position was marked on the panel and the bit of beading underneath cut away before soldering into place.
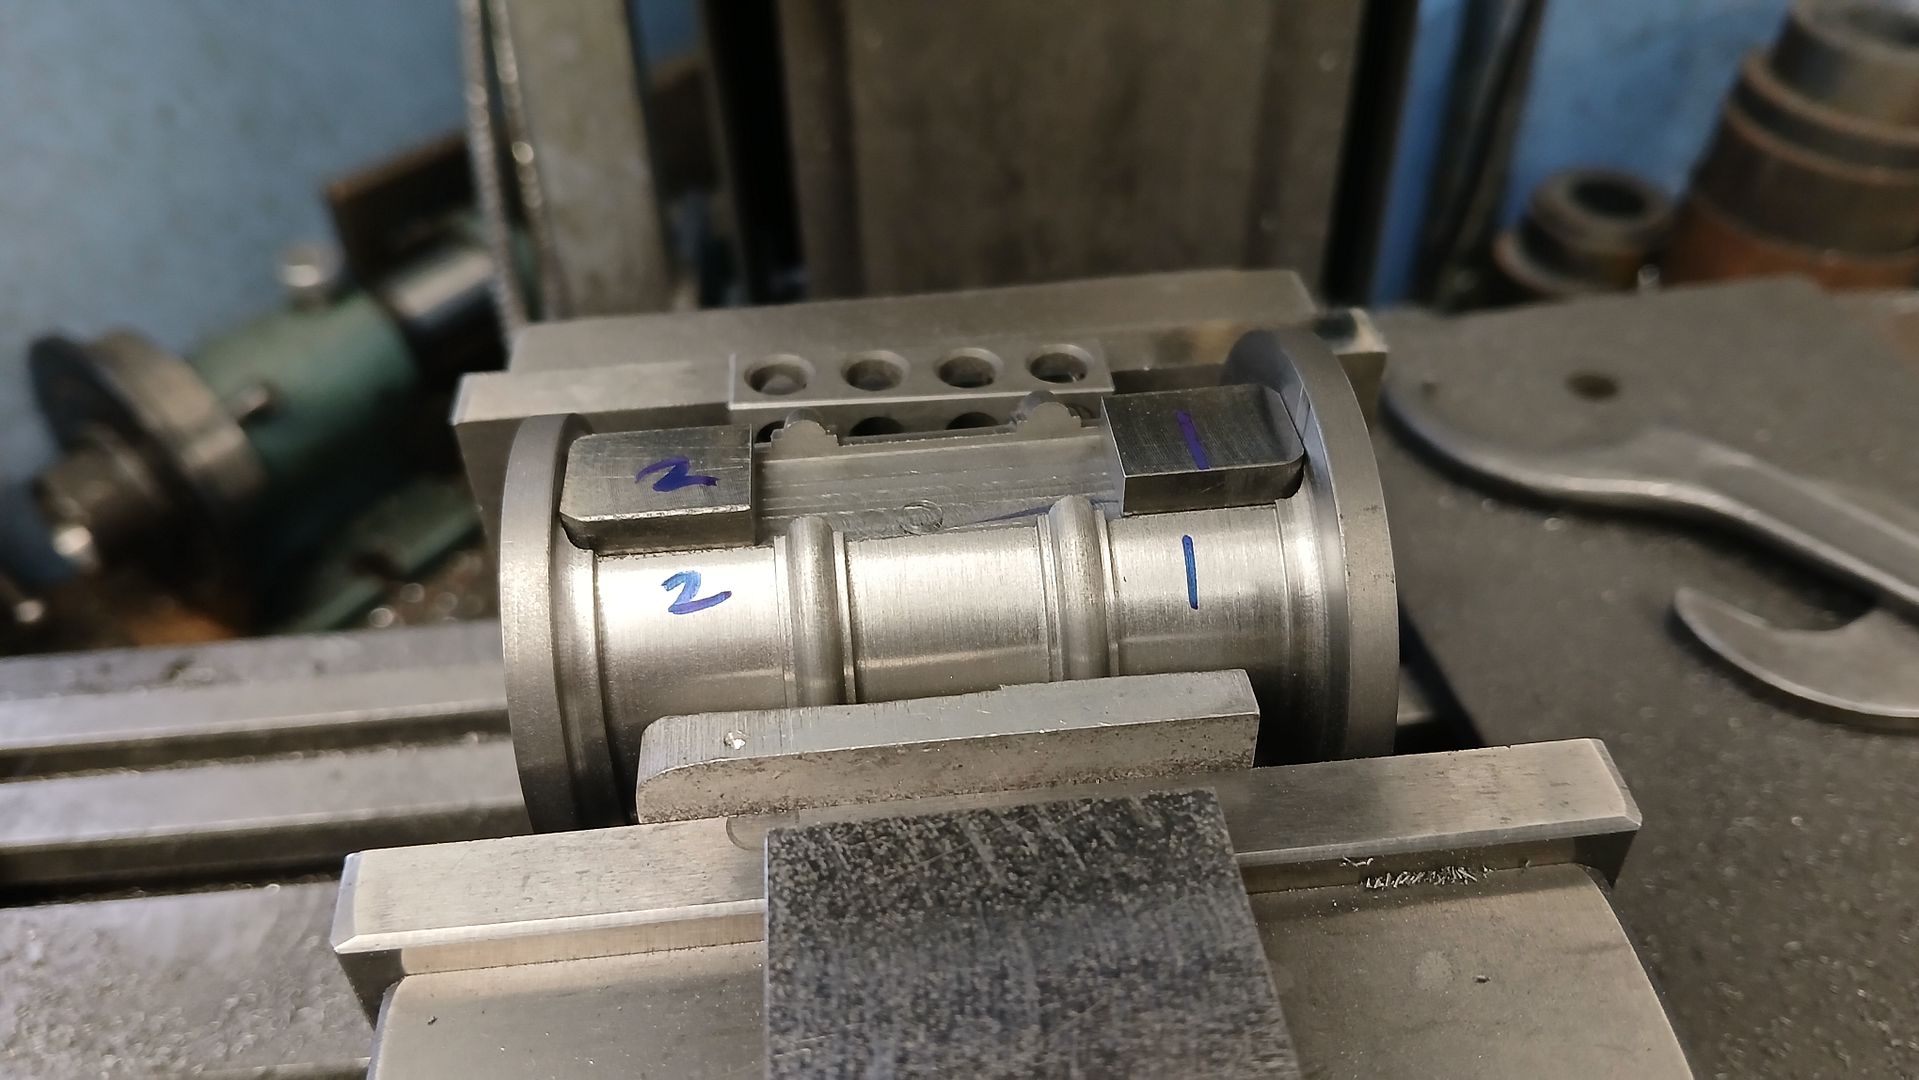
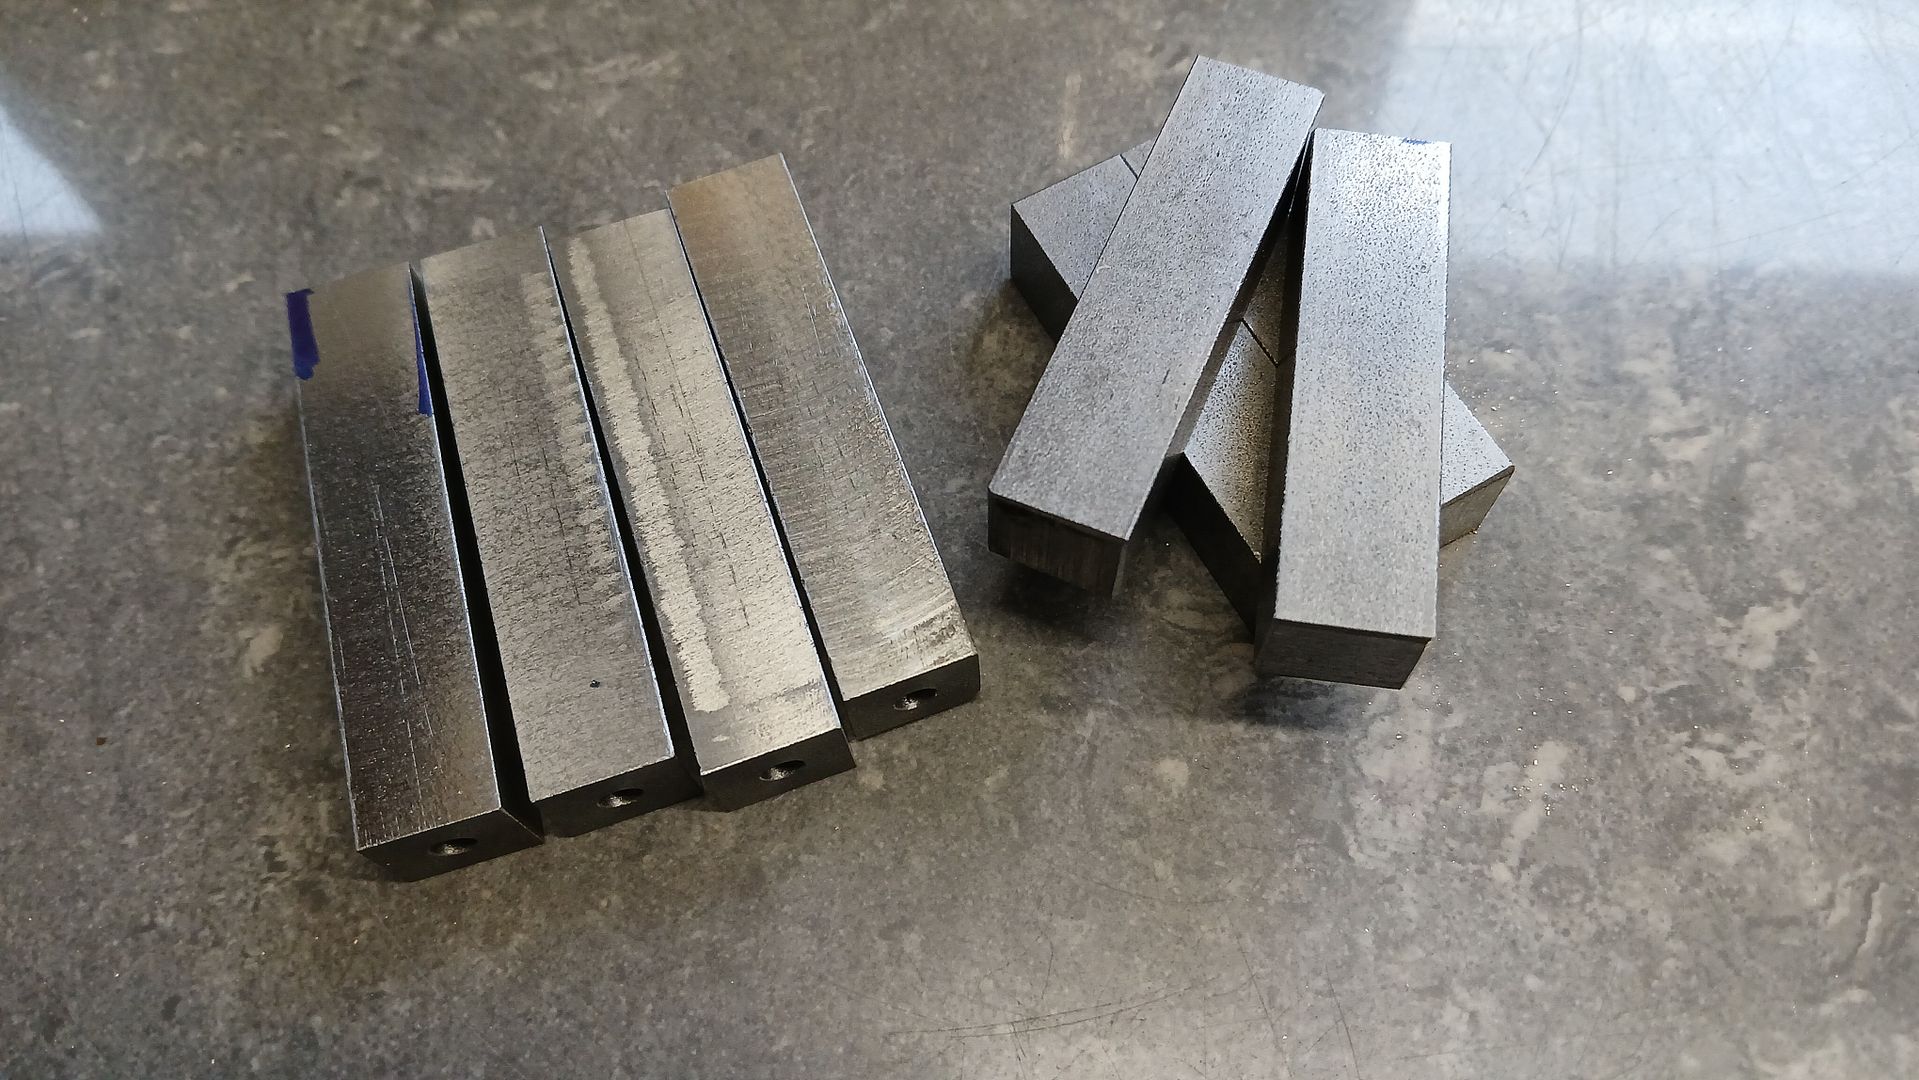
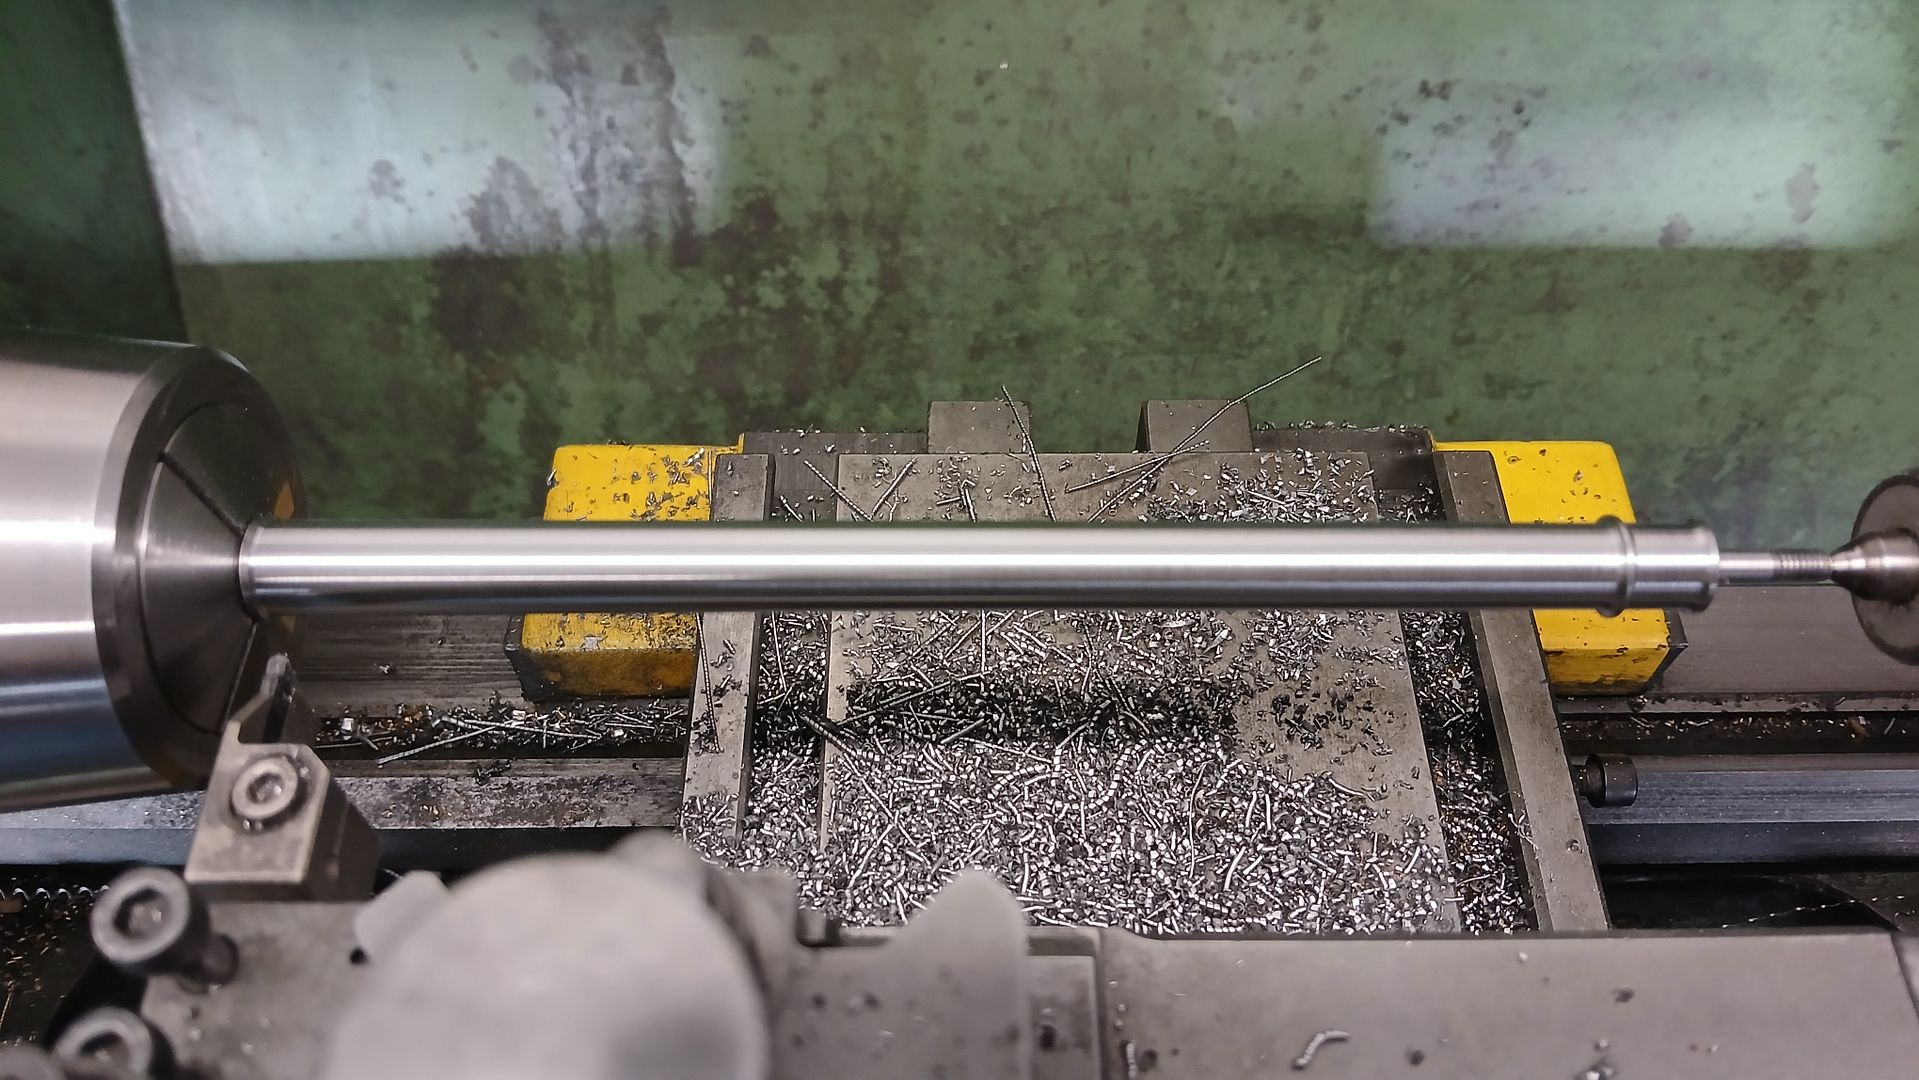
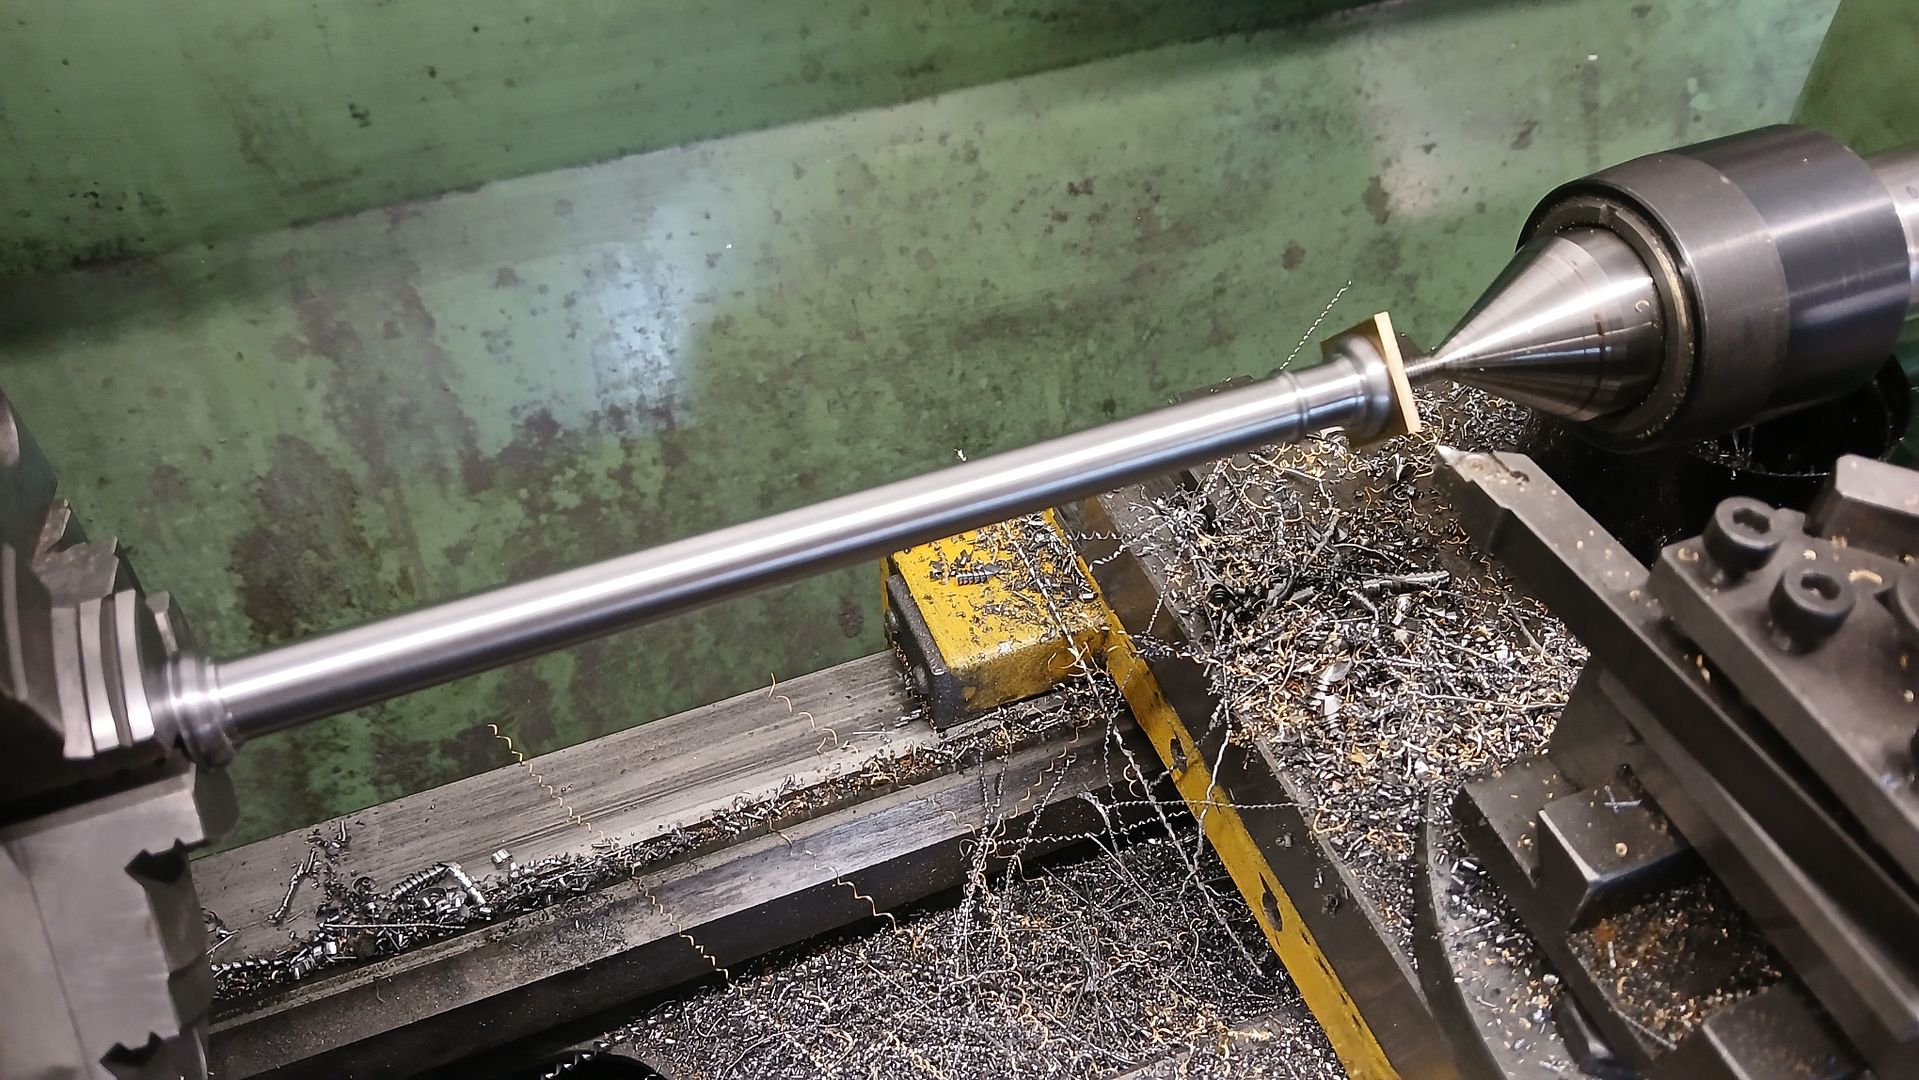
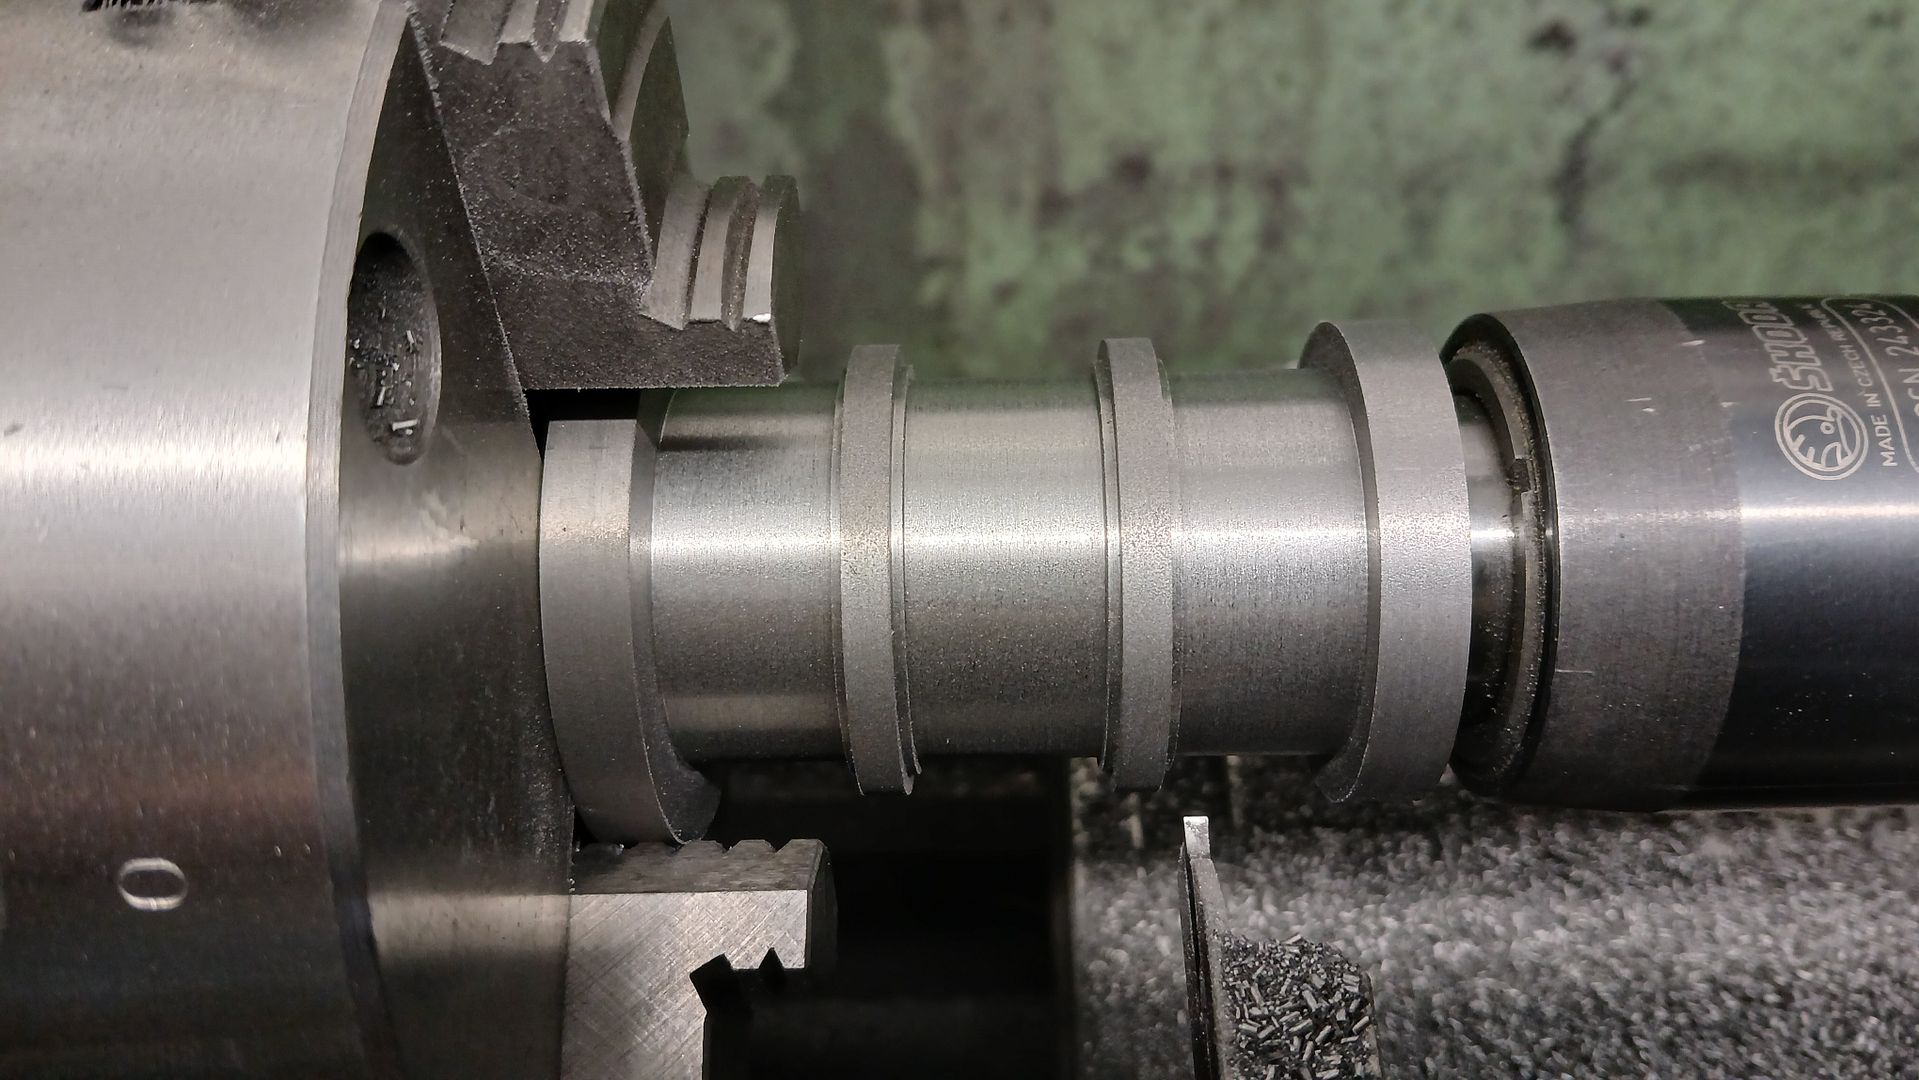
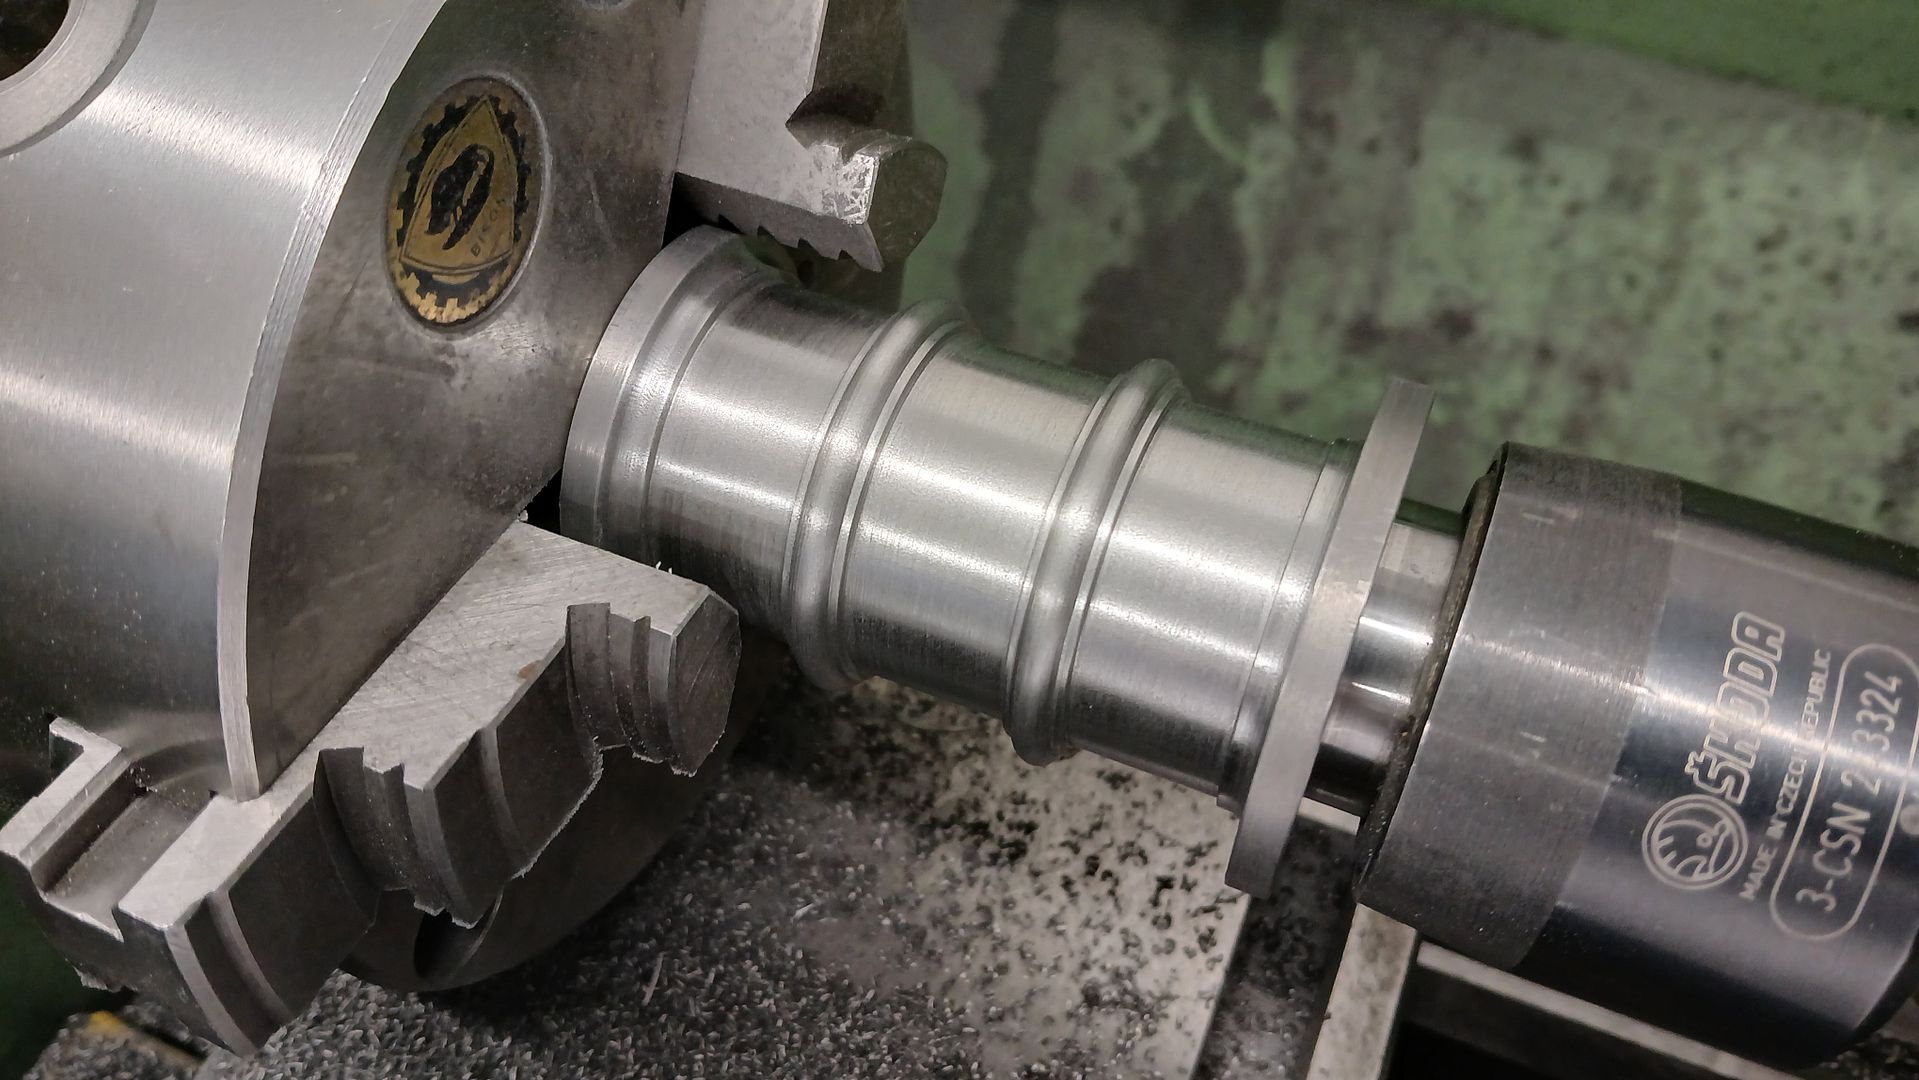
                    I know they say measure twice and cut once but I measured the 14mm square steel that I had bought for the corner posts 4 times and each was 10mm too short 😢 So I cut up some cast iron and milled it to 14mm square then faced to length ond drilled it lengthways in the 4-jaw.

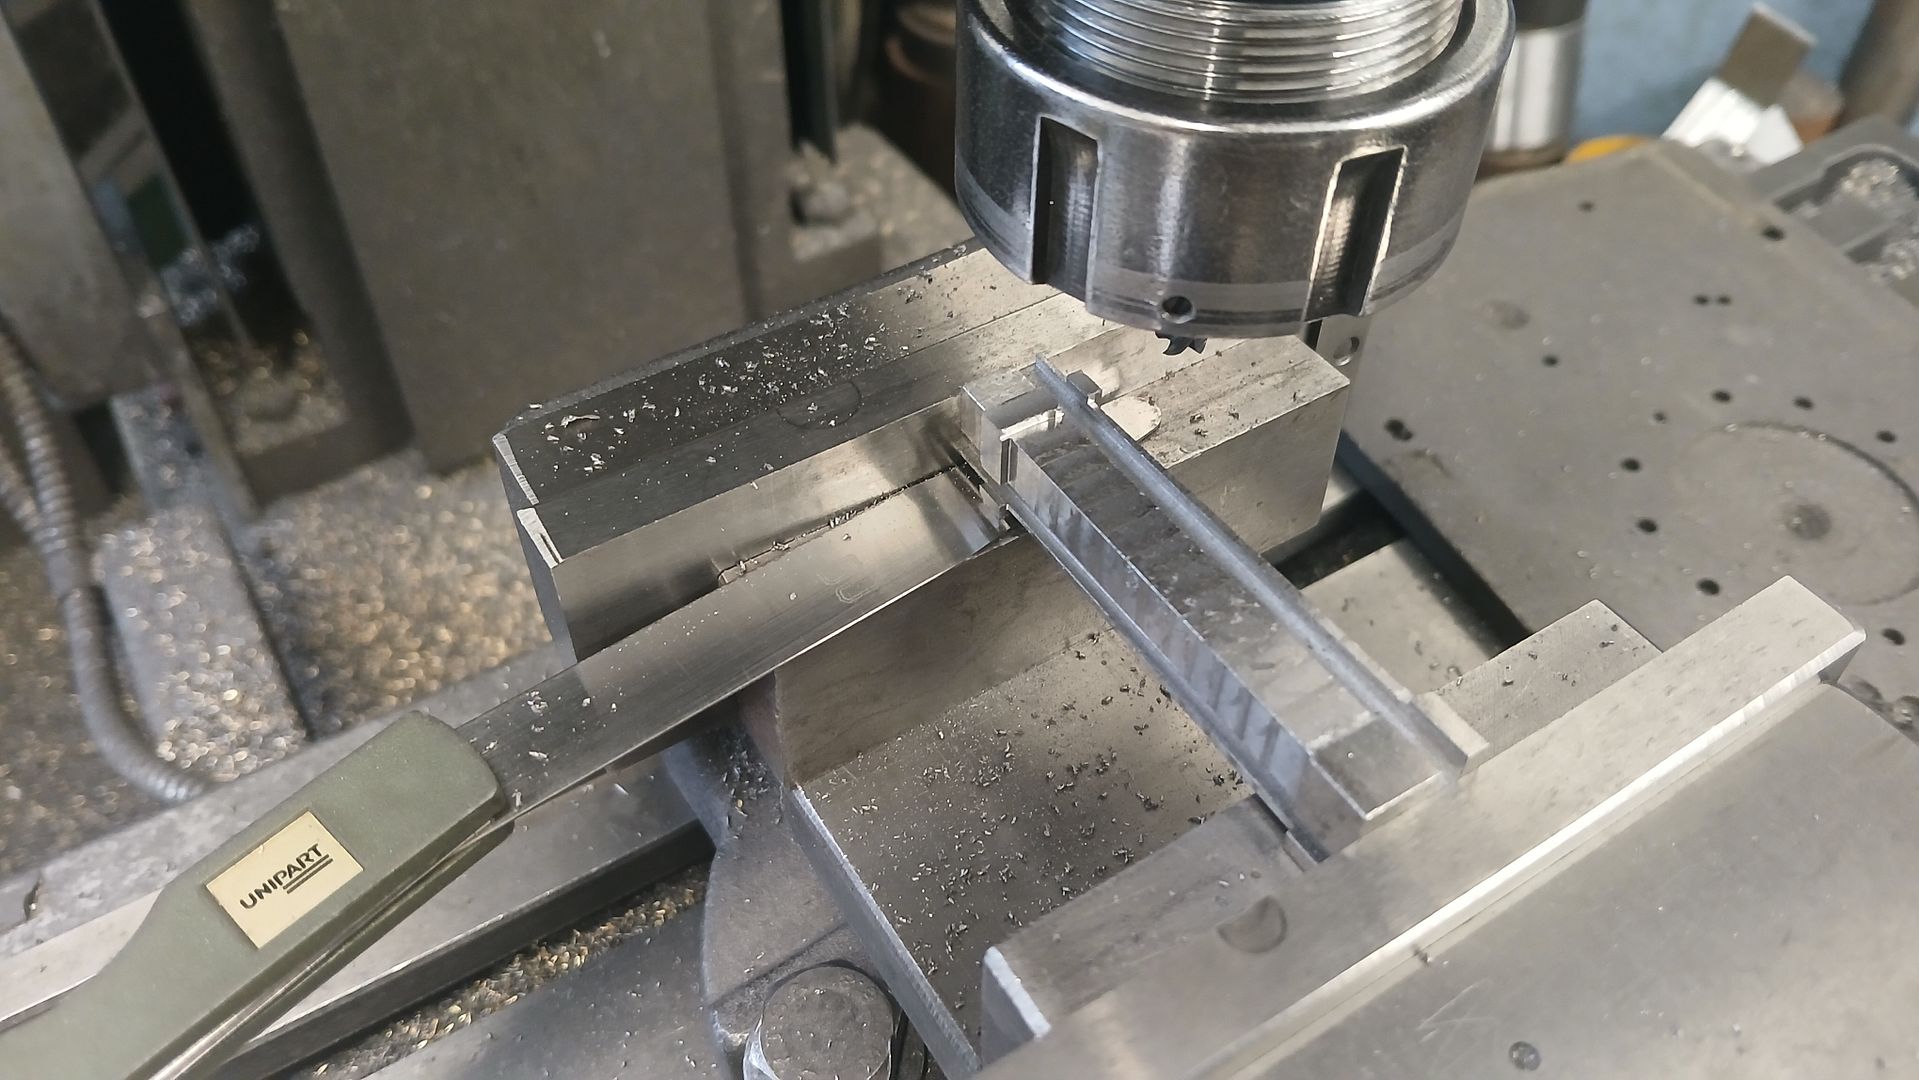
                    I milled the lengthways 3mm slots for the panels to go into then tilted the vice 0.75deg to cut the tapering sides and lastly the bead around the top was reduced by 0.5mm all round so it protruded the same 1mm from the face that the base does.

                    I still need to knock off all the external corners so they look more like castings but a trial fit shows it all goes together OK.

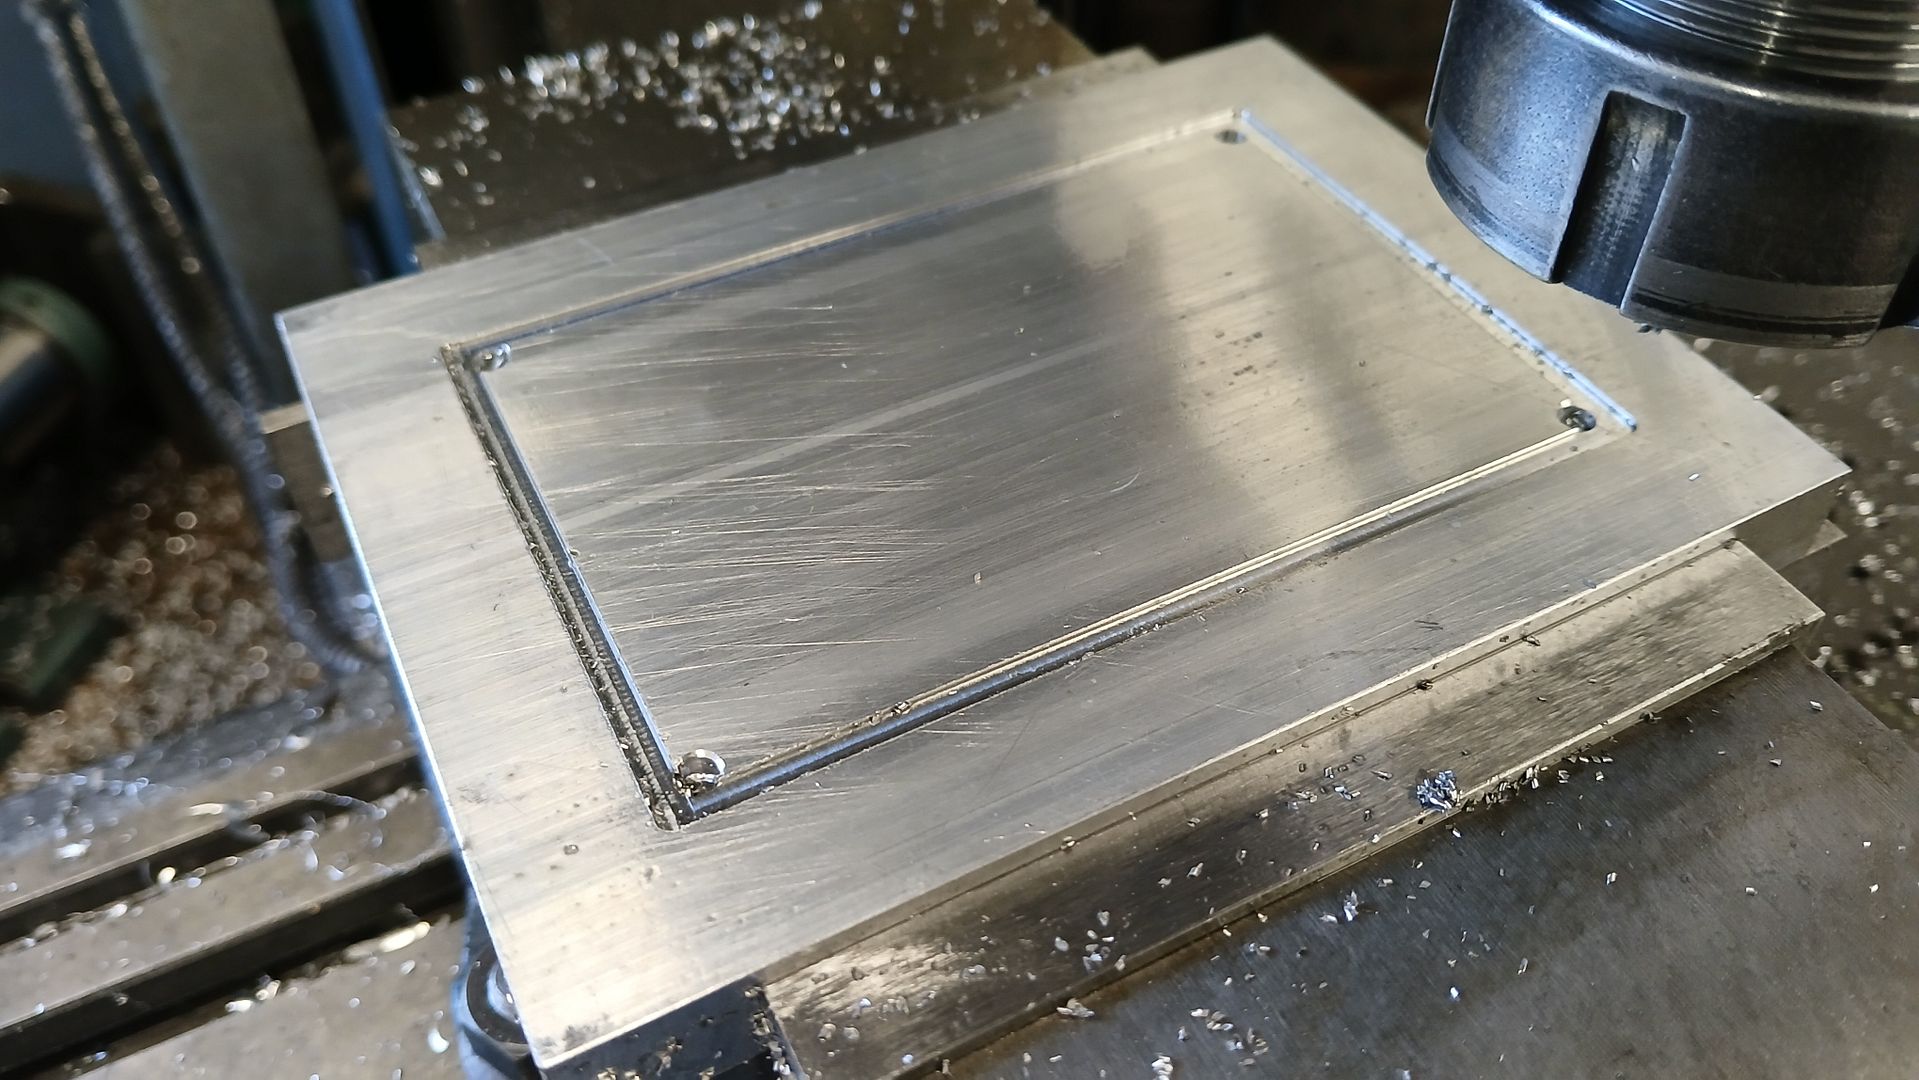
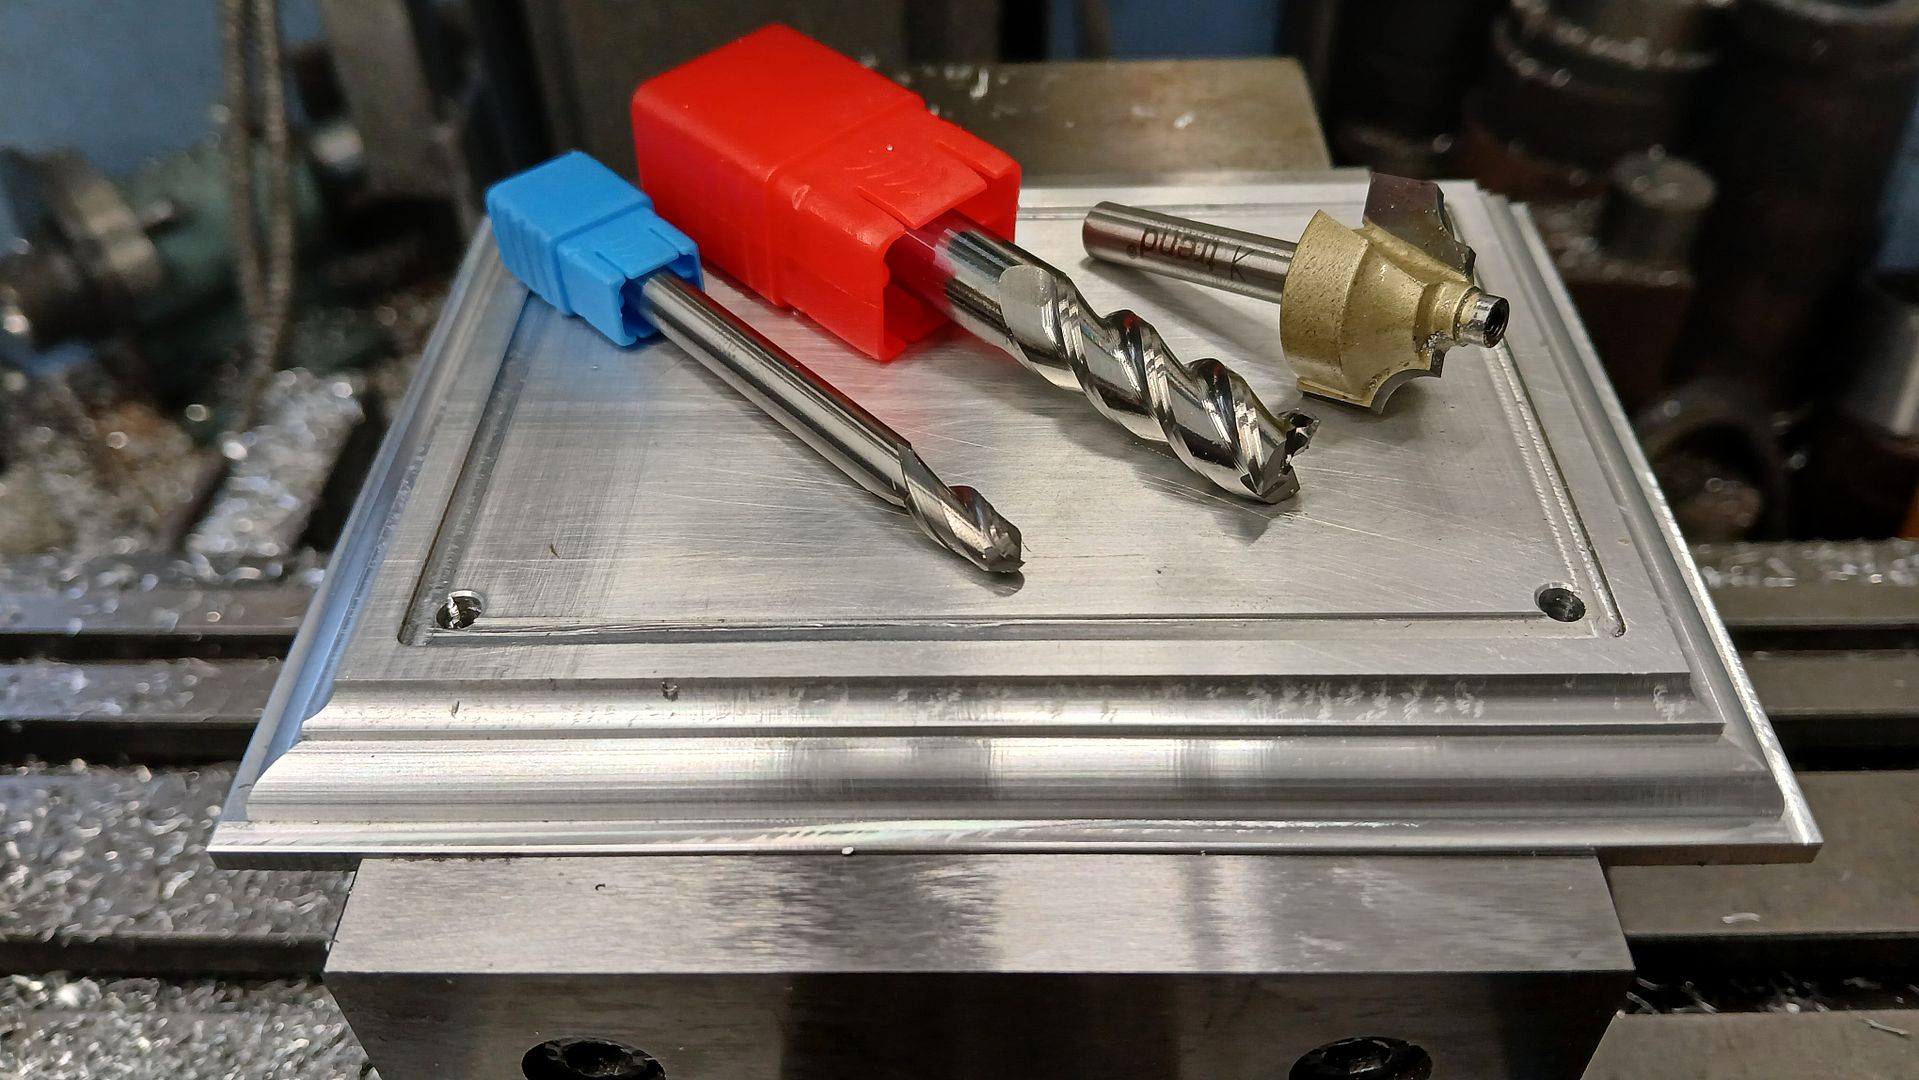
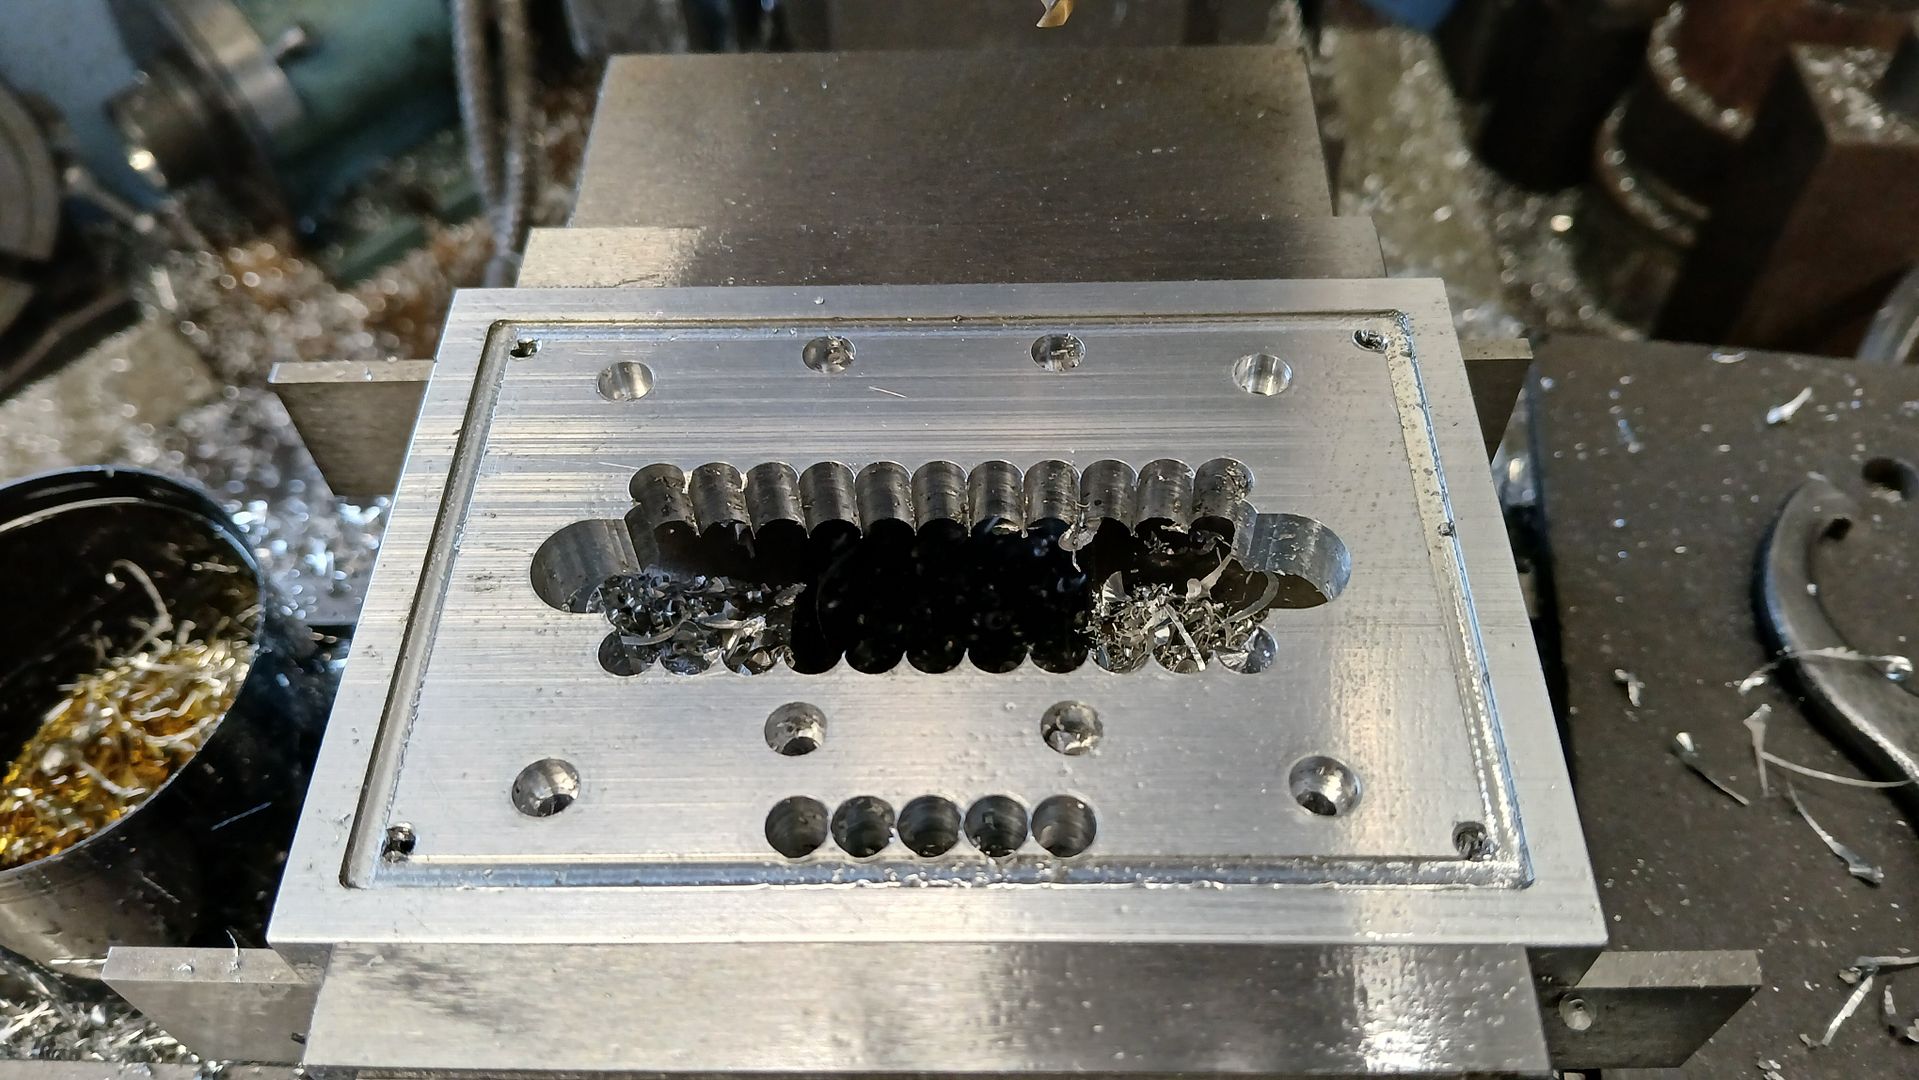
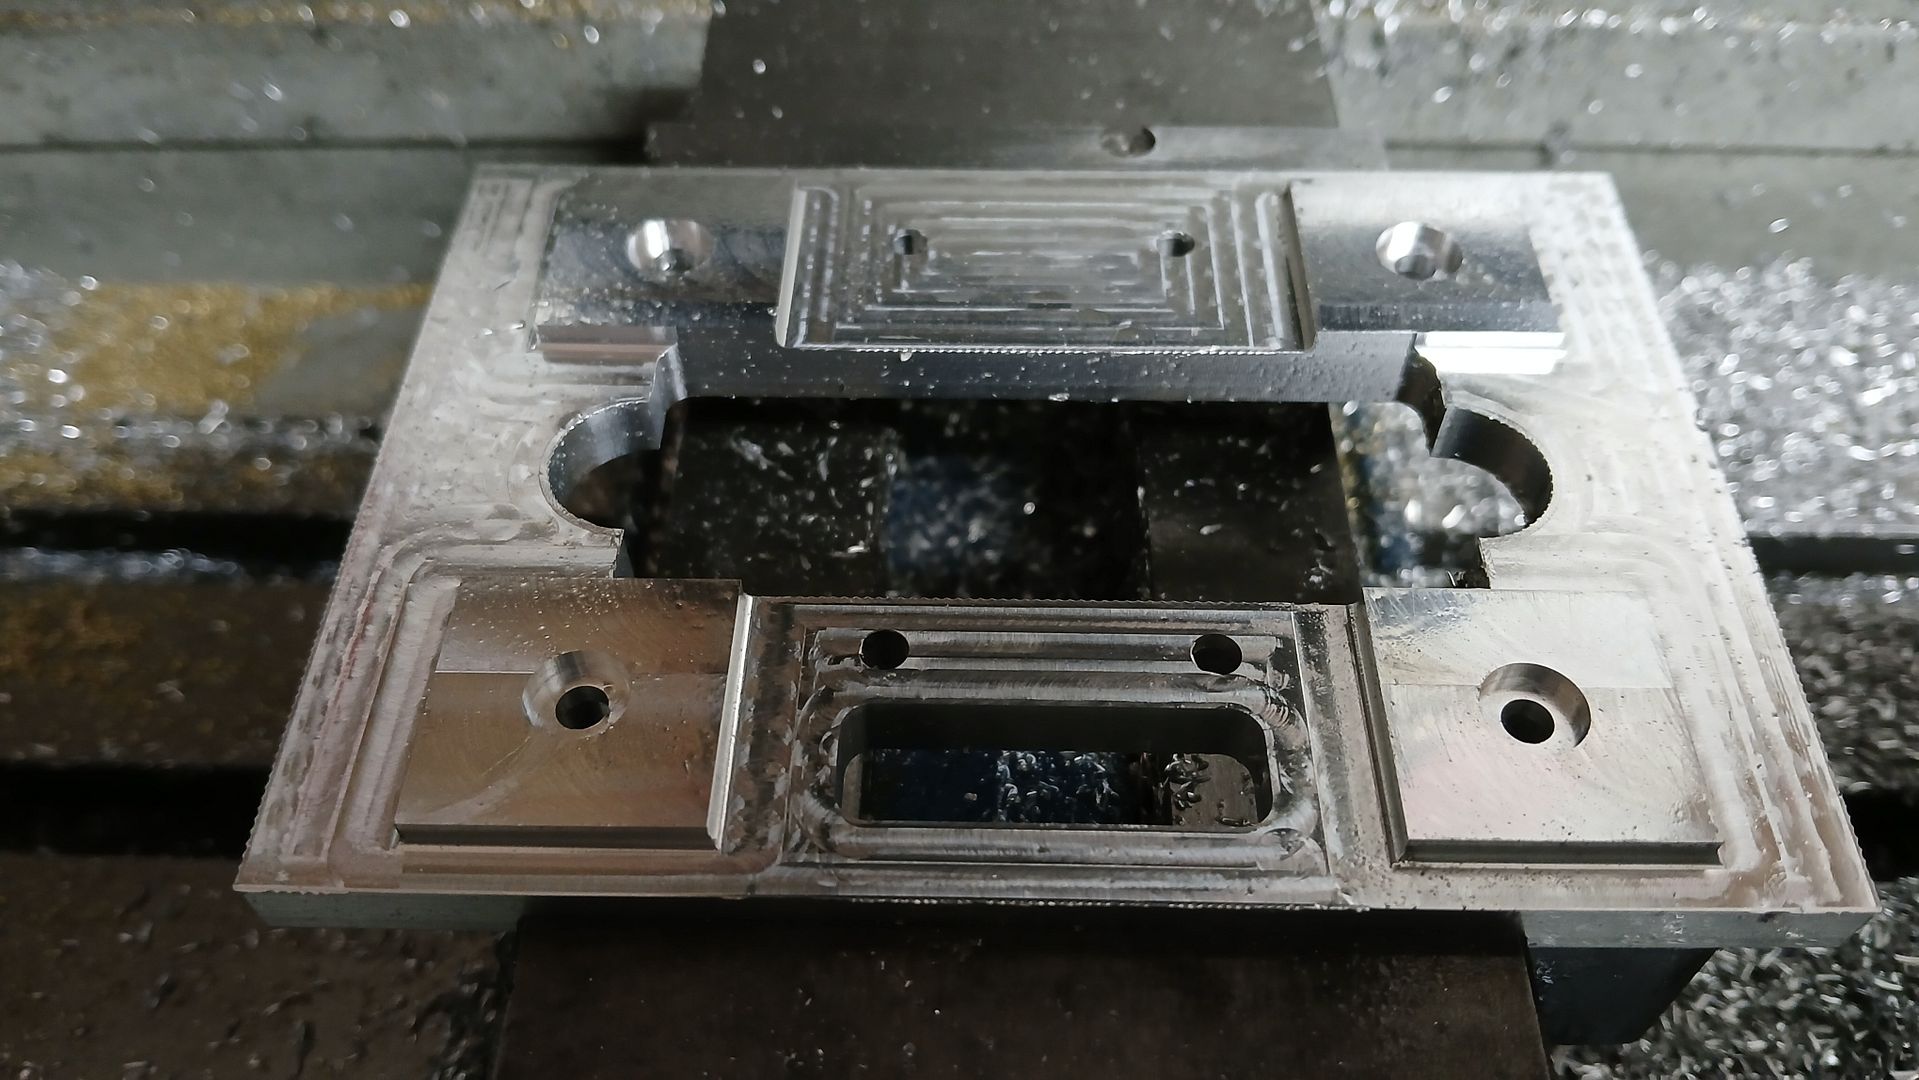
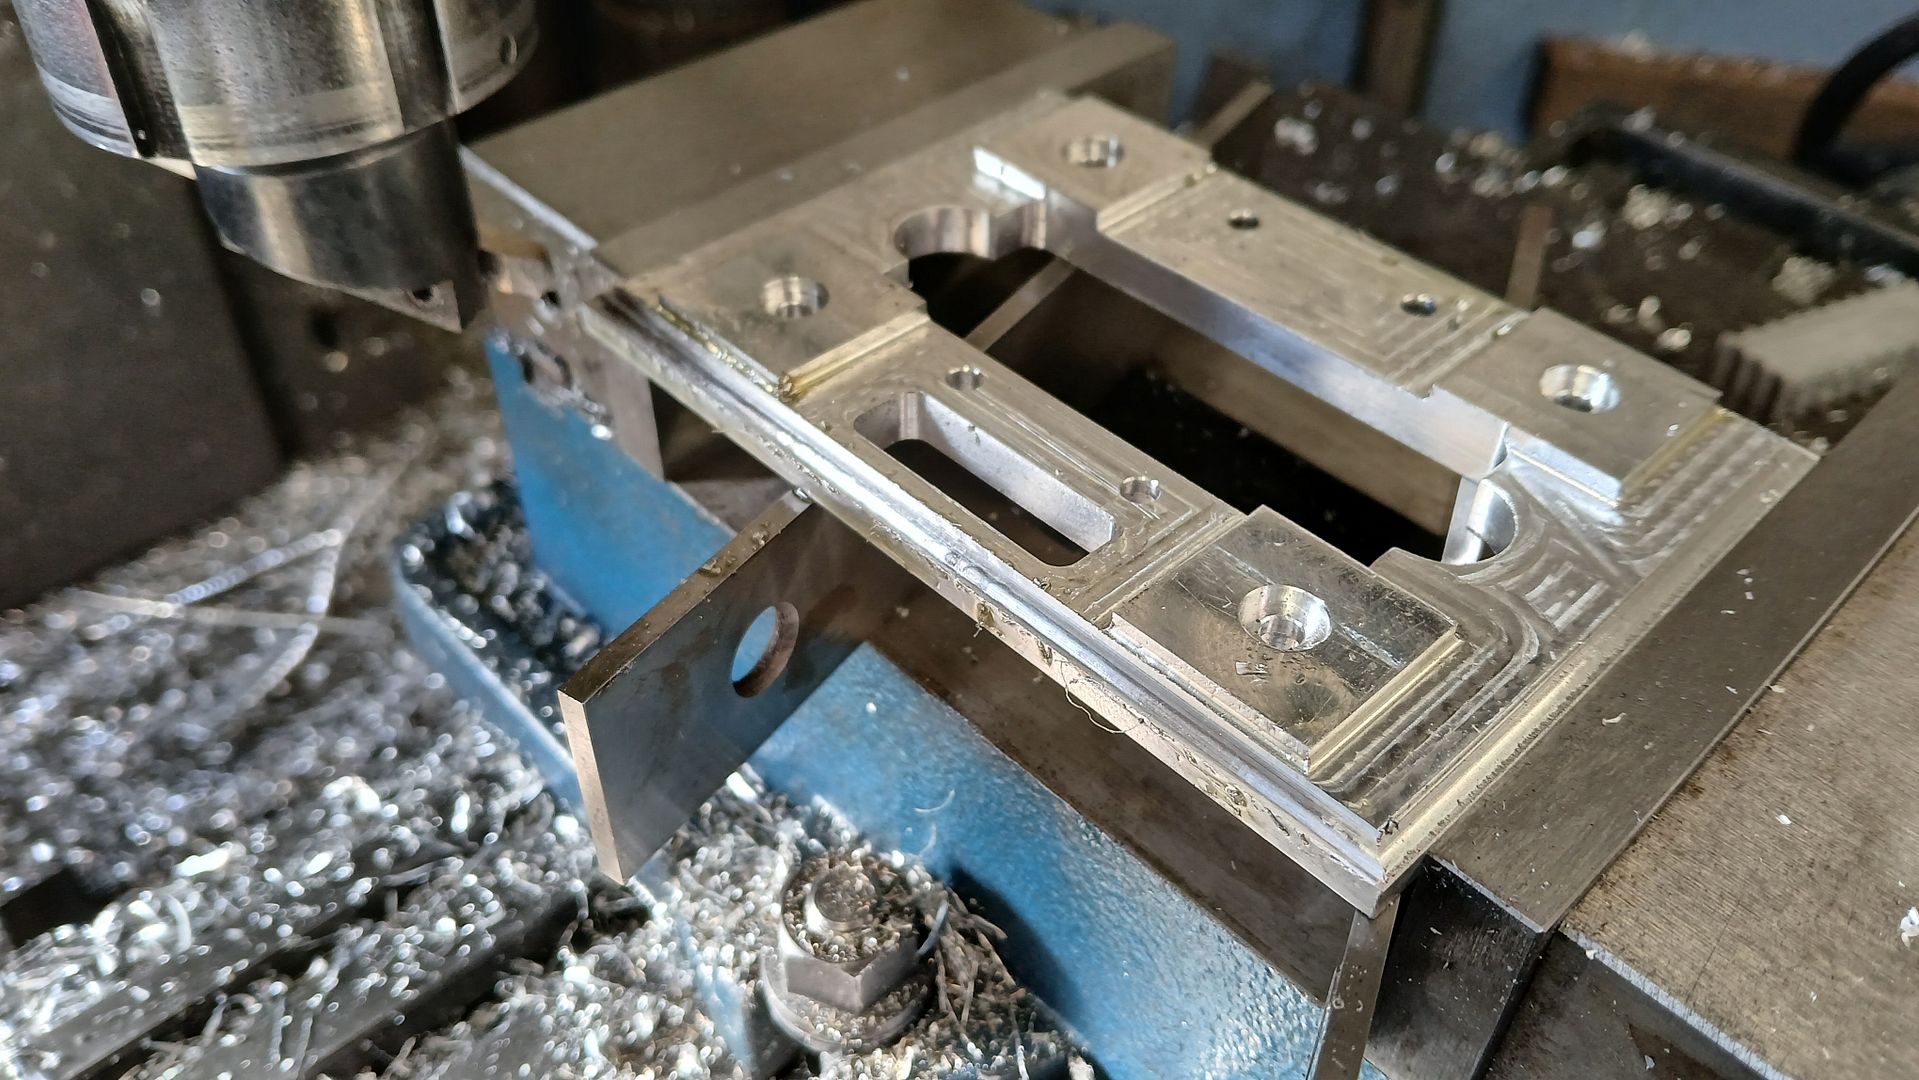
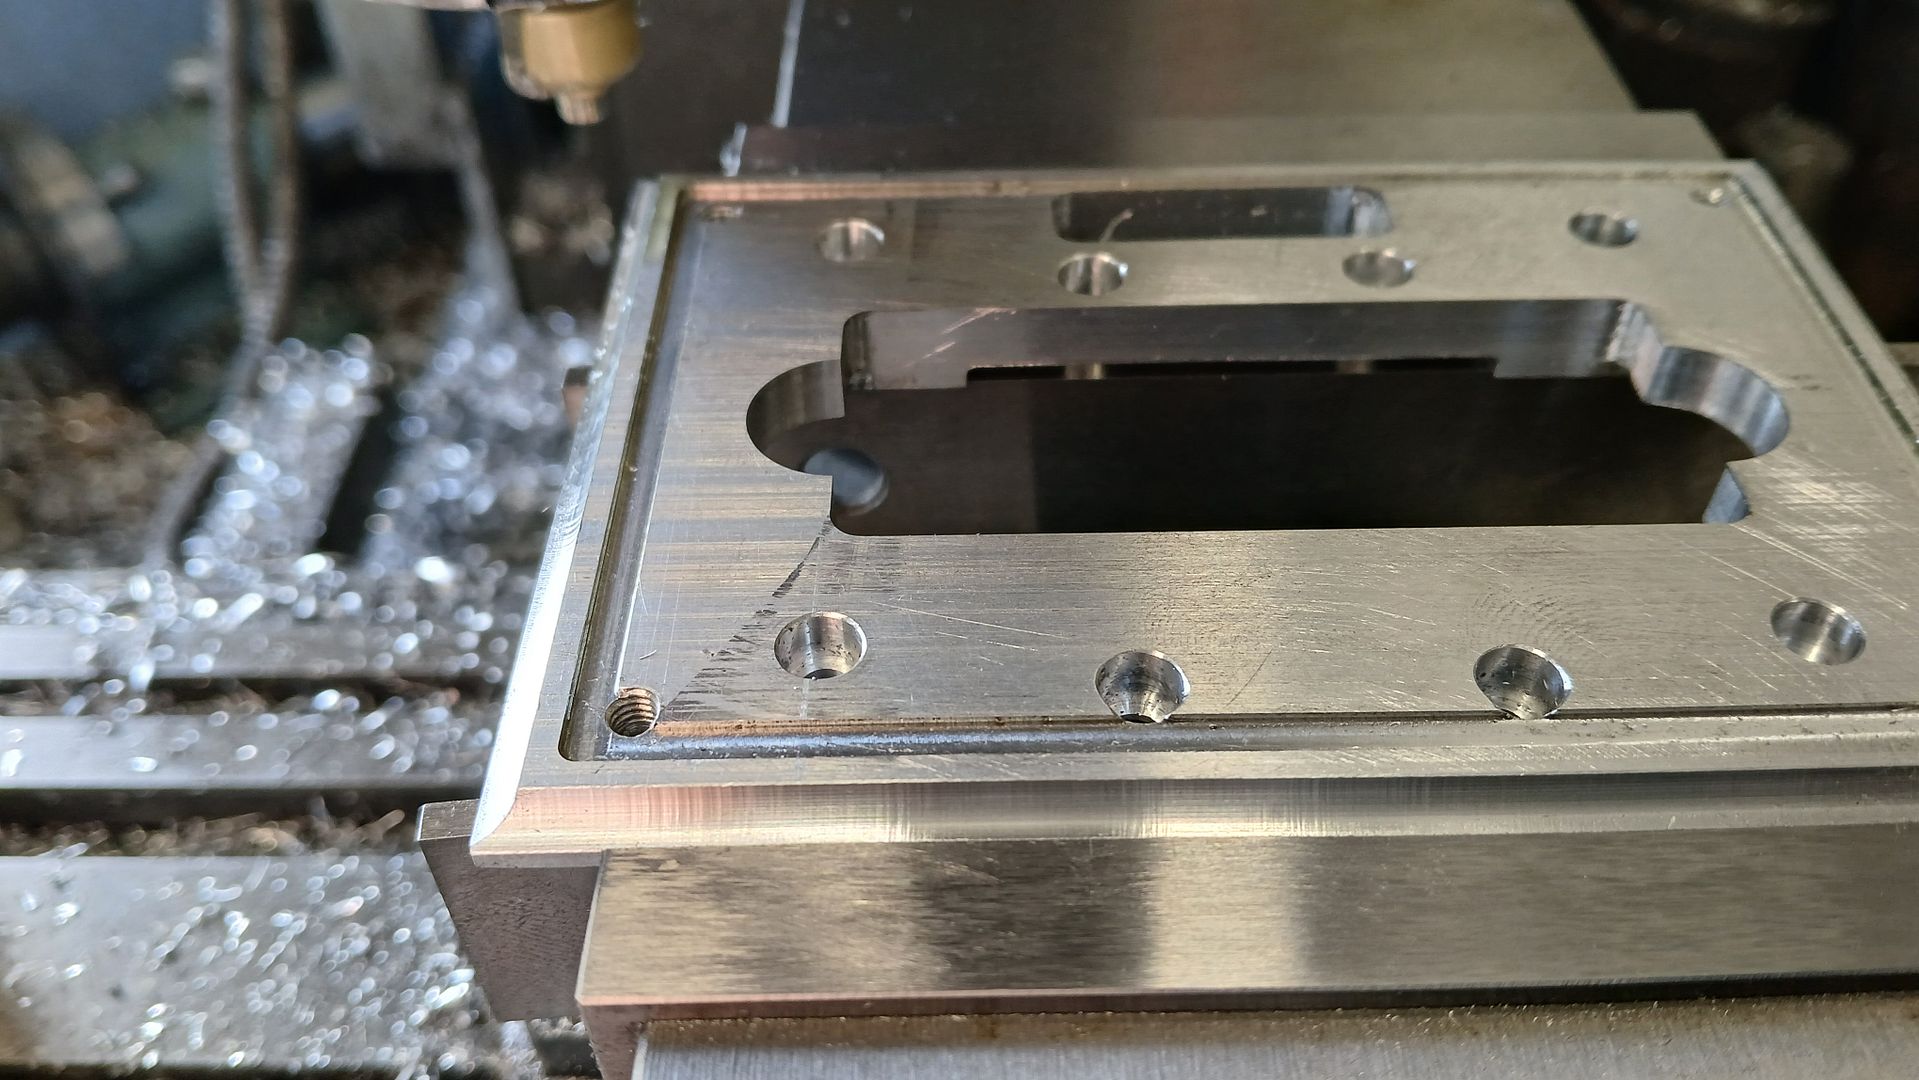
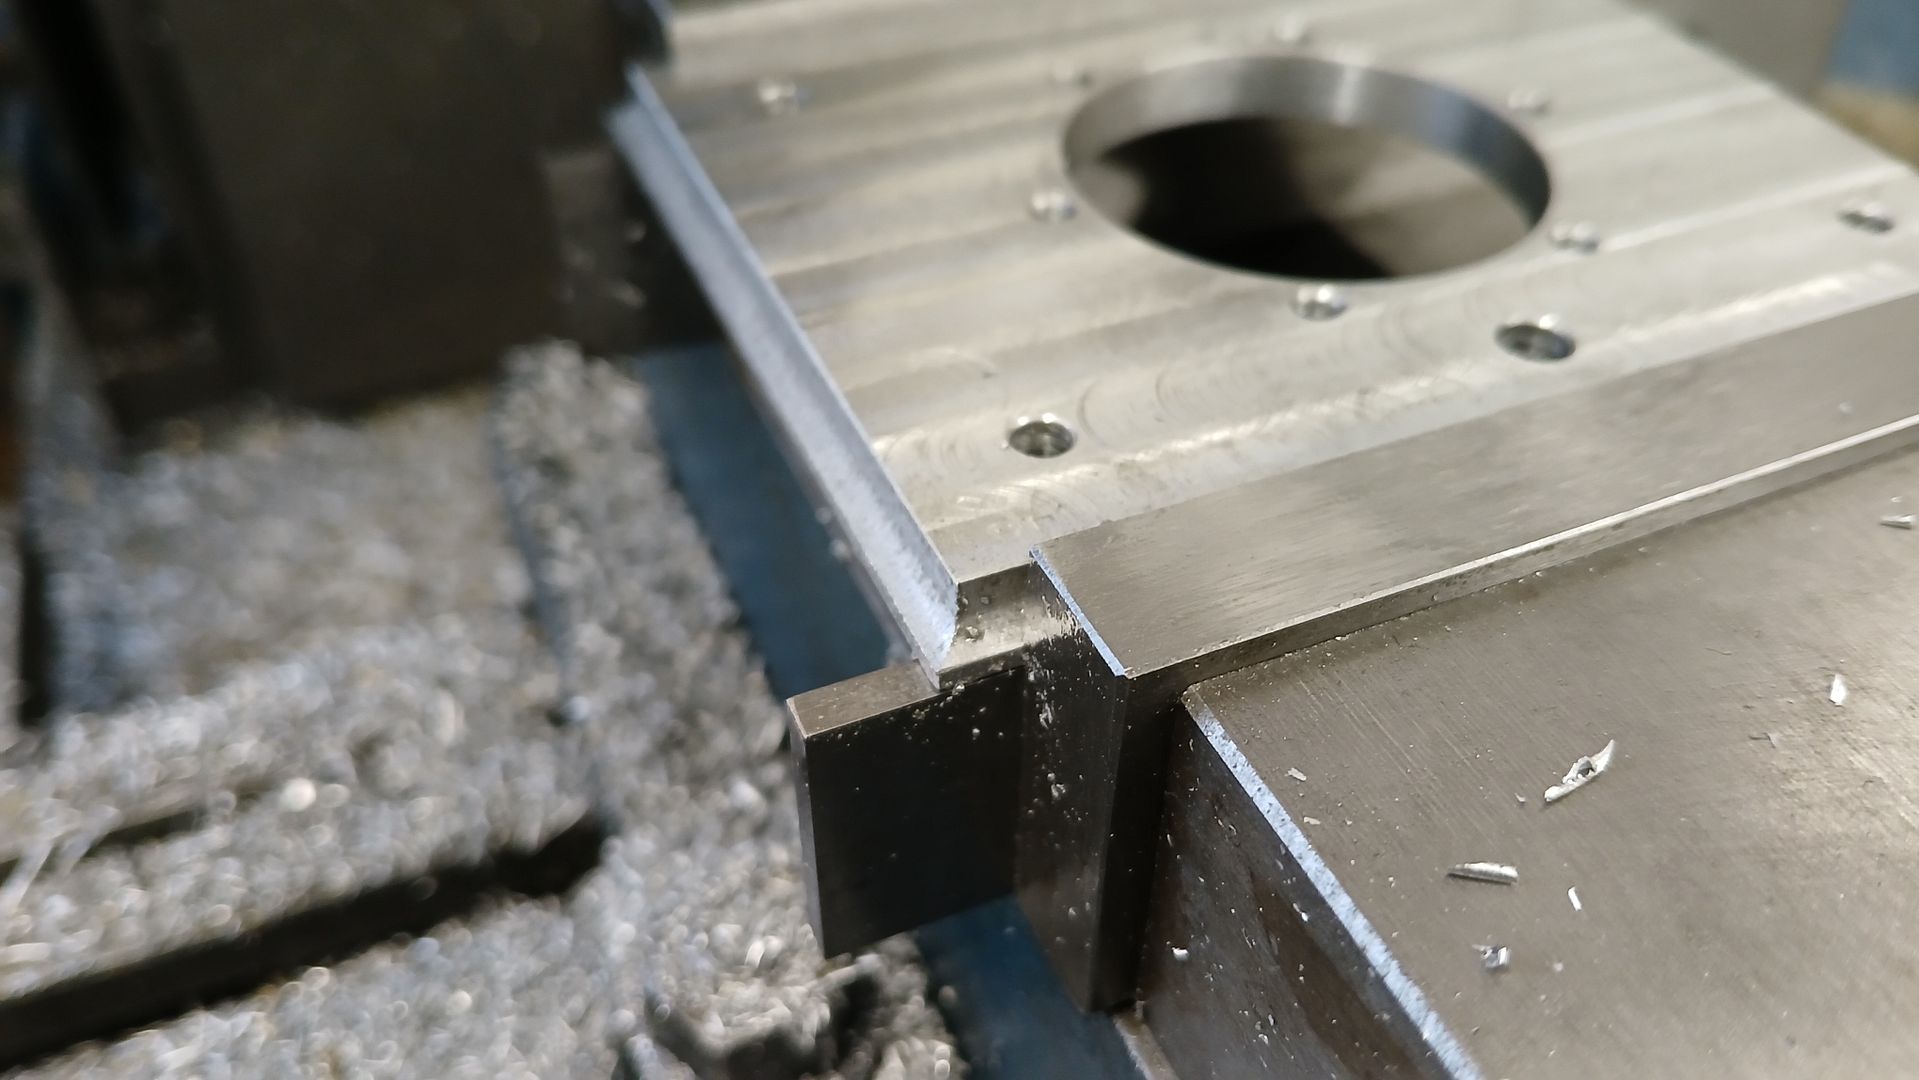
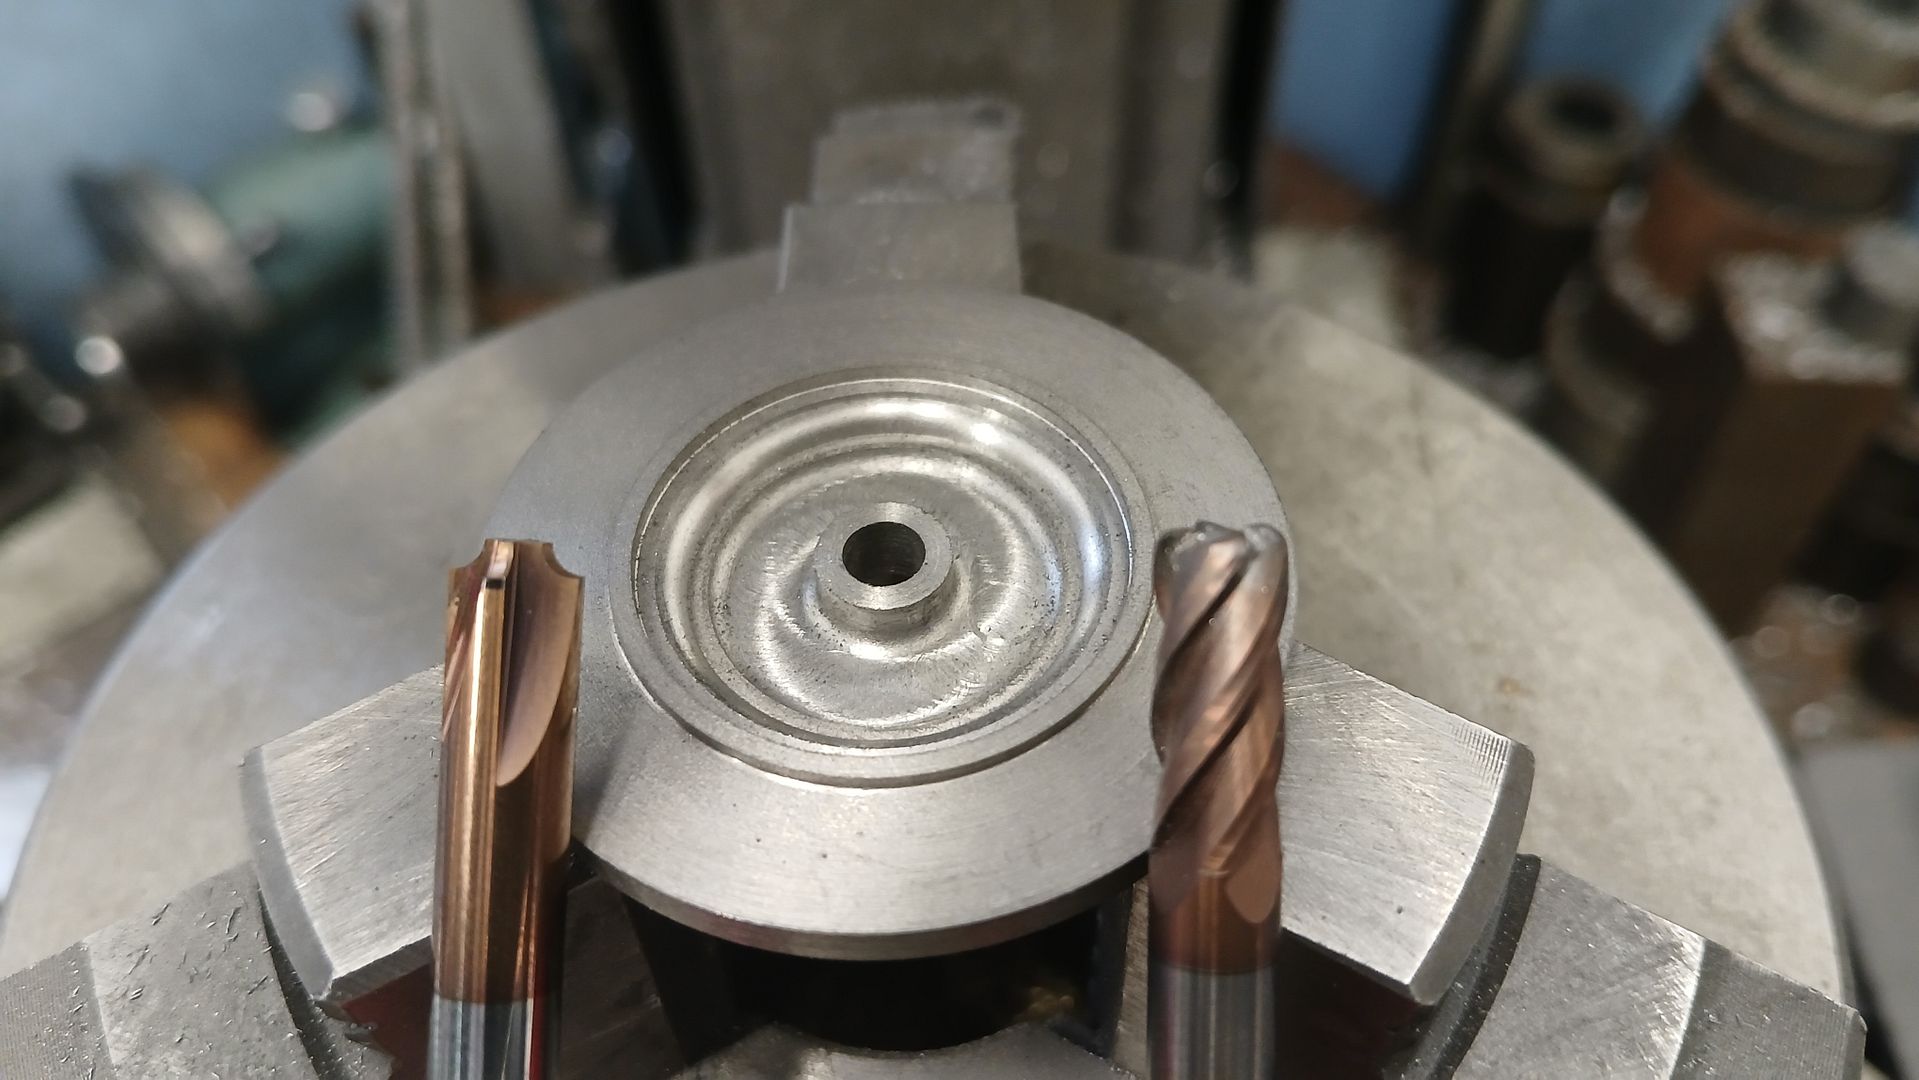
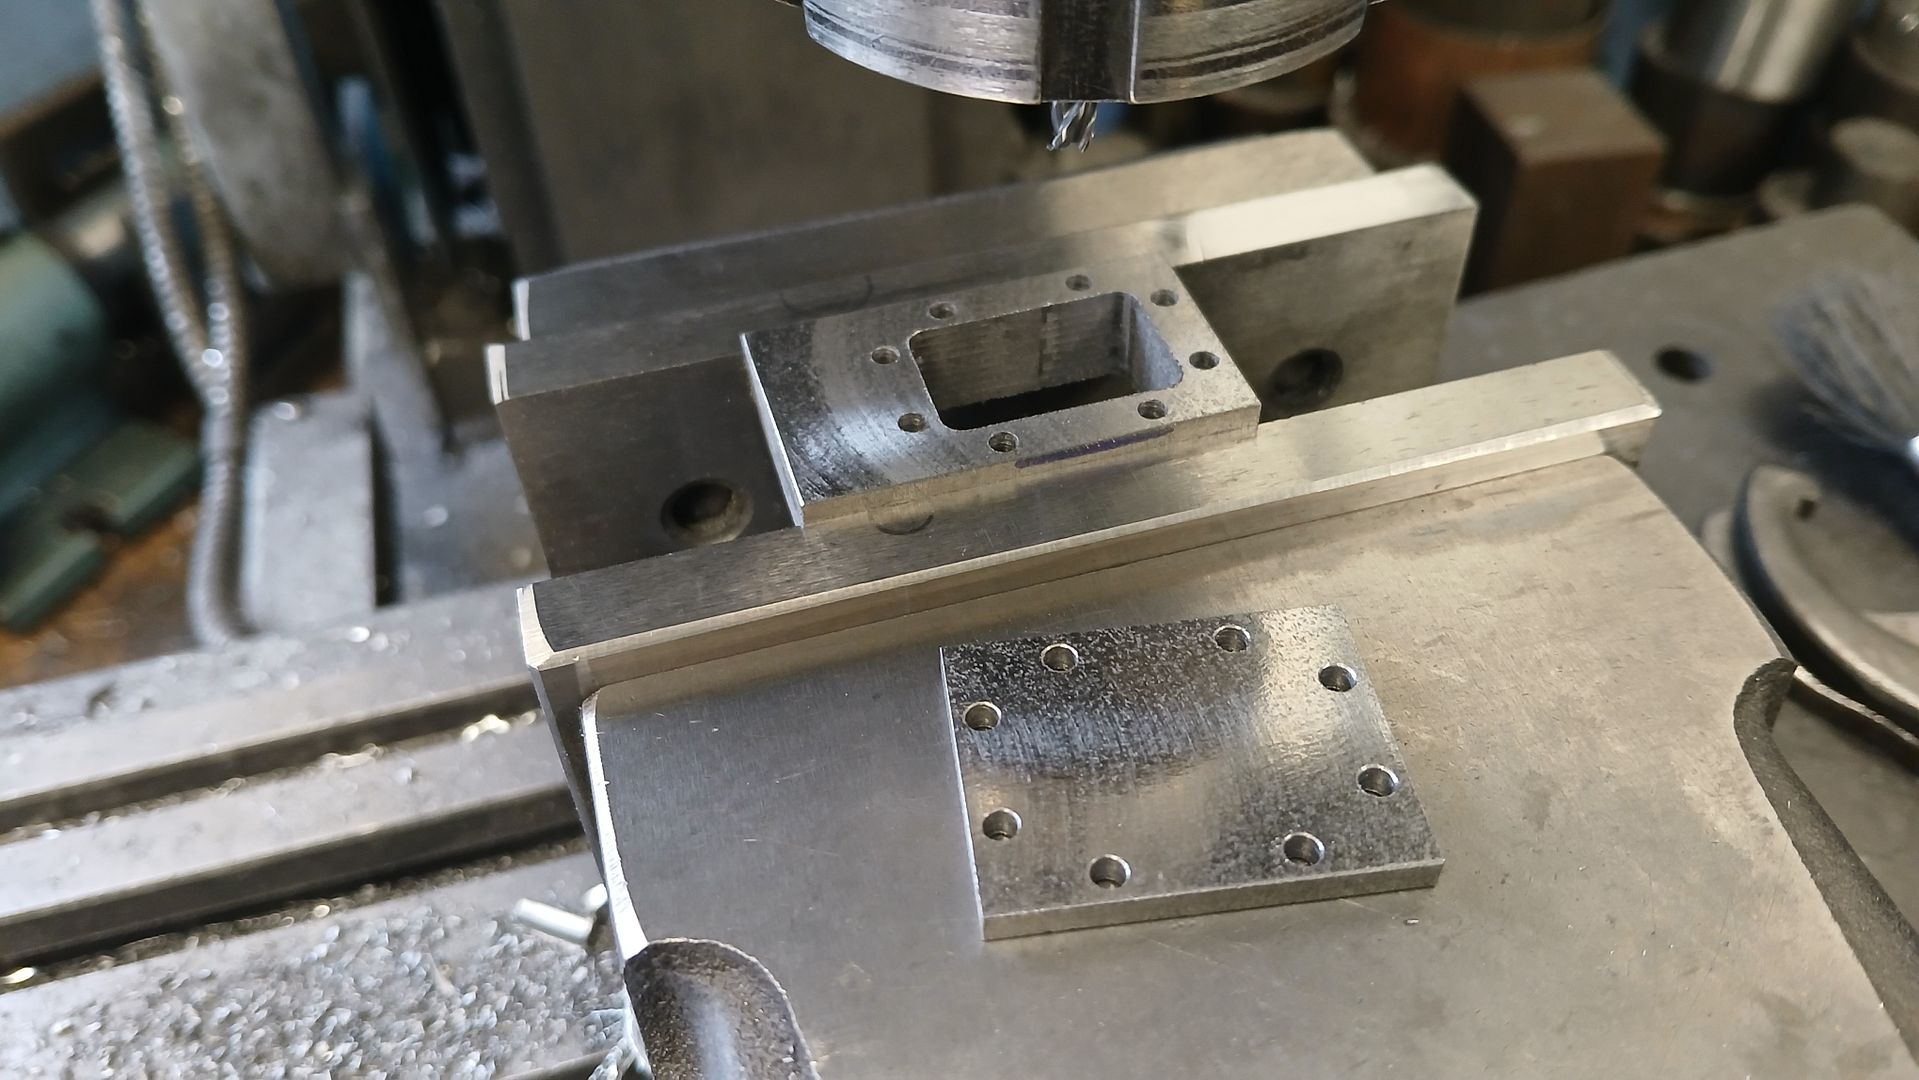
                    I made a start on the bottom plate. After milling to overall size the holes to attach the corner posts were drilled and a slot cut all round for the panels to just drop into.

                    #774930
                    SteveP
                    Participant
                      @stevepye68246

                      Lovely work Jason .

                      While I procrastinate about what to do, you’ve completed the part.

                      The steps used to producing your 3D cad model ,are those the steps used to create your fabrications ,

                      or do you look a the finished cad model and then decide how to make it?

                      Steve p


                    Viewing 9 posts - 1 through 9 (of 9 total)
                    • Please log in to reply to this topic. Registering is free and easy using the links on the menu at the top of this page.

                    Advert

                    Latest Replies

                    Home Forums Stationary engines Topics

                    Viewing 25 topics - 1 through 25 (of 25 total)
                    Viewing 25 topics - 1 through 25 (of 25 total)

                    View full reply list.

                    Advert

                    Newsletter Sign-up