Alyn Foundry Nattie #104

Advert

Alyn Foundry Nattie #104

Home Forums Stationary engines Alyn Foundry Nattie #104

Viewing 6 posts - 1 through 6 (of 6 total)
  • Author
    Posts
  • #648749
    JasonB
    Moderator
      @jasonb

      Those not familiar with the background history of Alyn Foundry's Nattie would do well to read Grahams thread here

      A while ago I was lucky enough to get one of the original sets of castings. As there were no drawings one of the first things I did was study and measure the small number of castings together with images of Graham's newly completed engine and then draw it up using Alibre to all metric sizes. With that done it was time to make some swarf.

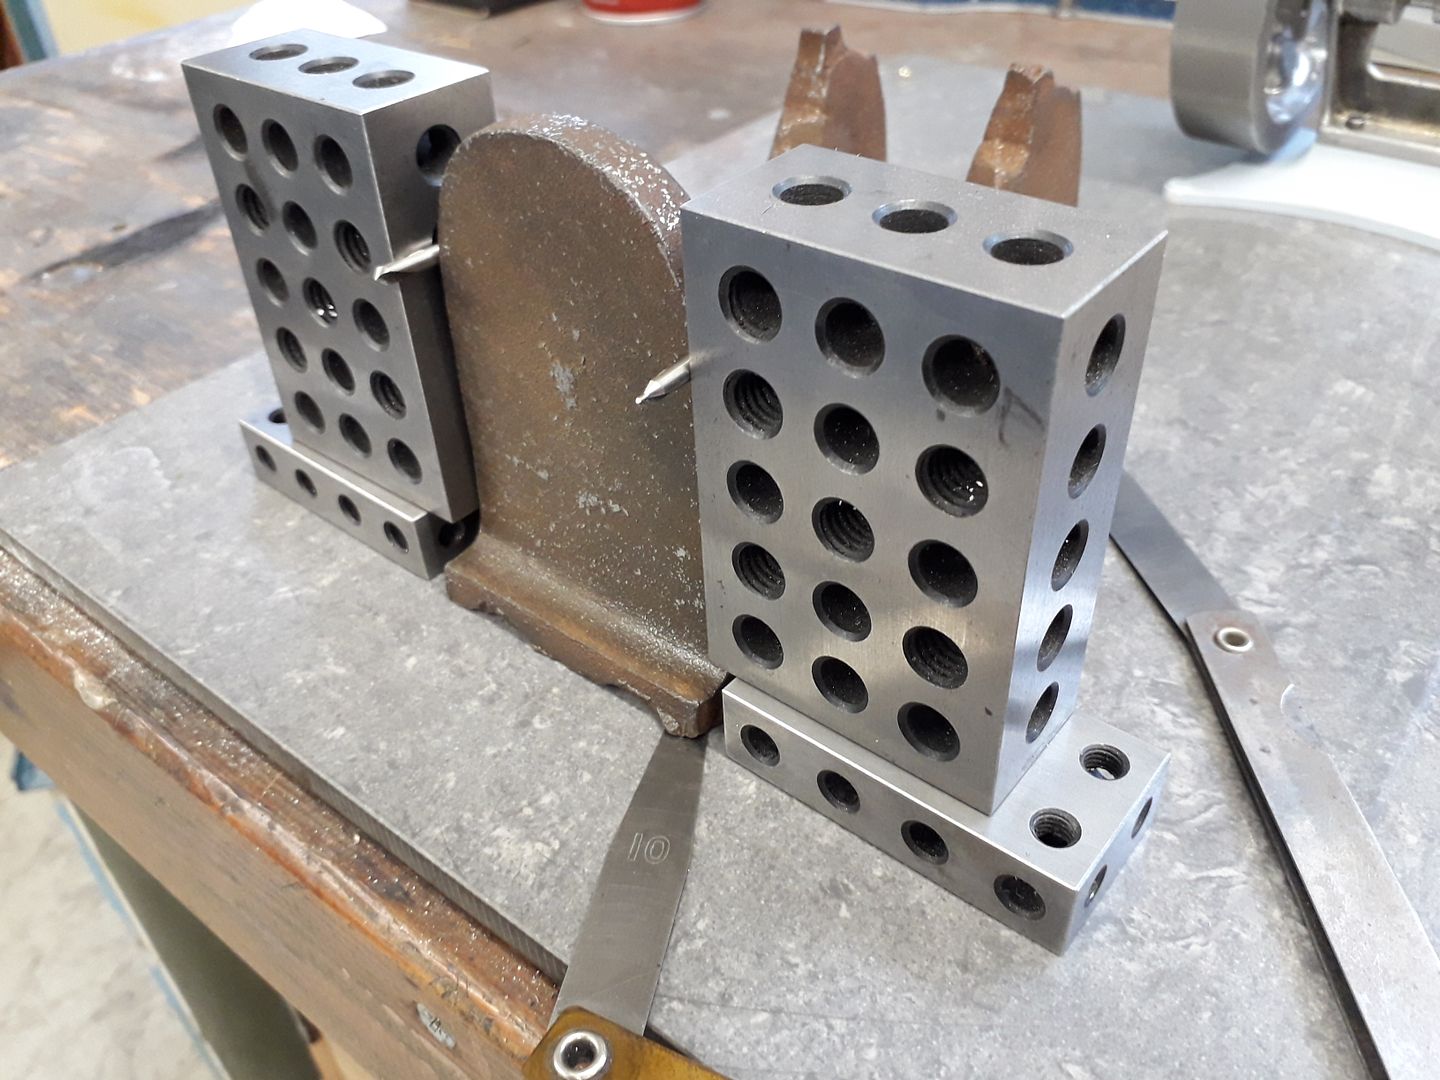
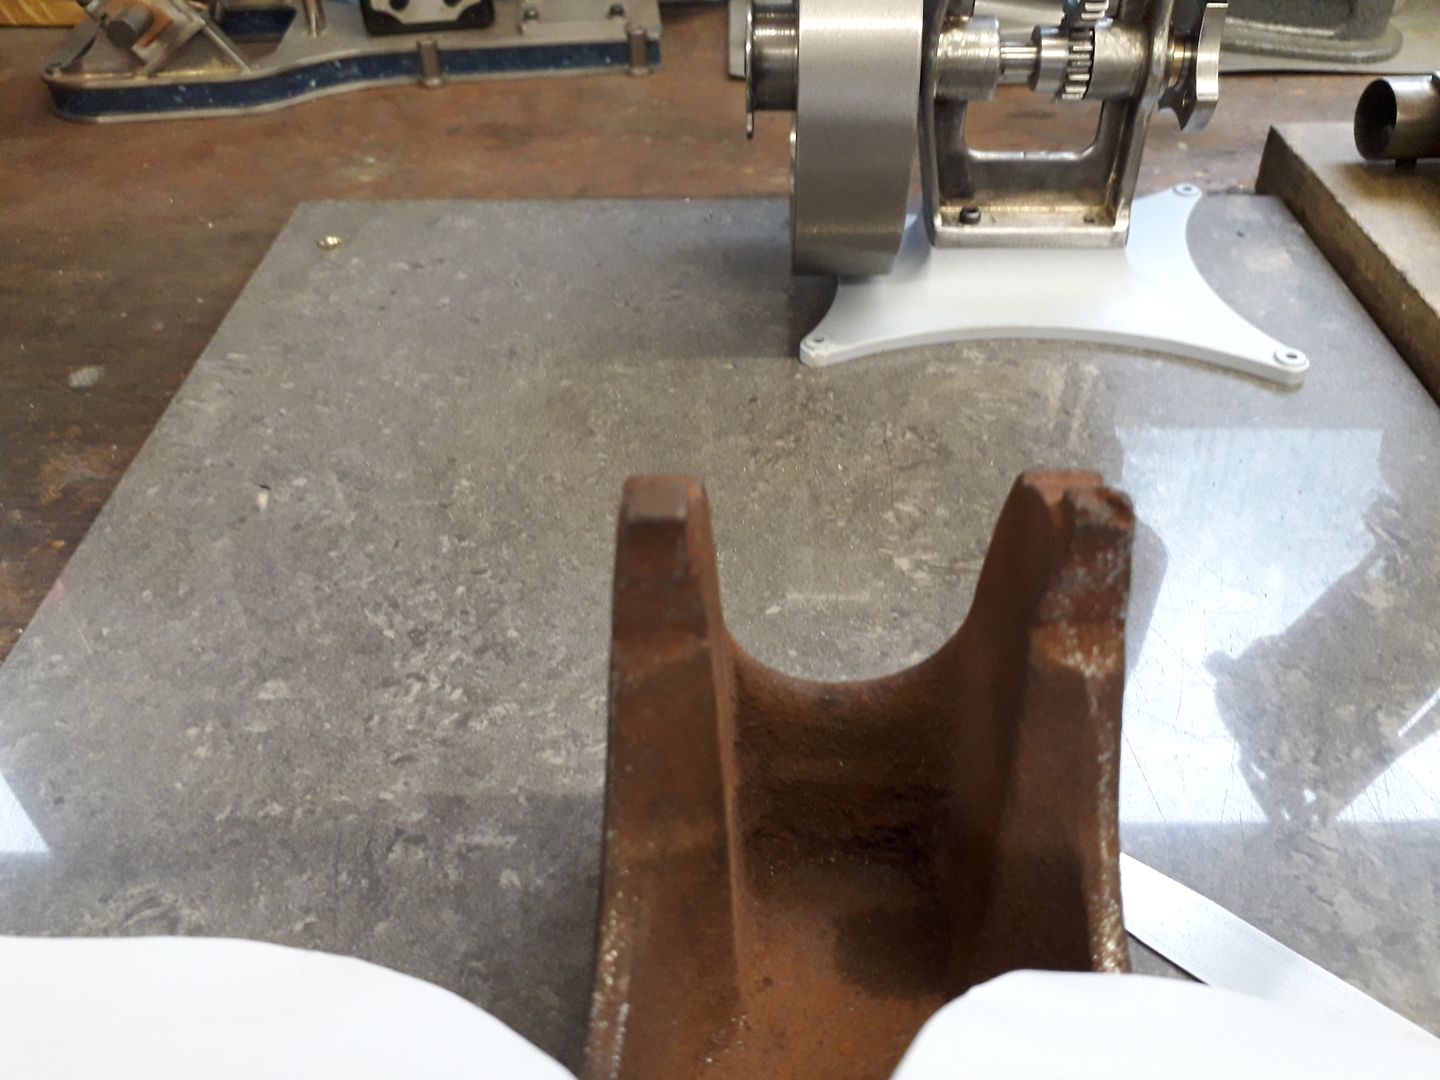
      After an initial clean up with files & Dremel to remove any flash and remains of the casting gated the bed casting was sat on a flat surface and some time spend shimming it up so that the unmachined surfaces would sit as true as possible once the others had been machined. Here I am using two drill bits to check the gap at the top of the tapering sides and some 1-2-3 blocks is equal each side using feeler gauges to get the casting sitting true.

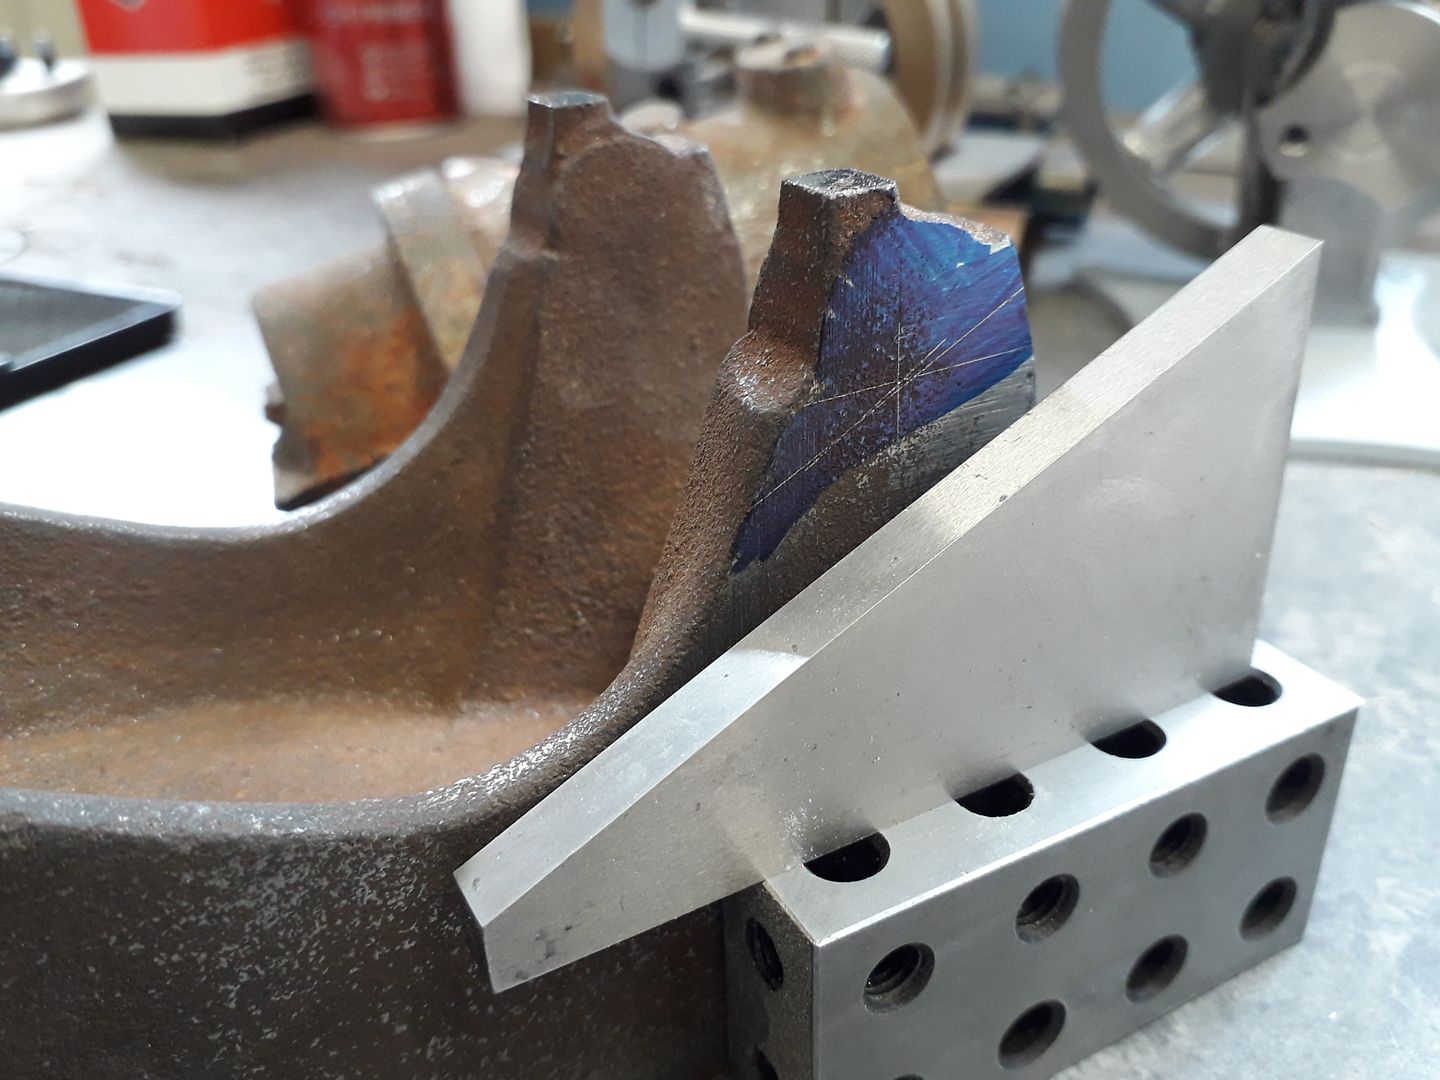
      In this shot you can see that the cap and oil pot on the right have not fully formed on the casting So at the drawing up stage I had decided that I would machine off the cast caps and fit new ones cut from solid.

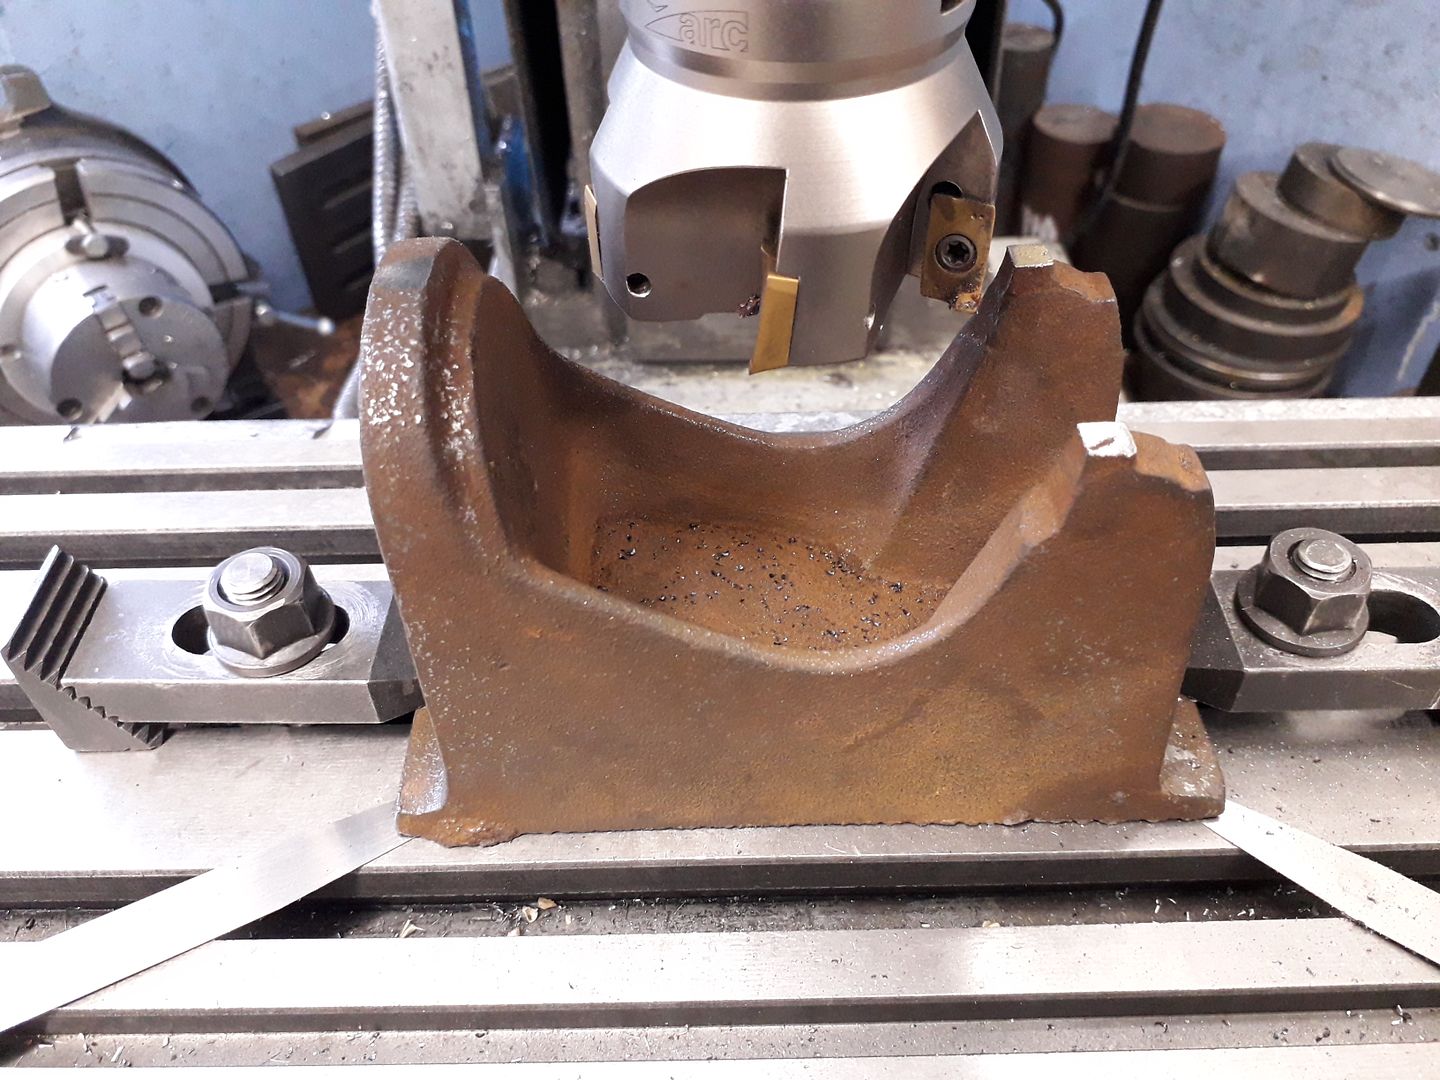
      Once happy with the casting's position a note was made of the gauge thicknesses and then the work was shimmed up in the same position on the mill. I used a carbide insert shell mill to just skim the tops of the two bearing caps and form a very slight flat on the crest of the cylinder mounting flange taking a note of the difference in height on the DRO.

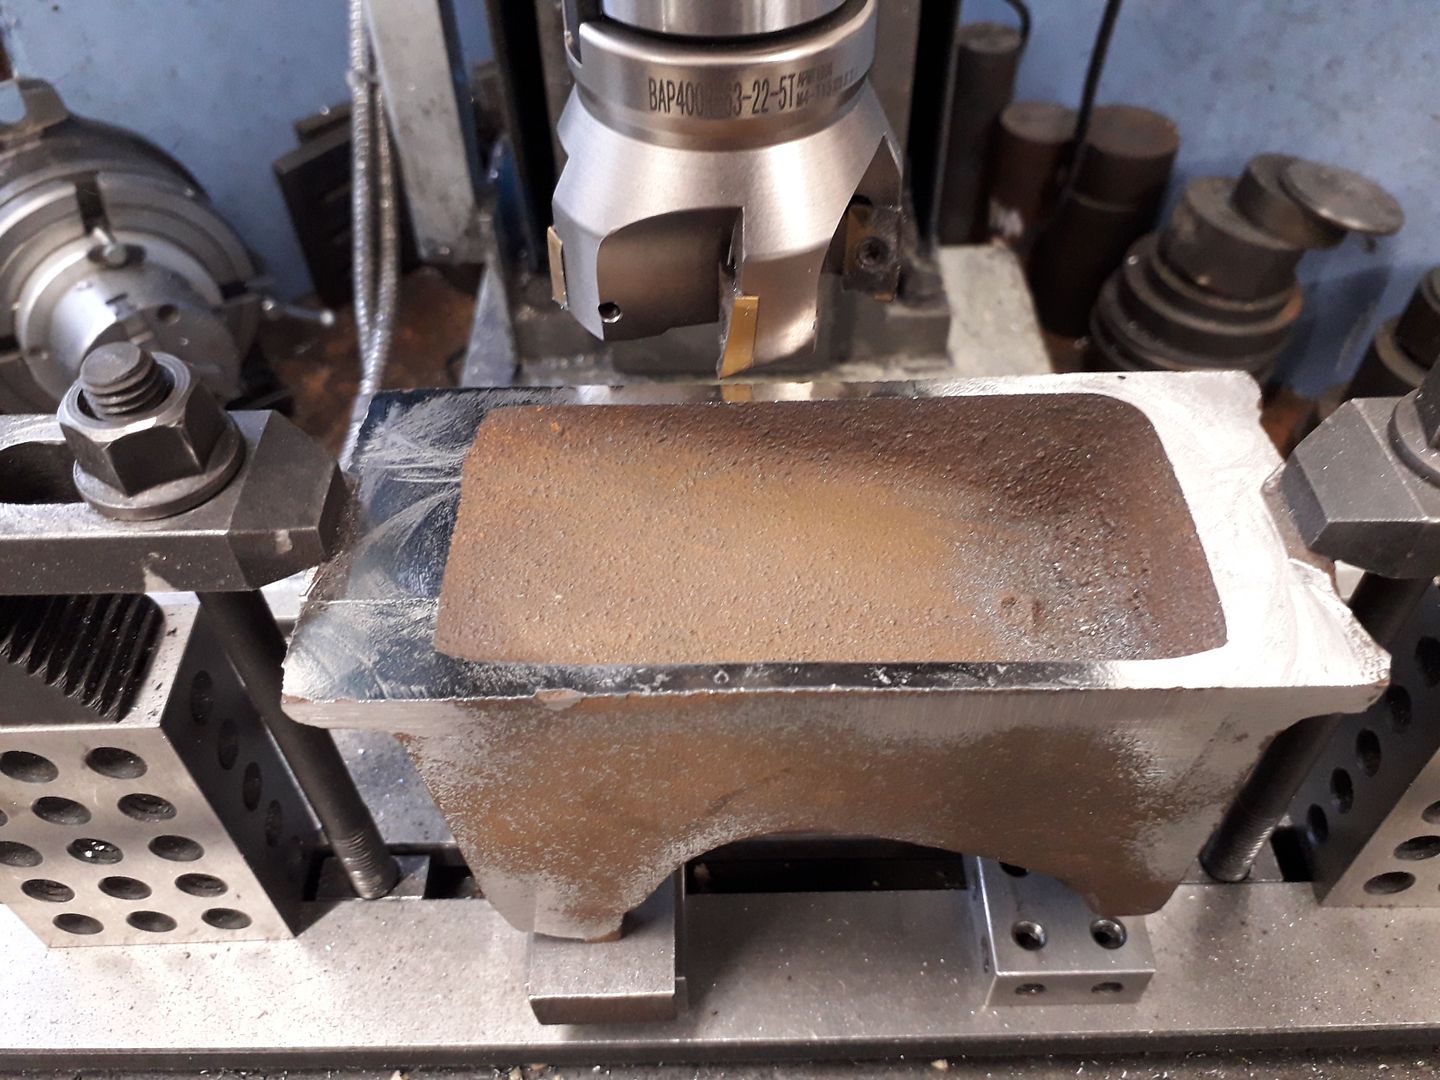
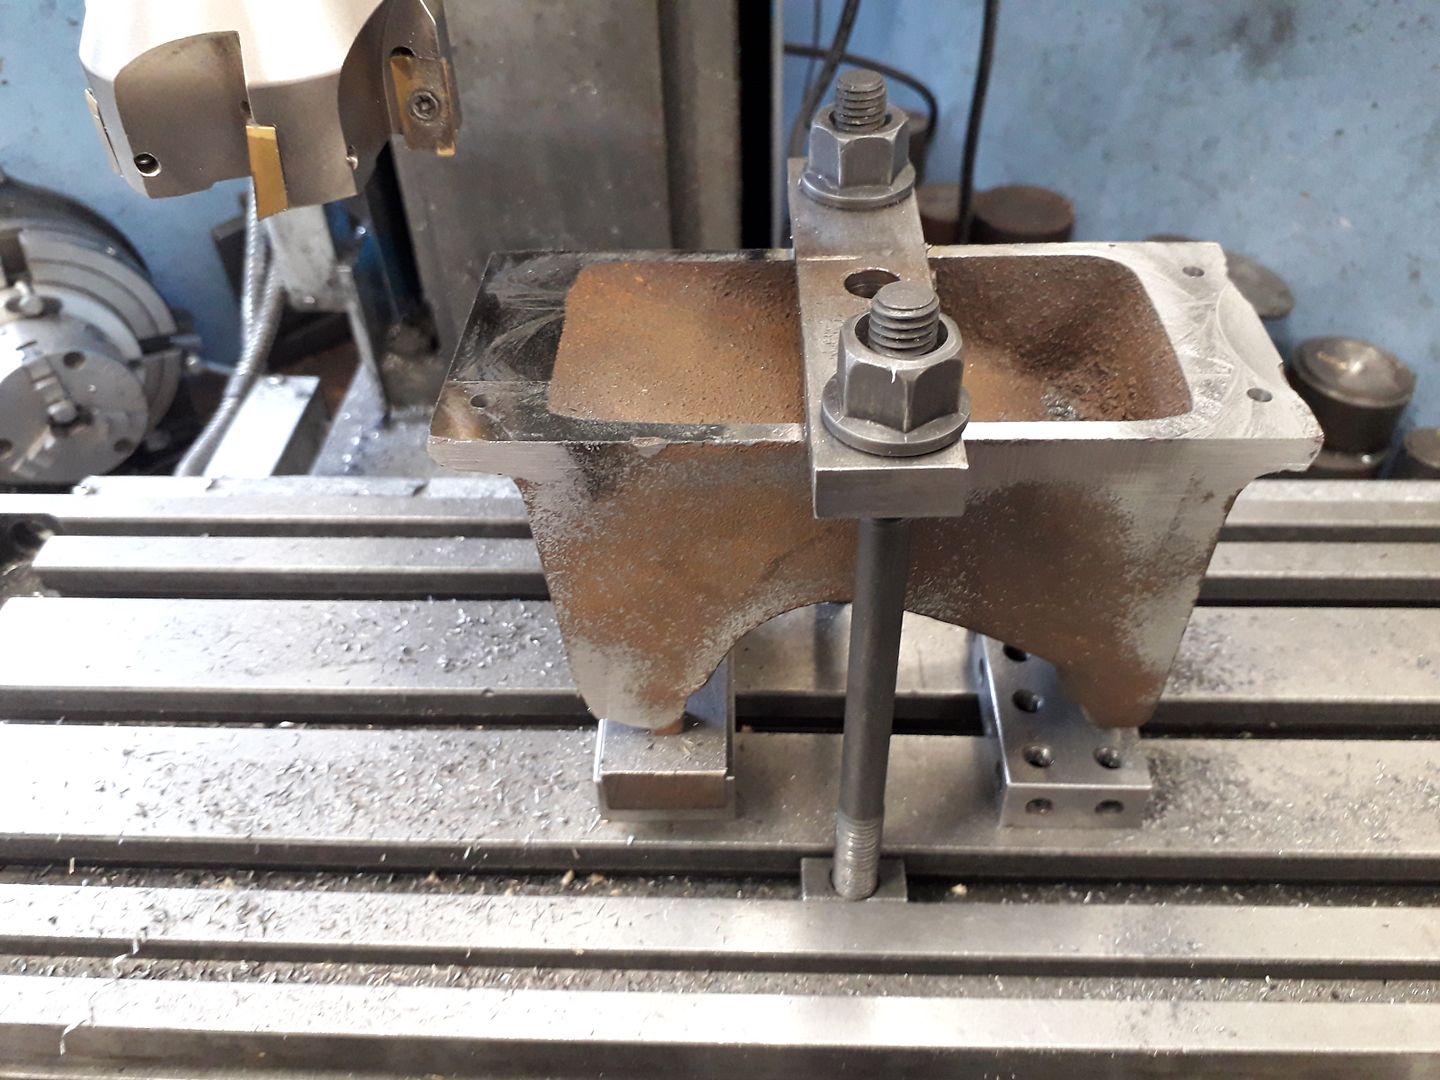
      That gave me three points to mount the casting on upside down so that the underside could then be machined flat and true to the position I had set the casting up at on the marking table. Most was done with a clamp at each end, again using the shell mill which was just as well as the casting was quite hard as the bright shiny surface testifies. Four mounting holes were also drilled at this setting and a light skim taken to tidy the two long edges of the flange.

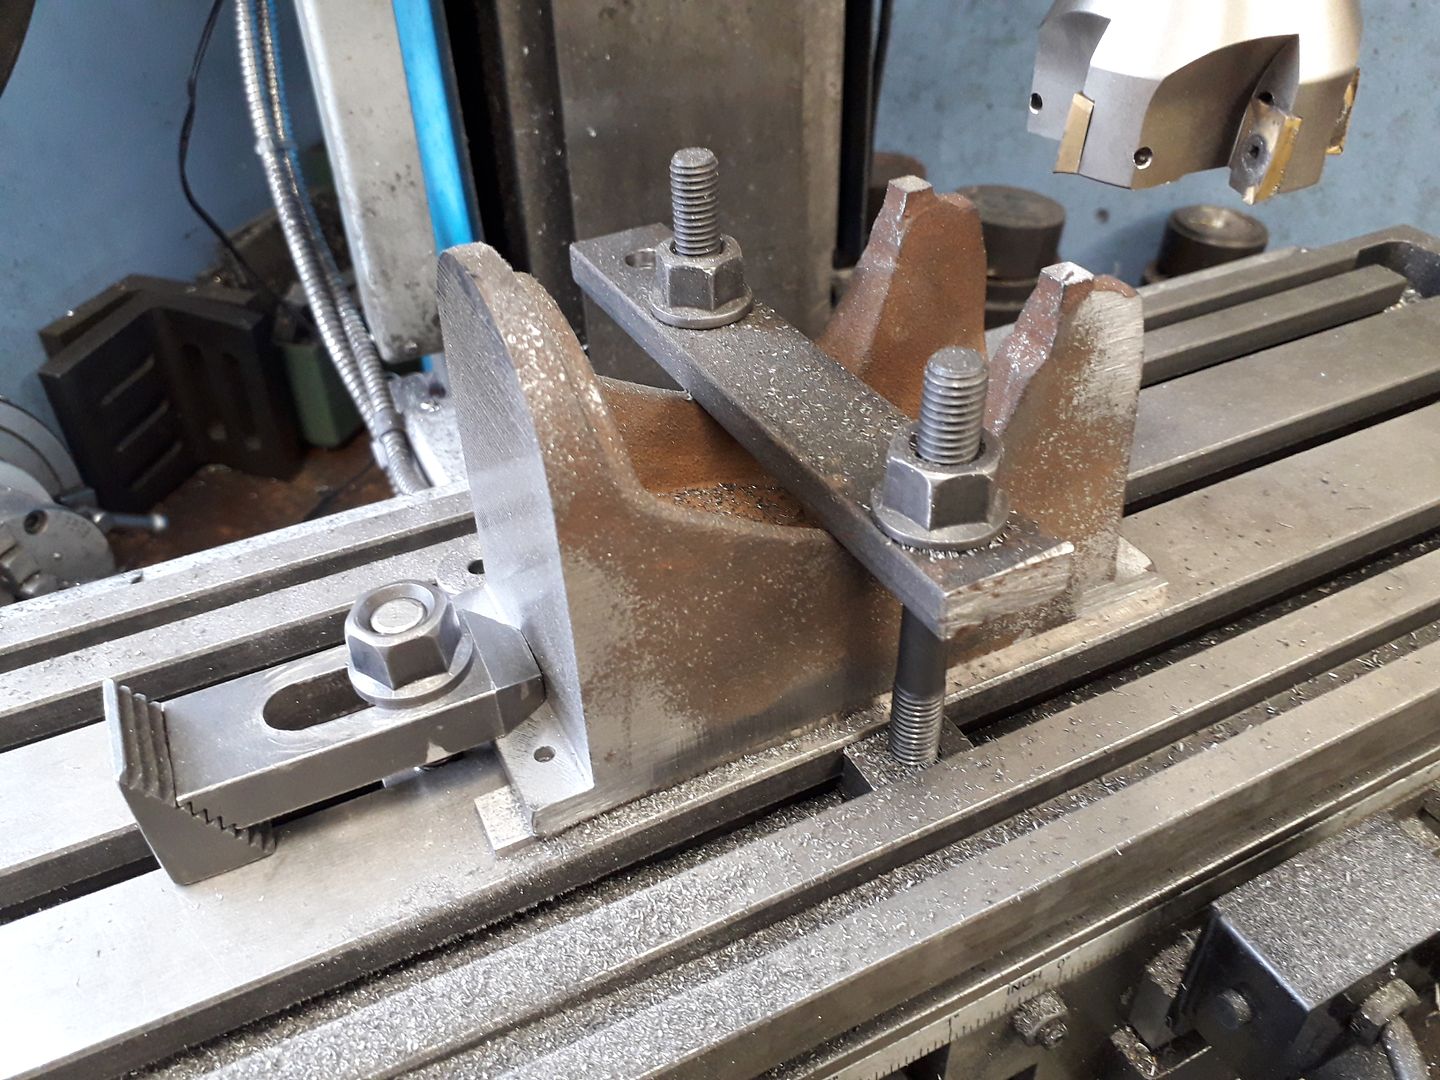
      A quick change of the clamping arrangement allowed the two remaining areas to be got at with the shell mill as I did not want to chance filing them off as I may have done with a softer casting

      Now that I had a flat bottom to the casting it could be clamped right way up to the mill table clocking the long edge true and the shell mill used again to mill the vertical face that the cylinder flange will mount to. I also flattened the front and rear feet at the same time, the 0.8mm radius of the inserts leaving a small fillet as you tend to see on a casting.

      A bit of marking out confirmed the angle and height to split the bearing caps at and a machining plate was tapped to accept fixings through the four feet holes ready for the next machining setups

      Advert
      #3545
      JasonB
      Moderator
        @jasonb
        #649987
        JasonB
        Moderator
          @jasonb

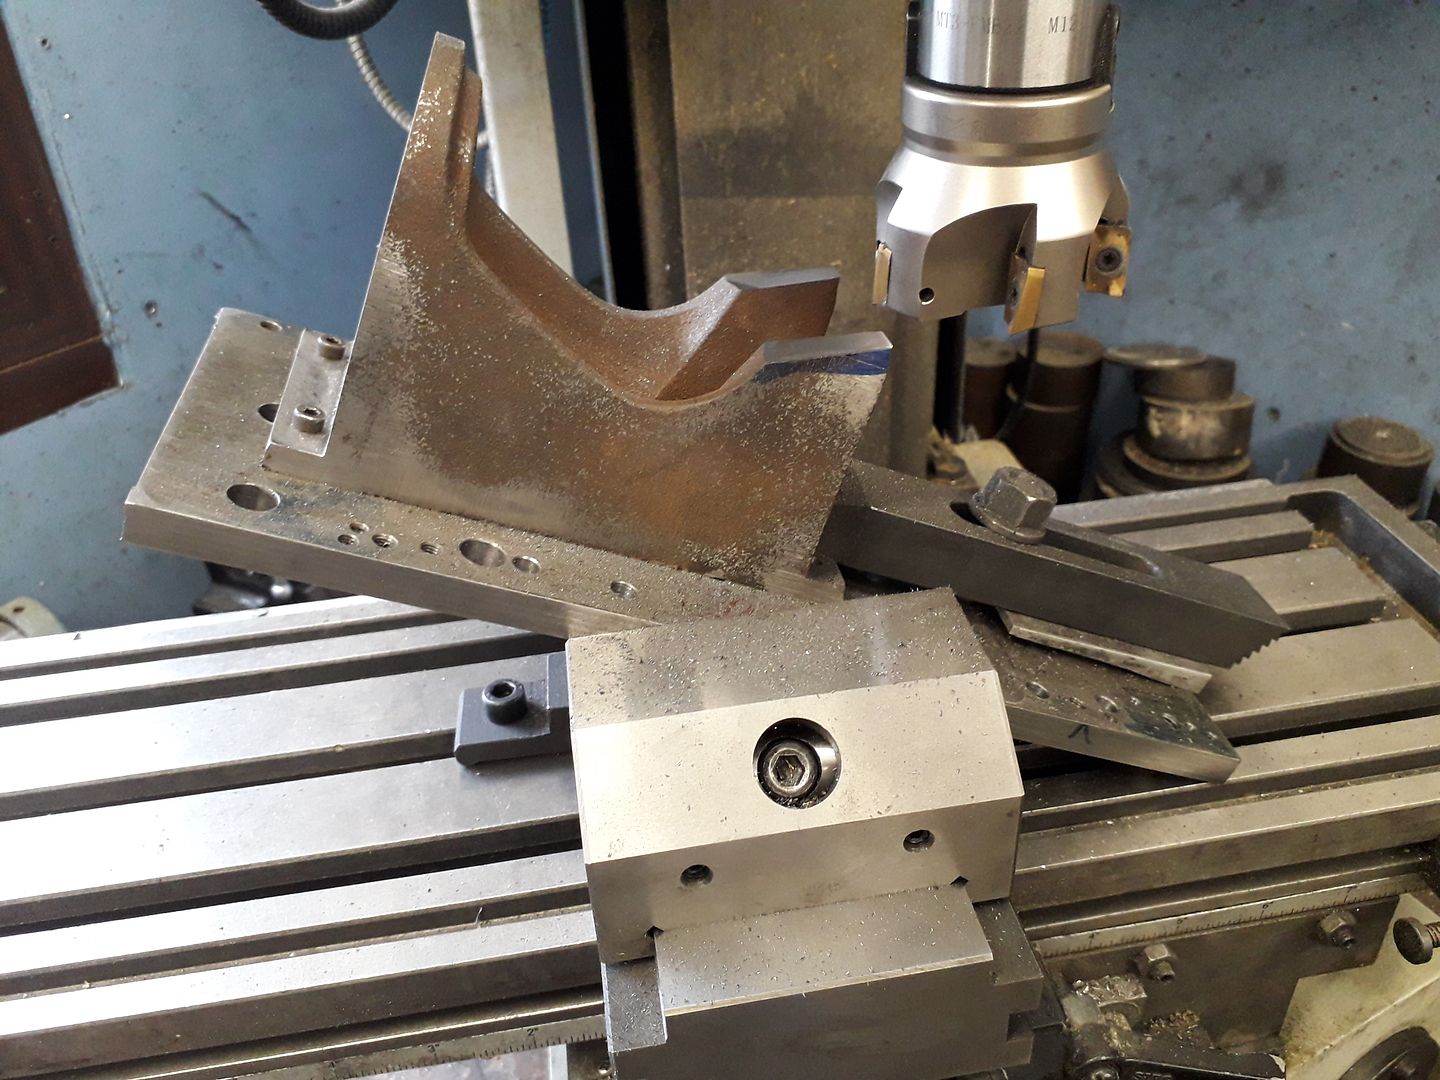
          So with the machining plate made the casting was screwed into place and it was then easy to set the angle of the plate and also make sure it was true to the mill axis. I then used an insert shell mill to remove the two integral casting caps after which holes were drilled & tapped for the bearing caps.

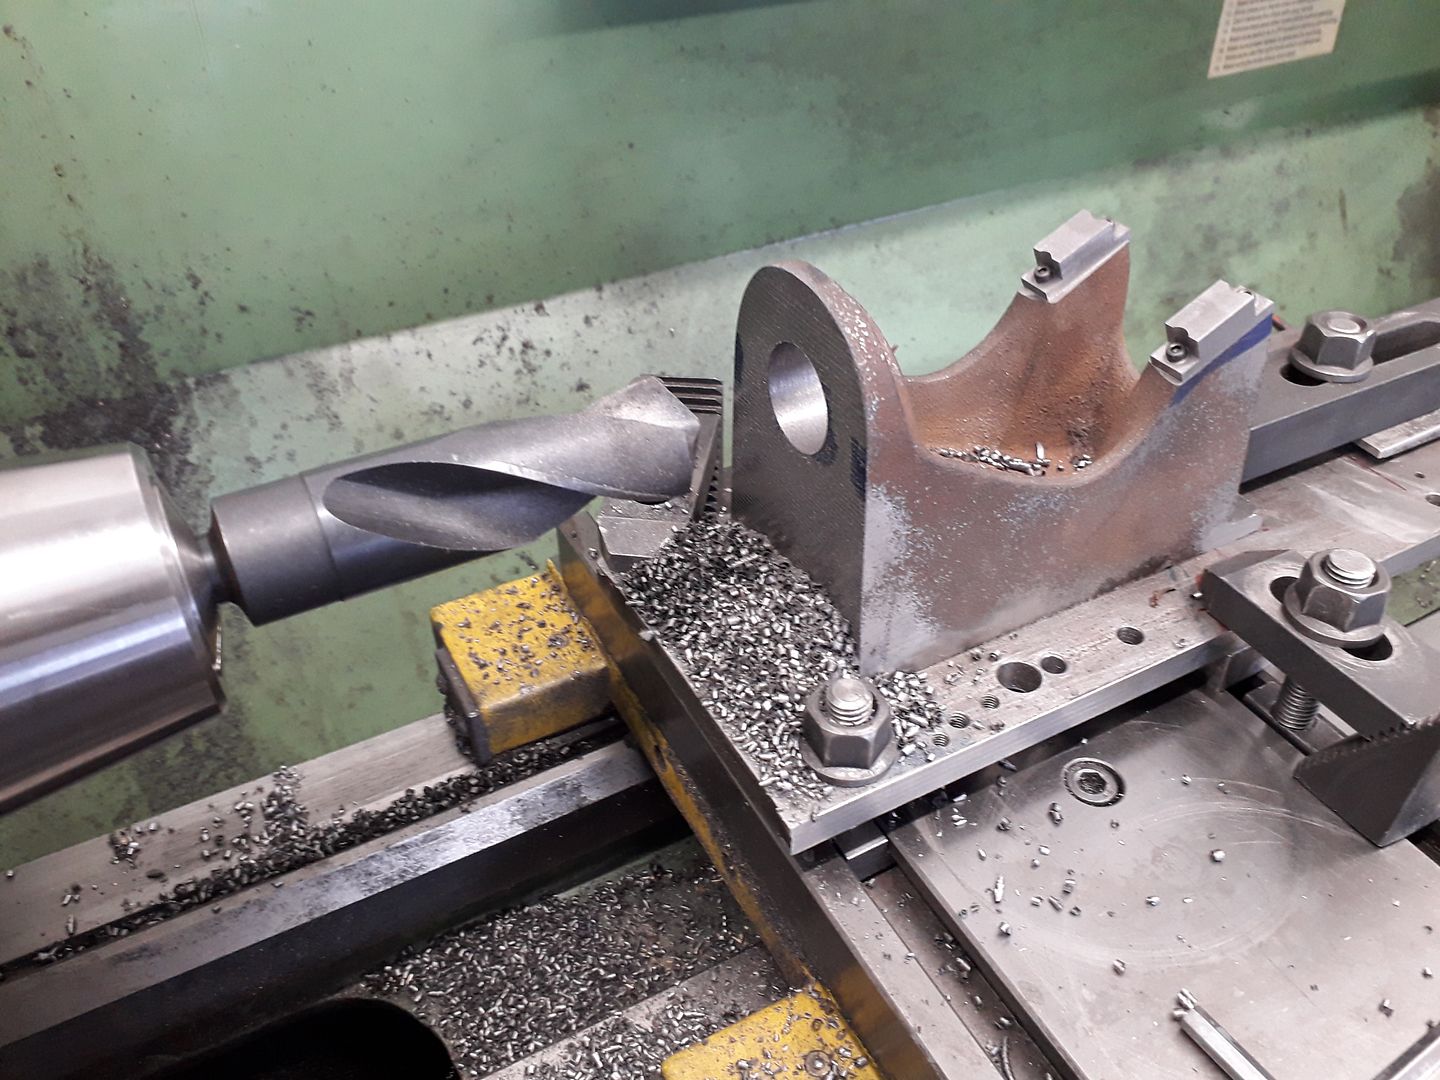
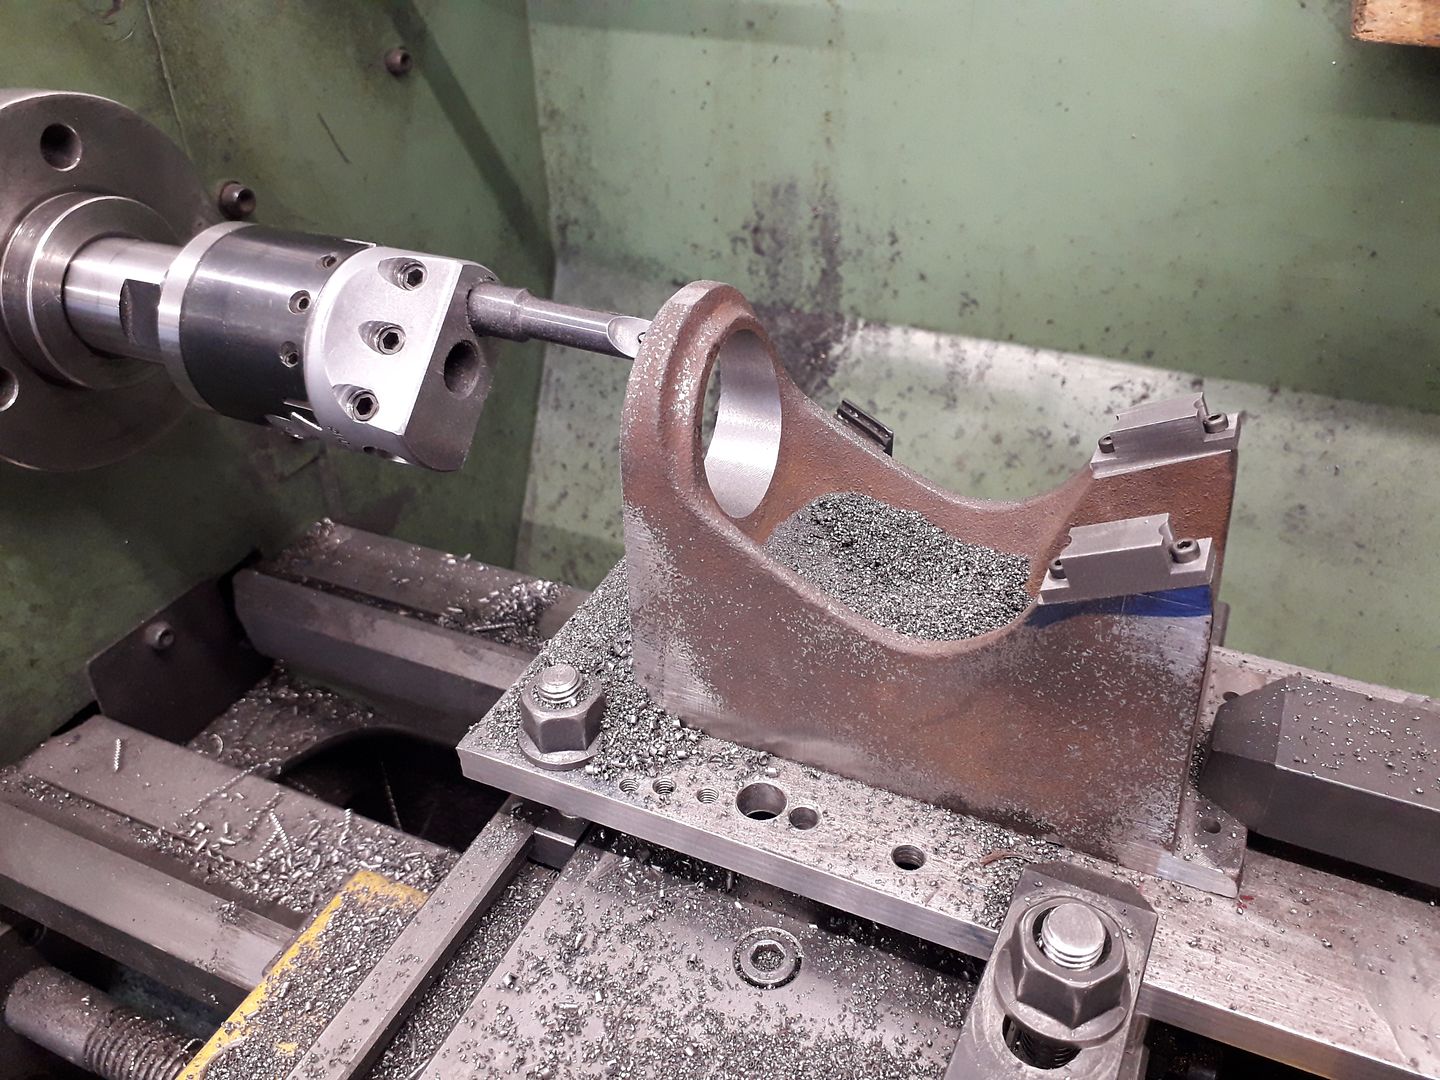
          Some new caps were roughed out from cast iron block and fixed into place with temporary cap head screws so that the crankshaft holes could be machined. Knowing the exact ctr height above my cross slide it was a simple matter of packing the plate up to height then drilling out some material from the cylinder mounting flange

          Followed by taking it out to final size with a boring head in the lathe's spindle

          Keeping the same packing in place the machining plate was clocked true across the lathe and the crankshaft holes drilled and reamed to take the ball races

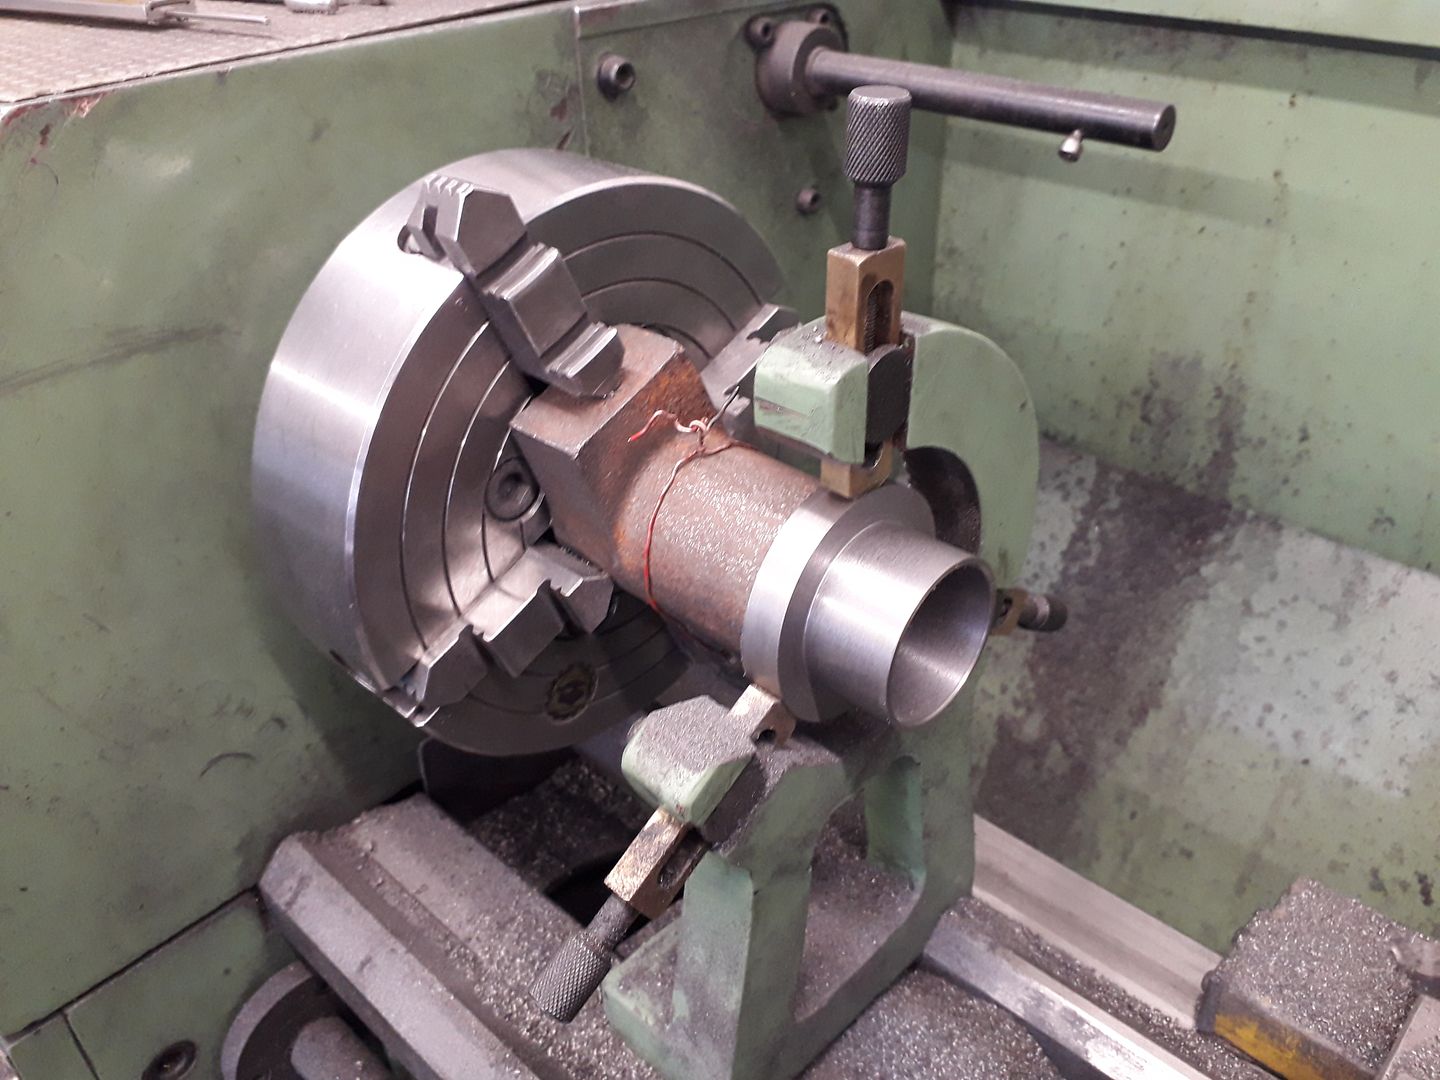
          The cylinder was set to run as true as possible in the 4-jaw chuck and the OD of the flange cleaned up with light cuts so that the steady could then be set up to bear on that surface while the spigot was turned to fit the crankcase, the flange turned true to that and finally the cylinder bored out to final diameter.

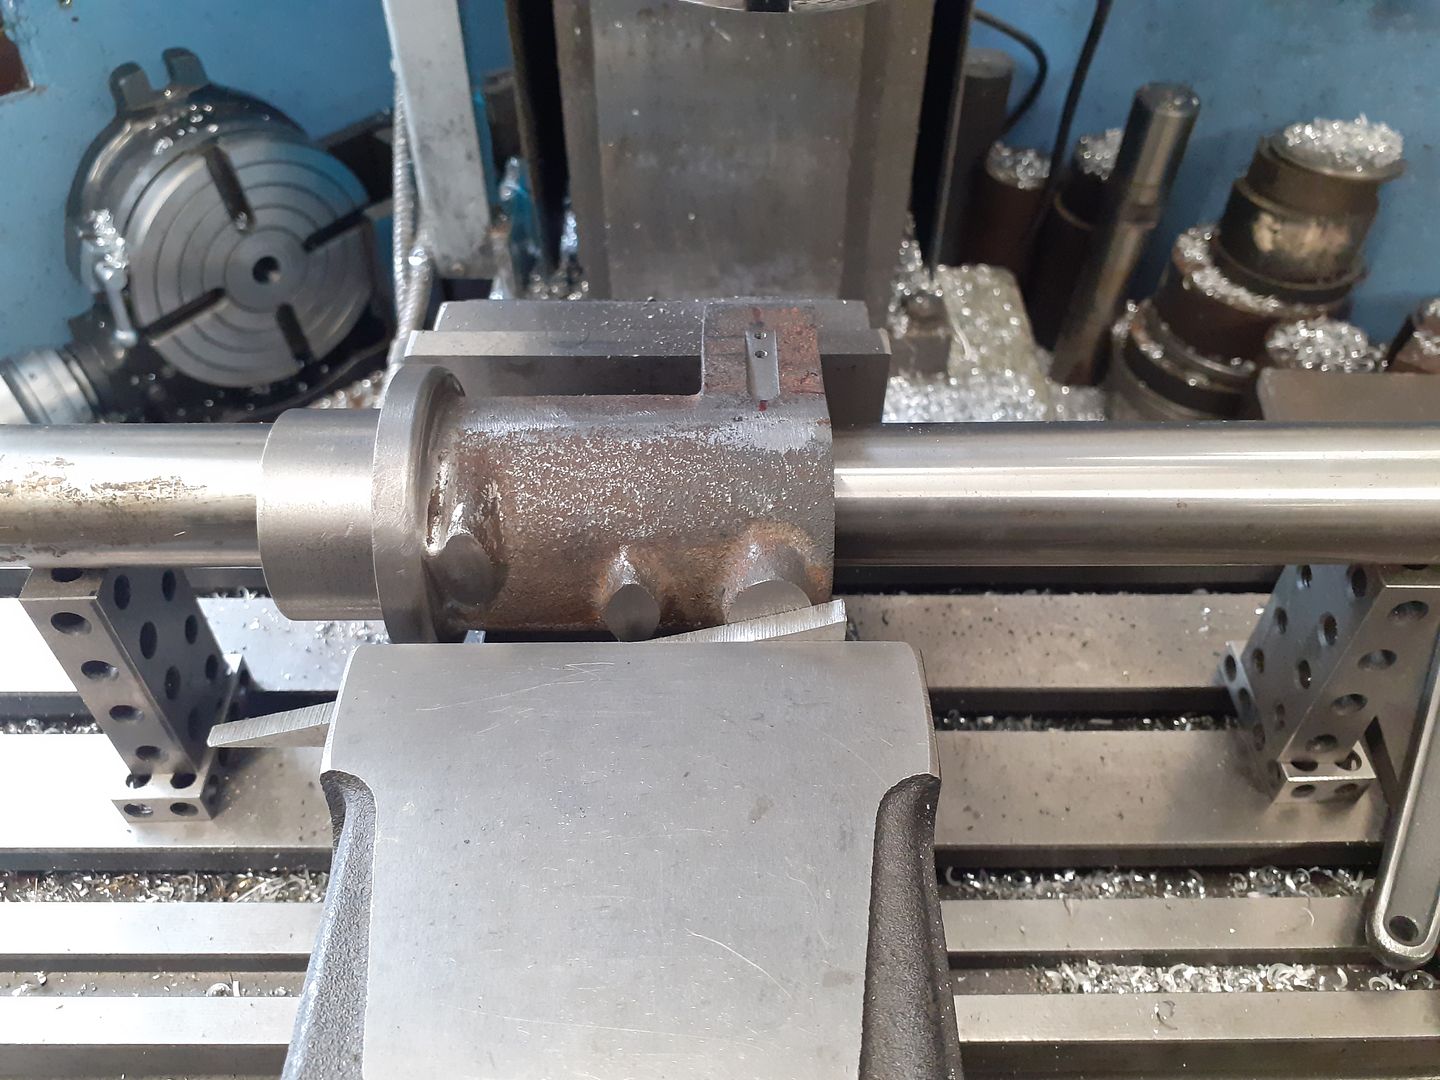
          I then held it by the spigot to face off the head end. With the turning done it was over to the mill to form a flat pocket to locate one of the side rod supports and tap holes to hold the bracket in place. I ran a large bar through the bore to hold the casting horizontal as there are not that many flat external faces to use to line things up.

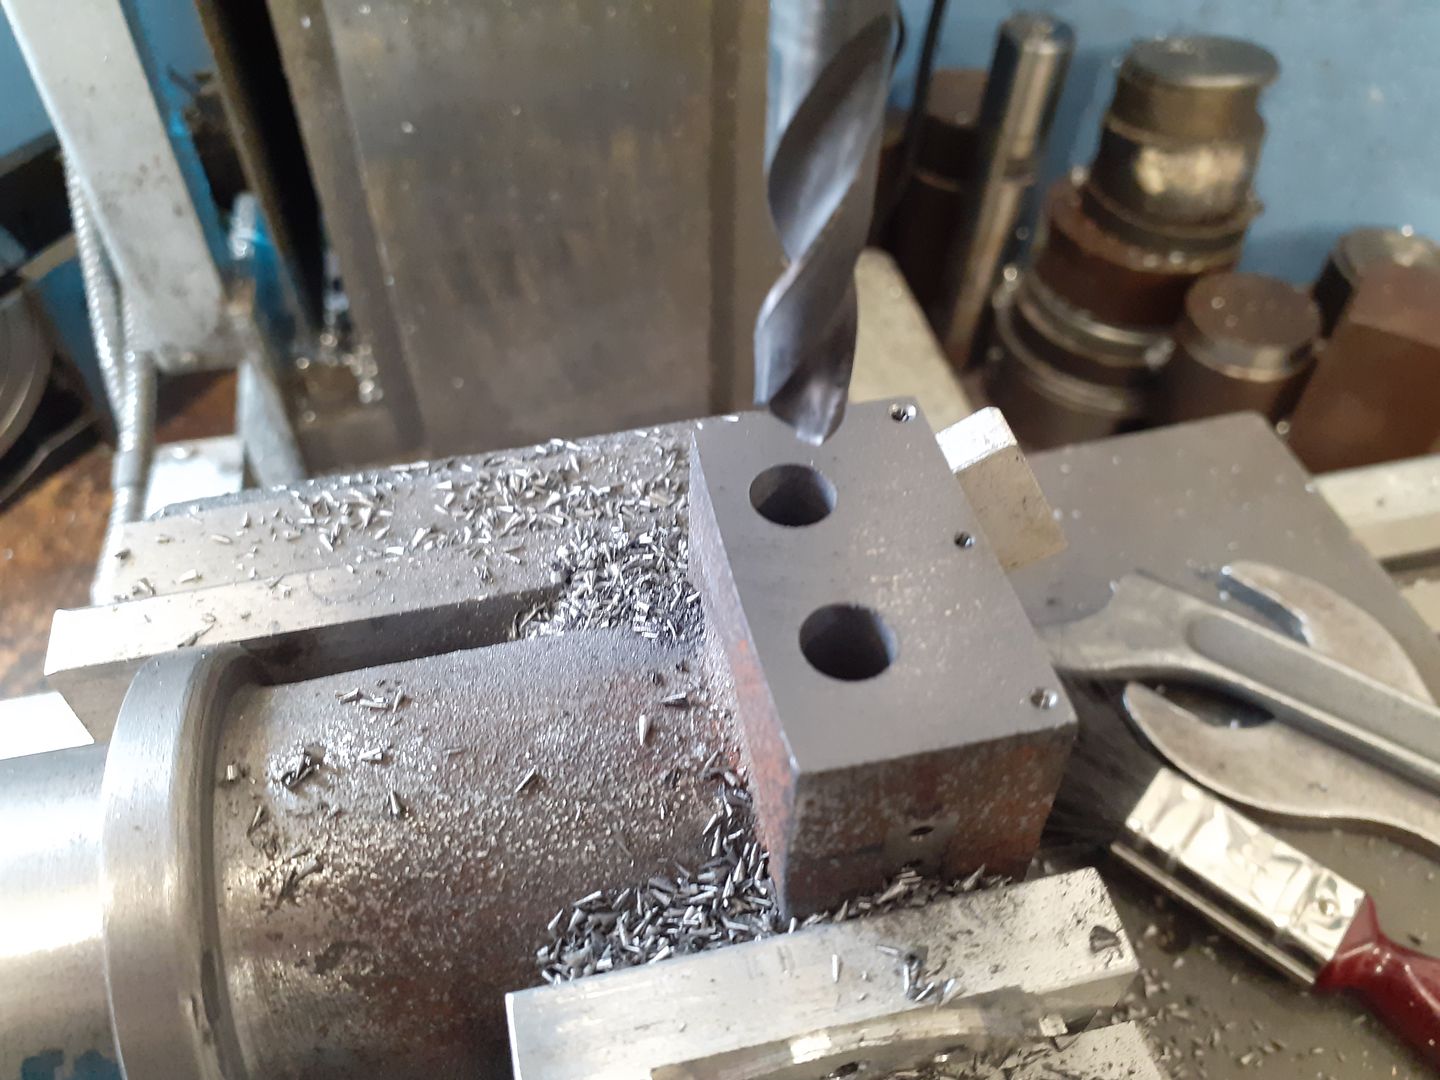
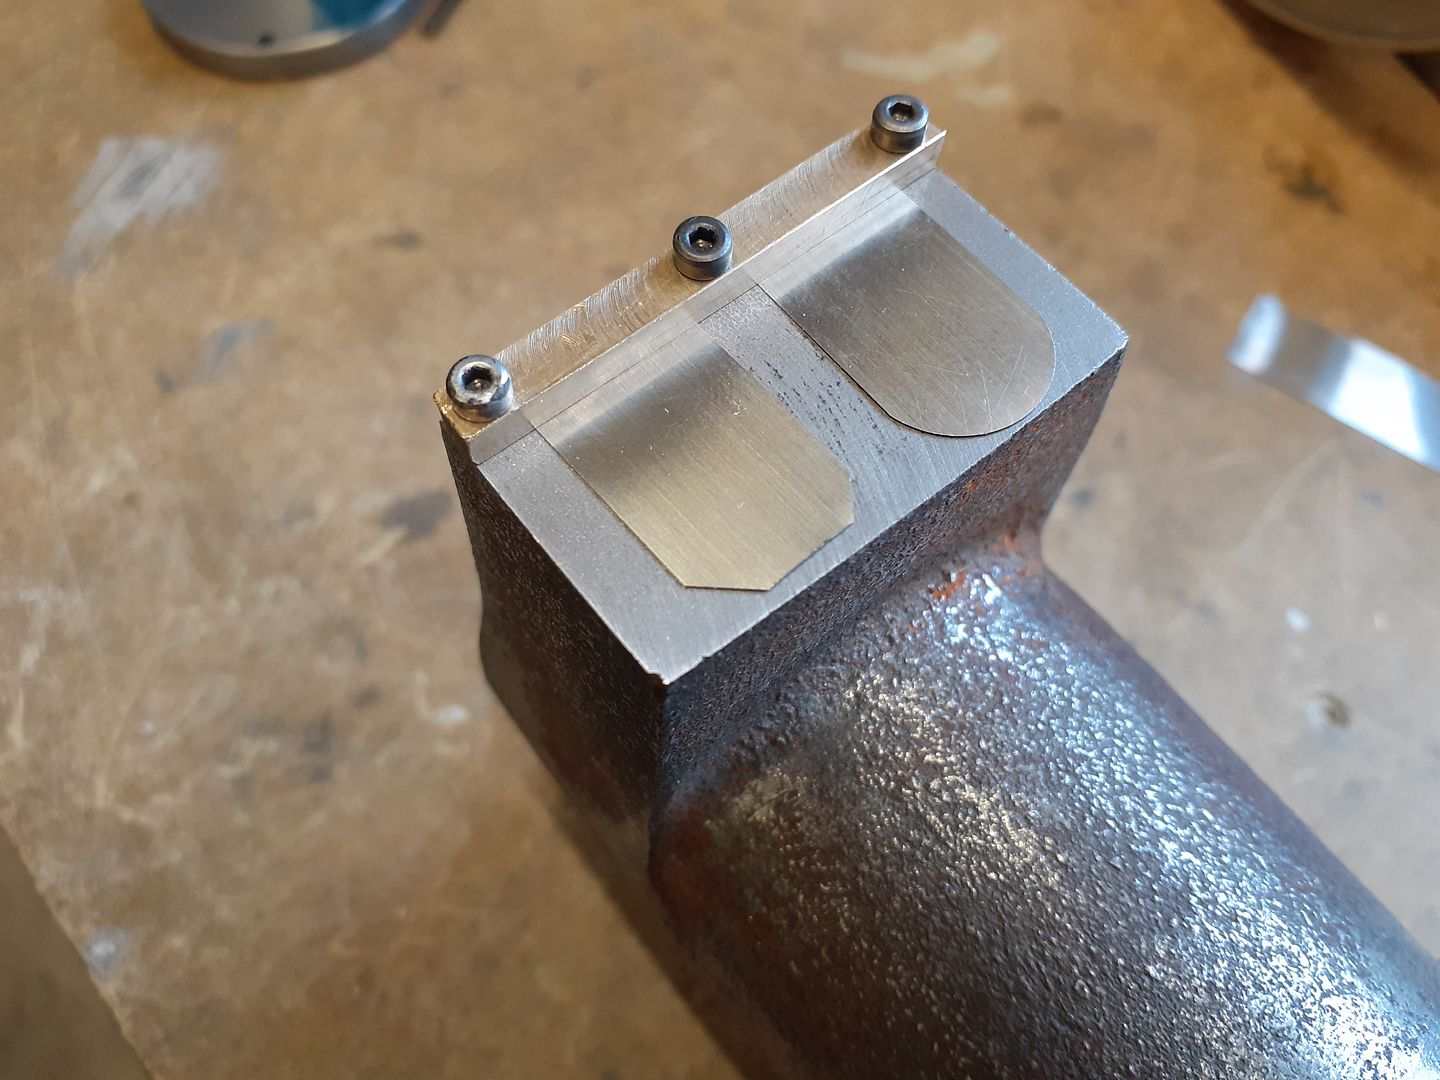
          Rotating the cylinder so the underside was facing upwards the exhaust port face was milled flat and two holes drilled to connect to the cylinder. Three smaller holes were tapped M1.6 for the valve clamping bar

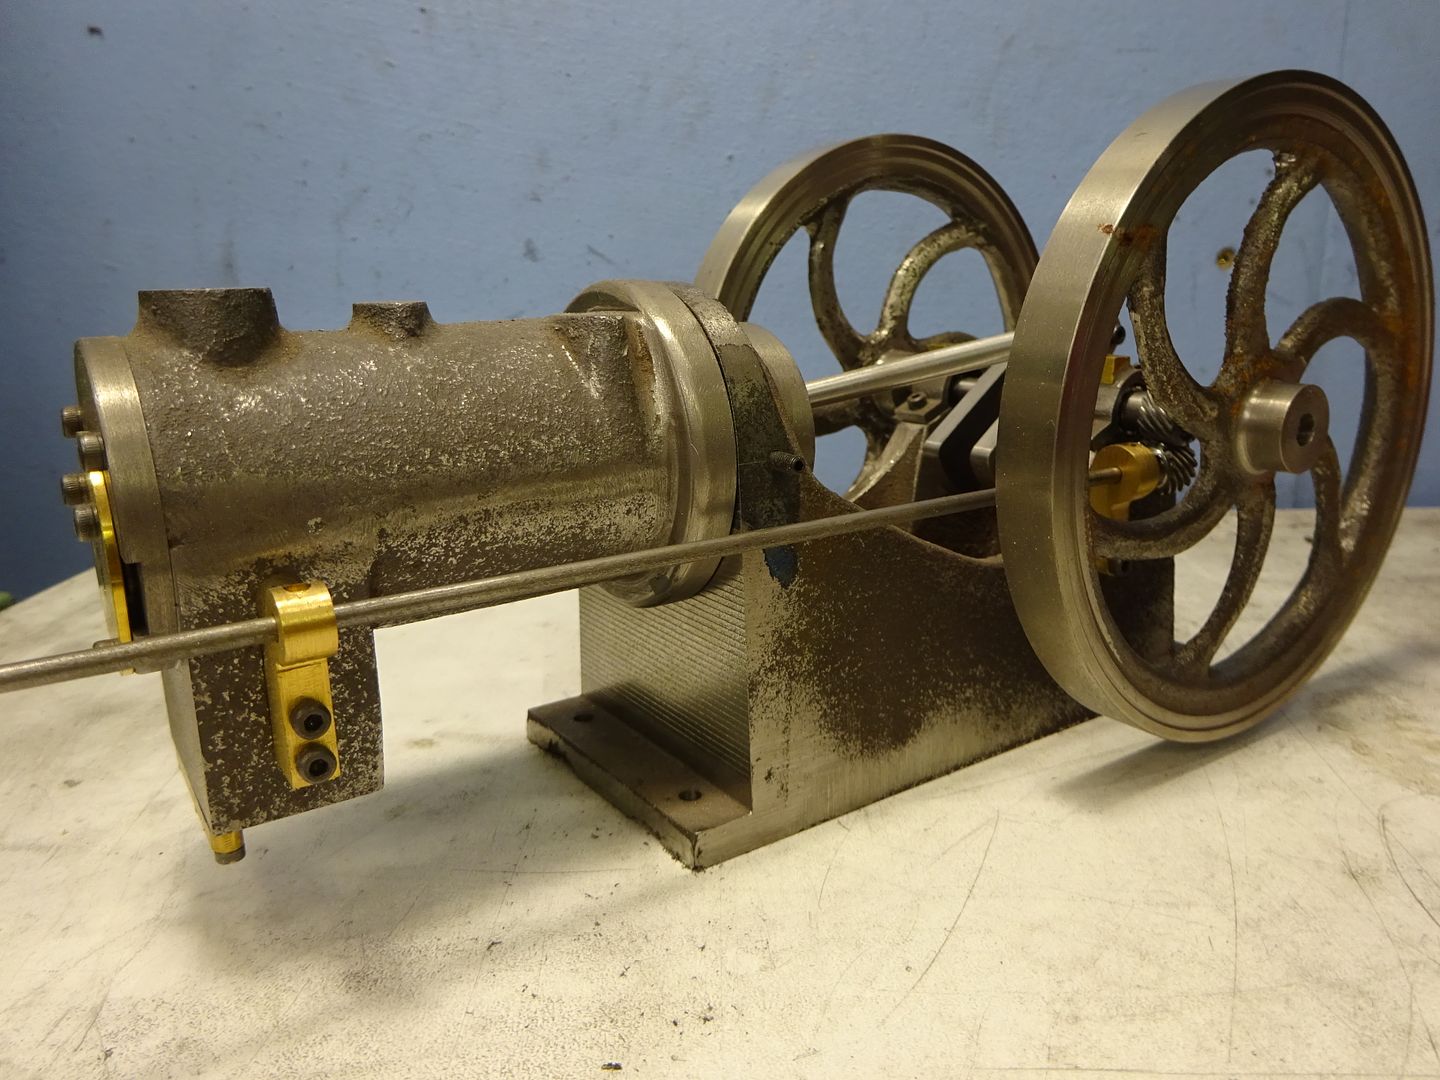
          This shows the bar and valves in place, they are cut from a length of 0.05mm feeler gauge stock.

          #651014
          JasonB
          Moderator
            @jasonb

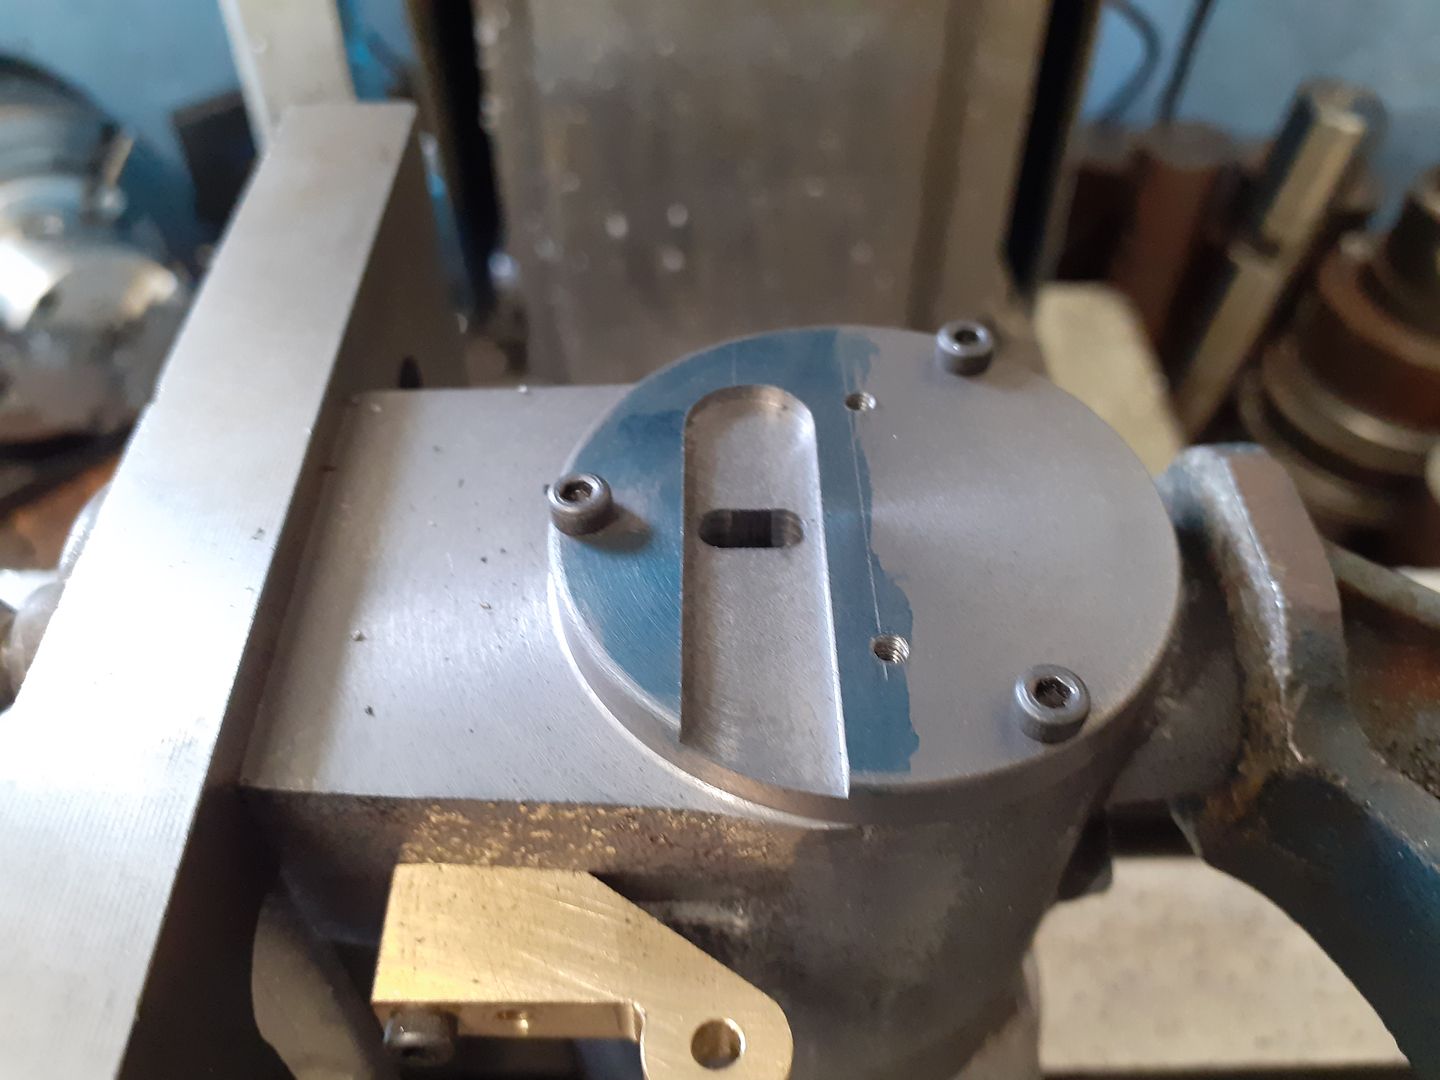
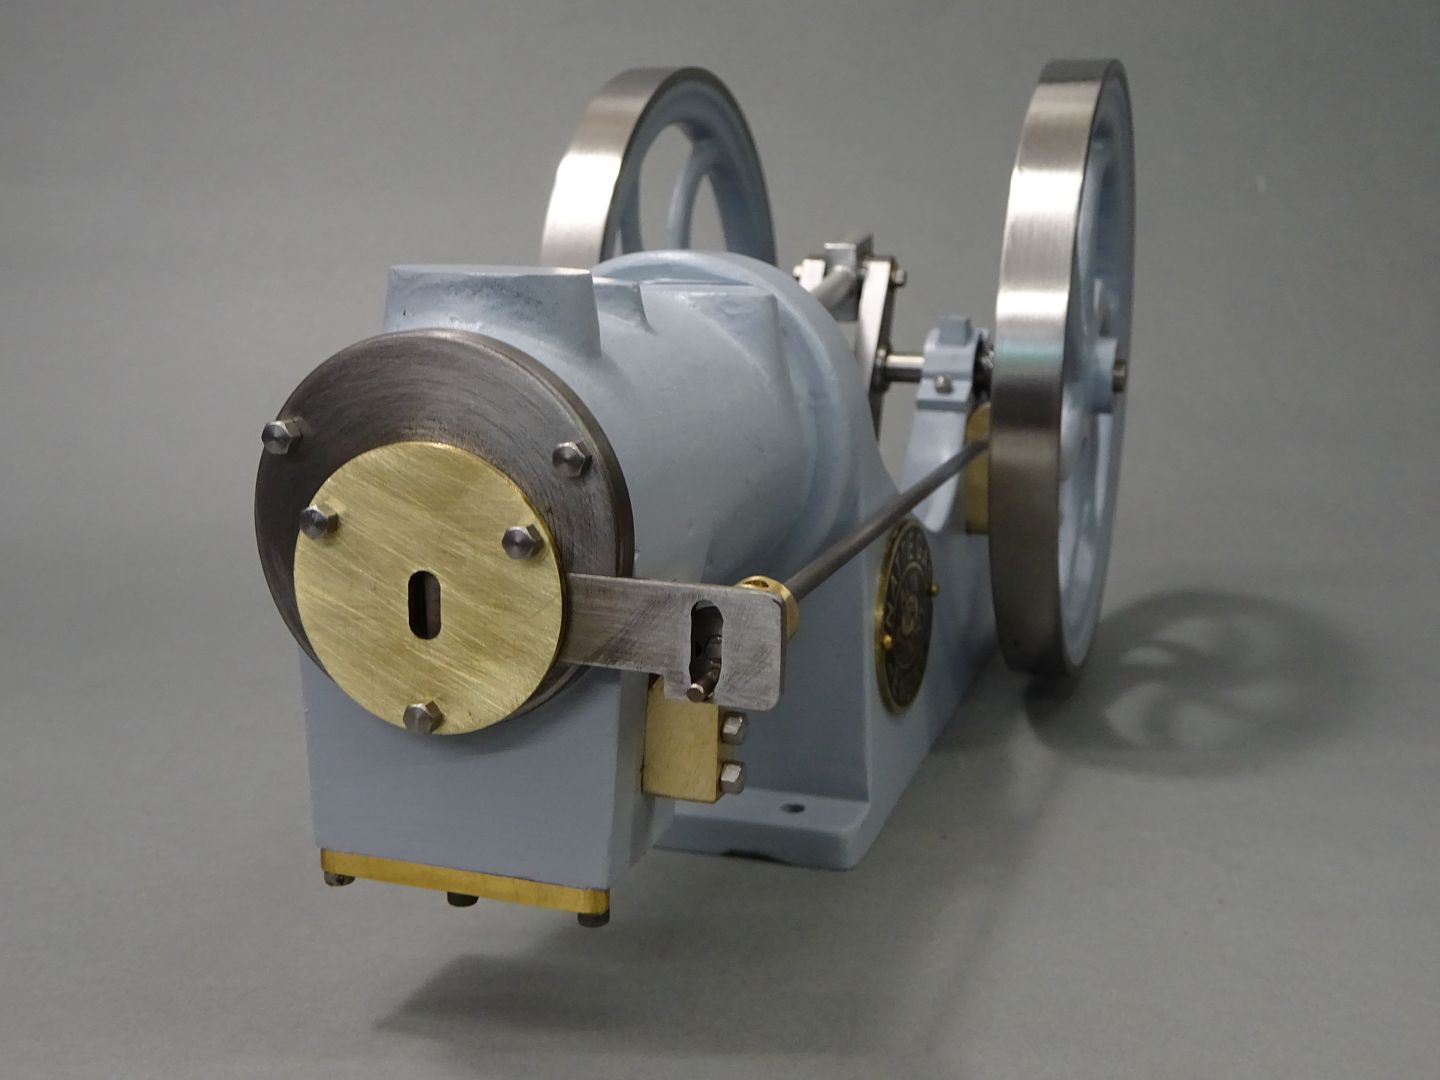
            The head was turned from some CI bar and then screwed onto the cylinder so that the slot for the shutter could be milled in the right orientation. The other two holes together with teh bottom one of the three head studs are to hold a brass disc that retains the shutter in it's slot.

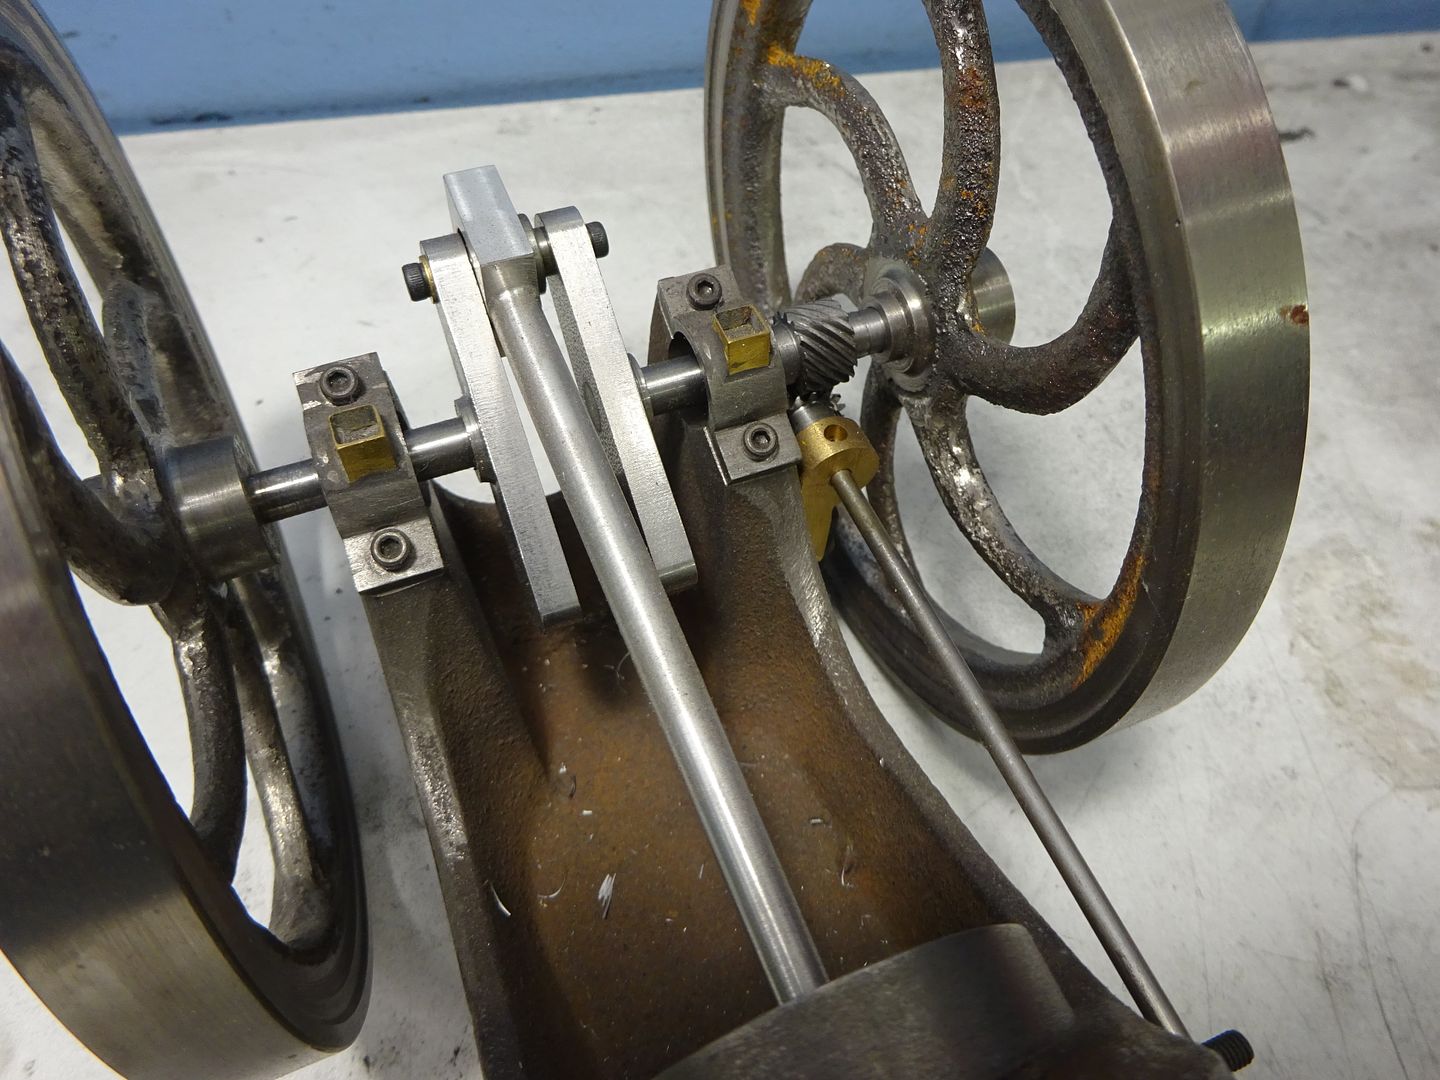
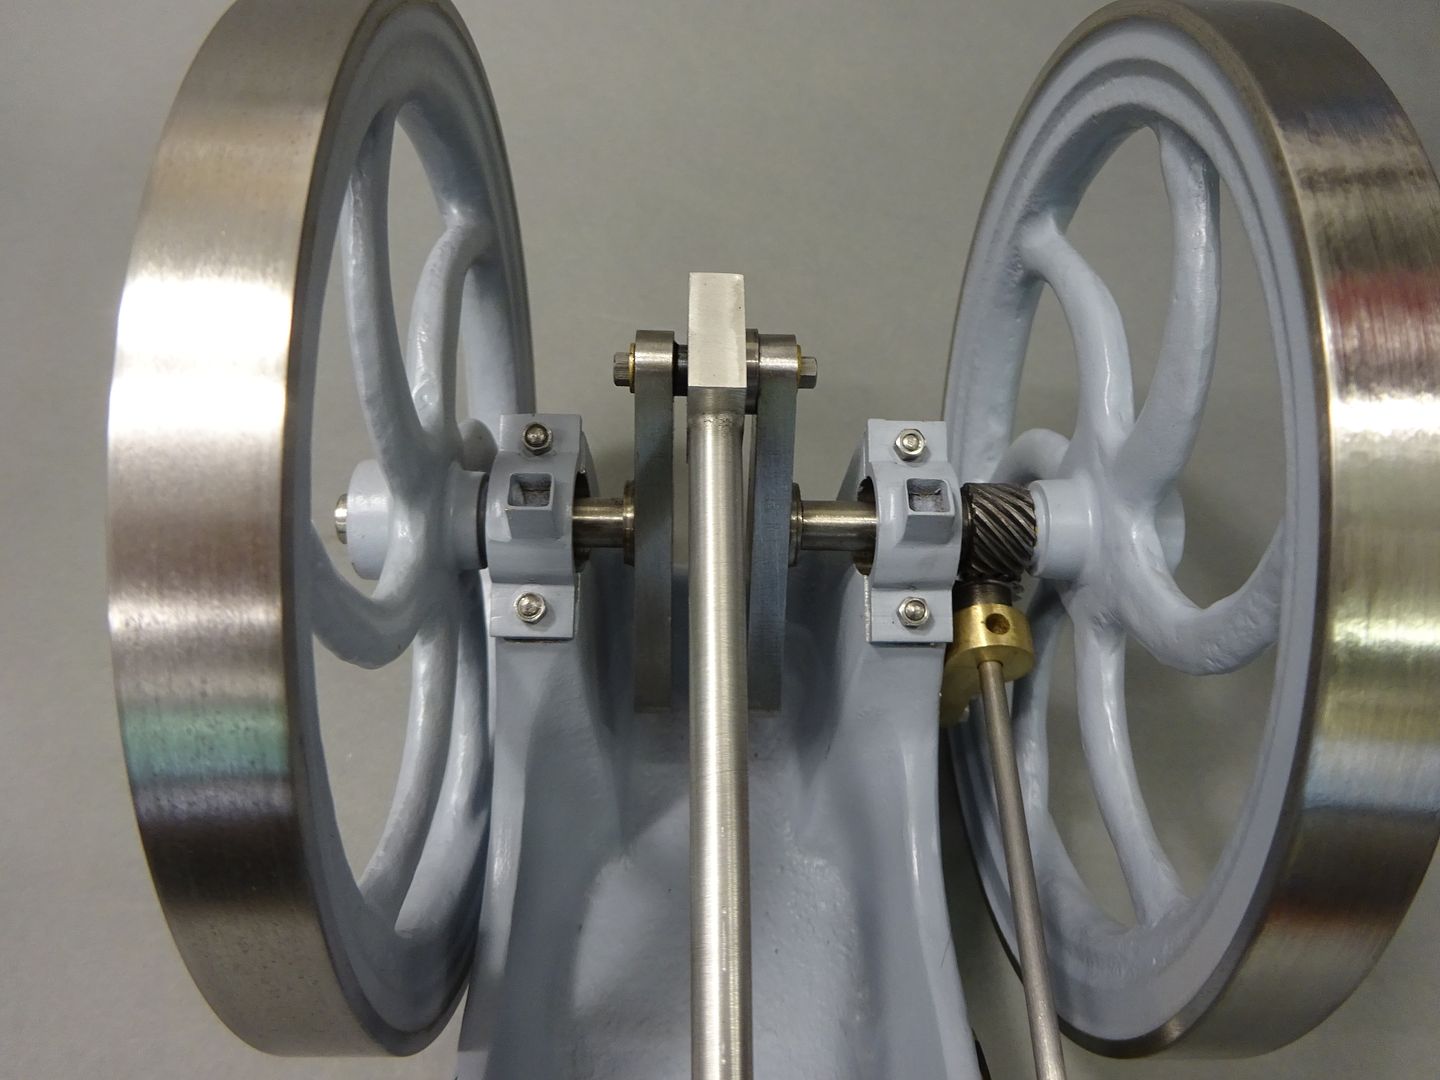
            As Graham suggests using ball races on the conrod's big end that means the crankshaft can't be solid. I made the two webs and Loctited them to the half length shafts and then turned up the pin with spigots each end to locate in the crank web throws, the ends were also drilled and tapped for M3 bolts which hold the 3 parts together.

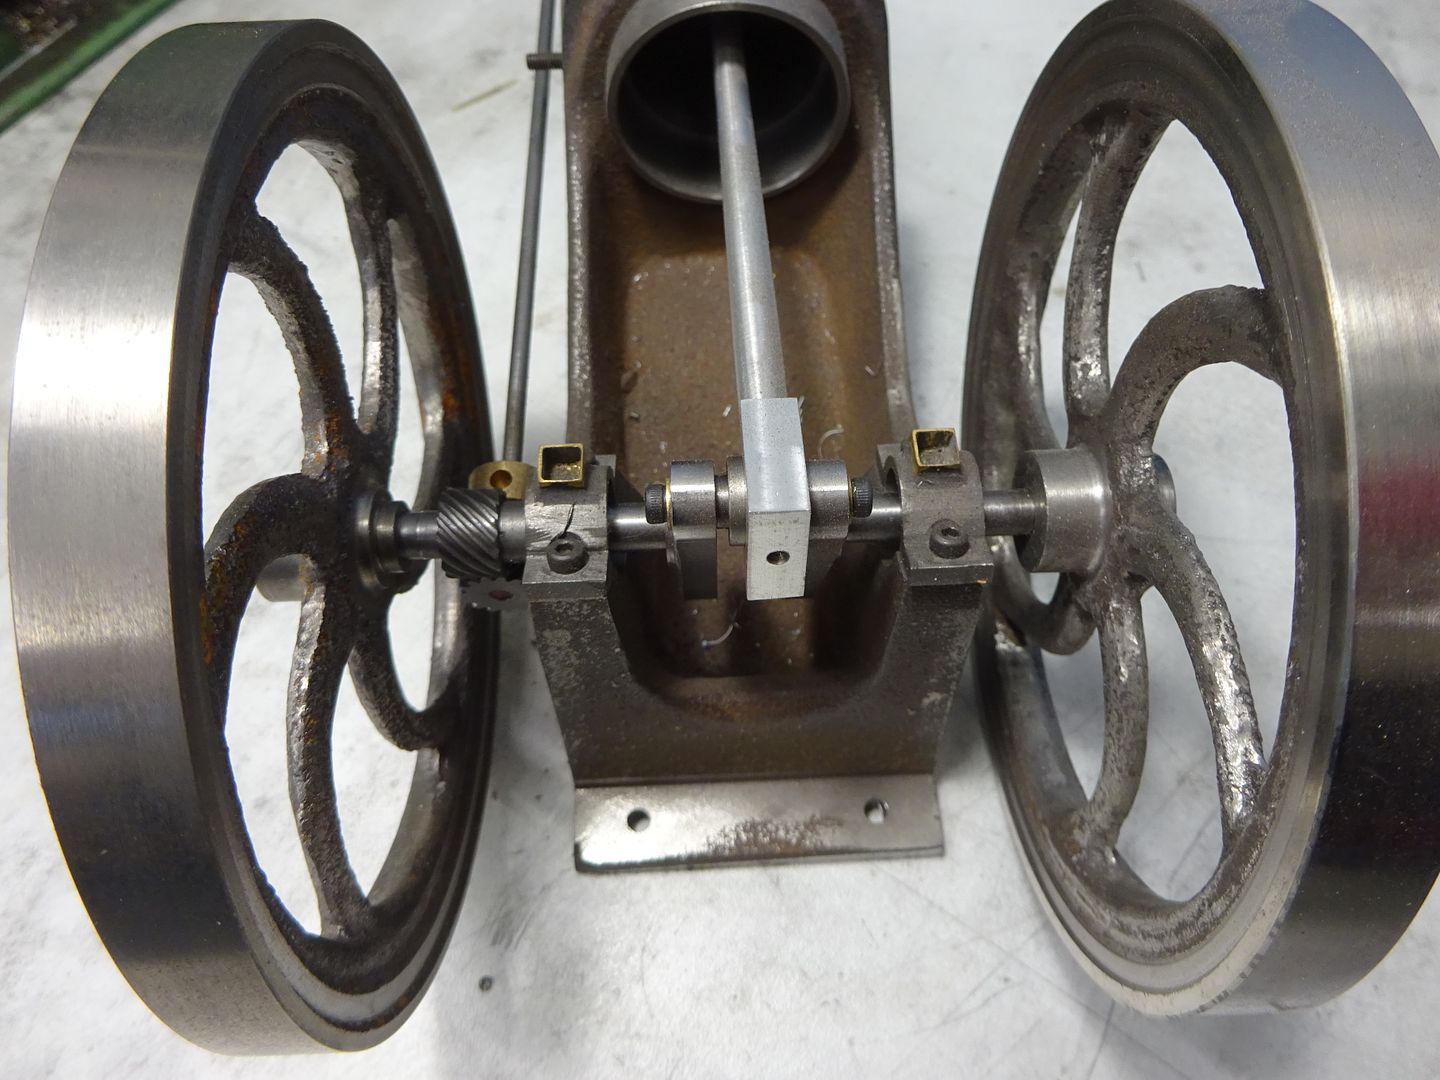
            In this view from the front you can see the tops of the bearing caps have now been profiled and I also added some dummy oil boxes from 1/4" square brass tube.

            To the left is the side shaft with one of it's brass supports and the helical gear, the pair of which came from GHW in Germany.

            Here you can see the rear side shaft support and the shutter retaining disc in place.

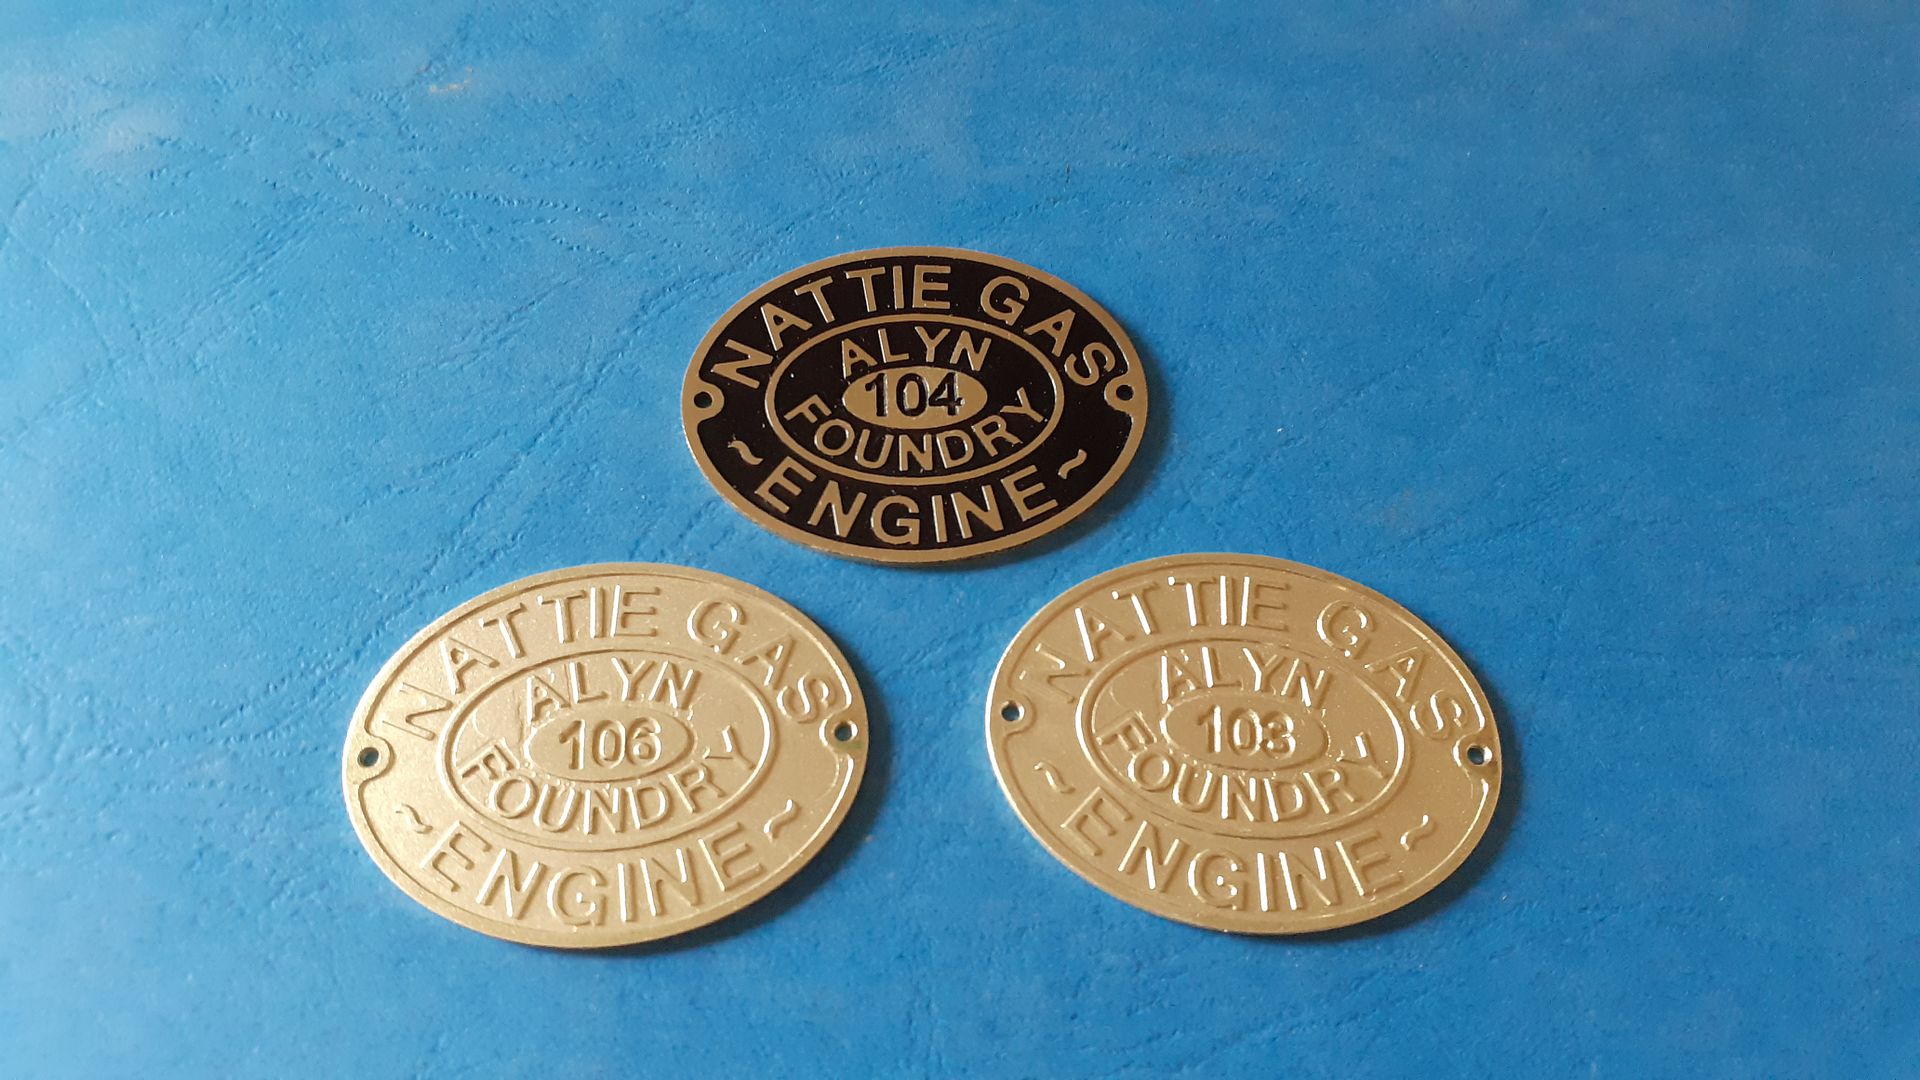
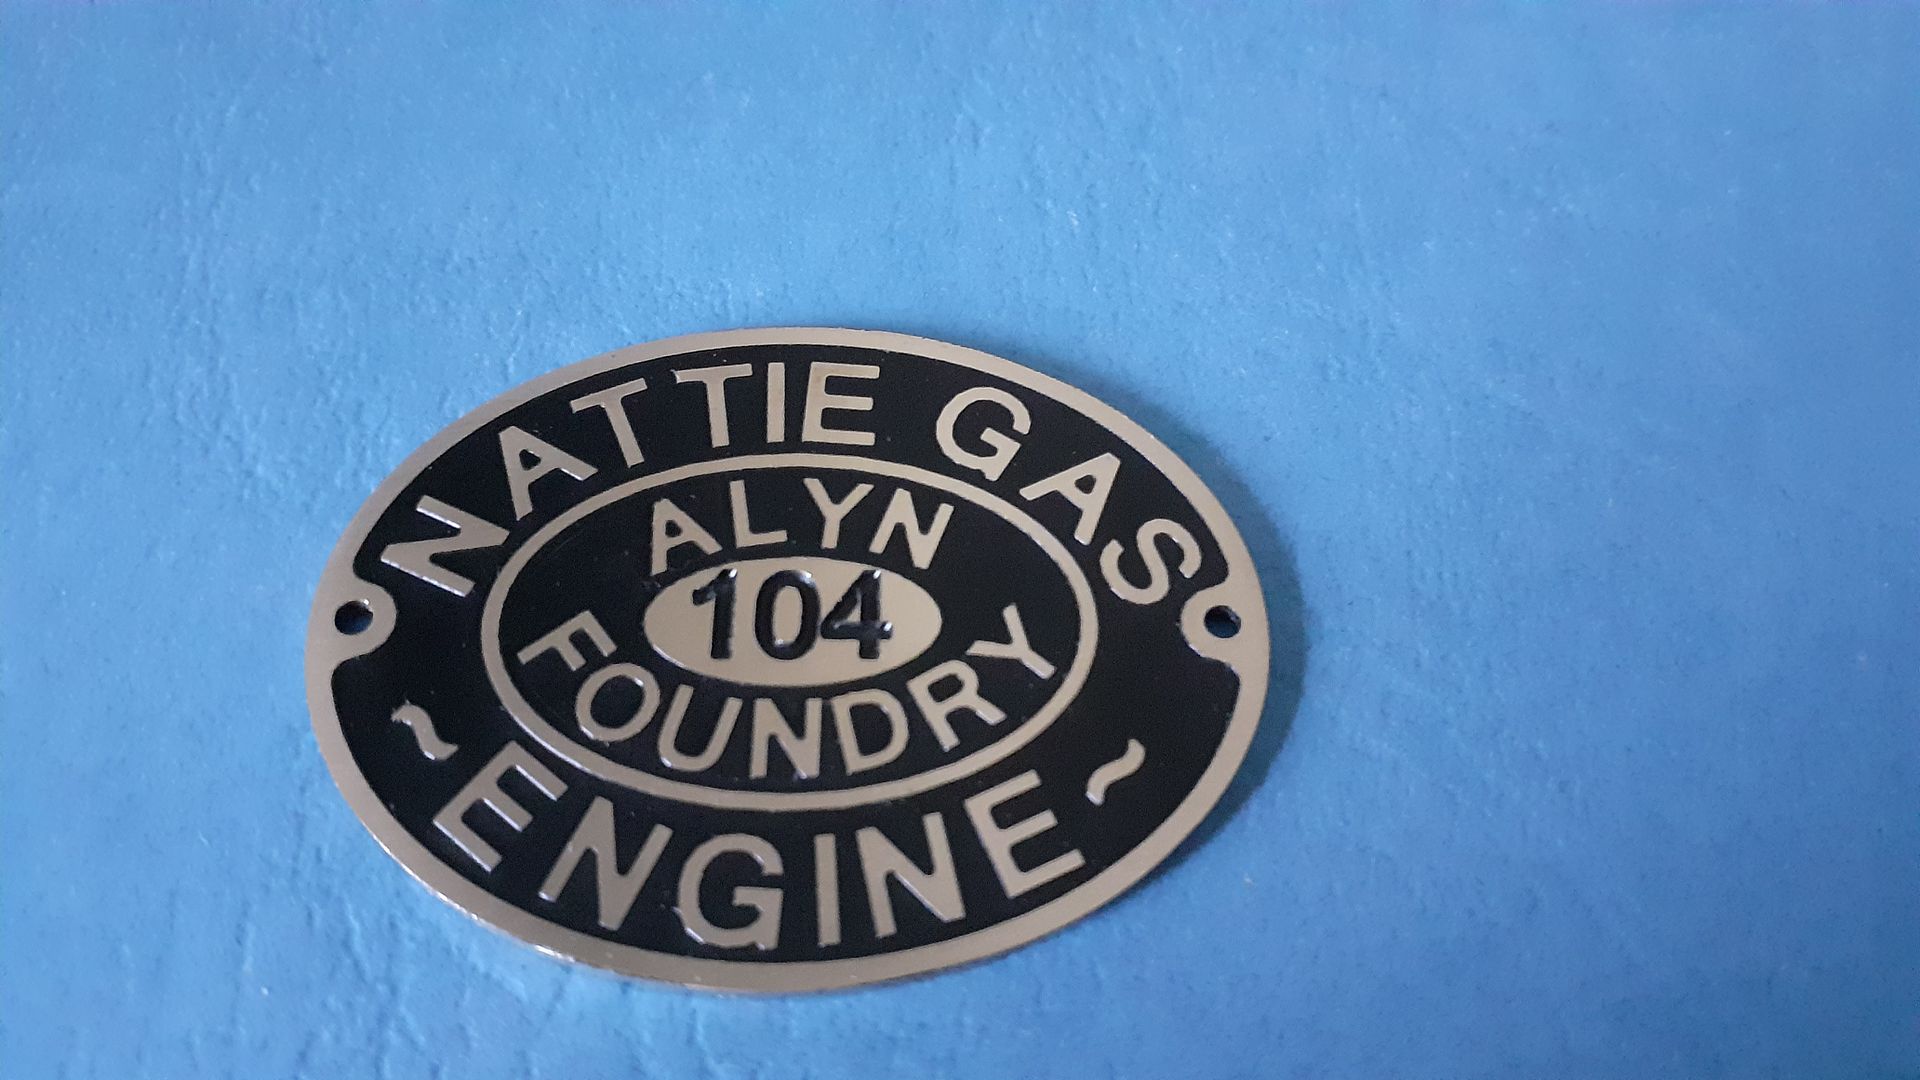
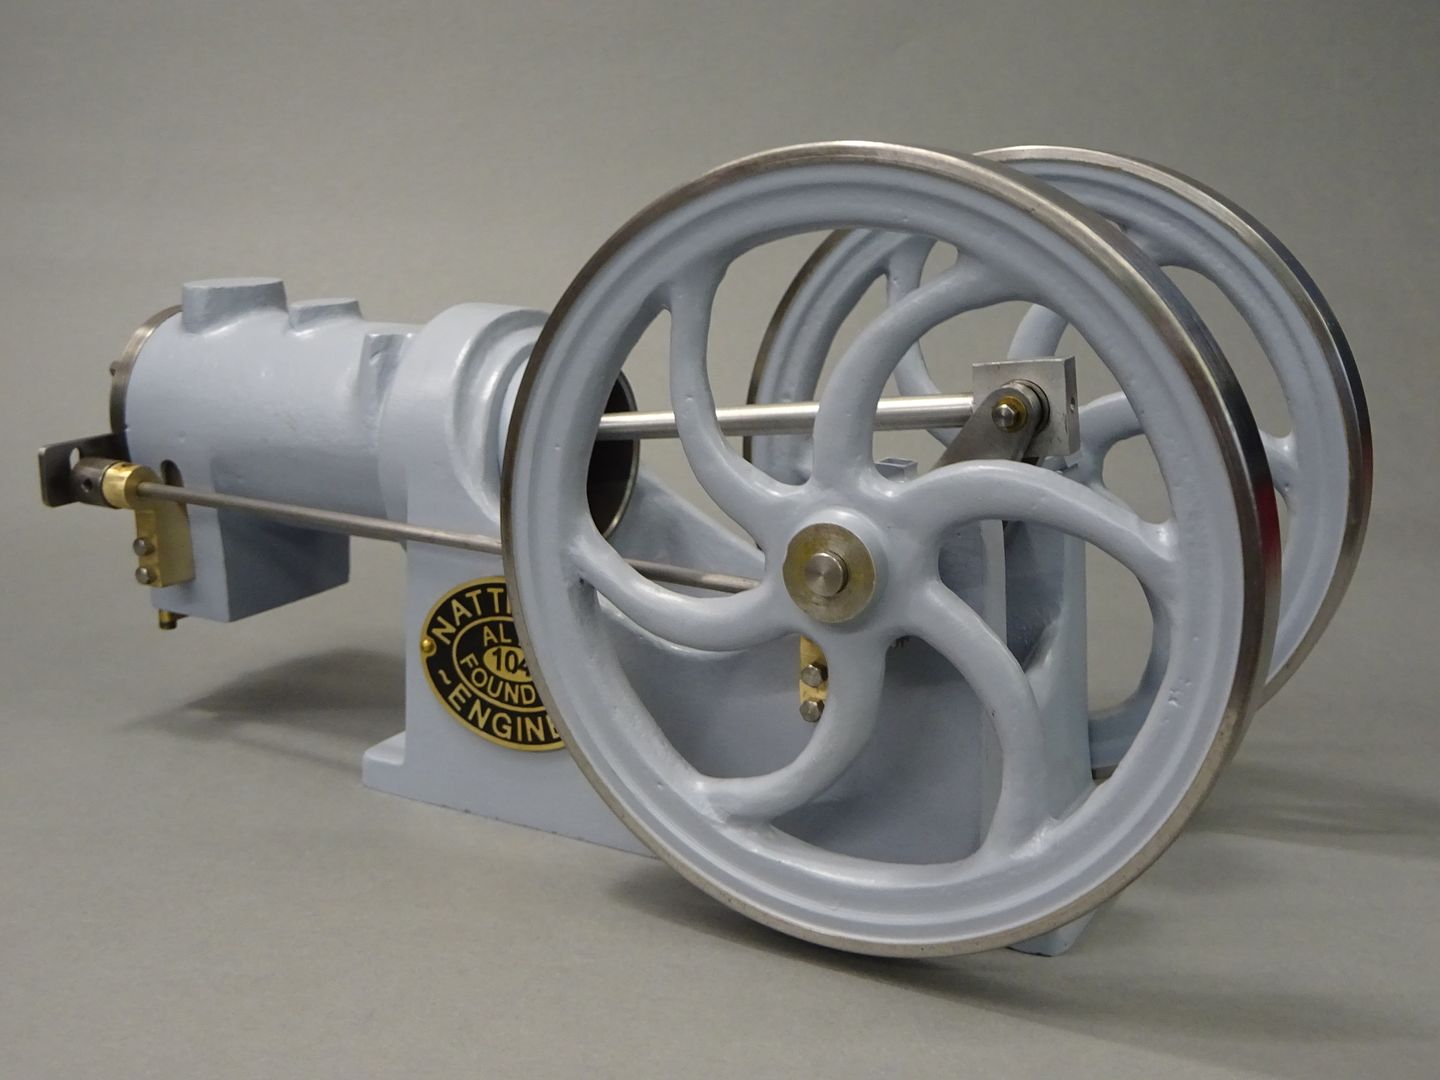
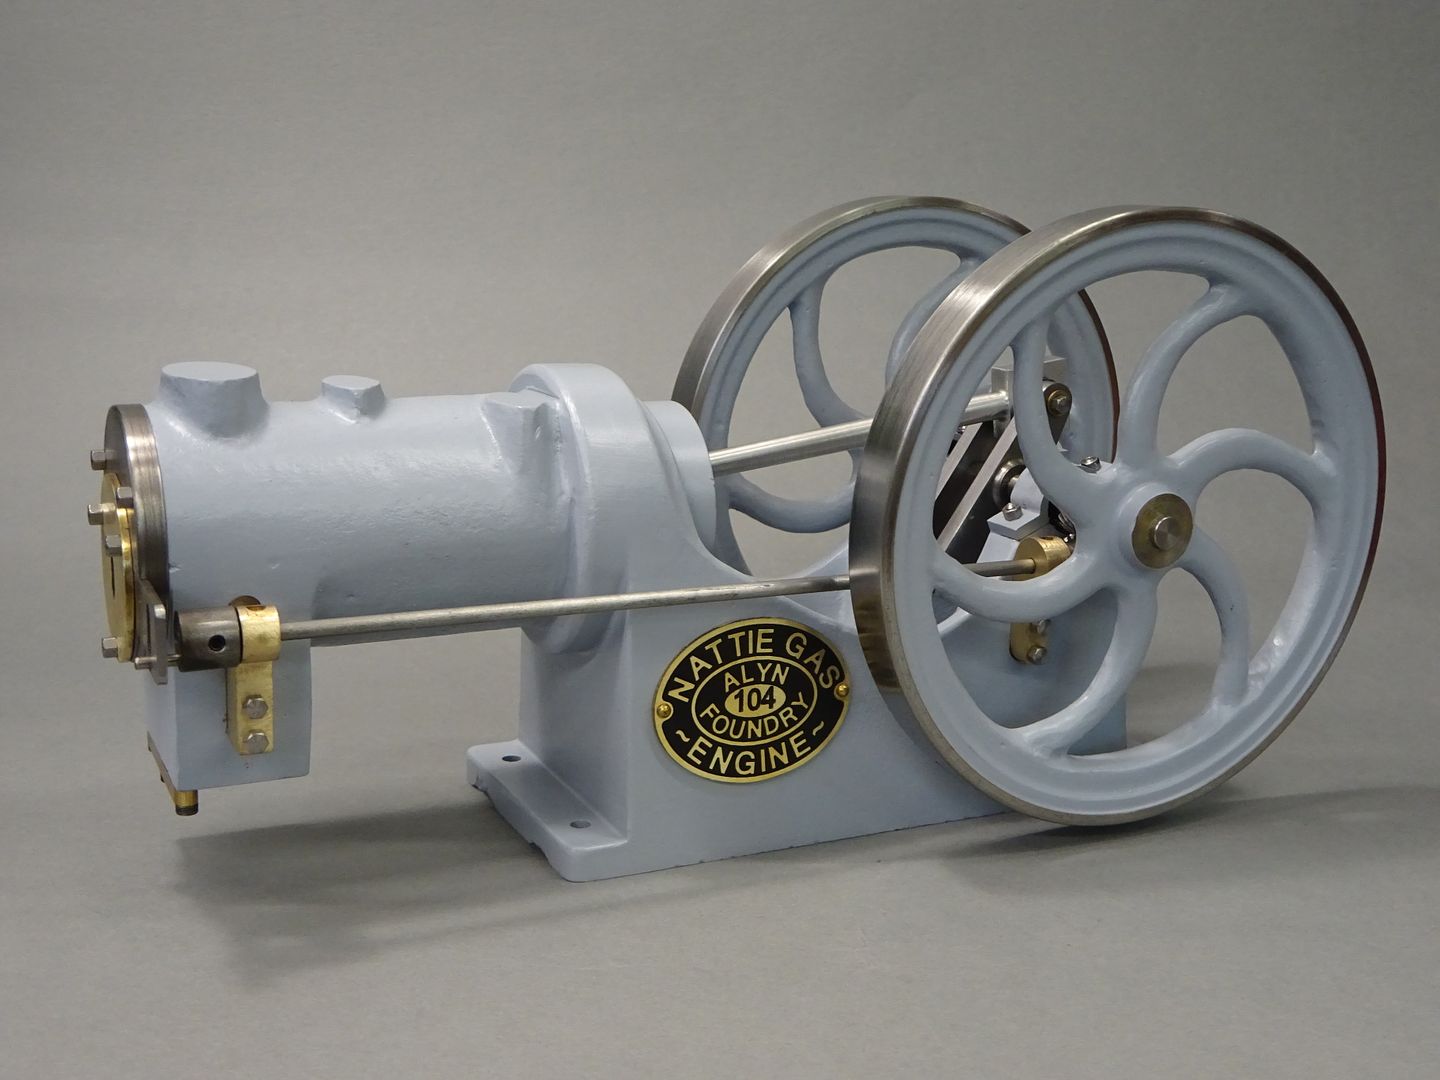
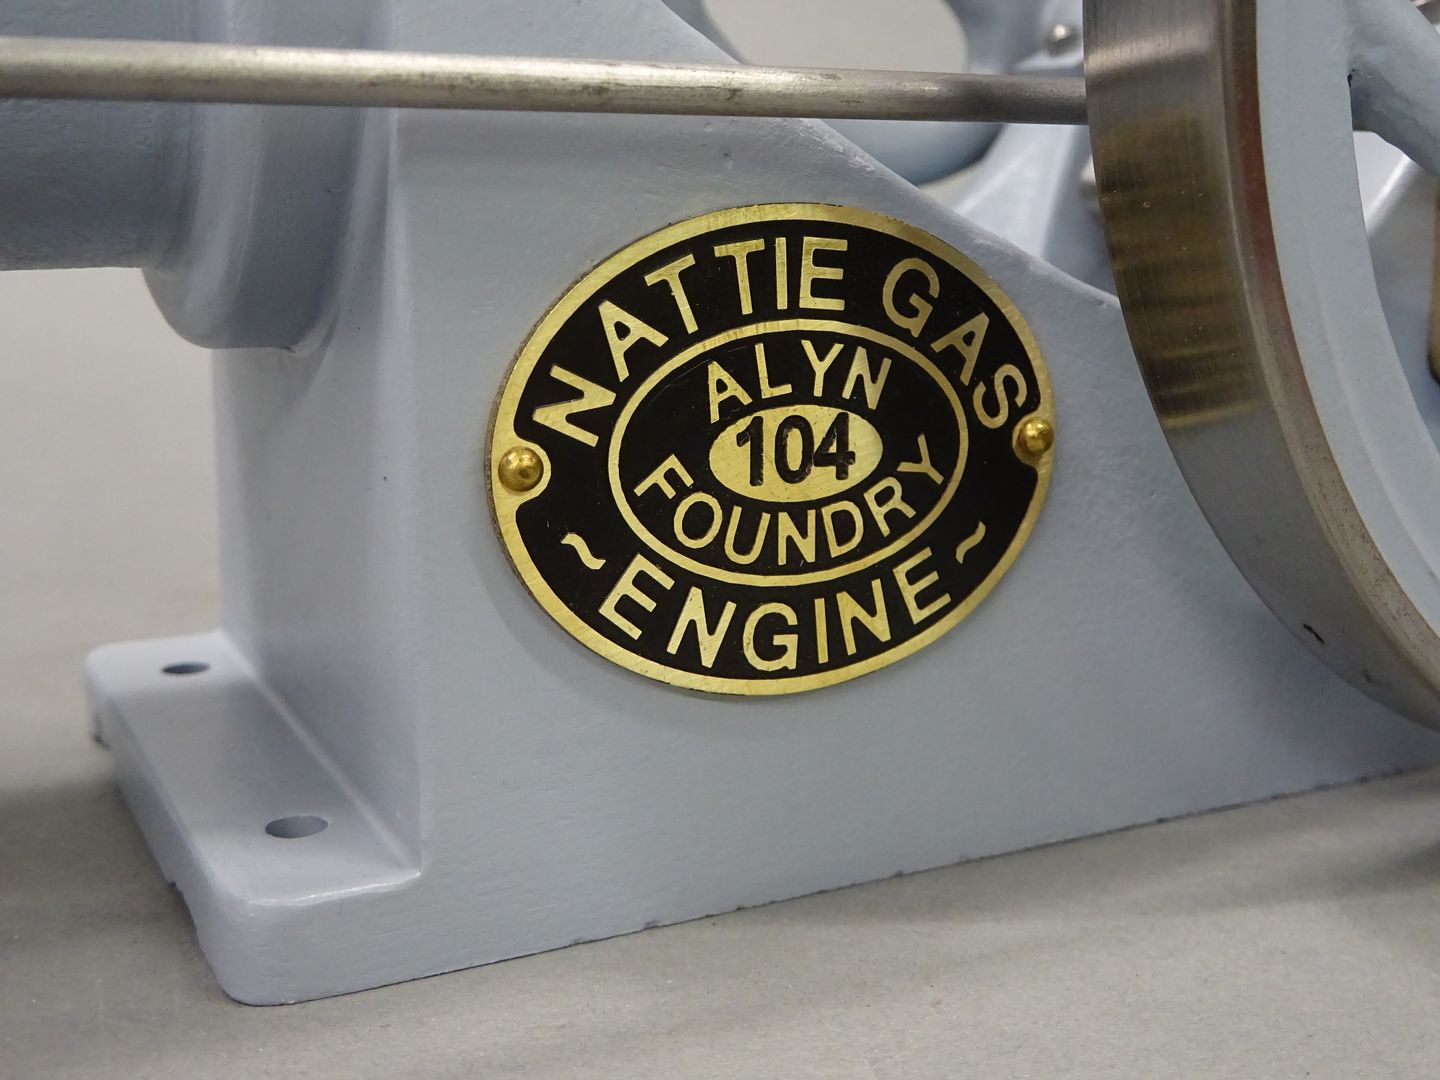
            As this engine is new Graham did not have nameplates available and did look into having them laser engraved but I ended up doing a small batch for the small and exclusive number that exist. These were engraved and cut out on the CNC, the builder can infill with paint colour of their choice or leave bare brass.

            Talking of paint I decided to go with a light grey on this one, at first I thought it may be too light but it has grown on me. It is actually Upol Acid8 primer with a clear sating over the top.

            I've not made a dedicated burner for this one, I'll just have to get the blowtorch out when I want to give it a run

            Could not help thinking while I was running this that it would be fun to see if the cylinder could be sleeved to form a water jacket, gears changed to get 1:2 ratio, add a couple of valves into what was the exhaust block (turned on it's side) and a spark plug or hot tube in the head, about 24mm bore should work.

            #651016
            Ady1
            Participant
              @ady1

              Very nice Jason. As usual you make it look easy peasy

              Is it about 20KGs?

              #651018
              JasonB
              Moderator
                @jasonb

                Thanks Ady

                It's only a little one – 36mm bore 120mm flywheels, comes out about 4kg at the most

              Viewing 6 posts - 1 through 6 (of 6 total)
              • Please log in to reply to this topic. Registering is free and easy using the links on the menu at the top of this page.

              Advert

              Latest Replies

              Home Forums Stationary engines Topics

              Viewing 25 topics - 1 through 25 (of 25 total)
              Viewing 25 topics - 1 through 25 (of 25 total)

              View full reply list.

              Advert

              Newsletter Sign-up