Starting a new project, I am keen at some point to build a Hit & Miss engine and was thinking of starting one but then thought it better if I get another engine under my belt first.
So I have decided to have a go at Jasons design of the Muncaster,s Simple Entablature Engine which he released just over a year ago and sized at 24mm bore. It caught my eye immediately thinking it an attractive looking engine with the four columns and the entablature, just looked a bit different to me.
I am about finished on the Jowitt, just waiting for some compressor fittings and seeing that I have the flywheel casting for the entablature I thought I would make a start.
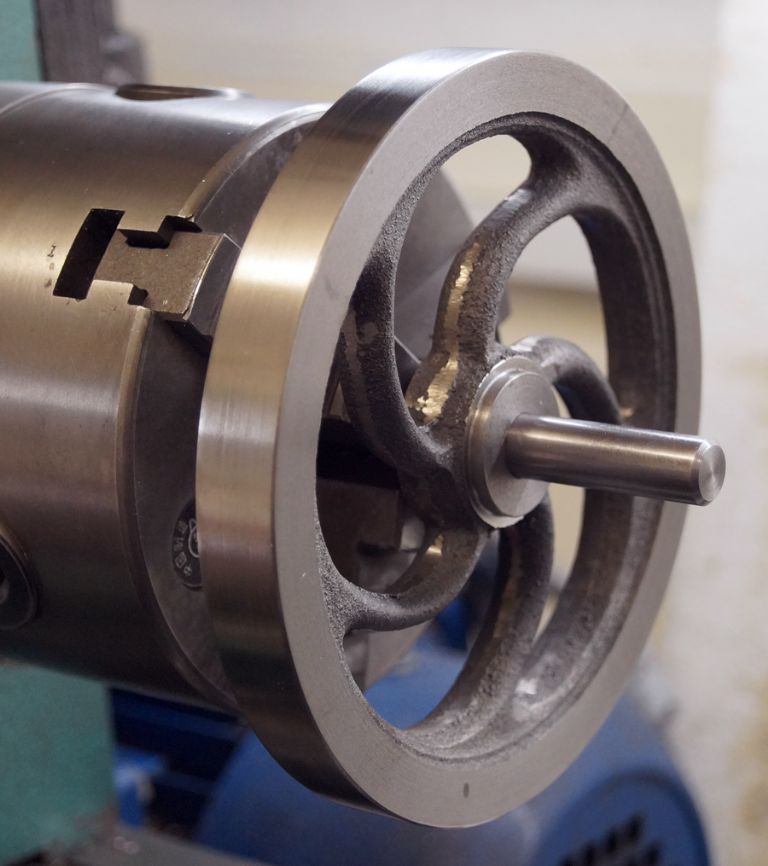
I have turned the flywheel which didnt need much as it is such a clean and balanced casting plus I bored the wheel for a good fit to a piece of ground bar which will be come the crankshaft. I also turned the crank from a piece of round steel bar, just needs to go on the mill to cut the tapered sides.
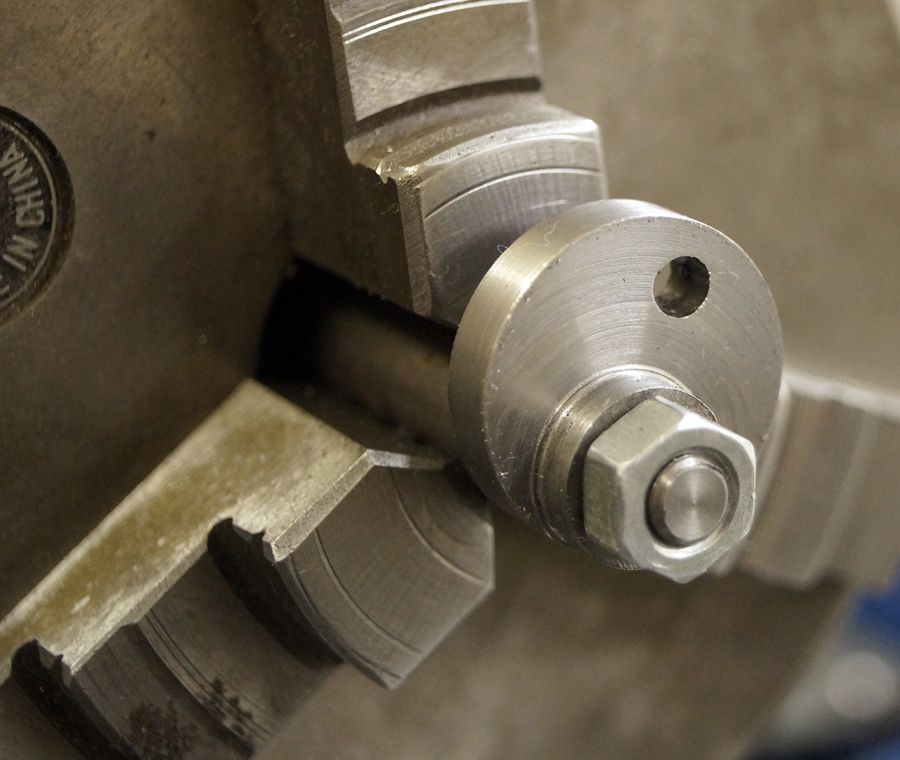
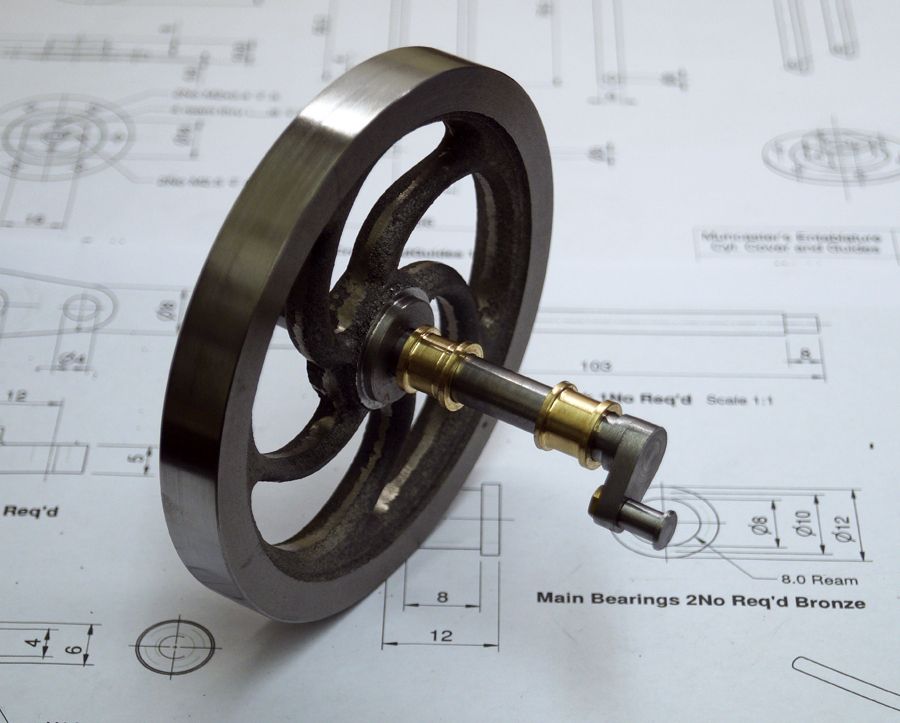
I was up for the dawn chorus this morning, turned the crankshaft, finished and fitted the crank arm, turned the crank pin and lock nut plus a pair of main bearings, all went well.
Nice start for a nice model,like the flywheel spokes.Have a look in my album ' Vertical cross engine' of pics of my build.
George.
Hi George, Nice, when I looked at the pics of the parts I couldnt image what the cross and swing arms would be used for but when I saw the final picture of the engine it all became clear, certainly interesting.
I went through the drawings and BOM making up a materials shopping list against what I have on the shelf. The good thing about the BOM is that it has alternative materials suggested for most of the parts which is handy from an availability point of view and also cost.
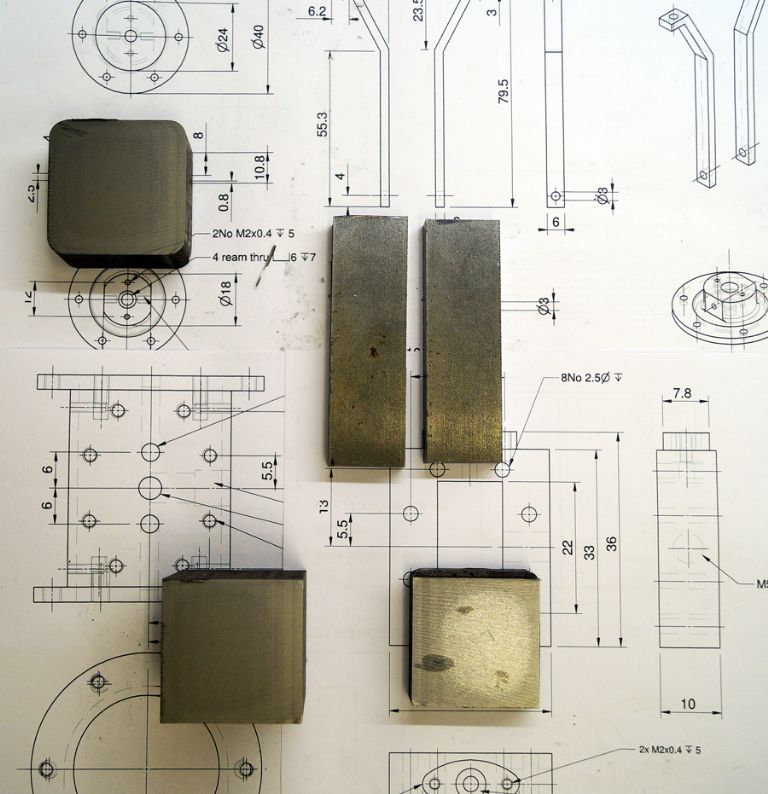
Thinking what parts I could get out of what I have I did find one or two bonuses. I have some 45mm square cast iron so a 45mm slice will cover the cylinder, 12mm the valve chest and 20mm which I can centre in the 4 jaw for turning the cylinder cover.
I did consider brass for the cylinder which would look really nice but going with C/I and cladding looks good to. I was thinking of having to get the crosshead guides out of 8mm gauge plate but found some 1" x 3/8" EN3 which was just long enough for a pair of guides and a bit easier to work.
No Jason, I can crack on there are some materials I need but there is also a lot I can get done from what I have.
The new compressor arrived but am still waiting for air fittings to connect the Jowitt. I give it a run it every day on the airbrush compressor and despite been on reduced air it really has settled in, its a sweet little runner, very pleased with it.
Hi Geoff, yes another engine for my sins I have a class 22 loco waiting to be finished plus the electric traction to get back to but I thought of having a break with the little Oscillator and then the Jowett.
I blame Jason he keeps presenting good designs of nice engines with drawings and a build/how to make (from bar stock) thread what is there not to like. (Thanks Jason)
There will no doubt be a forth engine after this one is finished but it may follow the loco.
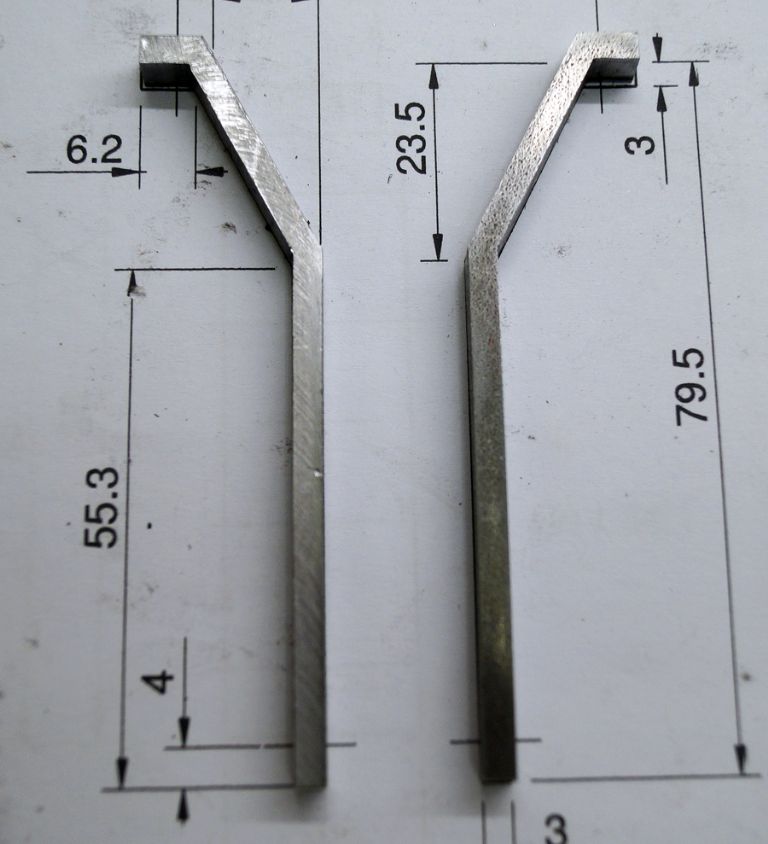
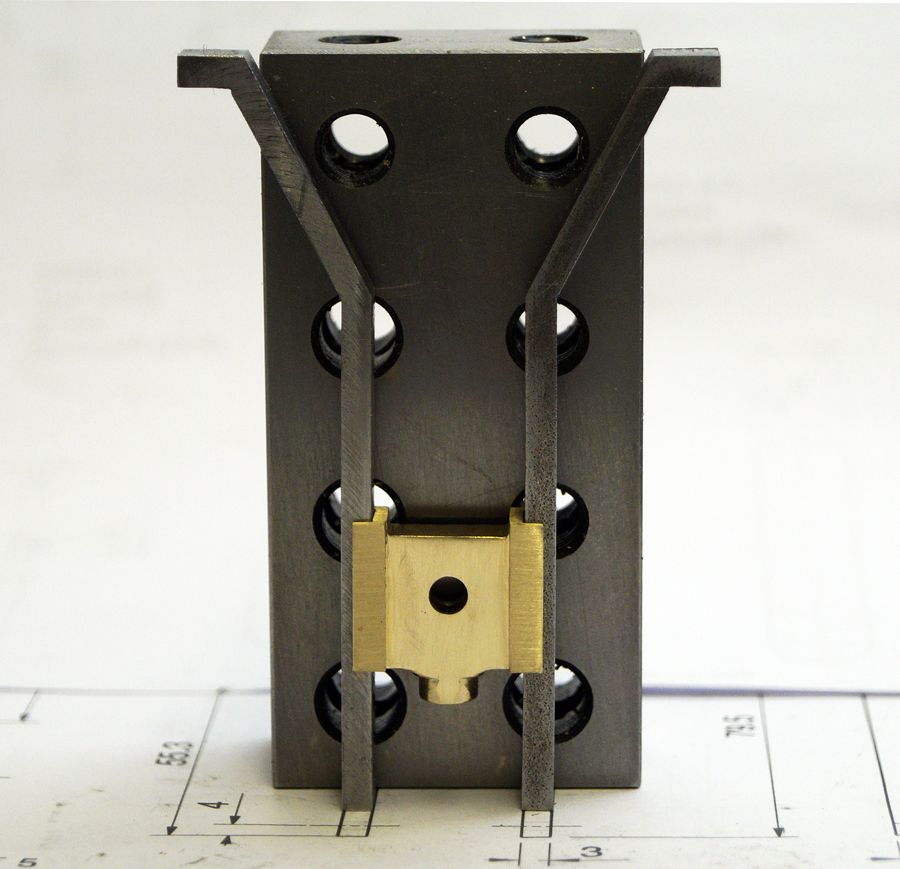
Just finished the crosshead guides, I thought these may be tricky to make but turned out not to be so.
I machined two blanks (EN3) to size and marked one out as per the drawing and then put them together and machined as a matched pair. Removed the bulk of the waste with the end mill and then changed to a 10mm cutter and worked to the guide lines changing the position in the vice as necessary, checked the dimensions as I went.
They didnt distort much considering they are only 3mm thick about 5 thou over the length of the vertical leg so easily rectified.
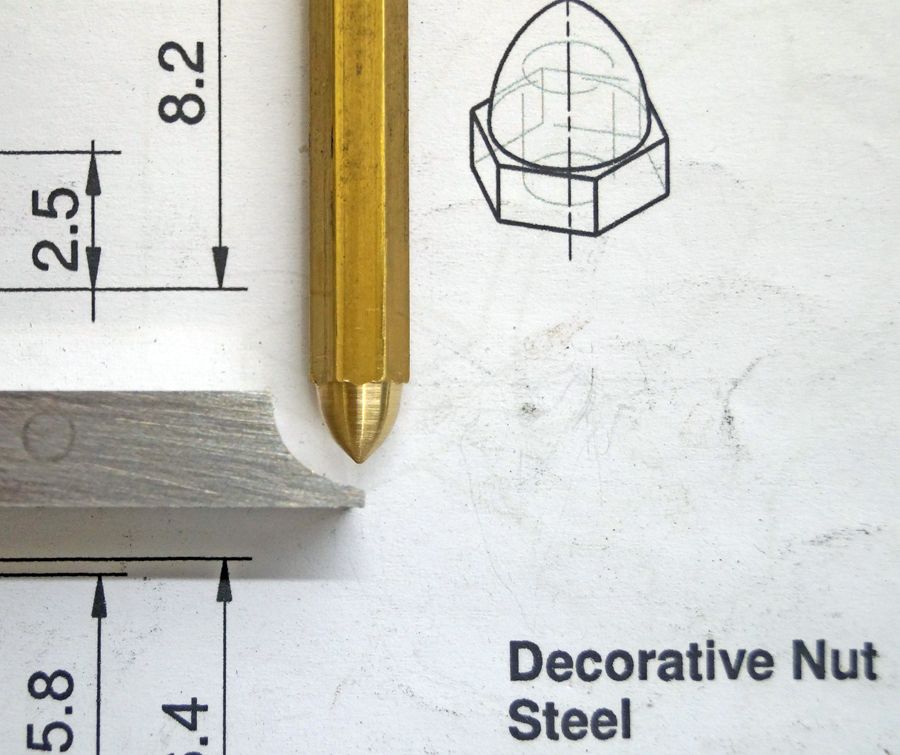
All looking good, you might want to think about cleaning up the hex stock with wire wool or fine Emery before you machine the nuts as it's easier to do the whole length first.
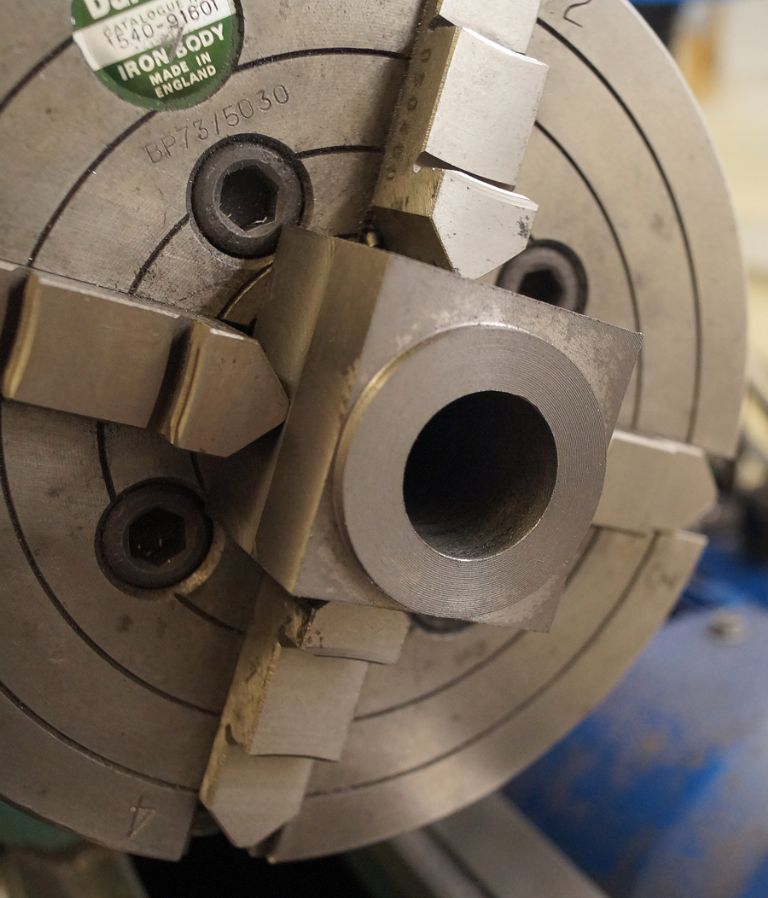
Started work on the cylinder its ready for boring just hope my 12mm boring bar does as well as it did on the Jowitt cylinder. I must make up a larger/stiffer bar say about 18mm diameter and make and fit a 4-5mm HSS bit in the end, doesnt need to be complicated. Anyway fingers crossed for the 12mm bar doing a good job in the morning.
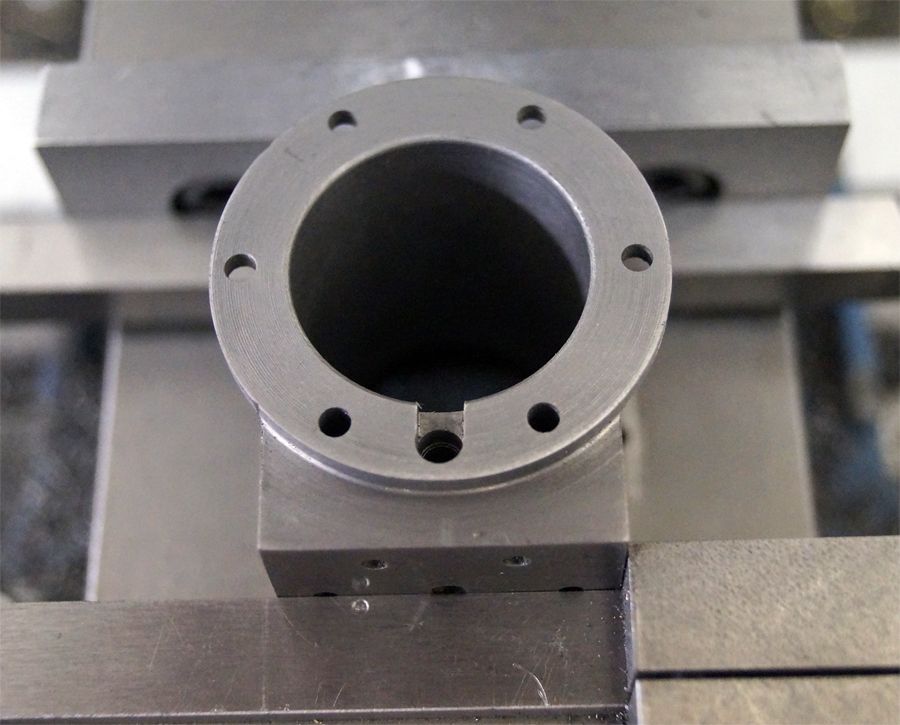
The cylinder is coming along and the boring went well with a nice surface finish (GT insert) still needs to be honed of course. I was aiming for 24mm and as far as I can measure it finished out at 24.02 top end and run out to 24.04 at the bottom, quite happy with that.
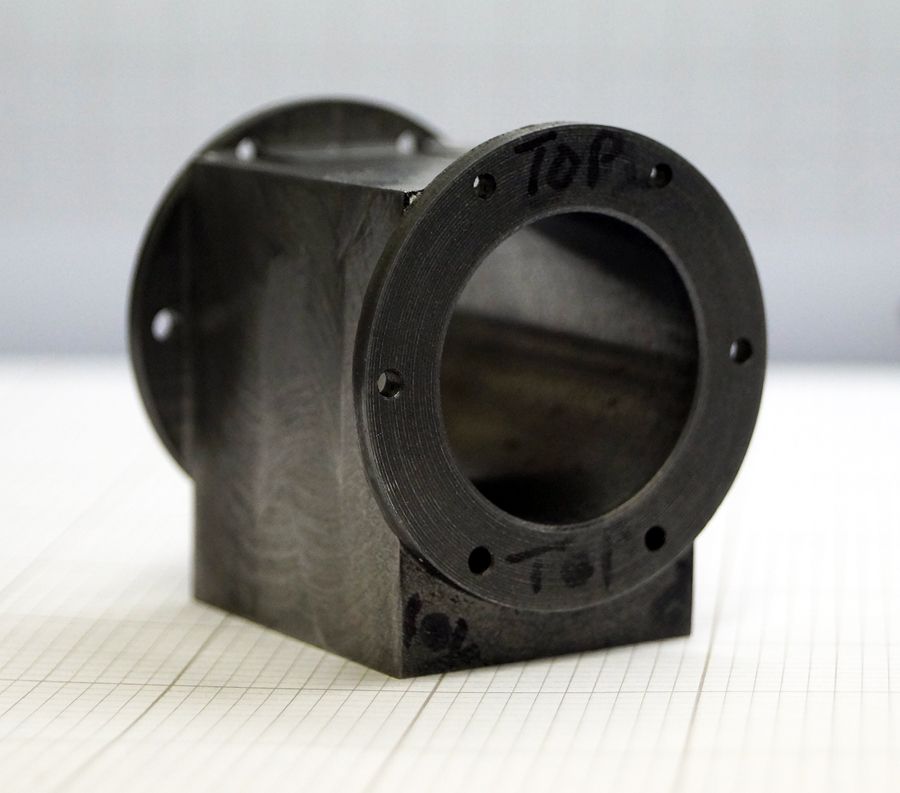
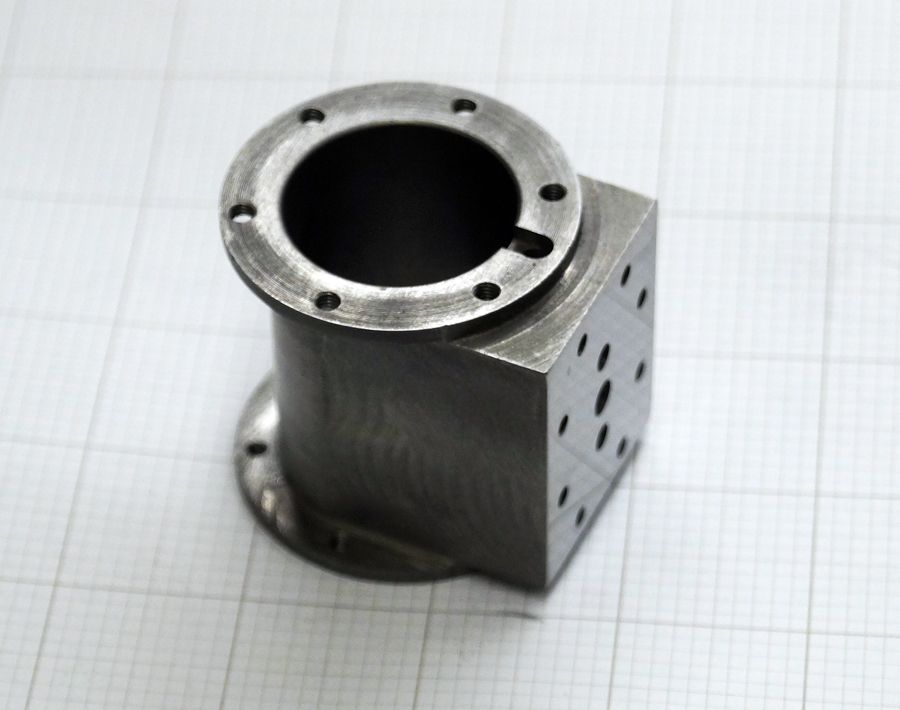
Just holes to tap, shape the cylinder front and its finished.
Jason, I drilled the 2 x 3mm holes through to the inlets but not having a 3mm cutter for the notch I used a 3.5 its the closest I have. I could have just cut a 3.5 notch back to the 3mm hole but I counterbored the top of the hole to 3.5mm – 3mm deep, I know its not seen but it just looked better in doing it.
I couldnt see it would be a problem unless you tell me different of course.
It will be OK, just watch that you get a seal around the outside of the notch when you assemble the engine as the area is a bit less. I tend to use a liquid gasket rather than paper but it will run OK without a gasket.
Apart from honing the cylinder is finished, there is something very satisfying producing parts like this from a block of bar stock, well for me anyway.