Jan Ridders Horizontal Stirling ‘Bas’

Advert

Jan Ridders Horizontal Stirling ‘Bas’

Home Forums Stationary engines Jan Ridders Horizontal Stirling ‘Bas’

Viewing 25 posts - 1 through 25 (of 112 total)
  • Author
    Posts
  • #214242
    pgk pgk
    Participant
      @pgkpgk17461

      Inspired by Bryan I thought I ought to build an engine. Each to their own ..so don't shoot me down.. but apart from the skill and achievement in doing so (and I'm not knocking that) I can imagine an awful lot of beautiful engines sitting in cupboards corroding away and never being played with. So if I'm going to go to the bother of building one it has to either do some work or be dead easy to fire up on a shelf and show working without dragging air lines about or boiling water.

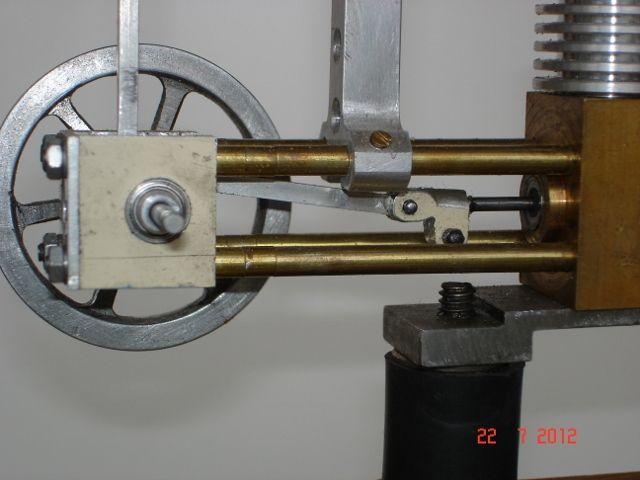
      Jan's Stirling (if I ever complete it) should be simple to power, plans are 'free' plus a donation and might appeal to OH since his builds look shiney.

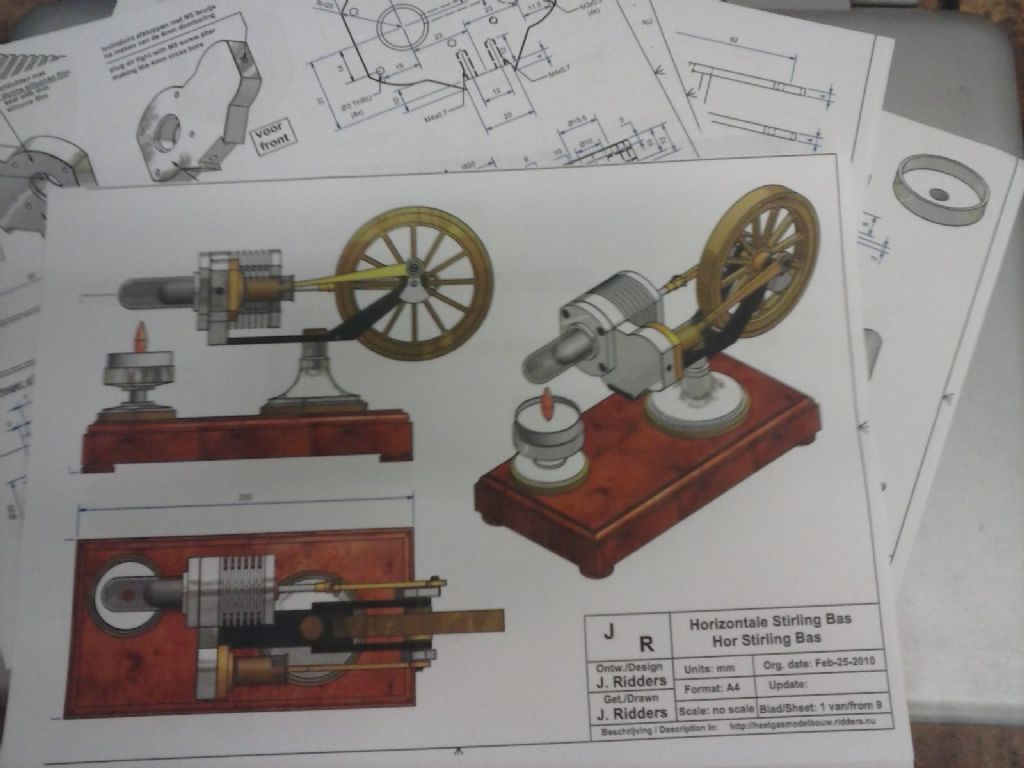
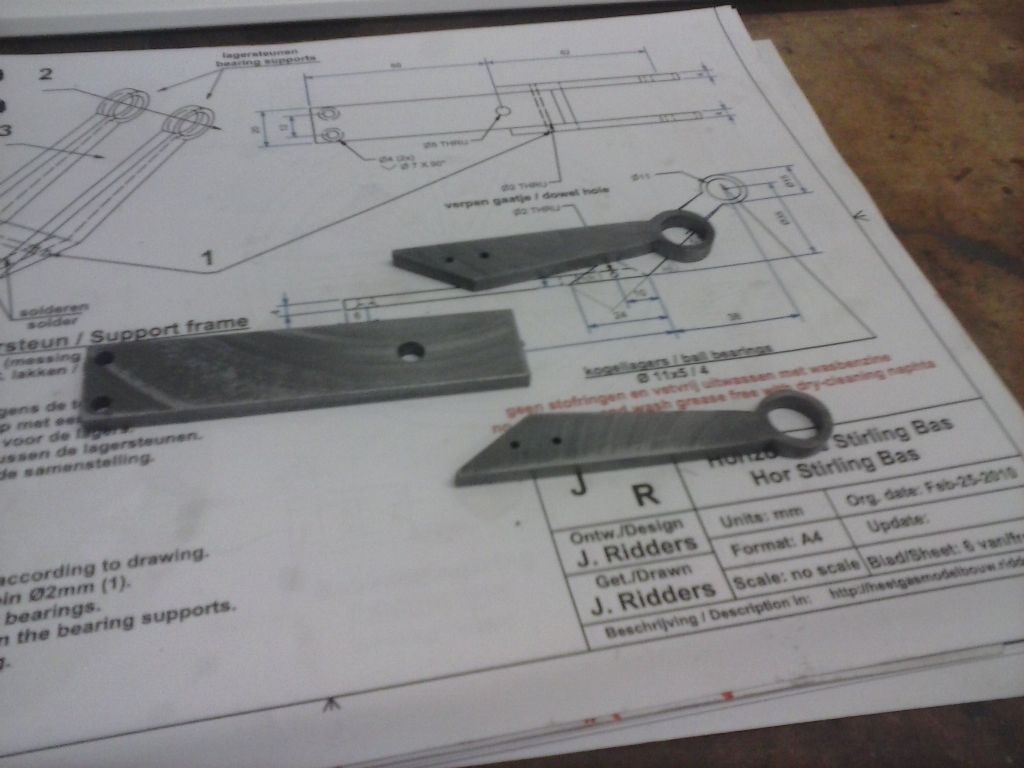
      So we have a bunch of plans that involved some thinking about:

      cam00334.jpg

      I'm not fully committed to this and the hardest part strikes me as getting the glass tubes cut. I duly ordered some borosilicate tubes from ebay.. five of each needed size. If I break them all then it may be game over.

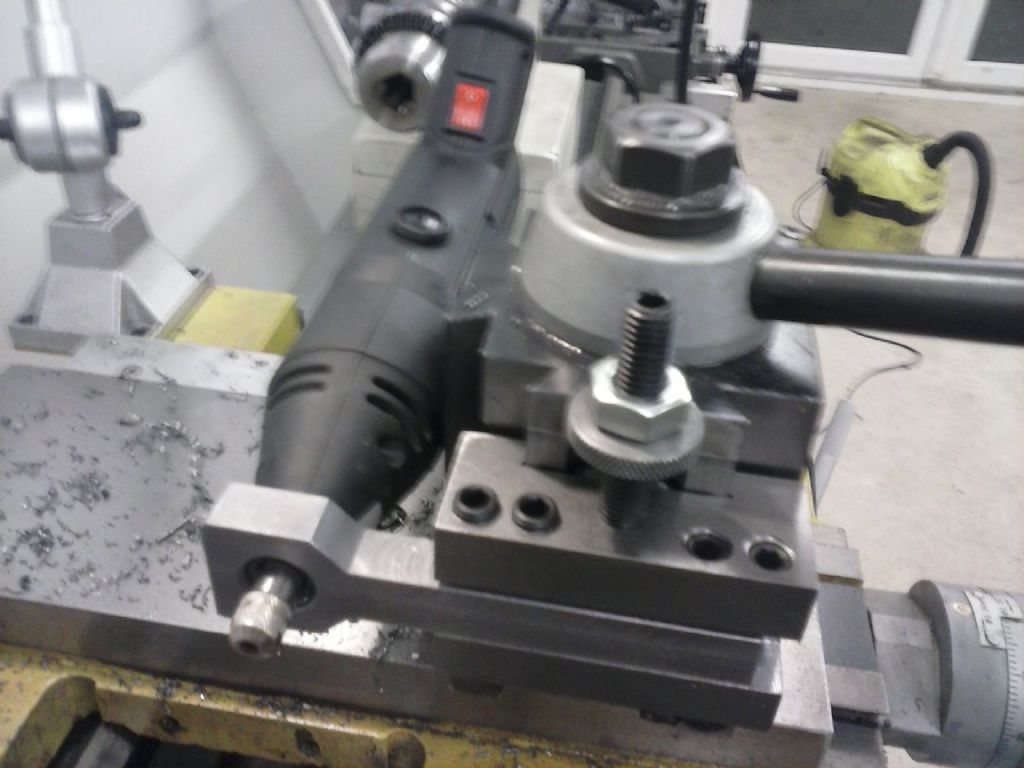
      This is where the domino effect comes it. Jan recommends cutting the tubes with a dremel and brown disc – so I need to mount a dremel to the toolpost.

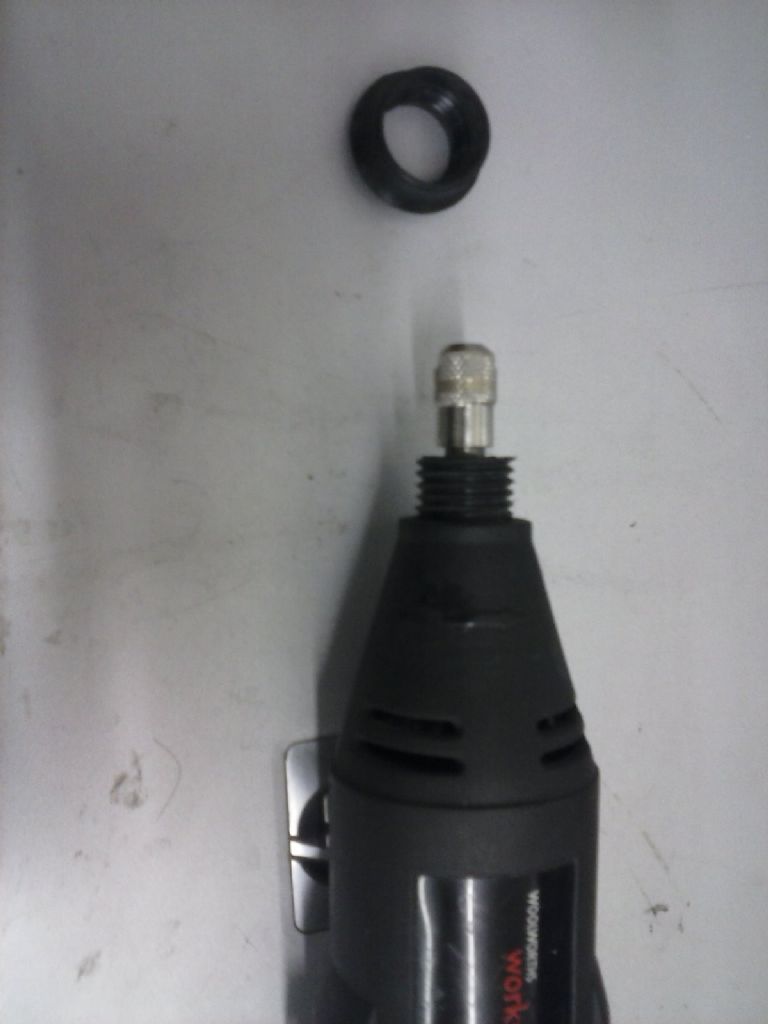
      Initially I was going for a straight clamp round the tool body on my 'Woomel' (that's a woolworths dremel type drill I've had for years – under a tenner with a nice case and lots of bits). The I discovered the grip bit unscrews:

      cam00335.jpg

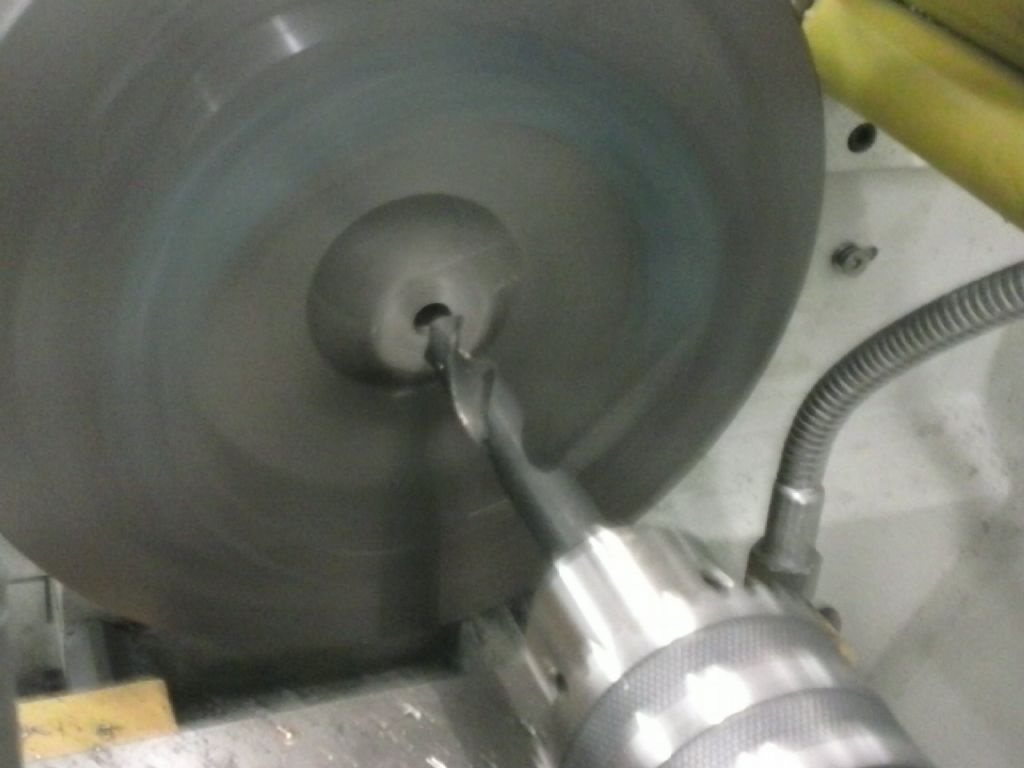
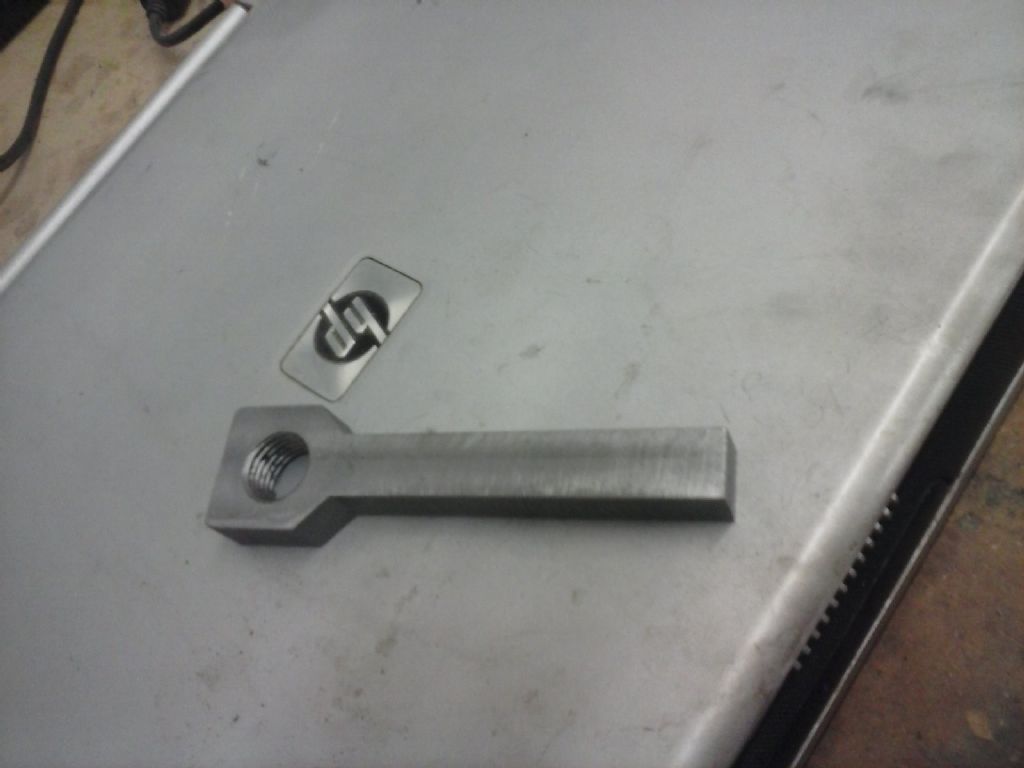
      Bizzarely as best i could measure that thread it's a dead on 2mm pitch but the minor diameter is around 15.55mm and the major about 16.75 – so what the heck thread it's really supposed to be I have no idea. A woolworth?

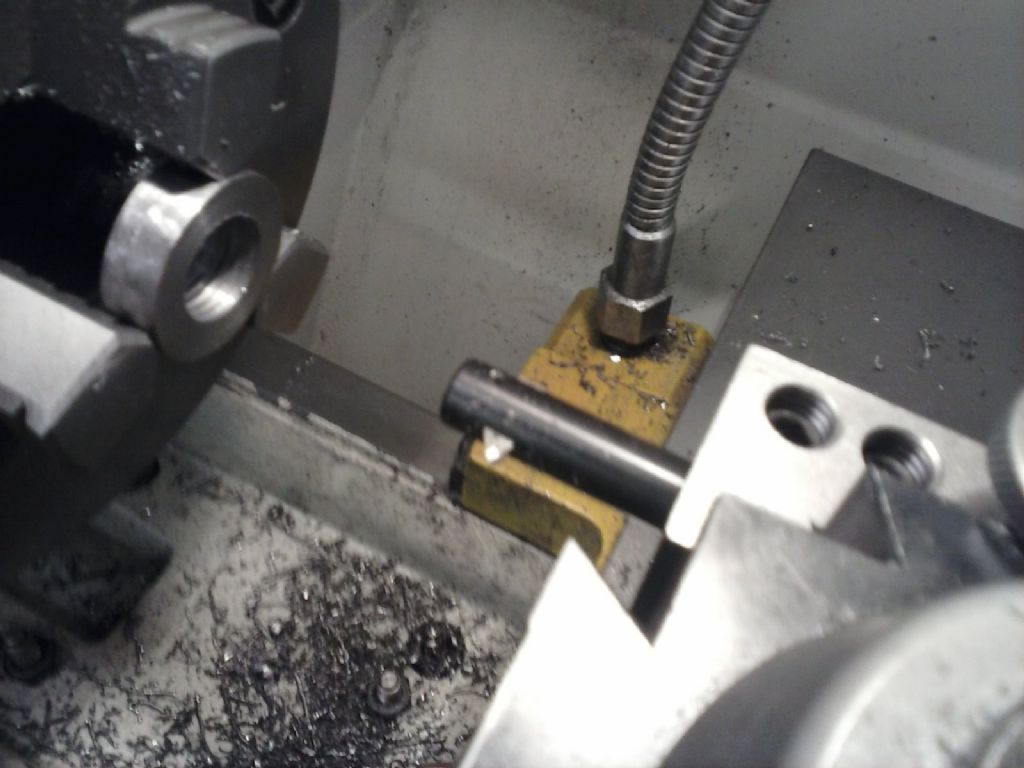
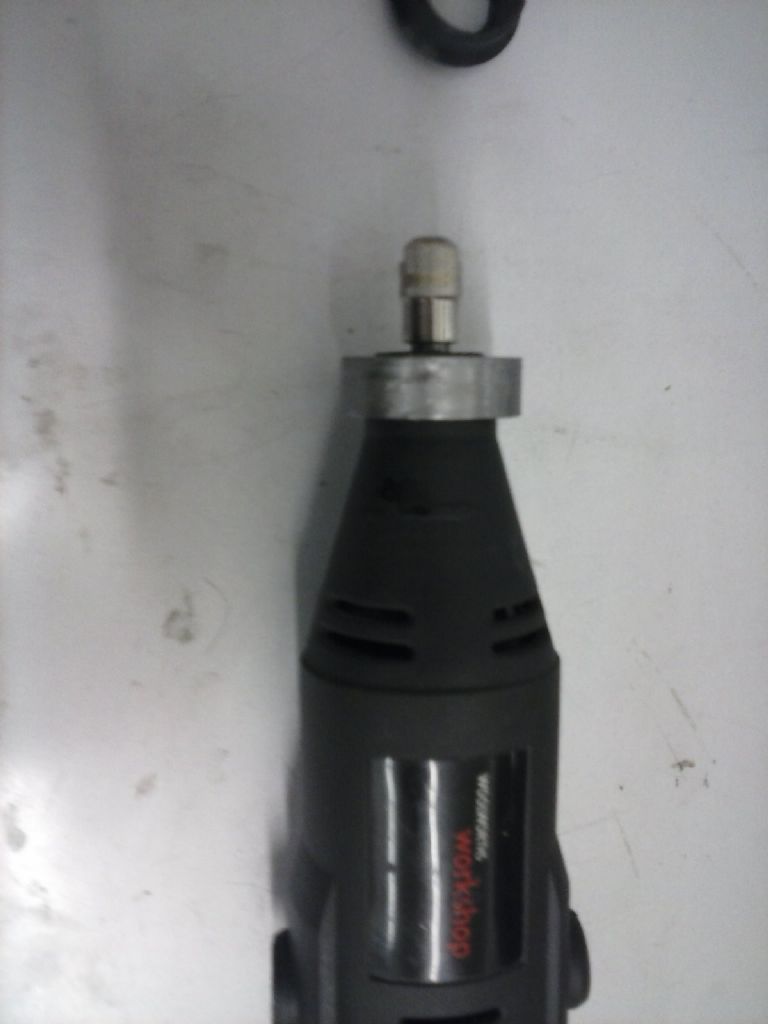
      I'd never cut an internal thread so ground up a stub of HSS and dug out a never used small boring bar. If I'm honest the end result did work but I'd messed up on the major/minor diameters when it comes to internal threads and bored the hole a bit big before I twigged. It was a bit loose but proved I could cut an internal thread.

      cam00337.jpg

      cam00336.jpg

      I'm not quick at this stuff so that was end of evening one. The next session I started off right

      cam00340.jpg

      And dug out a bar end of hot rolled, cleaned it up and roughed it square. It's a 'gerrerdun' project to make this holder and doesn't have to be that pretty.

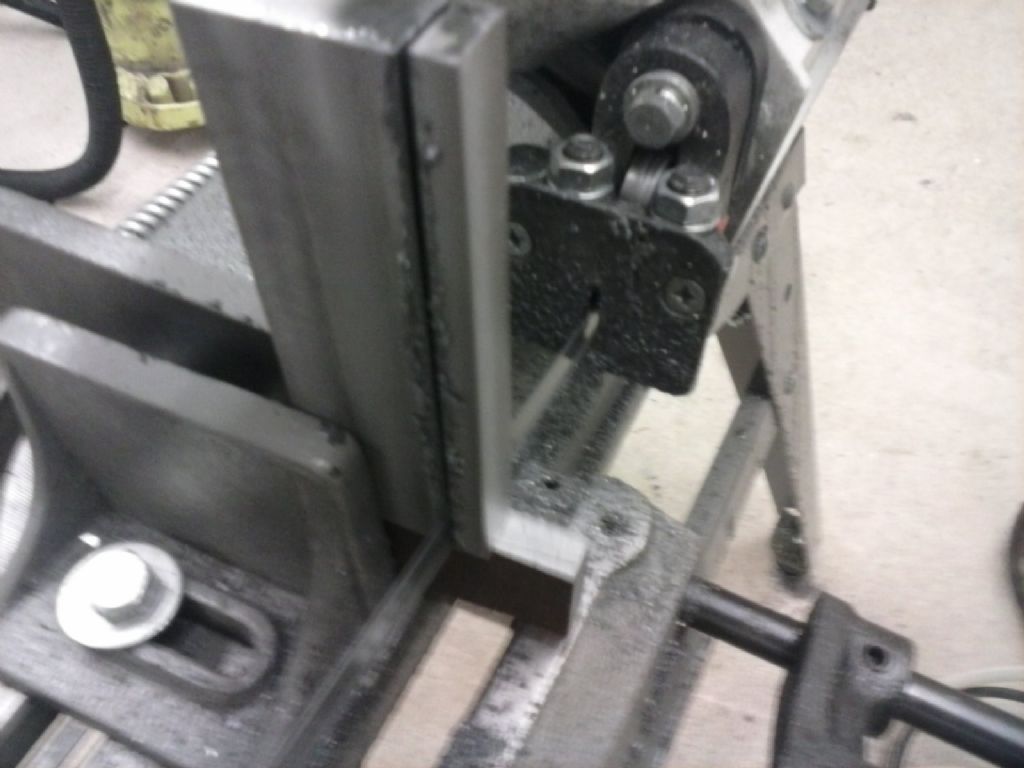
      Note the dodgy setup to trim a bit off the edge

      cam00339.jpg

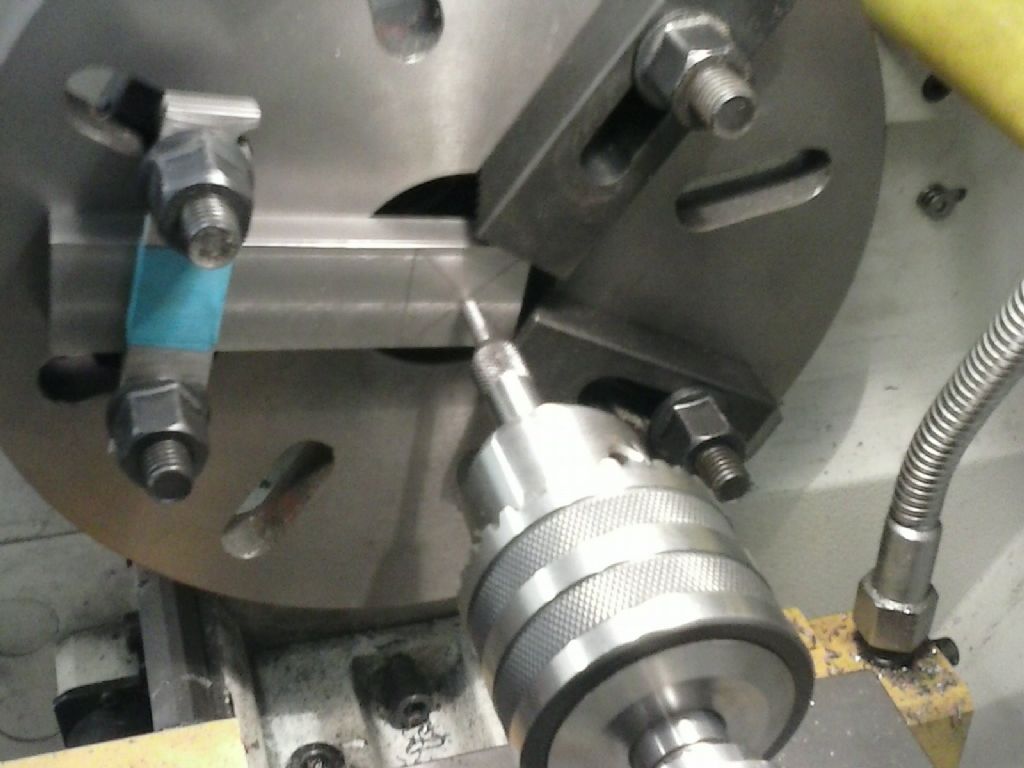
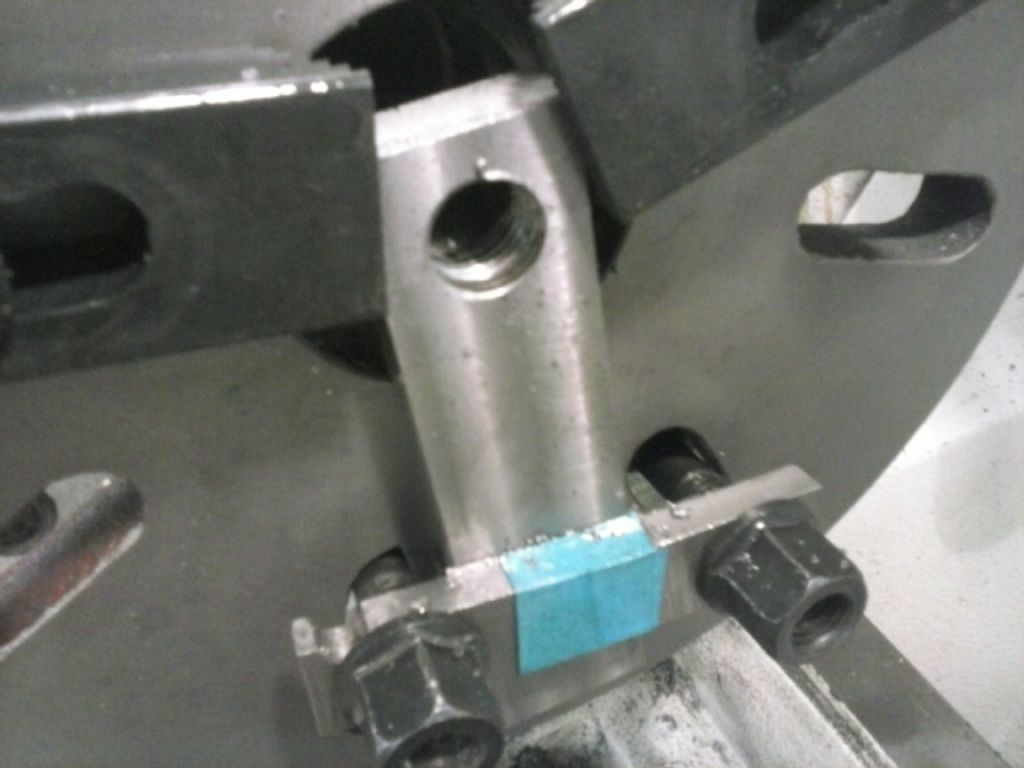
      I could have held it in my 4-jaw but not with through clearance for boring or threading with my gear so out came the faceplate and more dodgy setups:

      cam00342.jpg

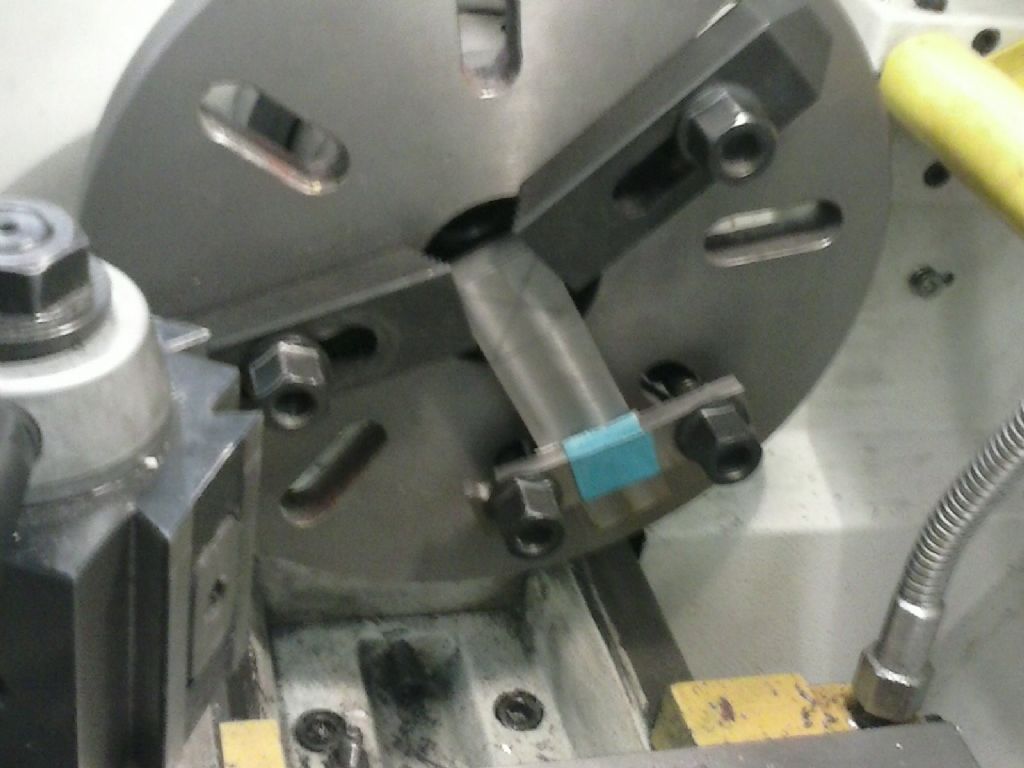
      The bolts on this attempt were way too proud and would have needed even more overhang on the tooling than I ended up with:

      cam00344.jpg

      This was better and quicker than making up countersunk bars or a backboard. There was some imbalance wobble but tolerable.

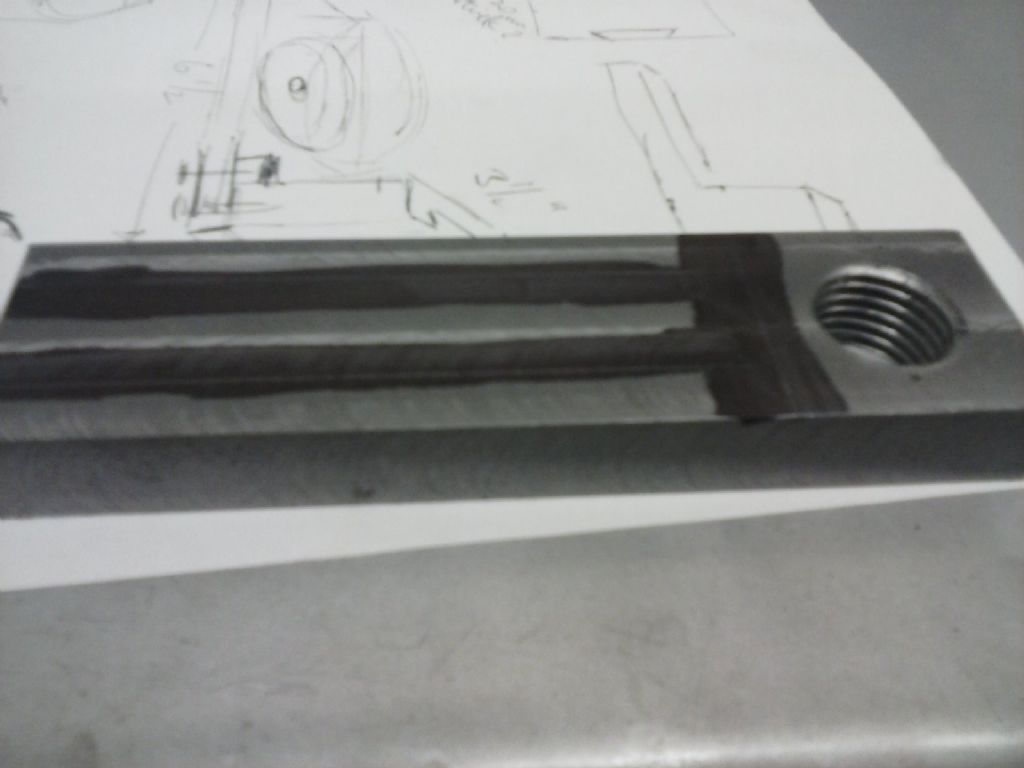
      Drilled, bored and threaded… but the threading was a mare. I'd left everything set-up from the practice but the gear under the threading indicator loosened and I lost my mark (there's no index point for the thread dial gears on the crusader lathe so knowing if the right tooth/teeth are aligned with the indicator is a trial error and black art as I see it).

      The other issue was the tool overhang and flex and way too little space in the bore for the bar i had. Ultimately I cut this thread with quite a deep set of bites and multiple spring passes each time.

      cam00345.jpg

      cam00346.jpg

      cam00347.jpg

      Things were a bit too tense and I failed to take any threading pics. That session finished with a rough markout for fitting a toolholder.

      Advert
      #3274
      pgk pgk
      Participant
        @pgkpgk17461

        the newbie and the domino effect

        #214244
        pgk pgk
        Participant
          @pgkpgk17461

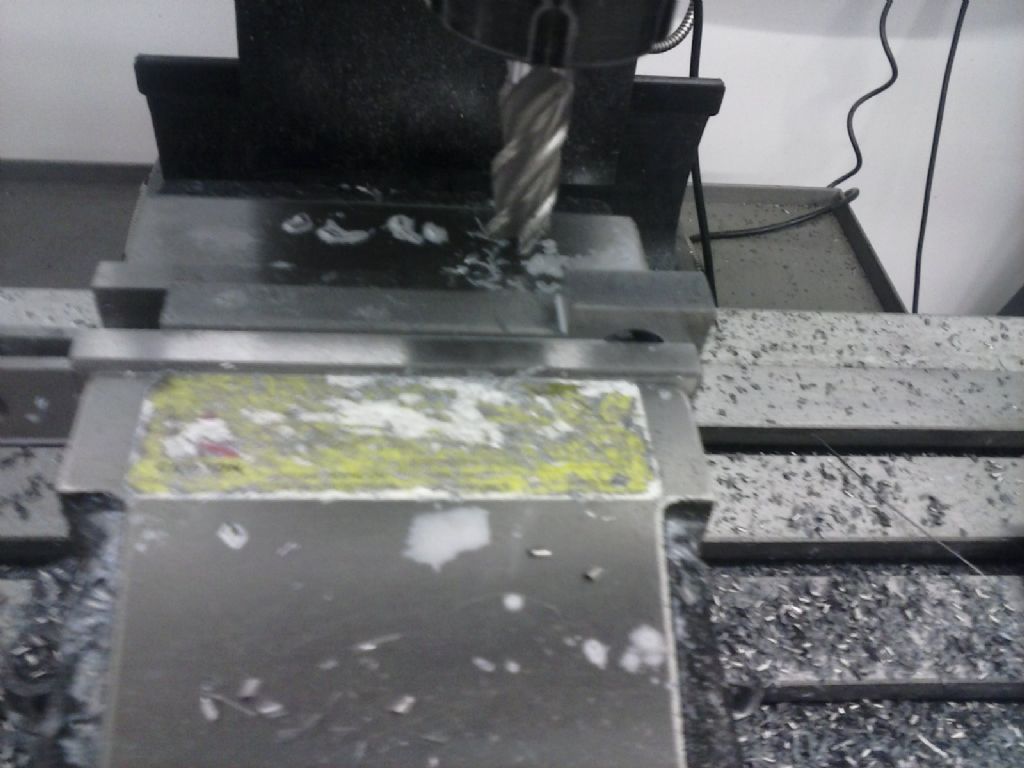
          I was too lazy to handsaw the waste, too lazy to swap the setup on the bandsaw to vertical so just wacked off the waste with the mill: 3x 2.5mm passes each edge with handsprayed coolant

          cam00348.jpg

          Despite being a gerrerdun i did pretty it up a bit and showed it the beltsander and some scotchbrite.

          cam00349.jpg

          My toolholders can take 16mm which should be strong enough to hold it.

          cam00350.jpg

          sometimes you fluke how the thread ends up when tightened.

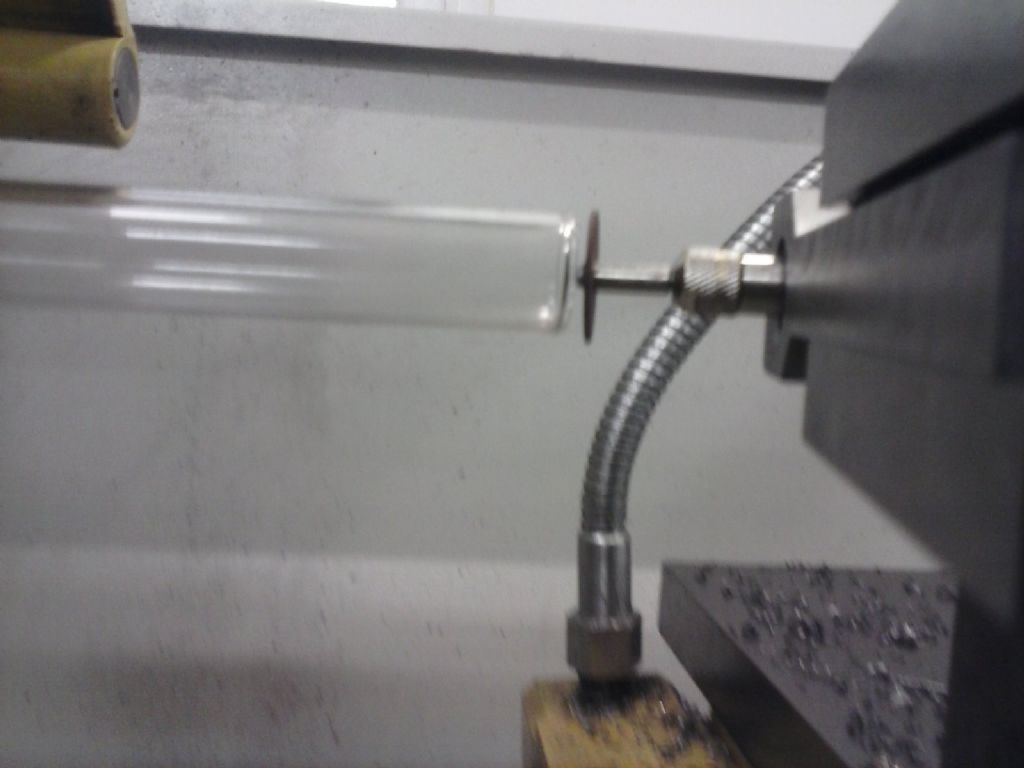
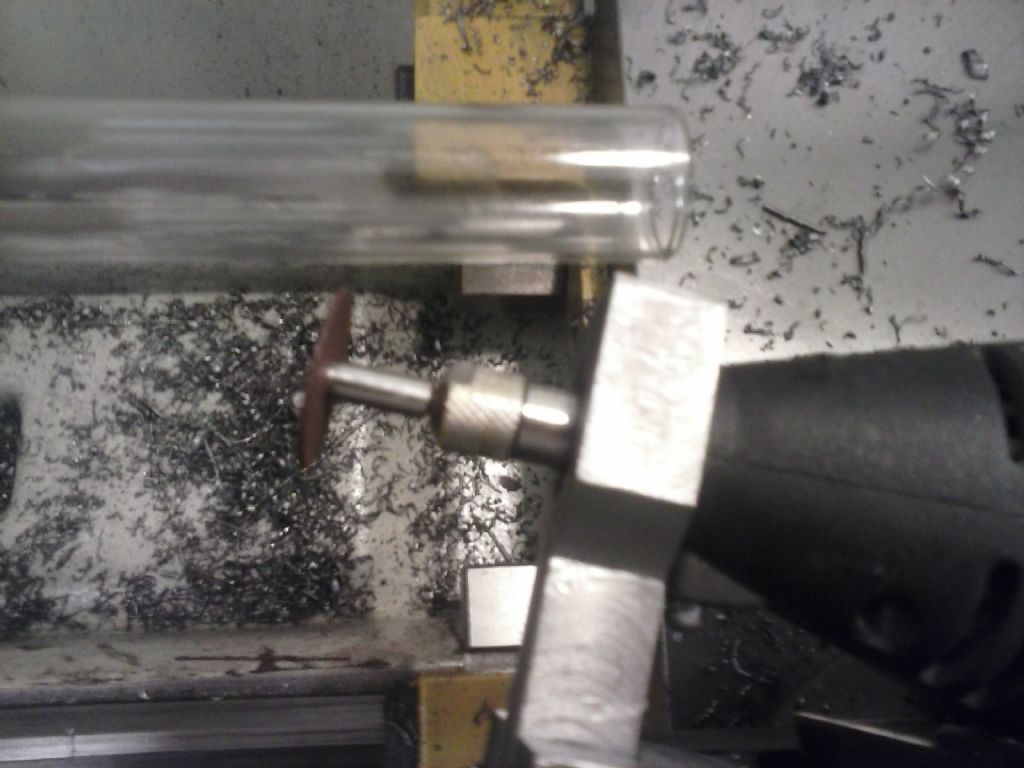
          Of course the next problem was that the discs for the 'woomel' are smaller than the width of the tool and with a length to cut off it's a choice of doing it in sections or angling the tool. First set the height by that'll do..

          cam00351.jpg

          cam00352.jpg

          Then work out the least angle

          cam00353.jpg

          And a catcher

          cam00354.jpg

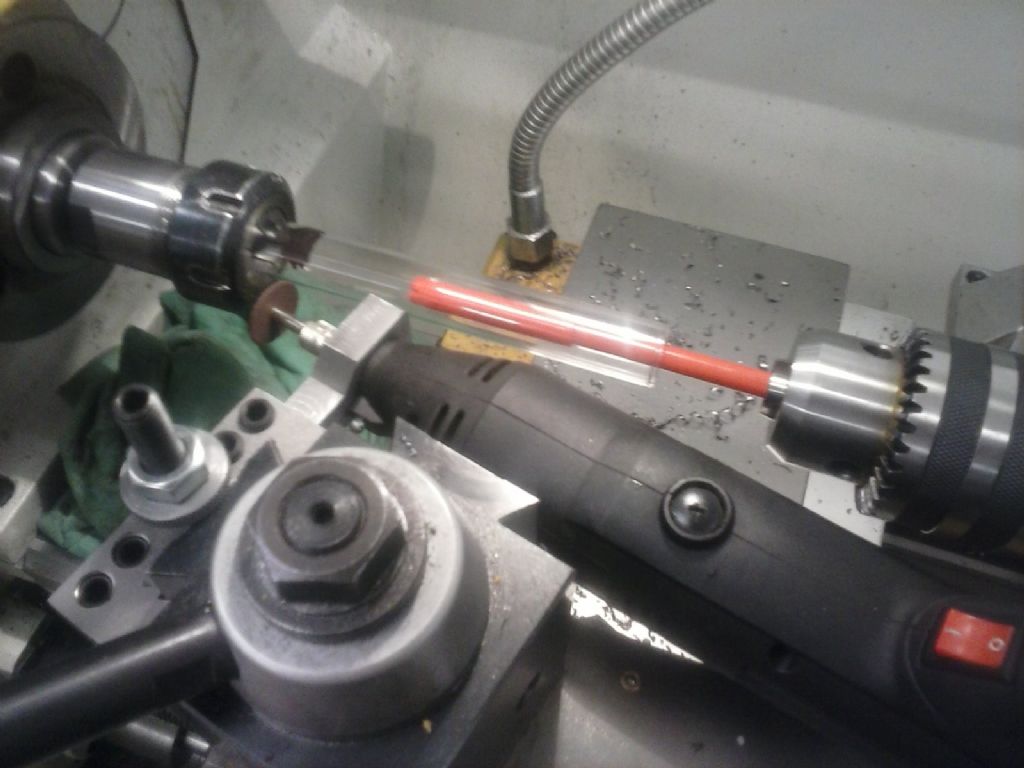
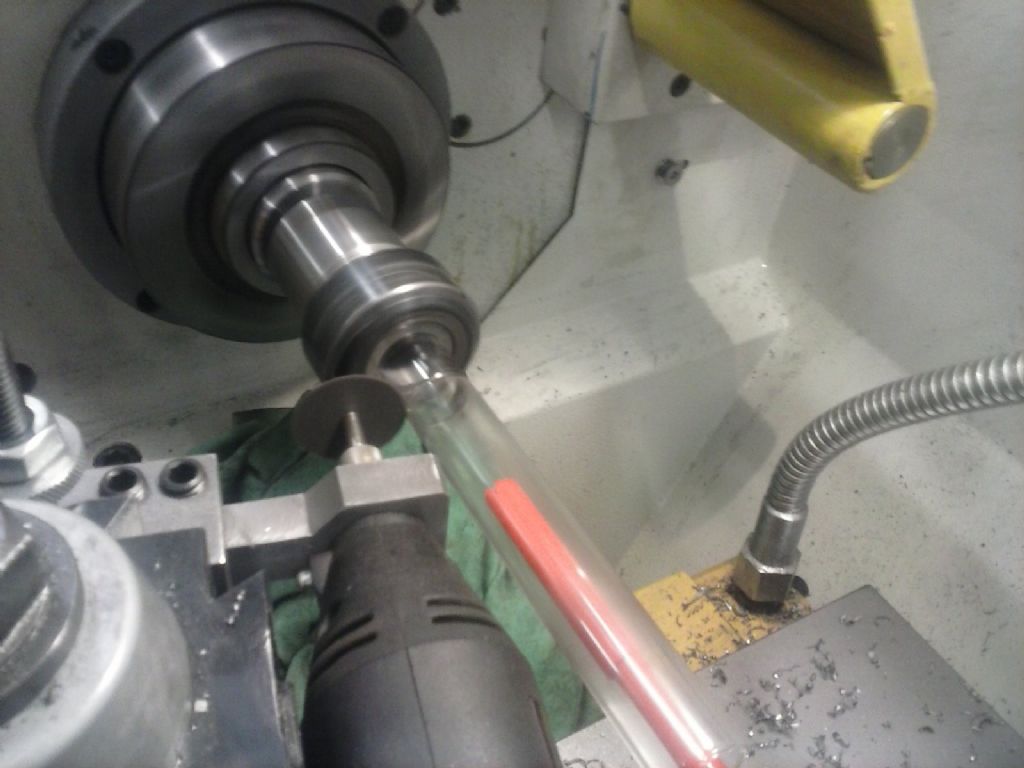
          OK so Jan says he managed with a brown disc. I had the woomel running full bore and the lathe at 100rpm and only managed a shallow dent in the thing. I switched to one of those black cut-off discs..half an hour later i had a slightly deeper groove and that was despite ramming the disc up hard so the disc spindle was bowing and having a tiny hard white light at the contact point from heat. I upped the lathe to 280 rpm. half an hour later and not much progress. Darn this glass is tough!

          I gambled on shocking it with some coolant hoping to get a stress facture at the weakened hot zone – It laughed at me. The cutting disc got smaller but the groove hardly deepened. Shed laptop and i ordered some diamond dremel discs from ebay but i bet i'll have to keep them cool or turn the diamonds to CO2…..

          I tested the residual strength of the groove… it broke nicely….leaving me with a not too bad wrong half and a crack in the end I wanted…..Hmmm… 4 tubes that size left when the diamond discs arrive…..

          #214255
          Neil Wyatt
          Moderator
            @neilwyatt

            Be positive! That 'dremel' holder will come in handy for all sorts of tasks

            Neil

            #214257
            JasonB
            Moderator
              @jasonb

              Have you got a wet tile saw? or a diamond disk for the dremel

              #214259
              pgk pgk
              Participant
                @pgkpgk17461

                <<Be positive! That 'dremel' holder will come in handy for all sorts of tasks

                Neil>>

                …can't think of anything apart from holding my dremel or throwing at something in frustration ..

                <<Jason B

                Have you got a wet tile saw? or a diamond disk for the dremel>>

                Tile saw died after doing kitchen and living room floor…Last paragraph I had ordered some diamond discs…

                #214260
                Howi
                Participant
                  @howi

                  Been there, done that' just waiting for the tee shirt……

                  I made my dremel (proxon) holder in two parts to save all that sawing /filing, picked up some cheap diamond cutting discs at one of the shows, went through the glass easy least.

                  Good luck with the build, Jan Ridders plans very good.

                  #214261
                  Roger Provins 2
                  Participant
                    @rogerprovins2

                    Just got the drawings from Jan for another of his models, the Stirling Eierdop / Stirling Egg Cup. I'll be making a start in a week or so just need to finish some stuff and clear the bench.

                    #214269
                    Ian S C
                    Participant
                      @iansc

                      If all else fails you can make the hot cap from mild steel or stainless, the only draw back is, you can't see the inside working.

                      Ian S C

                      #214691
                      pgk pgk
                      Participant
                        @pgkpgk17461

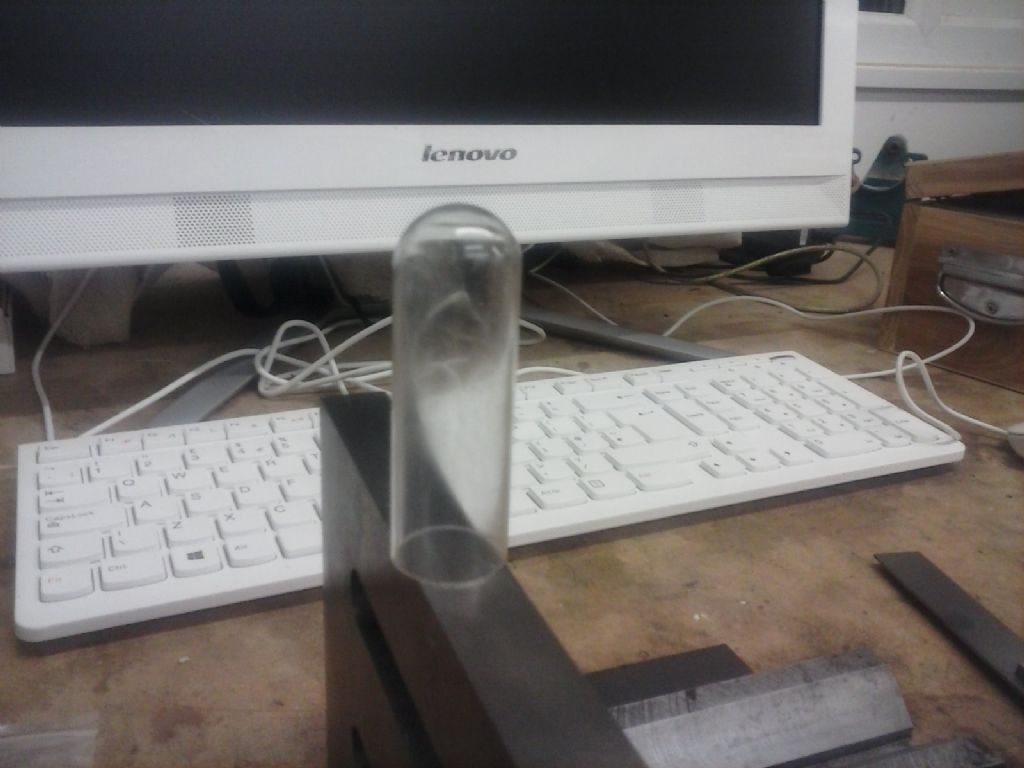
                        Diamond discs arrived and i used the same setup to cut the tubes. Problems found: snugging the er32 collet down to get a good hold and hold the tube straight is a judgement call. First tube got a nice cut but found the tube base cracked in the collet. Third attempt was OK.

                        Despite appropriate care the cuts aren't absolutely square to the long axis. I found the best was to smooth the ends was a fine diamond file. If it becomes necessary to get 'perfection' then it might be necessary to come up with a way of holding those files square to the lathe and slowly grind down. I'll revisit that if necessary once I see how well these tubes get held in their fixings. 2 spares of each size left.

                        Over the w/e i did start on the stand. The drawing calls for brass and then lacquered black. My inherent meanness, lack of any stock brass but plenty of hot-roll plate… so I started shaping that. I wasn''t getting a good enough finish on the mill. Neither endmills nor flycutter.

                        there's a number of reasons. the flycutter showed me that the mill has slipped out of tram on the last project. It's a pain to retram..can take hours 'cos as you dog the bolts the tram moves.. so that's the next job.

                        I get good finishes on ally (never milled brass).. down to better luck with flycutter profile, faster spin speed all making up for lack of power feed?

                        I've ordered some long m5 countersunk head bolts and the game plan there is to fix one of my 6mm hot rolled plates to the faceplate and use the lathe power feed to skim this to 4mm.. I usually get a way better finish on the hot roll when I've done this before.

                        Soldering steel: The drawing calls for the stand arms to be soft soldered to the base. I've got a plumbers type propane torch but the only solders i have are for electrical stuff and cored Not recommended i know. What are the odds of getting away with it as well as a couple of rivets? Forget it and use epoxy?

                        I'll also need to bond the two stand arms together for machining and filing.. Epoxy again or will superglue do?

                        the rest of this session will be tramming and cleaning up

                        #214743
                        Ian S C
                        Participant
                          @iansc

                          pgk pgk, he electrical solder should be ok.

                          On my wee Stirling Engine I started with a rigid stand, but later changed to a flexible one in the form of a round rubber shock mount, the motor nods away until it reaches running speed, then it settles, and runs smooth036 (640x480).jpgly.

                          Ian S C

                          Edited By Ian S C on 01/12/2015 11:22:07

                          #214801
                          mechman48
                          Participant
                            @mechman48

                            the fly cutter showed me that the mill has slipped out of tram on the last project. It's a pain to retram.. can take hours 'cos as you dog the bolts the tram moves.. so that's the next job

                            pgk … no need for hrs to retram' look at the small tramming adjusters I made, fit one either side of the mill head, get very near, then adjust finely & lock up the adj' nuts…

                            head tramming stop & adjuster.jpg

                            headstock tramming stop (1).jpg

                            George.

                            #214805
                            pgk pgk
                            Participant
                              @pgkpgk17461
                              Posted by mechman48 on 01/12/2015 19:01:50:

                              the fly cutter showed me that the mill has slipped out of tram on the last project. It's a pain to retram.. can take hours 'cos as you dog the bolts the tram moves.. so that's the next job

                              pgk … no need for hrs to retram' look at the small tramming adjusters I made, fit one either side of the mill head, get very near, then adjust finely & lock up the adj' nuts…

                              head tramming stop & adjuster.jpg

                              headstock tramming stop (1).jpg

                              George.

                              George,

                              I don't think any variant of that idea would work on my chester superlux. I'd be happy to be wrong…

                              I got lucky last night and the tramming went within 1 thou over 10" first guess…

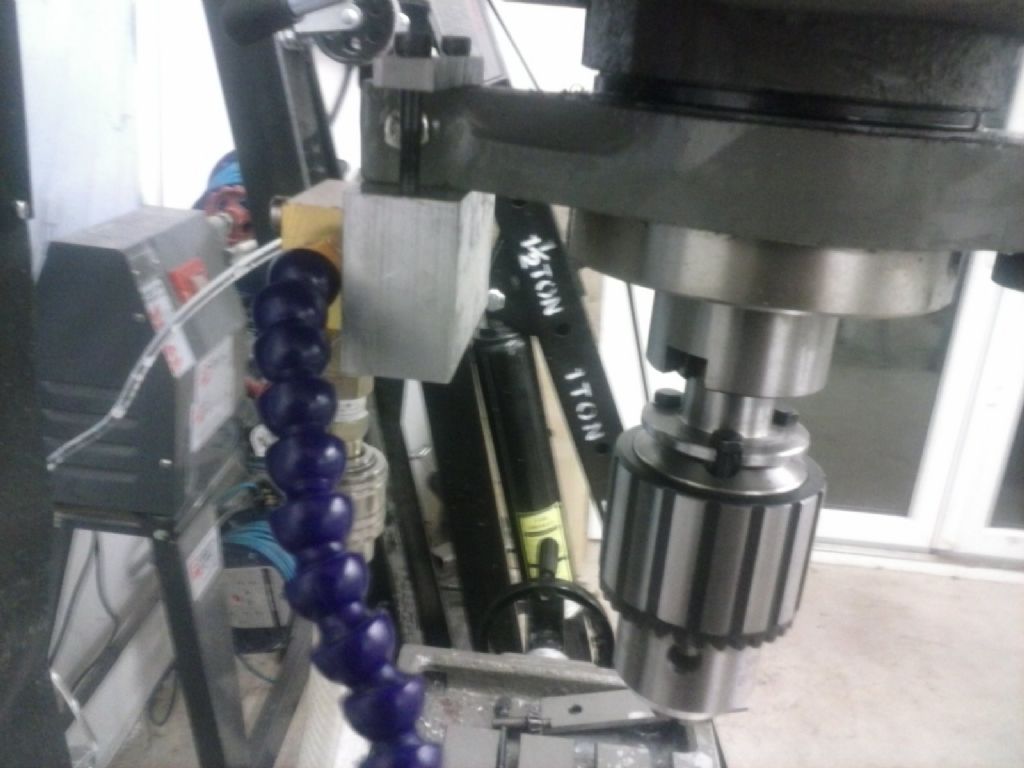
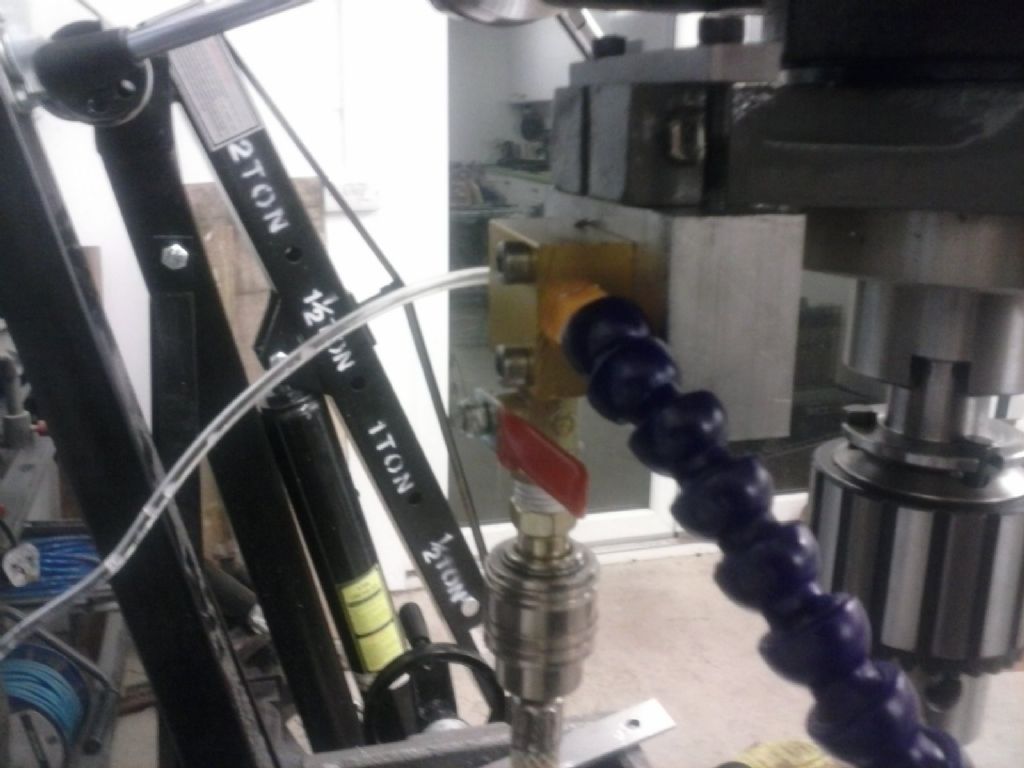
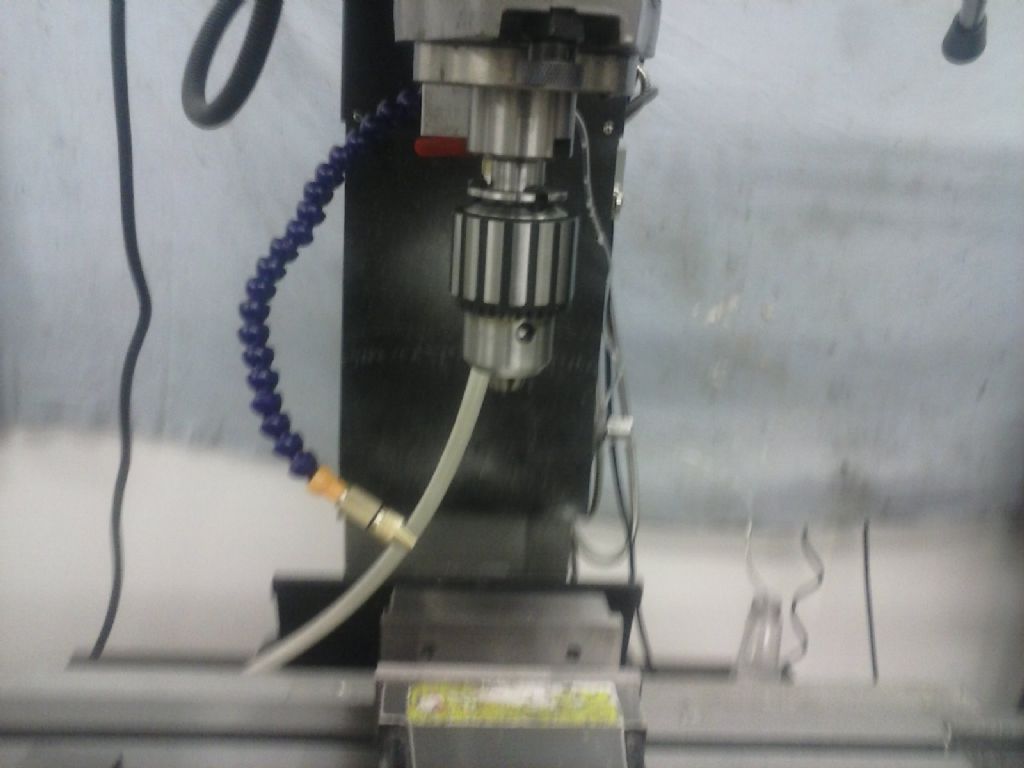
                              A slight diversion tonight.. playing with a cheapo chinese air mister mixing thingy. It looks pretty efficient and just need to find a way of fixing it to the quill. Not bad for £2.55 delivered. Hope my compressor is up to the task..

                              #214825
                              Emgee
                              Participant
                                @emgee

                                pgk

                                Is there a pressure reducer in the mister unit ?

                                Emgee

                                #214859
                                pgk pgk
                                Participant
                                  @pgkpgk17461
                                  Posted by Emgee on 01/12/2015 21:05:23:

                                  pgk

                                  Is there a pressure reducer in the mister unit ?

                                  Emgee

                                  Just a valve on the air side (1/4 or 1/2 turn – can't remember which). Set it too low and the coolant flow (suction) stops but still a decent air blast. Not used in anger yet. It may well be a case of having to take breaks to allow my lidl compressor to catch up. the nozzle has some adjustment too.. haven't played with it but probably just the spray shape.

                                  hopefully I'll load some pics of how I attached it

                                  #214910
                                  pgk pgk
                                  Participant
                                    @pgkpgk17461

                                    Pics of successfully cutting the glass and the misting unit and attachment to my mill:

                                    cam00362.jpg

                                    cam00363.jpg

                                    cam00364.jpg

                                    cam00365.jpg

                                    #214941
                                    pgk pgk
                                    Participant
                                      @pgkpgk17461

                                      Today I went in search of a better finish. As stated before I have bags of hot-roll plate but I don't like the mill finish .. that corrugated look after several furrows to thickness and I'm not very good at sanding them out. Ues the belt sander gets rid of them or enough patience with a sheet of abrasive and a flat surface but however you hold or rotate there will always be more coming of the edges than the middle…unless someone has a better way??

                                      I bolted a 6mm plate to the backplate of lathe. This gave a diagonal of some 8-9 inches. With a carbide insert I could get a mirror finish on the outer part but once surface speed dropped as it moved across the face the finish fell off too. Is it reasonable to stop the lathe mid cut and change speed? Does it work or leave a transition ridge?

                                      Anyway I tried with a facing tool in HSS.. and then ground a new one to see if i could do better still. The best i can say after several hours messing about is that the finish is 'OK'. It's better than mill but not mirror. I'll chop the plate into needed bits and start on the stand tomorrow.

                                      There's a chance I might actually get some building done.

                                      #214963
                                      Ian S C
                                      Participant
                                        @iansc

                                        When I was in the RNZAF our first workshop exercise was to file a bit of hot rolled bar to flat and parallel, then the edges of the 1/2" bar square to the flat surface to within (can't remember) 90* + – so many minutes. It had to be polished all over. The instructor said that in years gone by it would have been brass, but the funds (1964) didn't stretch that far, so it was 1 1/2" x 1/2" x 4" hot rolled steel, a good test for filing as it clogs up the file, and causes deep scores if you are not careful.

                                        Use a file, in many cases it's quicker than setting up the mill for some small jobs.

                                        Ian S C

                                        #215094
                                        pgk pgk
                                        Participant
                                          @pgkpgk17461

                                          Ian, I have no doubt you're right…I just need a heck of a lot more filing practice and likely some better files.

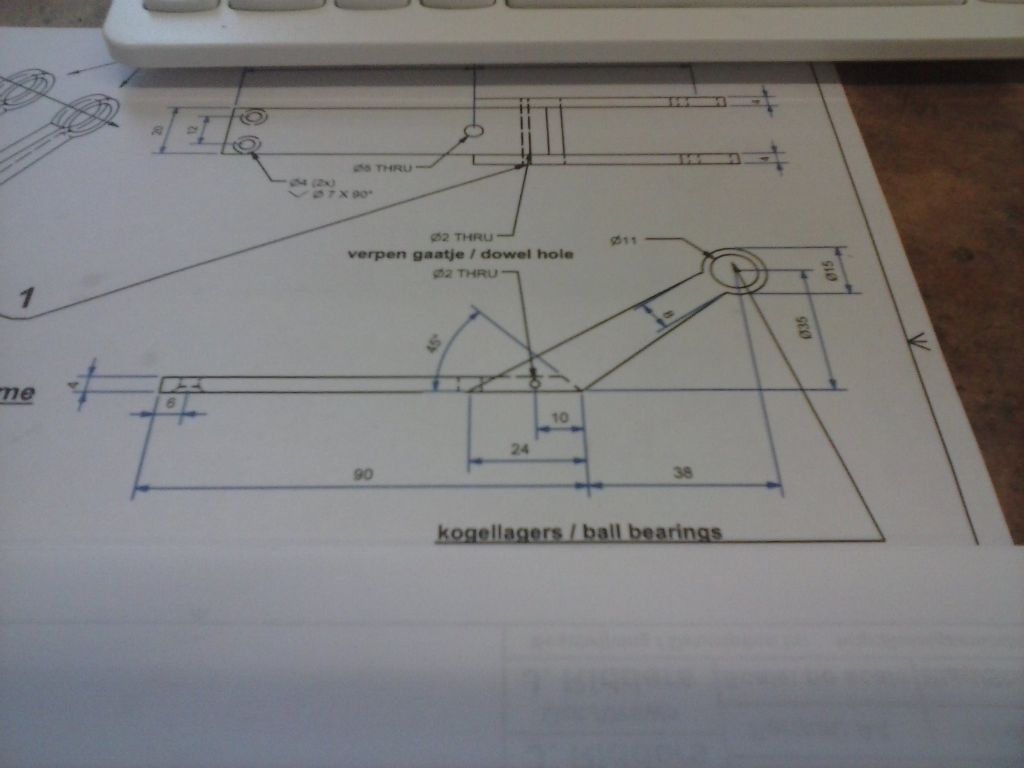
                                          I've not got much done..simply because i got bogged down in calculations for the support frame arms. The drawing supplied wound me up some being determined to work things out from the figures given.. until I realised that the only important dimensions were the spacing between bearing centre and distance to pivot point and the rest was really just artistic. Nevertheless i was determined to solve the figures on making a duplicate and wasted ages doing so before I 'cracked', 'cheated' and displayed the original pdf at several hundred percent on screen and measured the angles of the arms off the screen. I've finally dimensioned it all and ready to start cutting.

                                          cam00374.jpg

                                          It would have been a lot quicker just to draw the arms out on a piece of plate and roughed it with a decent bandsaw then filed the rest but i've been using the mill dro rather than marking (don't have good height gauges or surface plates yet) and I'd already cut 2 strips and glued them together.

                                          This is a learning experience for me as well as brain excercise.

                                          I challenge anyone to dimension that drawing without guessing at at least 2 figures or measuring them off the original plans

                                          #215167
                                          Ian S C
                                          Participant
                                            @iansc

                                            Plans are one of the reasons that I don't use plans, my motor just tend to grow, some good, some not quite so good, but most of them work quite well, I'v only got one at the moment, a Rhombic drive motor(Oh and Jan Ridders little Flame licker).

                                            Ian S C

                                            #215224
                                            pgk pgk
                                            Participant
                                              @pgkpgk17461

                                              You can hardly feel a mark on them with fingers or fingernails but they still show tool marks. Since they're scheduled to be painted…..

                                              On to the next part..

                                              cam00375.jpg

                                              #215653
                                              pgk pgk
                                              Participant
                                                @pgkpgk17461

                                                I went on to make the crank webs next…twice because i didn't like the first ones. Then i sat back and looked closely at the parts i've made and decided they aren't really neat enough so back to square one and I'll remake them again…

                                                ..it's a slow learning curve for me.

                                                Edited By pgk pgk on 09/12/2015 10:32:50

                                                #215658
                                                BW
                                                Participant
                                                  @bw

                                                  At the start of the thread are some notes about cutting glass.

                                                  I've had success with scratching with a glass cutter and then using a soldering iron applied to the scratch and slowly rotated around the scratch on the workpiece – as the soldering iron is advanced the scratch turns into a clean crack

                                                  Bill

                                                  #215666
                                                  pgk pgk
                                                  Participant
                                                    @pgkpgk17461
                                                    Posted by Bill Wood 2 on 09/12/2015 11:16:45:

                                                    At the start of the thread are some notes about cutting glass.

                                                    I've had success with scratching with a glass cutter and then using a soldering iron applied to the scratch and slowly rotated around the scratch on the workpiece – as the soldering iron is advanced the scratch turns into a clean crack

                                                    Bill

                                                    But was that with borosilicate glass? Certainly for ordinary glass creating a weaker point then thermally shocking it can work well… there's suggestions for cutting bottles with accelerant soaked string and tieing around, lighting it etc… or a scratch then pouring boiling water over the area. For ordinary fresh window glass a simple scratch and tap is classic. Along the way before i used the diamond discs I did try scoring and tapping the tubes…just a mess.

                                                    #215800
                                                    pgk pgk
                                                    Participant
                                                      @pgkpgk17461

                                                      On my first set of stand arms I used mild steel filing buttons and didn't like the result.. just not neat enough. I then made up a set of hardened buttons of slightly smaller diameter to try and salvage the parts (my first at hardening silver steel) but my filing wasn't neat enough and i ended up with a sort of neck where the bearing rings met the arm length. I've just finished remaking them and this set are acceptable; a good press fit on the bearings but again the problem was with the handwork where the rings part meets the longitudinal; I found it hard to file that junction and it took ages.

                                                      The crank webs now need reworking or remaking – a similar problem with neatness at the internal angles before i move on.

                                                    Viewing 25 posts - 1 through 25 (of 112 total)
                                                    • Please log in to reply to this topic. Registering is free and easy using the links on the menu at the top of this page.

                                                    Advert

                                                    Latest Replies

                                                    Home Forums Stationary engines Topics

                                                    Viewing 25 topics - 1 through 25 (of 25 total)
                                                    Viewing 25 topics - 1 through 25 (of 25 total)

                                                    View full reply list.

                                                    Advert

                                                    Newsletter Sign-up