reversing gear

Advert

reversing gear

Home Forums 3D Printers and 3D Printing reversing gear

Viewing 10 posts - 1 through 10 (of 10 total)
  • Author
    Posts
  • #424867
    geoff walker 1
    Participant
      @geoffwalker1

      Hi All.

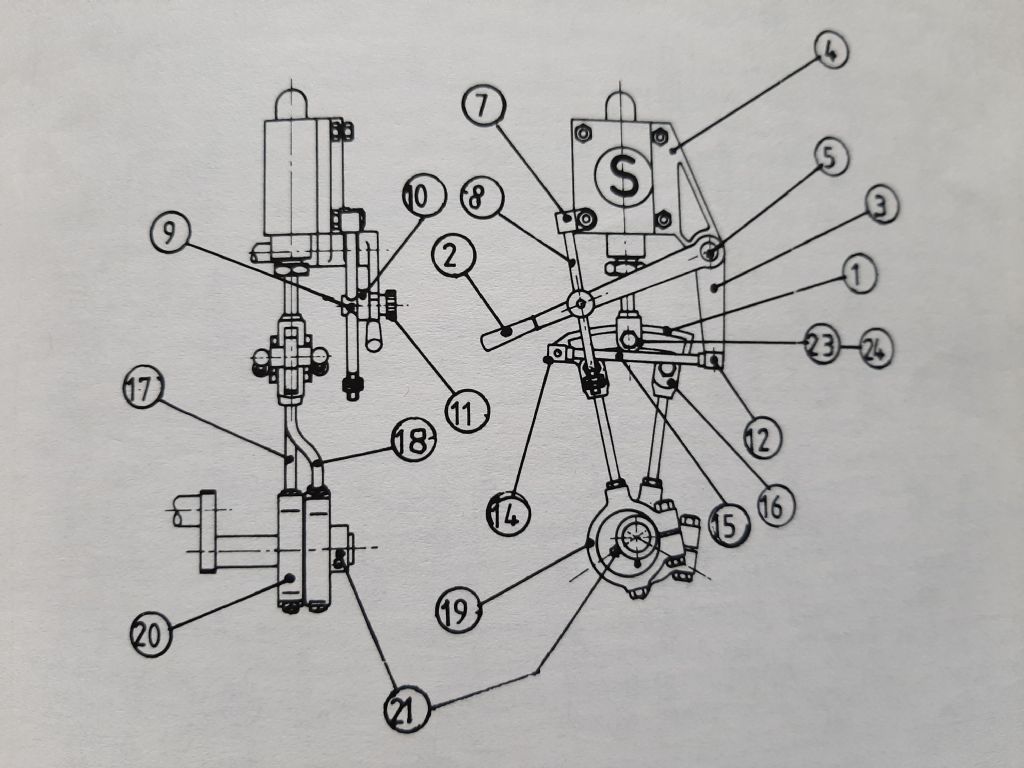
      I found this diagram on the internet. I'm NOT 100% sure but I think the reversing gear below is for a stuart 10v.20190818_132532.jpg

      OK, the pivot pin 5 passes through a hole in the bracket 4.

      On one end of the pin is attached the lever 2 and the other end the linkage 1.

      By releasing the knurled lock nut 11 you can raise or lower the lever to move sideways "the "part with slot in" 1, to select either forward or reverse rotation of the engine.

      As I see it for this mechanism to work 1 and 2 must be rigidly fixed to the pivot pin while the pin is free to pivot in the bracket hole 4?

      Assuming I'm correct how are 1 and 2 secured on the pivot pin?

      Geoff

      Advert
      #31608
      geoff walker 1
      Participant
        @geoffwalker1
        #424870
        malcolm wright 1
        Participant
          @malcolmwright1

          I believe 1 and 2 are pinned onto the piovot which is free to rotate in bracket item 4.

          If ypu check out Kieth Appleton on you tube he has a video on ST reversing gear.

          #424872
          geoff walker 1
          Participant
            @geoffwalker1

            Hi Malcolm,

            Thank you, I forgot about Keith Appleton, good video.

            Thanks again

            Geoff

            #424877
            JasonB
            Moderator
              @jasonb

              1 is not fixed to the pivot.

              Lever 2 and the arm 3 form a rigid bellcrank pivoting around pin 5 so as the lever goes up and down the expansion link 1 moves sideways.

              On the Double 10 the pivot 5 takes the form of a rod along the length of the engine so one lever 2 will move two arms, one at either end of the engine

              Edited By JasonB on 18/08/2019 15:47:43

              #424879
              Clive Brown 1
              Participant
                @clivebrown1

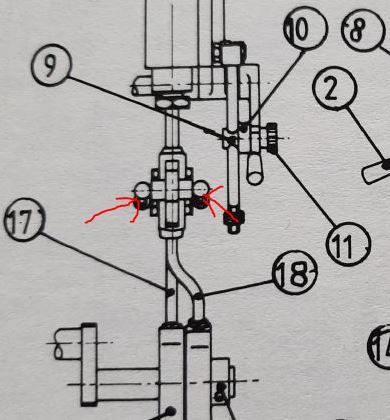
                The lifting link between the bellcrank and the expansion link seems to be omitted from the LH diagram.

                #424885
                JasonB
                Moderator
                  @jasonb

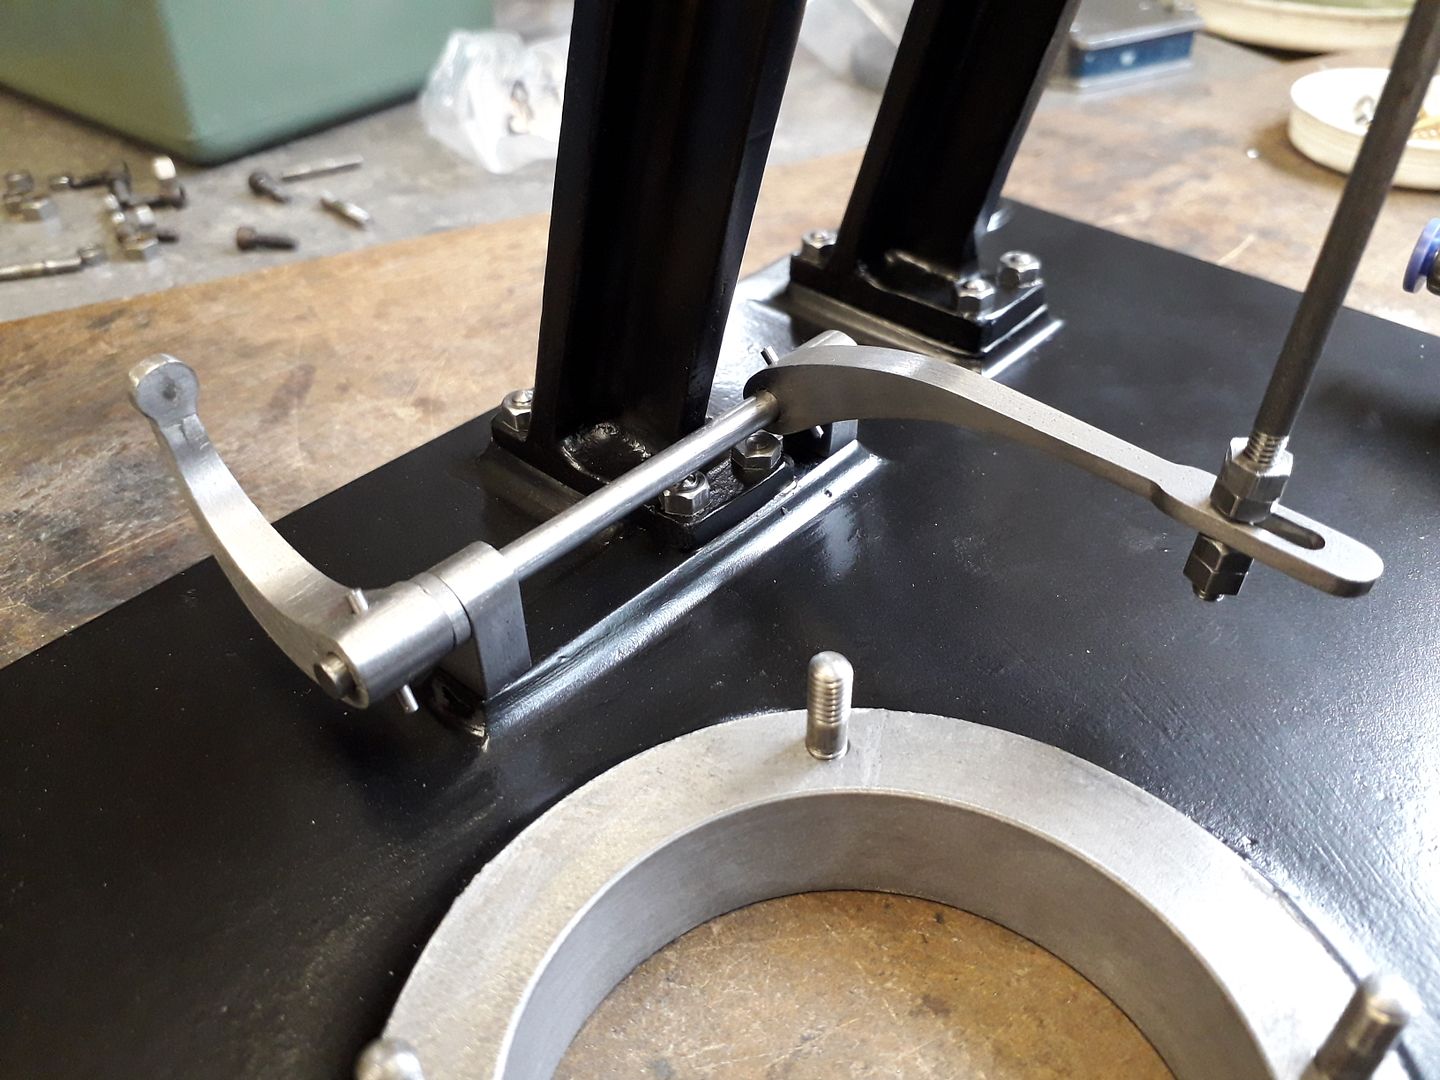
                  Lifting links are there, one on each side. They are round ended.

                  lifting links.jpg

                  Edited By JasonB on 18/08/2019 16:28:02

                  #424888
                  Clive Brown 1
                  Participant
                    @clivebrown1
                    Posted by JasonB on 18/08/2019 16:26:41:

                    Lifting links are there, one on each side. They are round ended.

                    Ah,sorry quite correct. I'm with it now.

                    #424893
                    geoff walker 1
                    Participant
                      @geoffwalker1

                      Hi Jason,

                      Thanks for your reply.

                      I was mistaken, as you say, it's 2 and 3 which are rigid and form the bell crank.

                      With such small parts, I believe the pivot pin is 3/16" diameter, is there a taper pin and taper reamer small enough to pin the parts together? If not I imagine you would use small carpenters moulding pins?

                      Geoff

                      #424896
                      JasonB
                      Moderator
                        @jasonb

                        At 3/16" the small end of a 1/16" taper pin will do fine.  As it's such a small engine you could just drill a plain hole say 1.2 or 1.4mm and turn a parallel pin that can be stuck in with a small drop of Loctite. These taper pinsare 1/16" pins through an 5/32" rod.

                        Edit

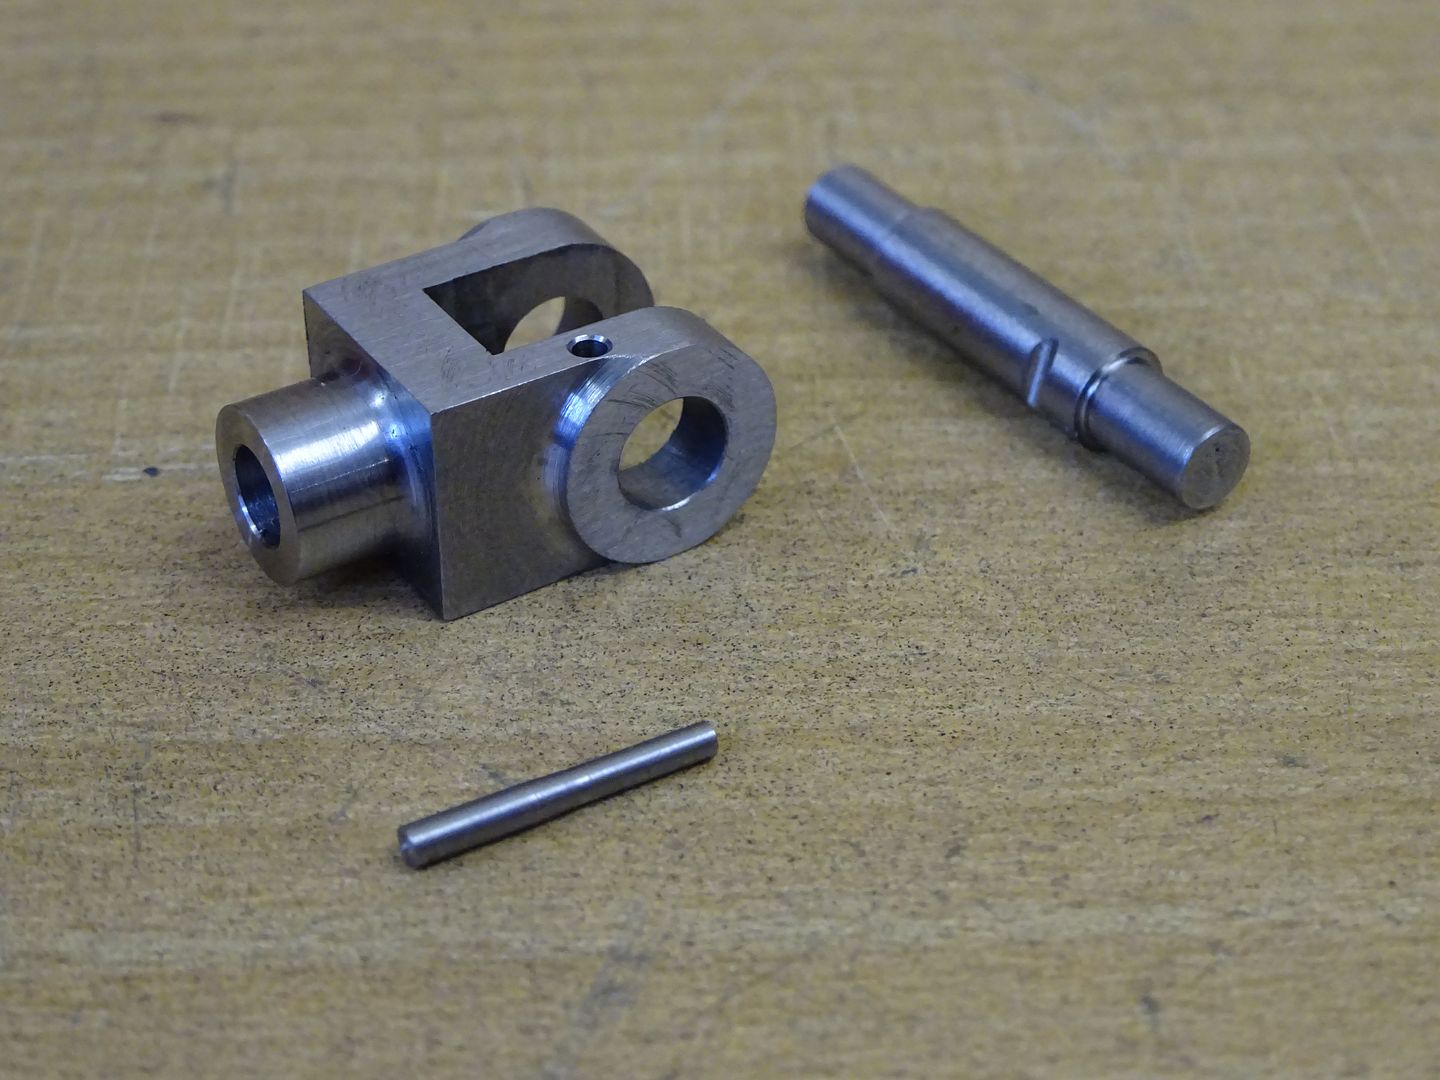
                        I don't know how much metal you have in the lever and arm bosses but on the larger Stuart No1 reverser they show the taper pin part way through the rod and not through the middle like my photo above. This also does the job and retains some strength in the rod much like this cross head pin I did a while ago.

                        Edited By JasonB on 18/08/2019 17:50:23

                      Viewing 10 posts - 1 through 10 (of 10 total)
                      • Please log in to reply to this topic. Registering is free and easy using the links on the menu at the top of this page.

                      Advert

                      Latest Replies

                      Viewing 25 topics - 1 through 25 (of 25 total)
                      Viewing 25 topics - 1 through 25 (of 25 total)

                      View full reply list.

                      Advert

                      Newsletter Sign-up