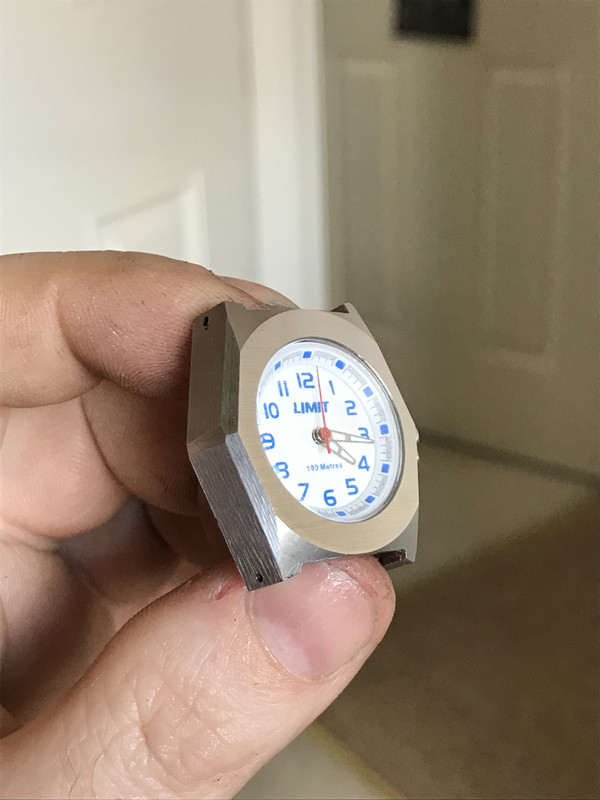
Afternoon all,
It seems that recently I have been stuck in a loop of building machines. However I have just finished a little bit of watch case making, thanks to my eldest daughter.
Couple of years ago Daughter picked up a cheap 'dive inspired' quartz watch. Not a bad thing, and for a couple of quid it was reasonably priced given it didn't appear to work.
Once I changed the battery (it had gone flat in the shop…) it was all good.
I think its a Seiko movement – no2 daughter has a Lorus with the same movement in it. They have 2 batteries – one for the movement and one for the EL face – a PITA to change the movement one of course.
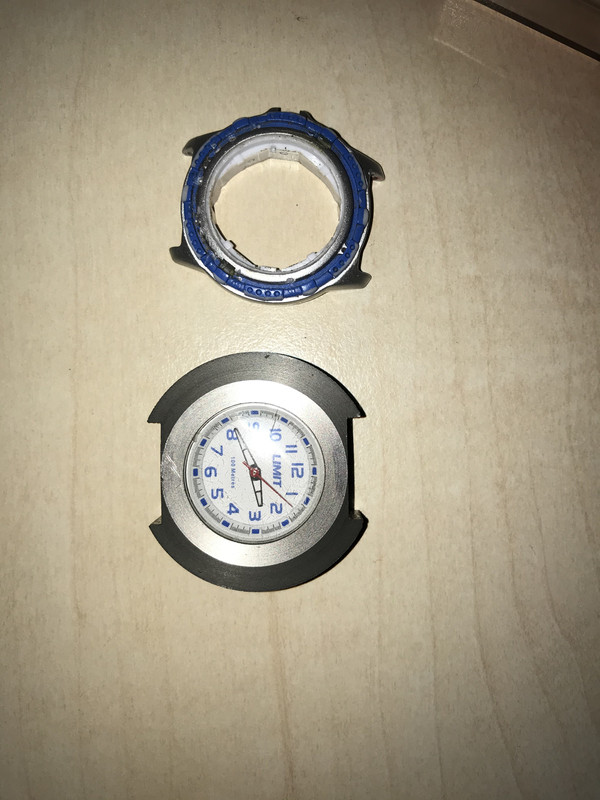
Anyway this watch was worn a lot, and eventually the lug on the case snapped. Cue sad daughter, who asked if I could fix it (of course).
I had a look and decided that while I could glue it back together where's the fun in that? So I agreed to make a new case.
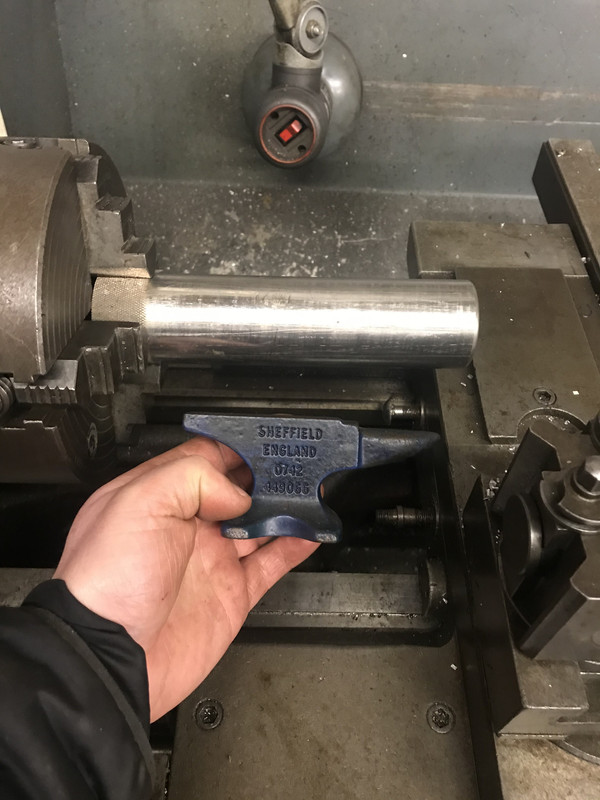
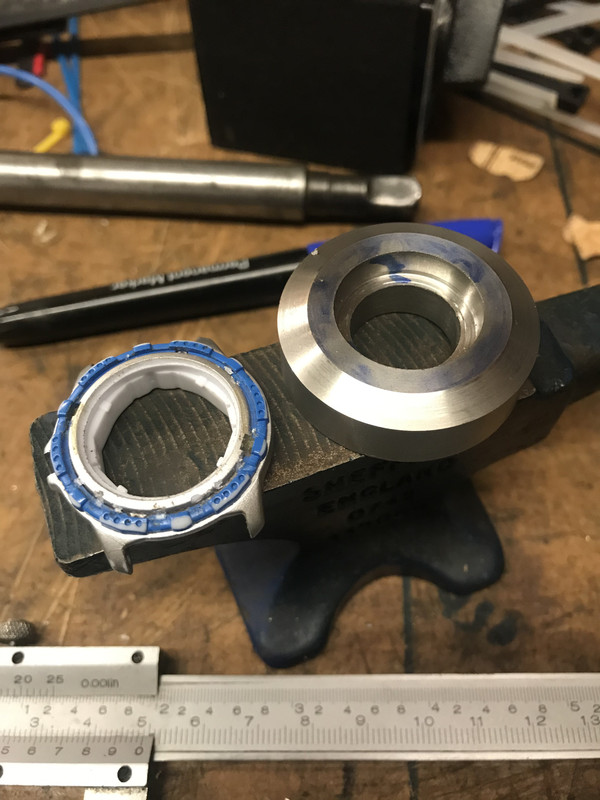
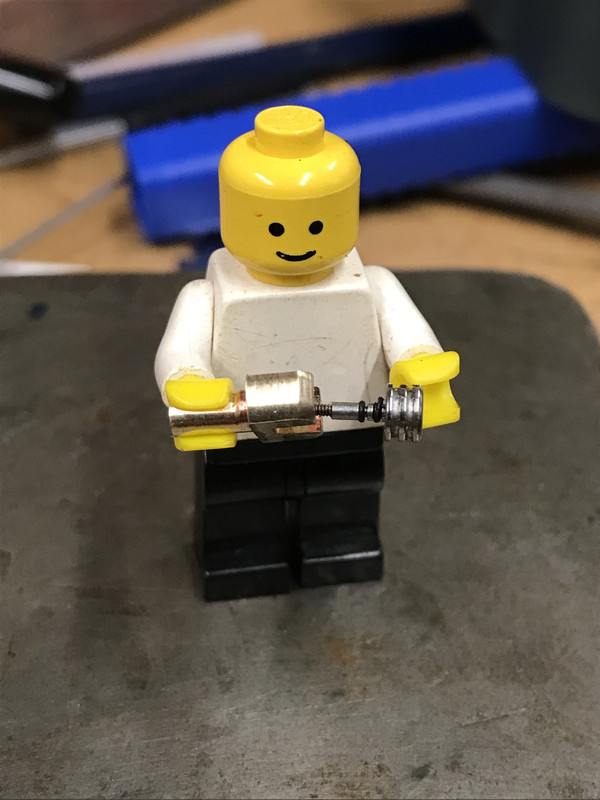
I started by bunging a bar of recently acquired stainless scrapbinium in the lathe and set to. (Anvil for Scale  )
)

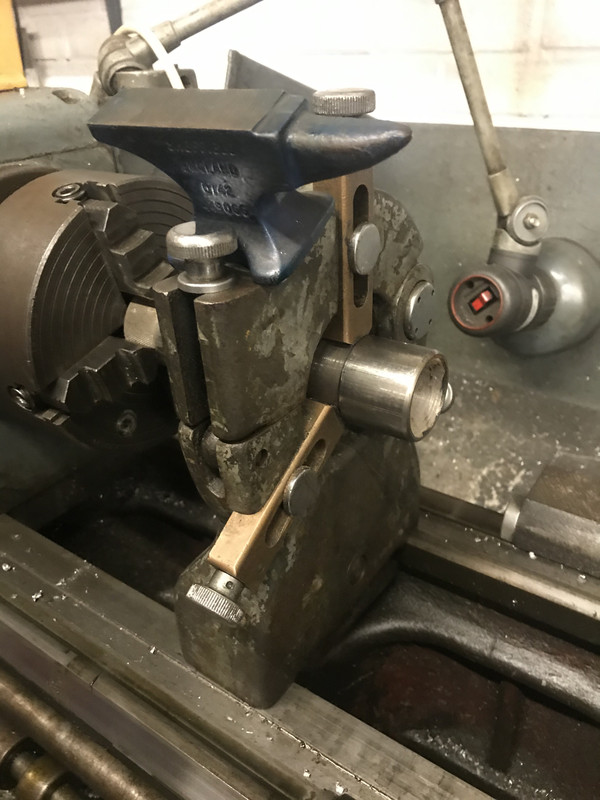
The stick out was a bit much, so I set up the steady in avoidance of wearing a 2" diameter chunk of steel

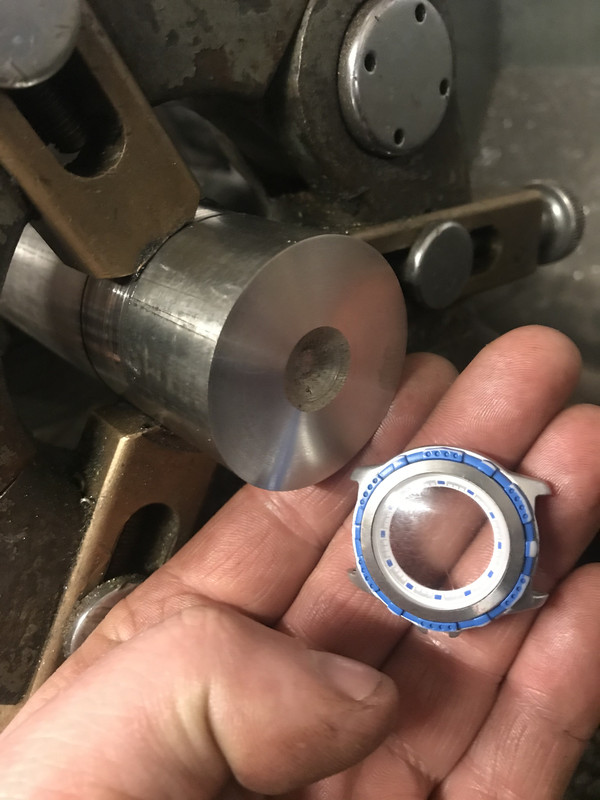
Faced the bar off to give me an idea of what I was working with,

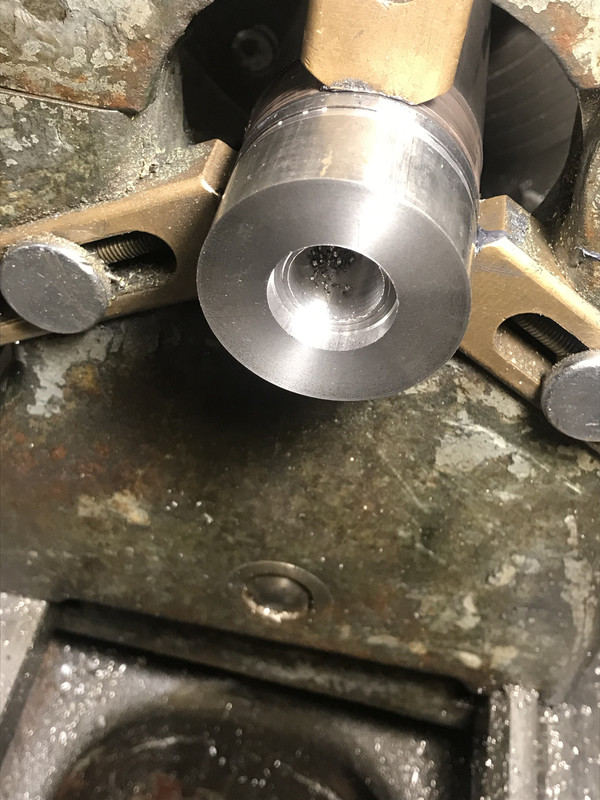
and then chucked a hole at the middle – the movement is actually a lozenge shape, so I roughed out the movement hole and the step for the crystal and chapter ring.

That done I bevelled the front and parted off a roughly case sized ring.

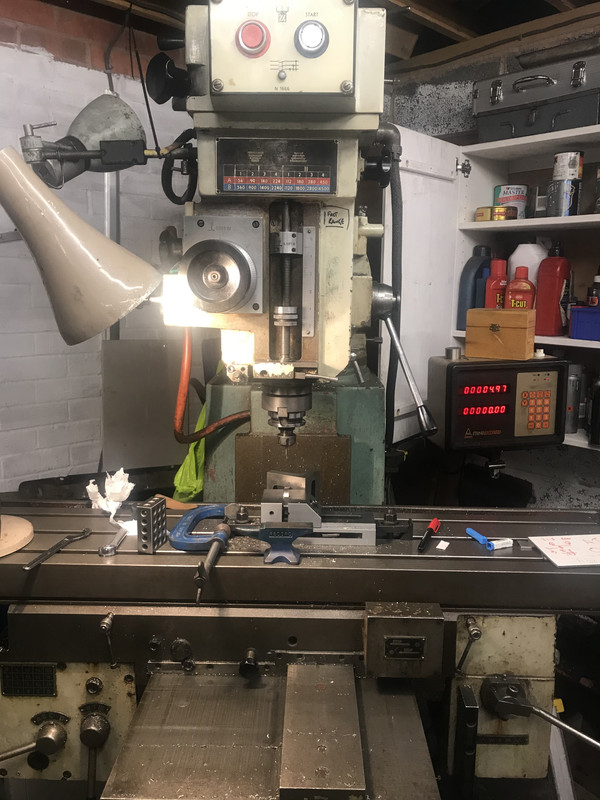
The hacking out of the movement hole will come later – on the Milling machine.
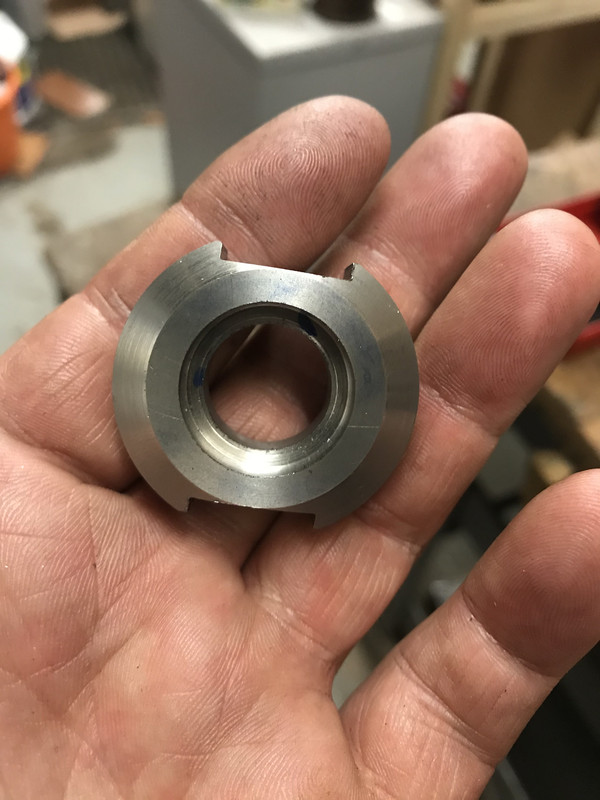
Seems I didn't take any photos of the initial lug cutting, but now the round is more of a case blank shape

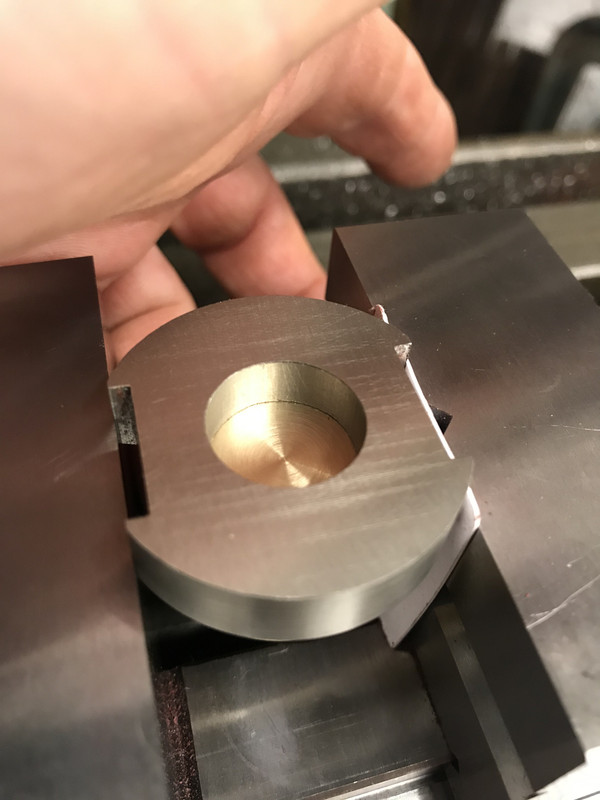
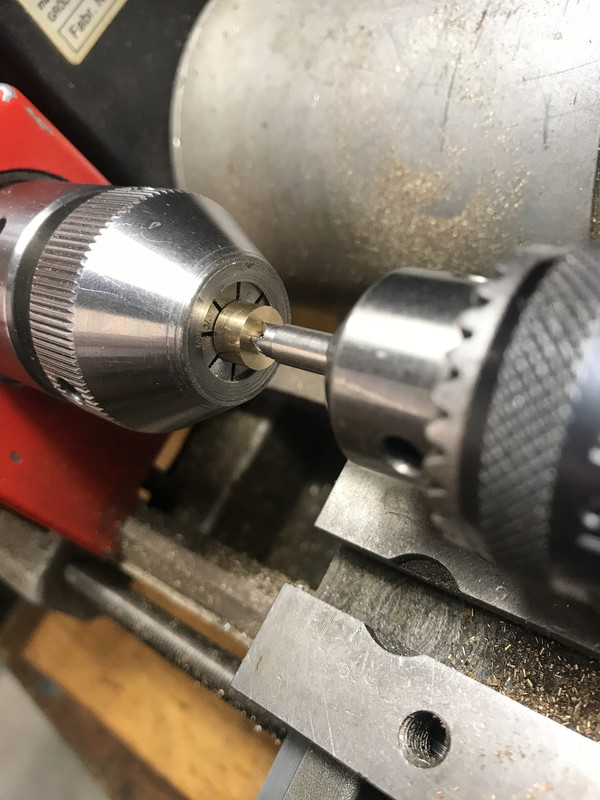
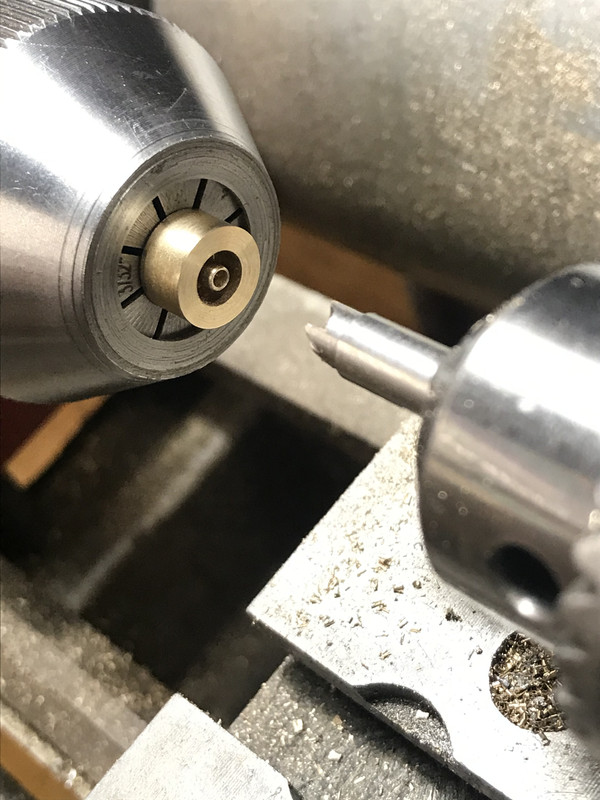
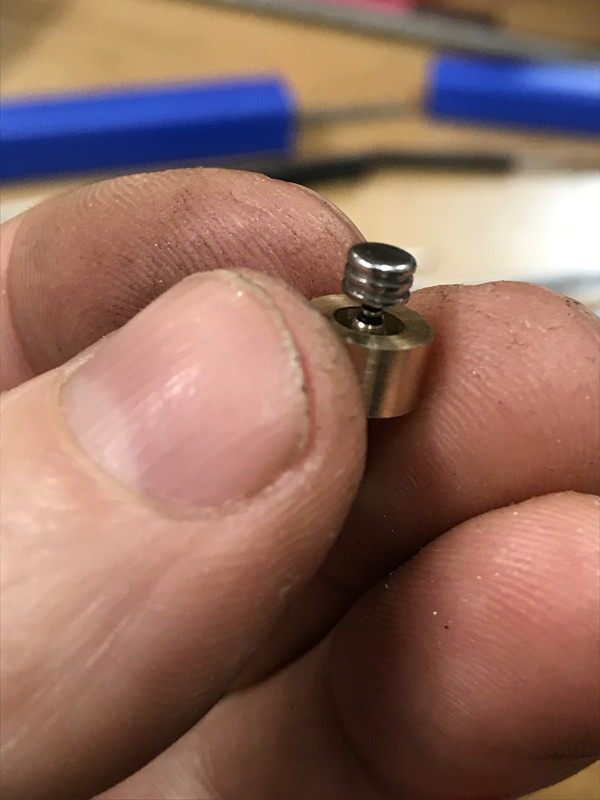
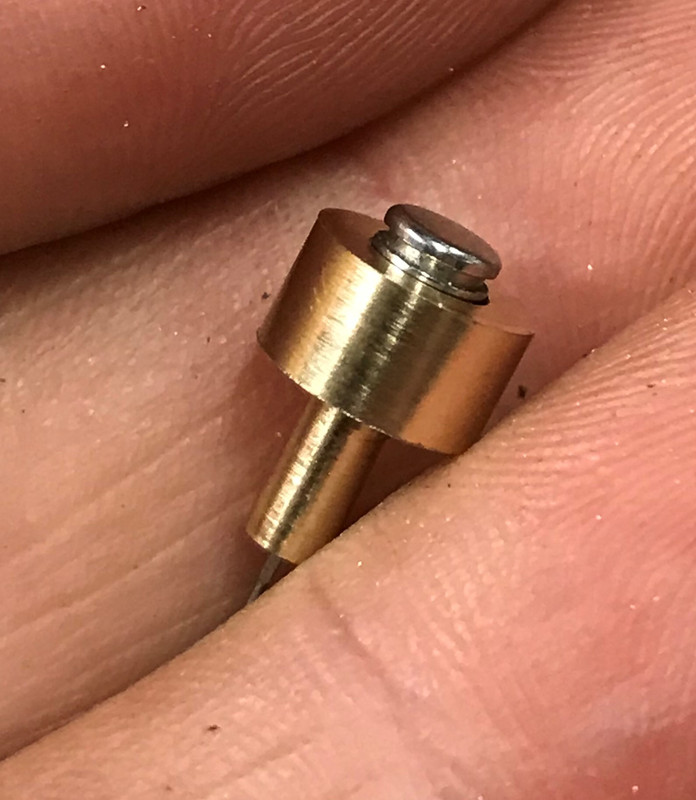
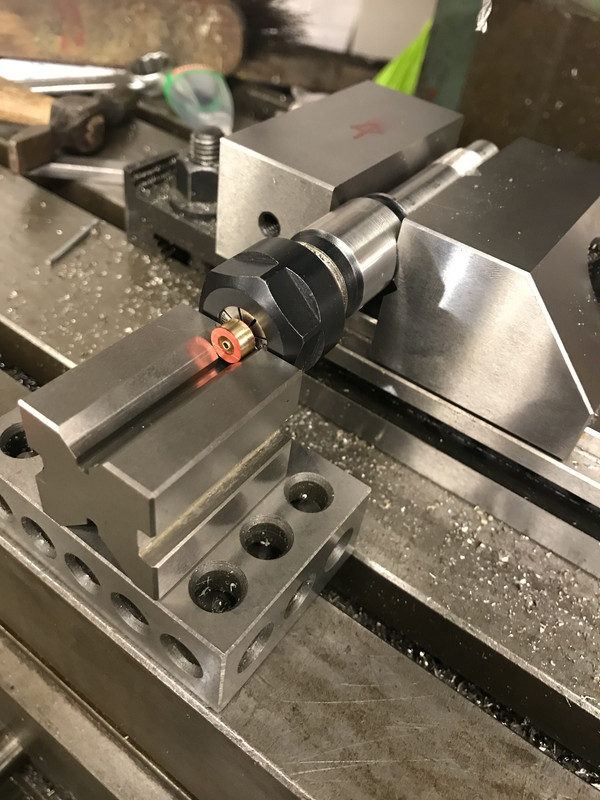
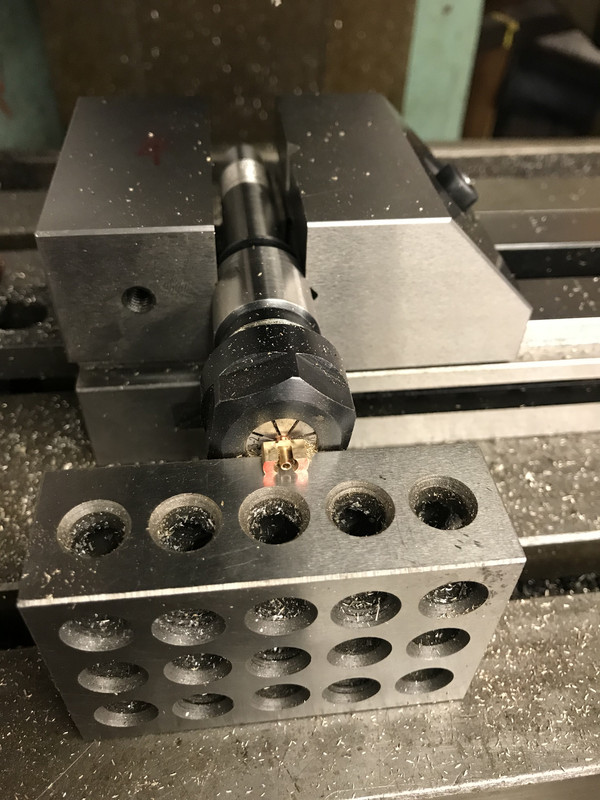
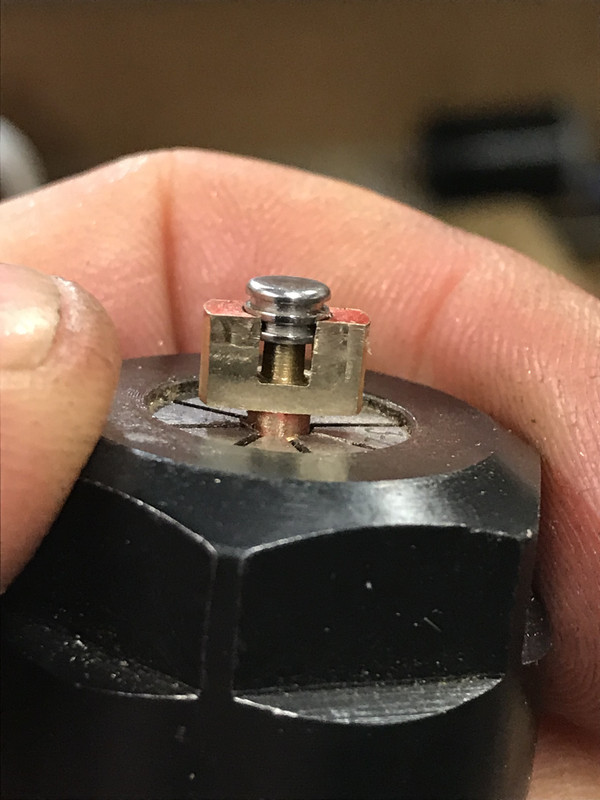
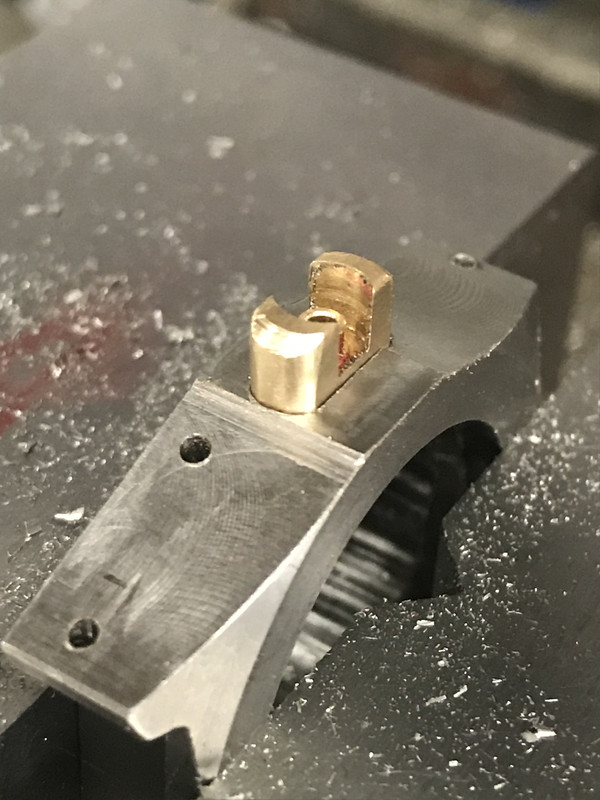
The movement actually sits pressed up against the back of the chapter ring, so my datum point was the recess that the chapter ring sits in. The back of the blank is not yet at a specific place, so I made a brass plug to sit on the chapter ring ledge and allow me to set up from the other side

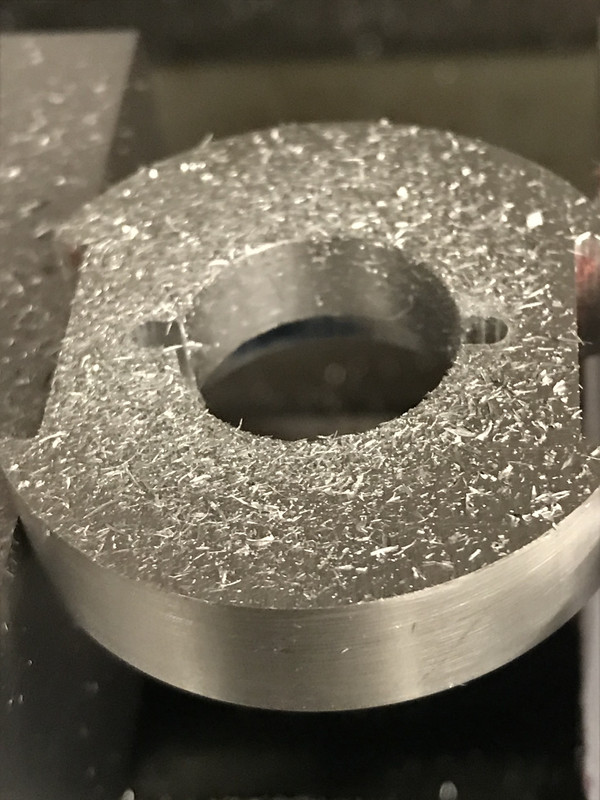
These 2 mini slots define the ends of the lozengeish movement shape.

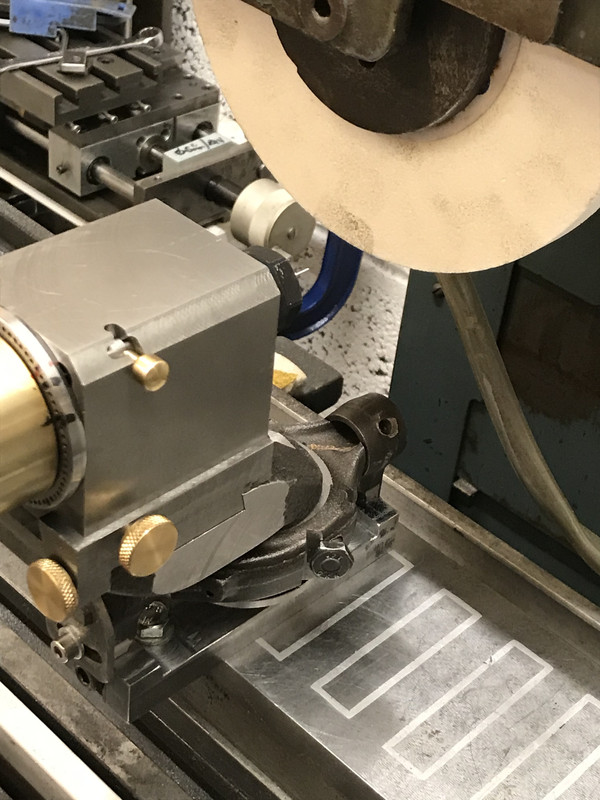
There followed a lot of strange angle milling – which I apparently took no photos of – but that's not too surprising as I had to concentrate a lot…
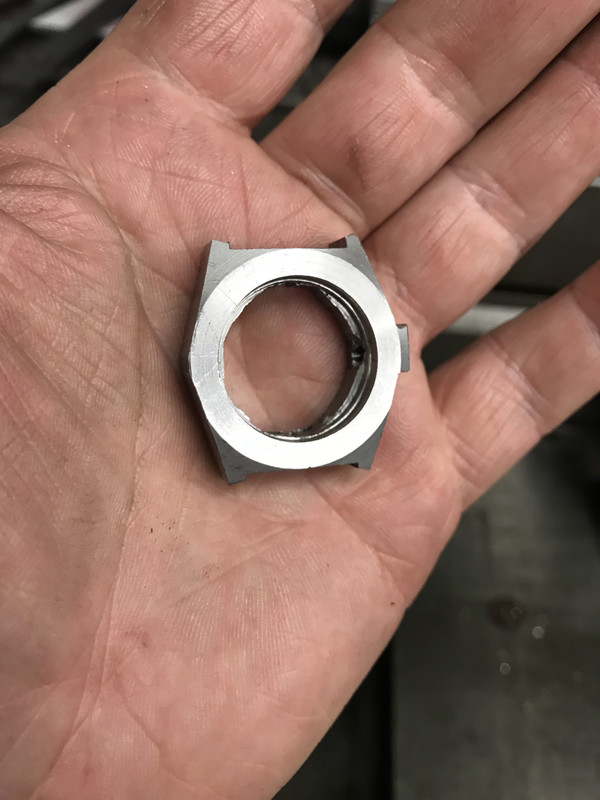
Then the movement fits!

You can see the odd shape in the plastic case here.
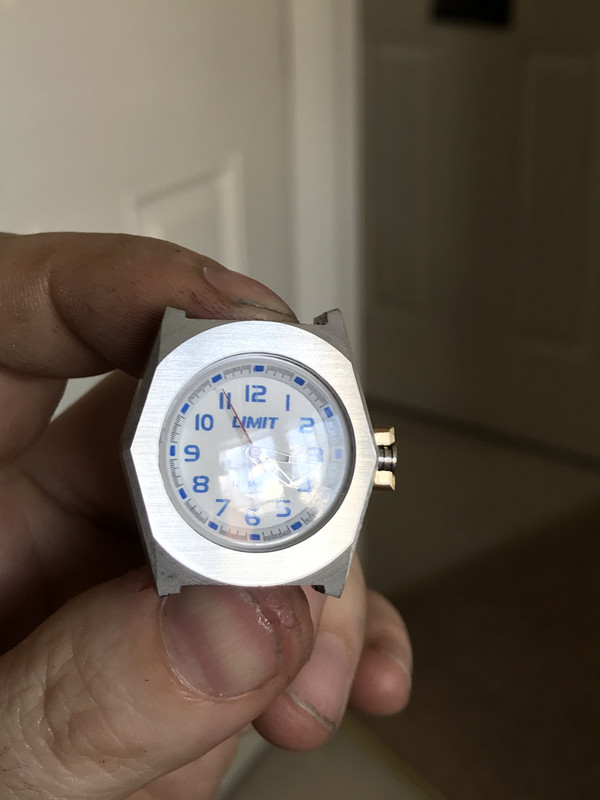
The case is still quite chunky for a ladies watch
Next up was to work out where the stem and light pusher holes needed to be, and what size.
This is a shot through my Toolmakers microscope – to measure what size the stem hole was, and where it was positioned.

Then it was onto the mill to drill some holes.

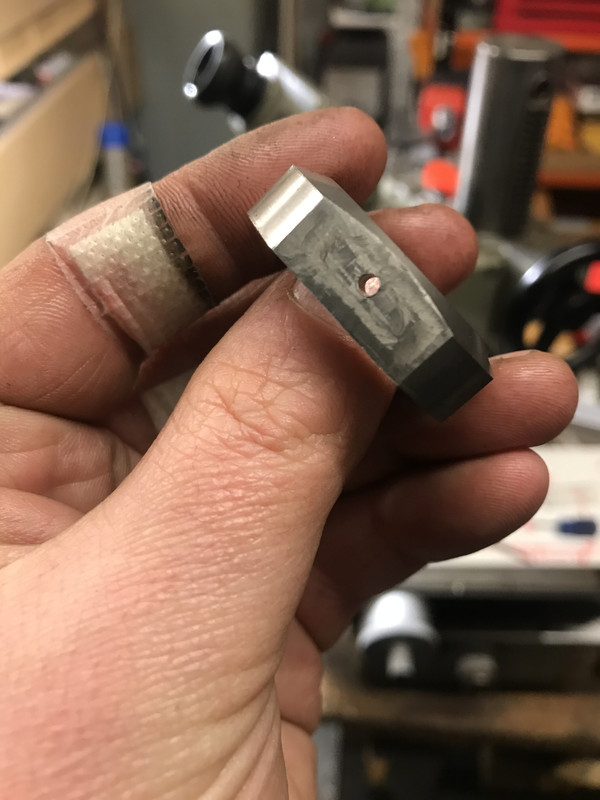
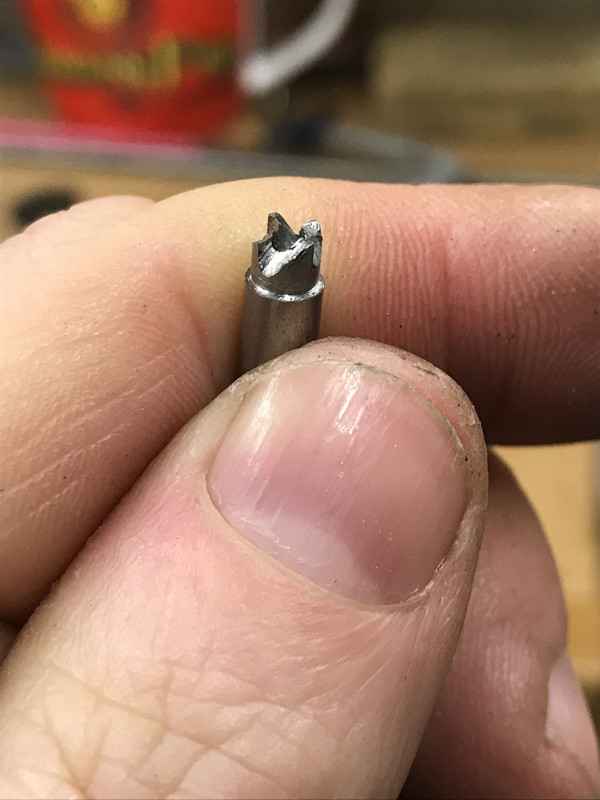
What you can't see in this picture is the snapped carbide drill bit inside the nearly completed hole

These things happen, but I was a little 'upset' about it.
Fortunately I've picked up a few machinists rescue methods…
Here's one I used this time – you can drill out a carbide drill if you are:
1 – careful,
2 – lucky, and
3 – have an enormous milling machine.
1 and 3 no problem, and as the option was to start from scratch or be lucky I gave it a go.
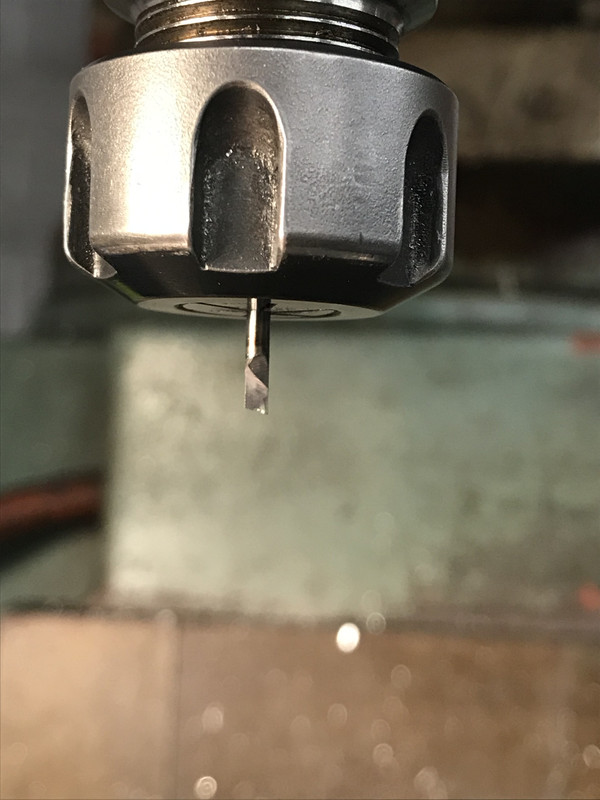
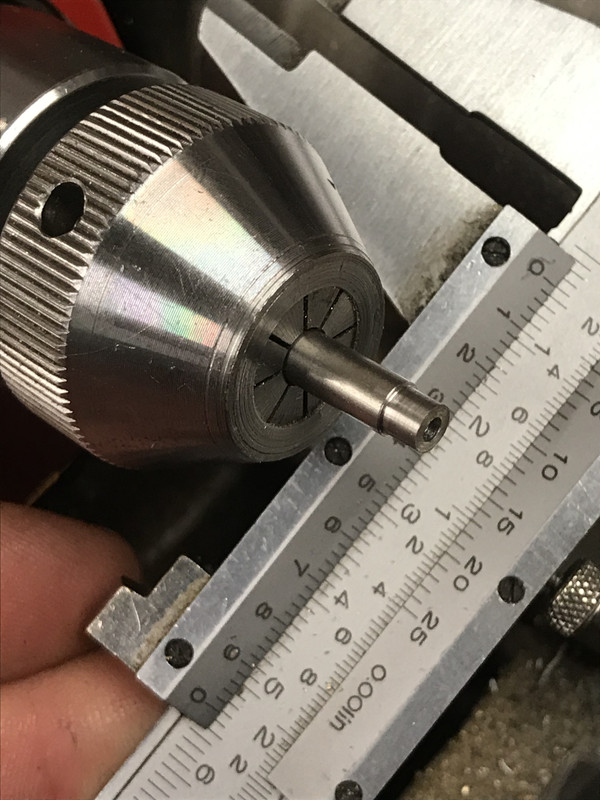
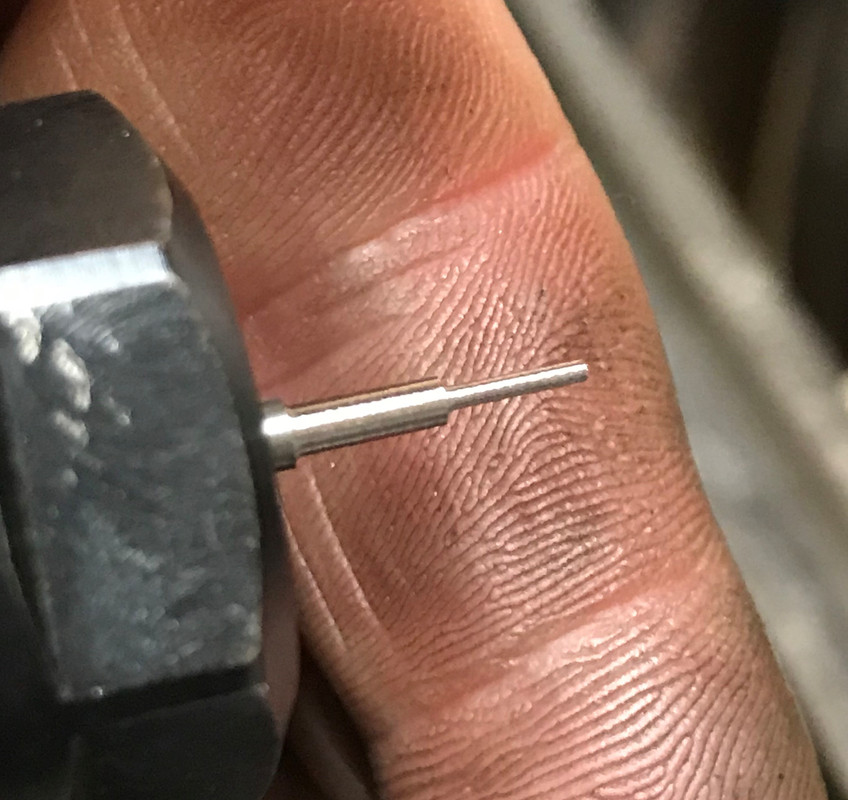
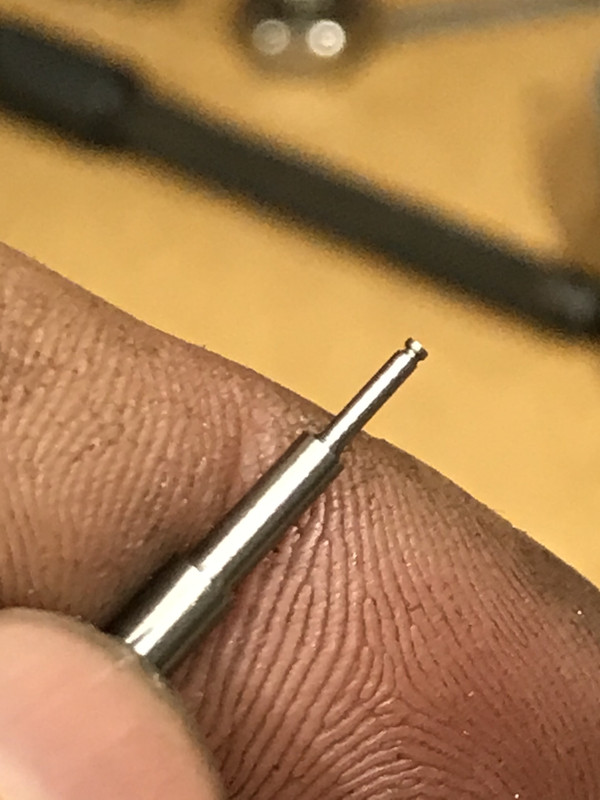
This is a single lip cutter – its ground out of a solid carbide bar and is a fair amount bigger that the hole I intended to make, but needs must – I can always sleeve it (shh – spoilers 

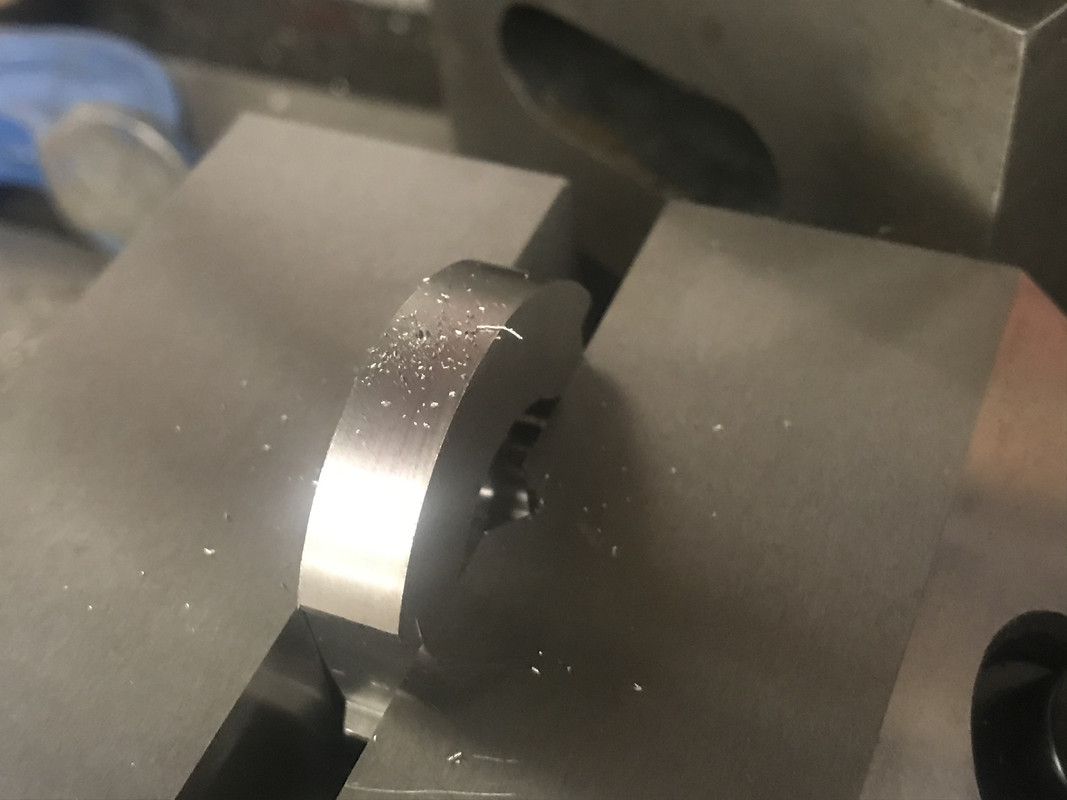
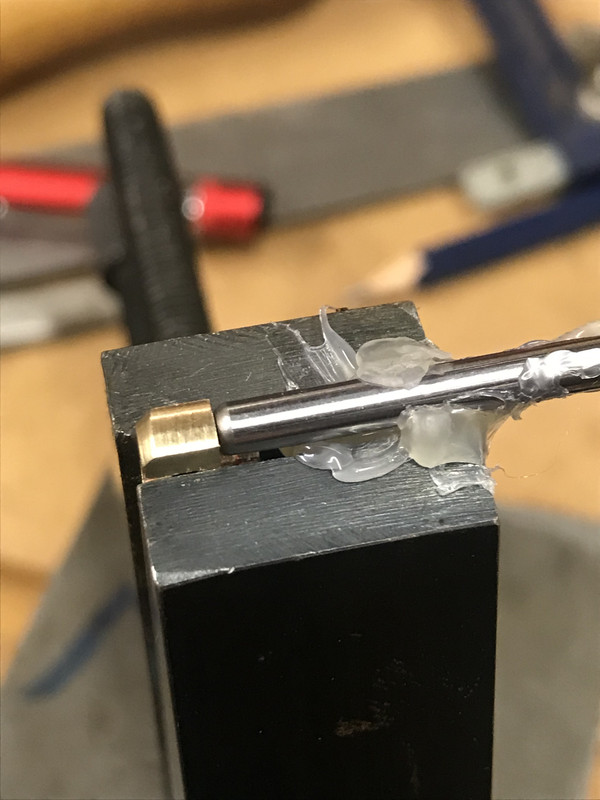
I machined the round surface flat first, so I had a good starting point, and then pecking 1 thousandth of an inch at a time I proceeded to drill out the broken bit and the rest of the hole. Incidentally the plaster is in no way related to the watch case.

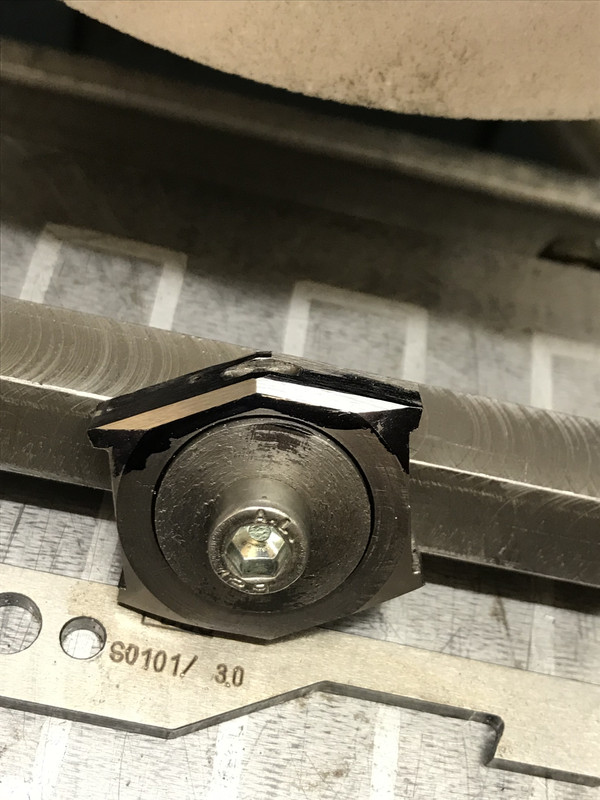
Now seemed like a good time to make it more watch case shaped, so I created some angled sides – Straight edges and curves are IMO a good design statement.

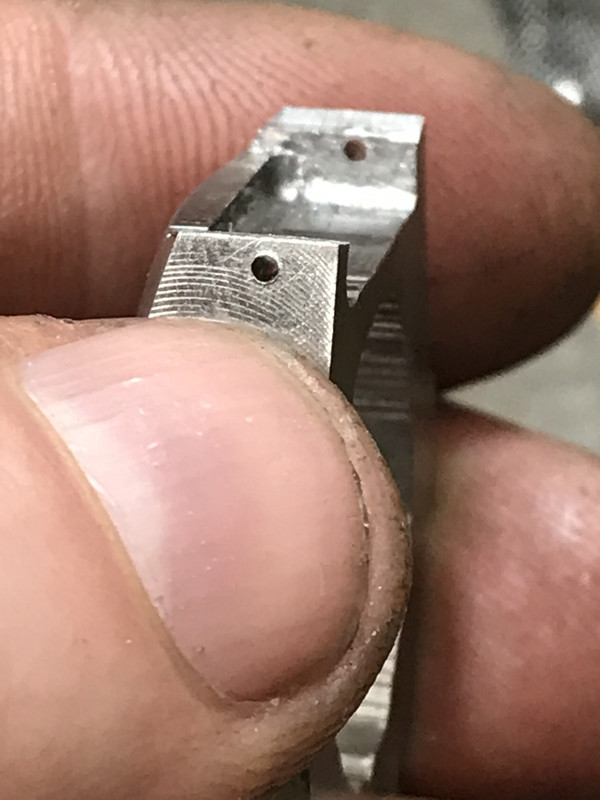
Whilst I had the case setup I put in the spring bar holes – I prefer drilled lugs as it makes strap changing much easier.

Part 2 to follow as the post is too long
 Nicholas Farr.

 )
)