WT2527 15cc Glow Engine

Advert

WT2527 15cc Glow Engine

Home Forums Work In Progress and completed items WT2527 15cc Glow Engine

Viewing 25 posts - 1 through 25 (of 75 total)
  • Author
    Posts
  • #352417
    Craig Booth 1
    Participant
      @craigbooth1

      Hi all,

      I'm reasonably new to this site, but used the excellent thread about the Firefly 46 by Jason B to recently build my own. Couldn't have done it without the thread so thanks very much.

      I had been wanting to get into model engineering for a while, always fancied a lathe and seeing the thread pushed me over the edge so I splashed out and got a Warco WM240B and a WM14 mill (a christmas present to myself smiley).

      I was pretty happy with my first attempt considering I hadn't used a lathe since high school 3 decades ago, so my next build is going to be the WT2527 by WTEngines and I'd thought I would post progress on here with the hope that people would keep my right. The engine is a 4 stroke 15cc glow.

      Can't promise anything too speedy as I also build RC planes so it's a bit of a juggling act. Anyway I've just ordered the material from M-Machines (great service) and should receive that in the next few days.

      So here goes, hope is of some interest.

      Cheers Craig

      Advert
      #31218
      Craig Booth 1
      Participant
        @craigbooth1
        #352418
        Craig Booth 1
        Participant
          @craigbooth1

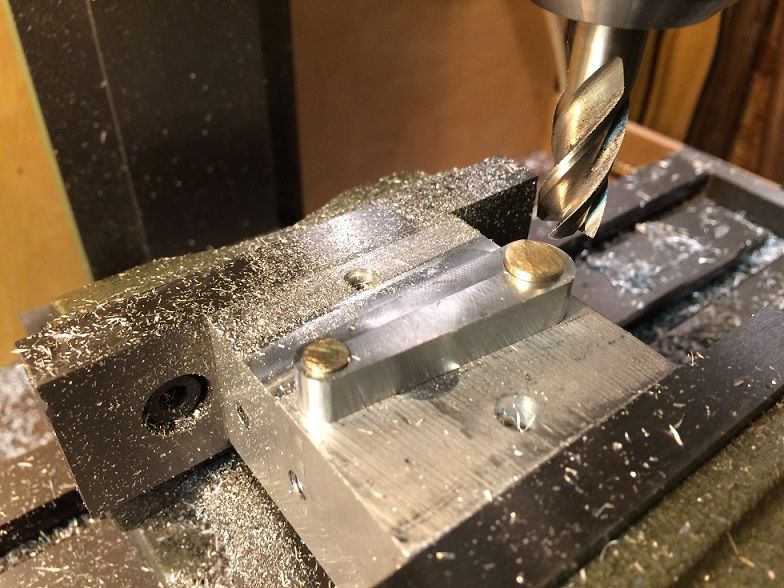
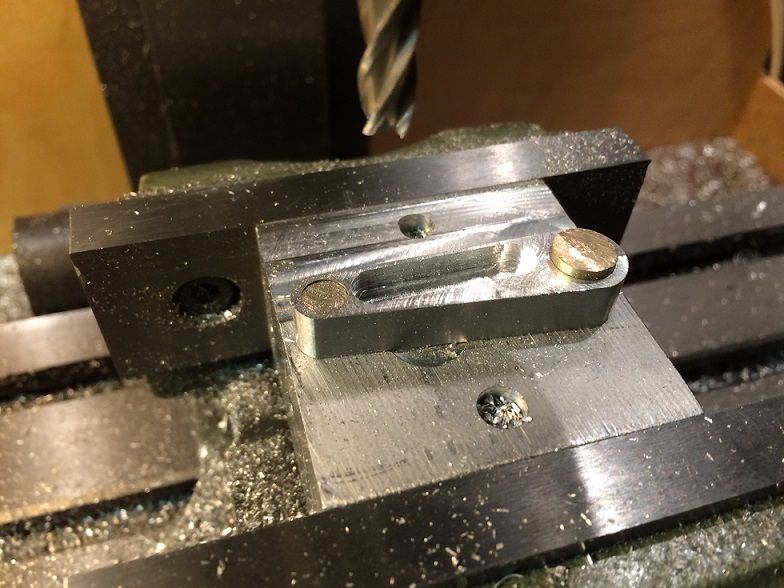
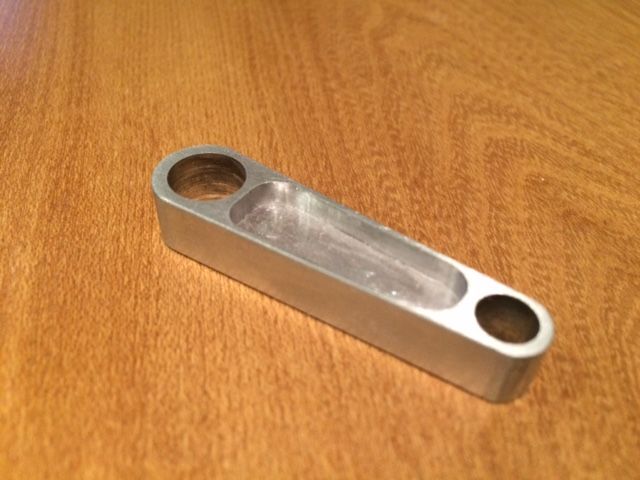
          I had a small bit of material around while waiting for the stock to arrive and couldn't wait to start so got started on the crankshaft. A few pics below. Made a holding block with retaining pins set on the required taper angle and also to use to mill the external radii.

          img_5112sm.jpg

          img_5113sm.jpg

          img_5274.jpg

          Happy with the results. Looking forward to getting to the dozens of other parts.

          Cheers

          #352439
          JasonB
          Moderator
            @jasonb

            Welcome to the forum Craig, good to know my thread was a help. Look forward to following your build and you will have quite a bit more work in this one particularly the crankcase but just ask if you have any queries.

            J

            The engine in question

            #352440
            David George 1
            Participant
              @davidgeorge1

              Hi Craig looks like a good start. Hope the rest goes as well.

              David

              #352441
              Craig Booth 1
              Participant
                @craigbooth1

                Thanks Jason, Thanks George,

                Just realised my first mistake. Called it a crankshaft rather than conrod. i'll put it down to having a long day at work laugh

                #352442
                Craig Booth 1
                Participant
                  @craigbooth1

                  and there's my second mistake, calling David, George, sorry, (my excuse on that I deal with a lot of Middle Eastern clients and there names are quite often reversed.

                  #352449
                  geoff walker 1
                  Participant
                    @geoffwalker1

                    Nice work Craig and welcome,

                    This thread is right up my street, I shall follow it with interest.

                    Geoff

                    #352452
                    Craig Booth 1
                    Participant
                      @craigbooth1

                      ok, here's my first question. (I'm starting on the easy bits). The plans call for a drive washer and a drive washer cone (i.e. a split tapered bush that will compress onto the crankshaft when the prop nut is tightened.

                      The drive washer is aluminium but there is no mention of what material the split cone should be, although it is shown on the same plan page as other aluminium parts.

                      My thoughts given that is going to be under compression and will receive rotational force that it needs to be steel and not aluminium. In my head I feel that two aluminium sufaces in contact like that would bind and potentially fuse.

                      Any opinions?

                      Cheers Craig

                      #352463
                      LADmachining
                      Participant
                        @ladmachining

                        I have used mild steel and brass for the split taper bush in the past on various engines, with no issues.


                        Aluminium, I think, may cause issues, by galling and welding itself to the prop drive hub or the crankshaft itself.


                        Anthony

                        Edited By LADmachining on 02/05/2018 09:40:25

                        #352474
                        JasonB
                        Moderator
                          @jasonb

                          I have used brass and you often see that used on commercial engines.

                          #352506
                          Craig Booth 1
                          Participant
                            @craigbooth1

                            Thanks Jason/Anthony,

                            I have managed to find the part on the parts list (in german) even though it is not referecned on the drawing and it is showing as brass, so brass it is.

                            Cheers

                            #352574
                            Craig Booth 1
                            Participant
                              @craigbooth1

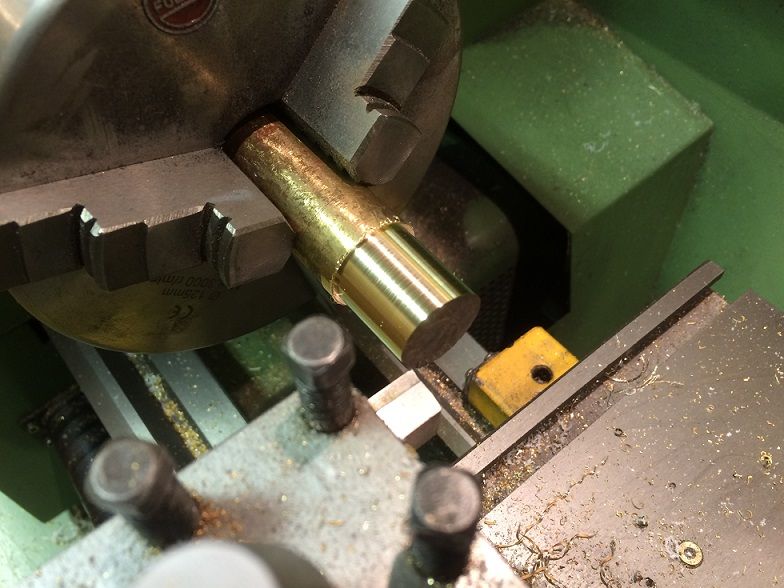
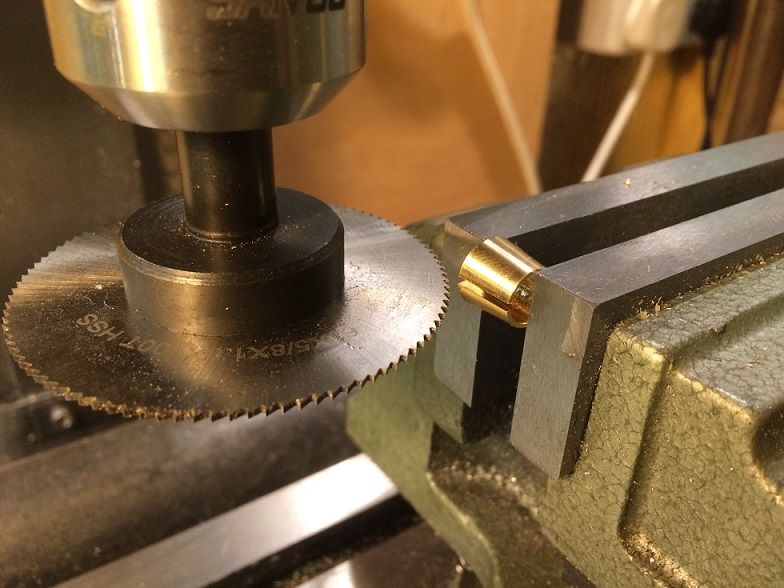
                              well, i thought it was quite a productive evening, got the drive washer cone done (in brass) and happy with tolerances.

                              The wife had a differennt opinion wink

                              img_5275sm.jpg

                              img_5277sm.jpg

                              #352900
                              Craig Booth 1
                              Participant
                                @craigbooth1

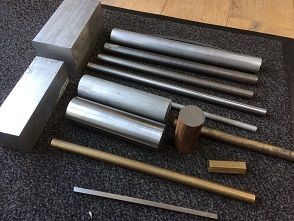
                                got a lovely delivery of stock yesterday, no excuses now

                                img_5281sm.jpg

                                #352901
                                Craig Booth 1
                                Participant
                                  @craigbooth1

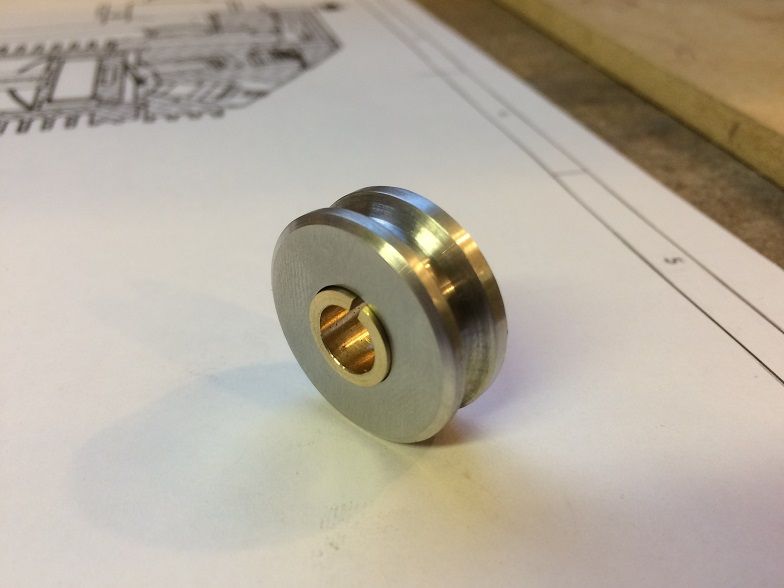
                                  worked on the prop driver. had a bit of a problem trying to get the internal taper on such a small hole. 11.3mm dia at the largest on 6 degrees, but got there in the end.

                                  I will cut the grooves to grip the prop in the front face of the driver once I get a involute cutter, which I will need for the timing gears anyway.

                                  img_5284sm.jpg

                                  img_5287sm.jpg

                                  #352933
                                  Craig Booth 1
                                  Participant
                                    @craigbooth1

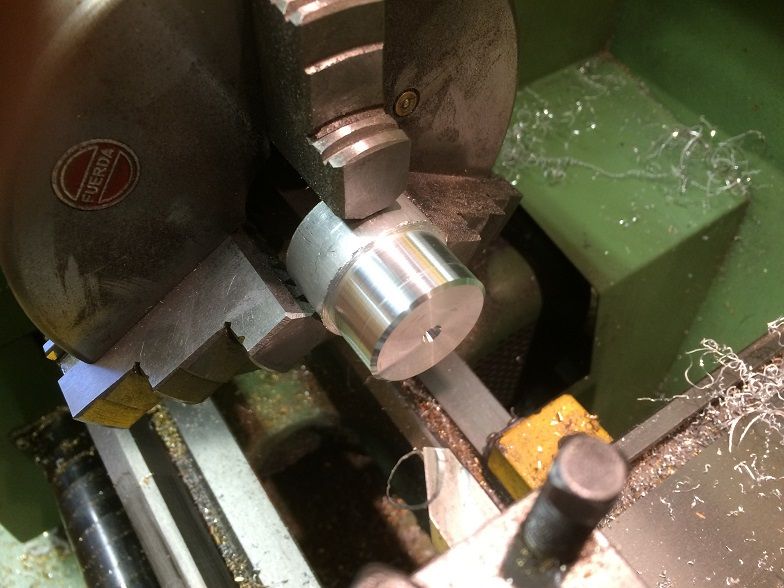
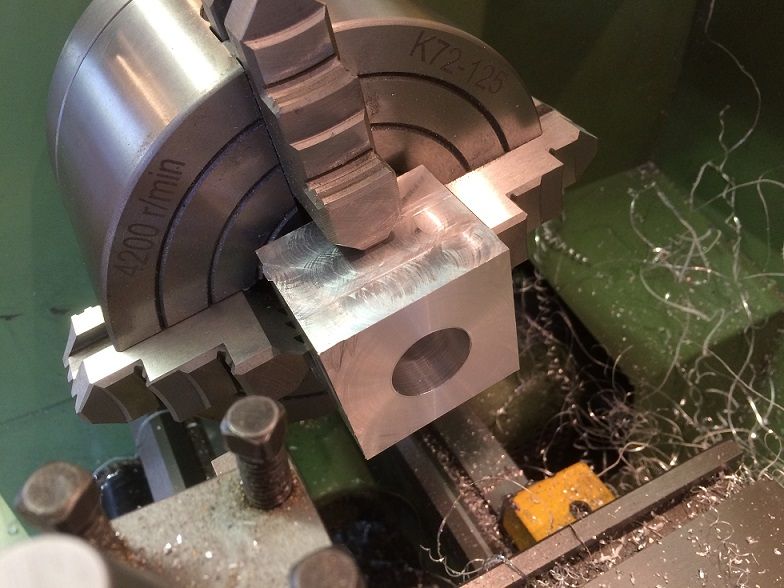
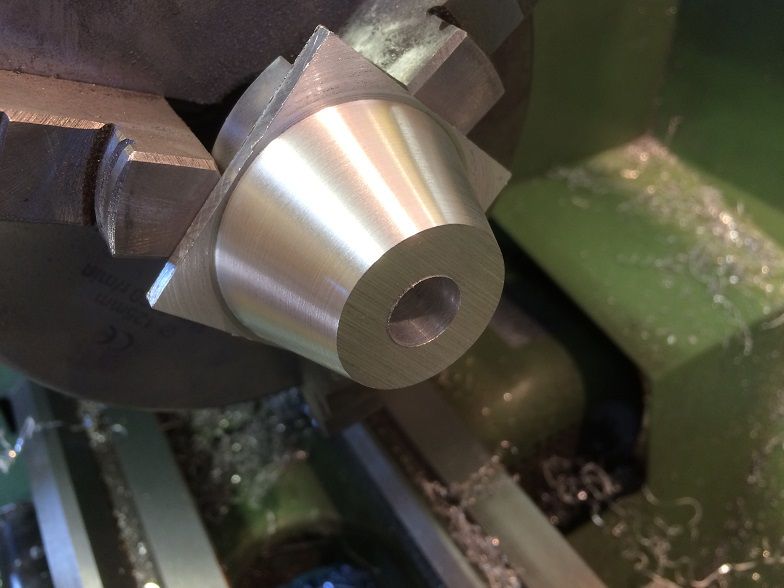
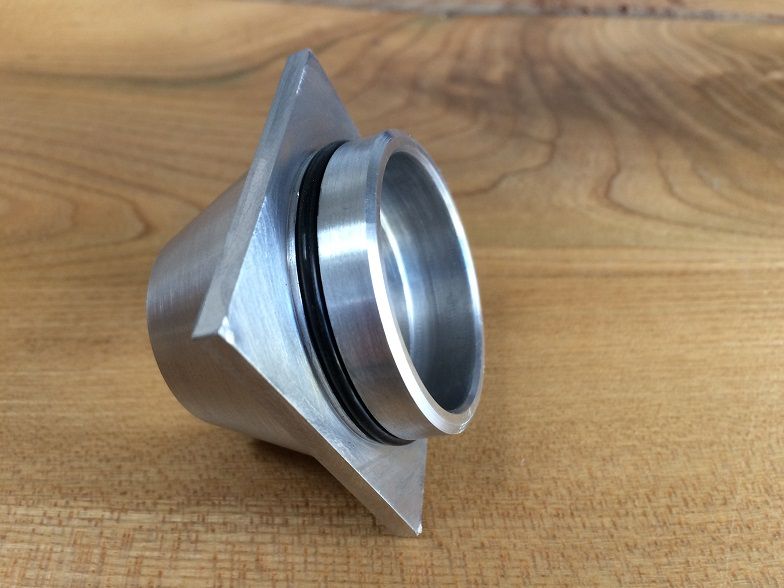
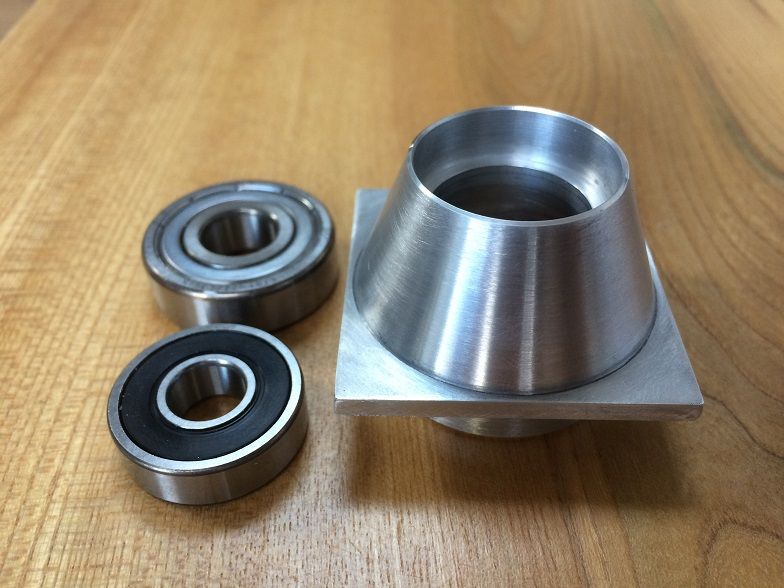
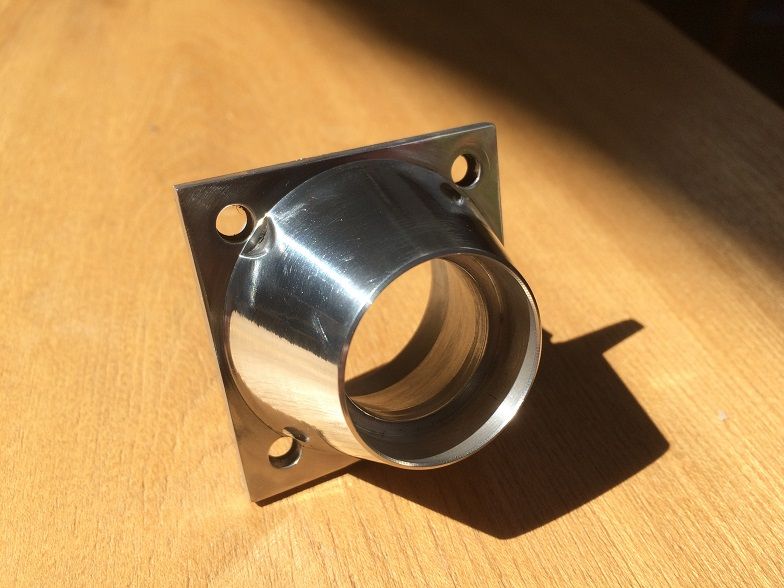
                                    also got around to most of the front crankcase housing. Turned the rear first including seat for rear bearing and groove for O-ring, then flipped in lathe and taper turned inside and out, then front bearing seat.

                                    Remaining square frame is still 0.5mm oversize until I make the main crankcase. Next will drill the mounting holes on the mill.

                                    img_5291sm.jpg

                                    img_5292sm.jpg

                                    img_5301sm.jpg

                                    img_5306sm.jpg

                                    #352956
                                    Emgee
                                    Participant
                                      @emgee

                                      Craig, my experience with using plastic shielded bearings is that they cause additional friction that leads to overheating the assembly but it may help prevent loss of crankcase pressure.

                                      Emgee

                                      #352957
                                      Neil Lickfold
                                      Participant
                                        @neillickfold44316

                                        Is there a sectional view of this engine you are building? Just curious.

                                        Thanks Neil

                                        #352964
                                        JasonB
                                        Moderator
                                          @jasonb

                                          Looks like you are making fast progress Nick, when it comes to small holes if you don't have a boring bar small enough then a 2-flute milling cutter held in the toolpost will do the job, may be worth trying when you come to making the carb.

                                          I could not see a section through the engine on WT's site but it seems to run ok as shown in these videos

                                          J

                                          PS When are you starting the 7cyl radial?

                                          #353004
                                          Craig Booth 1
                                          Participant
                                            @craigbooth1

                                            Thanks for the warning Emgee, it is a high temp version so I'm hoping will be ok, but will keep an eye on it.

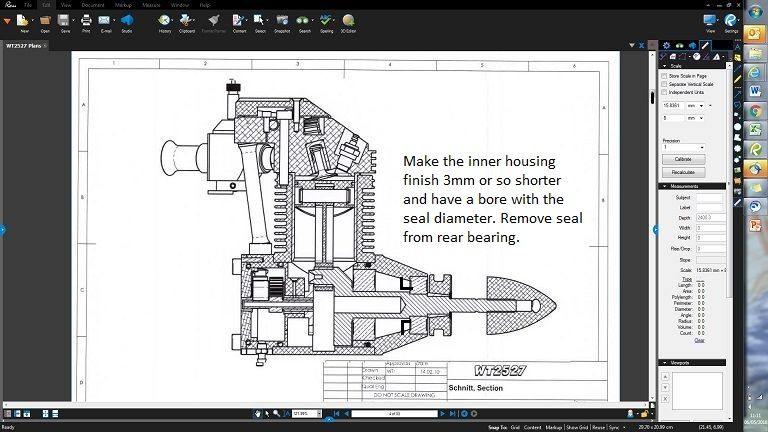
                                            Here's a cross section from the plans.

                                            untitled.jpg

                                            #353031
                                            Neil Lickfold
                                            Participant
                                              @neillickfold44316

                                              Thanks for the cross section. On model engines, instead of using the shielded bearings, they have a shaft seal, which has about 0.03 through to 0.07mm in diameter clearance depending on the seal area length. This is normally just behind the front bearing where it is at it's smallest clearance. The small amount of leakage then lubes the front race. The high reving ones leak quite a bit, but the slower reving ones dont. So on an engine like you are making, shaft seal that is 3mm long and about 0.03 to 0.04mm in diameter will seal the case nicely and you wont have any issues with seal drag either. But is seems you have made the front housing already, so unless you make another it is not going to happen. So in the case above, you would end up making the tapered clearance section about 3mm shorter from the back with a bore concentric to the front and rear bearing diameters, and be 0.03 to 0.04mm bigger than the shaft diameter.

                                              Neil

                                              #353089
                                              Craig Booth 1
                                              Participant
                                                @craigbooth1

                                                Hi Neil,

                                                Thanks for the comment. I did think about bearing lubrication when ordering but came to the following conclusion, these are sealed units (for life), life expectancy standards (without going into the full calcs that seem to be available) could be 300hours at a minimum, ranging at to the thousands of hours.

                                                IF I do get this engine to work and put it in a plane, I would on average have the engine running for 15hours per year.

                                                So taking worst case I would still get 10-20 years out of it. I'd be very happy if that was the case.

                                                Do you have a drawing that shows the principle you describe above? Even though the part is finished now I reckon I could still get a lubrication channel behind the back bearing, and I'd be keen to understand for other engines.

                                                img_5321sm.jpg

                                                #353212
                                                Neil Lickfold
                                                Participant
                                                  @neillickfold44316

                                                  Here is a sketch of the added seal area. The gap is showing the small clearance, and will be a solid fill, I just drew an out line.

                                                  Neil

                                                  added-seal.jpg

                                                  #353219
                                                  Craig Booth 1
                                                  Participant
                                                    @craigbooth1

                                                    Thanks for that Neil, if I understand correctly the lubricant wicks to the front bearing via the annular gap between the shaft and clearance made (0.03mm). As you say obviously too late to have that arrangement on this model, but would a fully open inner seal work, i.e. if I just remove the inner seal on the front bearing and make a small channel or two behind the rear bearing?

                                                    #353220
                                                    Craig Booth 1
                                                    Participant
                                                      @craigbooth1

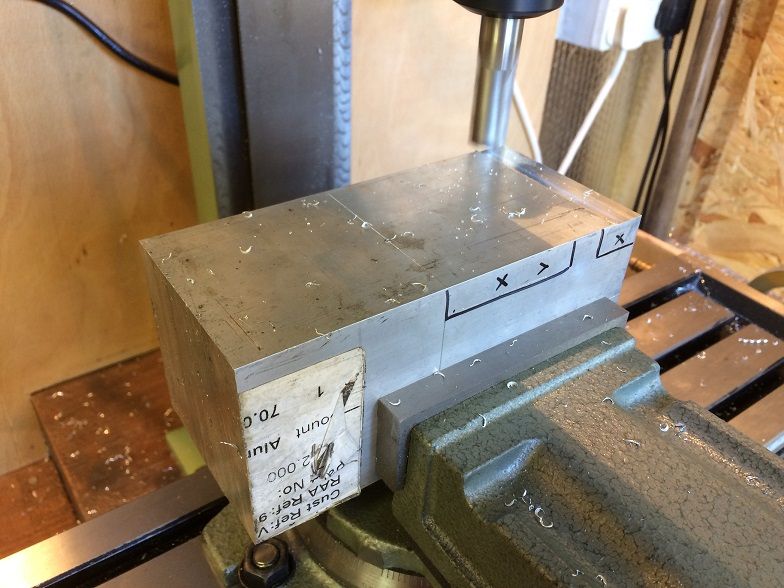
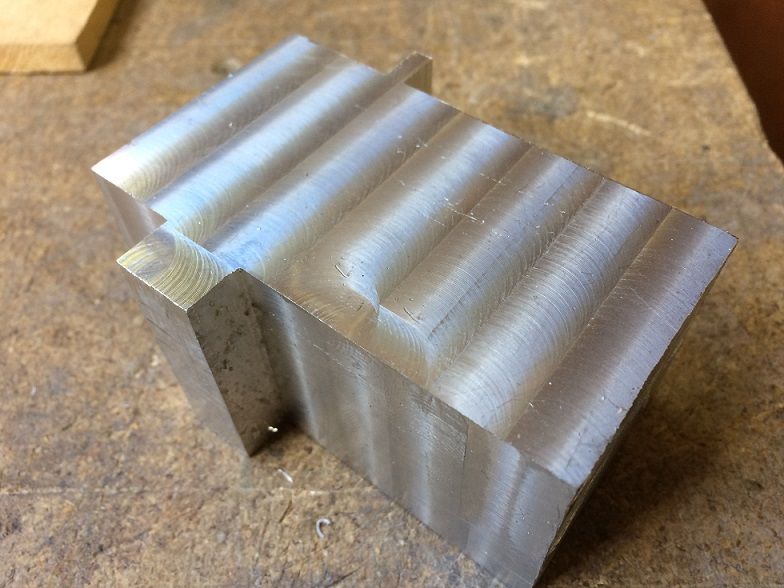
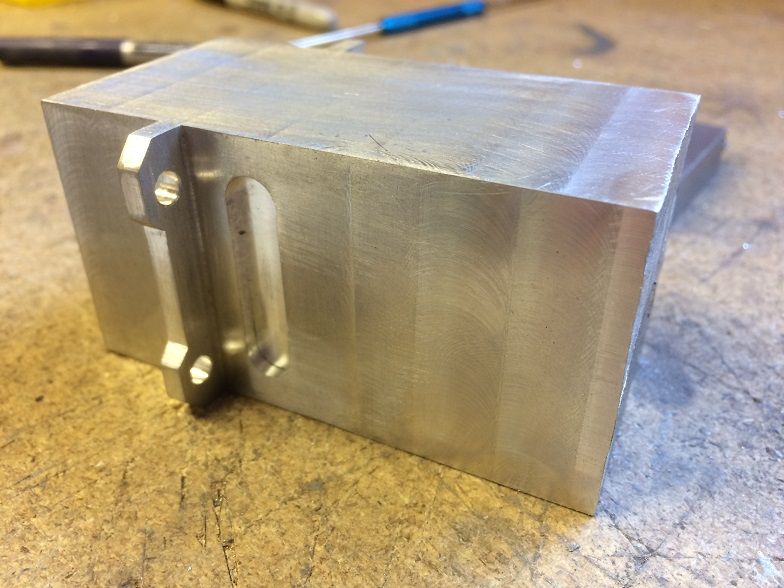
                                                      also made a bit of progress on the main crankcase today. Was a lot of work to get the 70x70mm stock down to size (45×46, plus the mounts), but got there in the end, ankle deep in swarf. Now starting to work on the mounts.

                                                      img_5323sm.jpg

                                                      img_5341sm.jpg

                                                      img_5345sm.jpg

                                                    Viewing 25 posts - 1 through 25 (of 75 total)
                                                    • Please log in to reply to this topic. Registering is free and easy using the links on the menu at the top of this page.

                                                    Advert

                                                    Latest Replies

                                                    Viewing 25 topics - 1 through 25 (of 25 total)
                                                    Viewing 25 topics - 1 through 25 (of 25 total)

                                                    View full reply list.

                                                    Advert

                                                    Newsletter Sign-up