First Project – Oscillating Engine

Advert

First Project – Oscillating Engine

Home Forums Work In Progress and completed items First Project – Oscillating Engine

Viewing 25 posts - 1 through 25 (of 46 total)
  • Author
    Posts
  • #31134
    Mark Williams 21
    Participant
      @markwilliams21
      Advert
      #242796
      Mark Williams 21
      Participant
        @markwilliams21

        Hi All,

        As the title says I have finally started my very first model engineering project.

        I bought a Myford ML7 lathe and a Sieg mill around six months ago but as I hadn't finished getting my workshop ready I was unable to use them and get anything started, anyway the workshop is all but complete and over the last few weeks I have been busy getting everything I need for my first project.

        While waiting to get started I trawled the internet and found what I believed to be the simplest Oscillating Engine I could find check out http://www.steves-workshop.co.uk if anyone is looking for an easy first build. I then got myself the materials and final tools I needed to start.

        Below are pics of my progress, any helpful hints and tips off the experienced builders out there would be most appreciated.image.jpeg

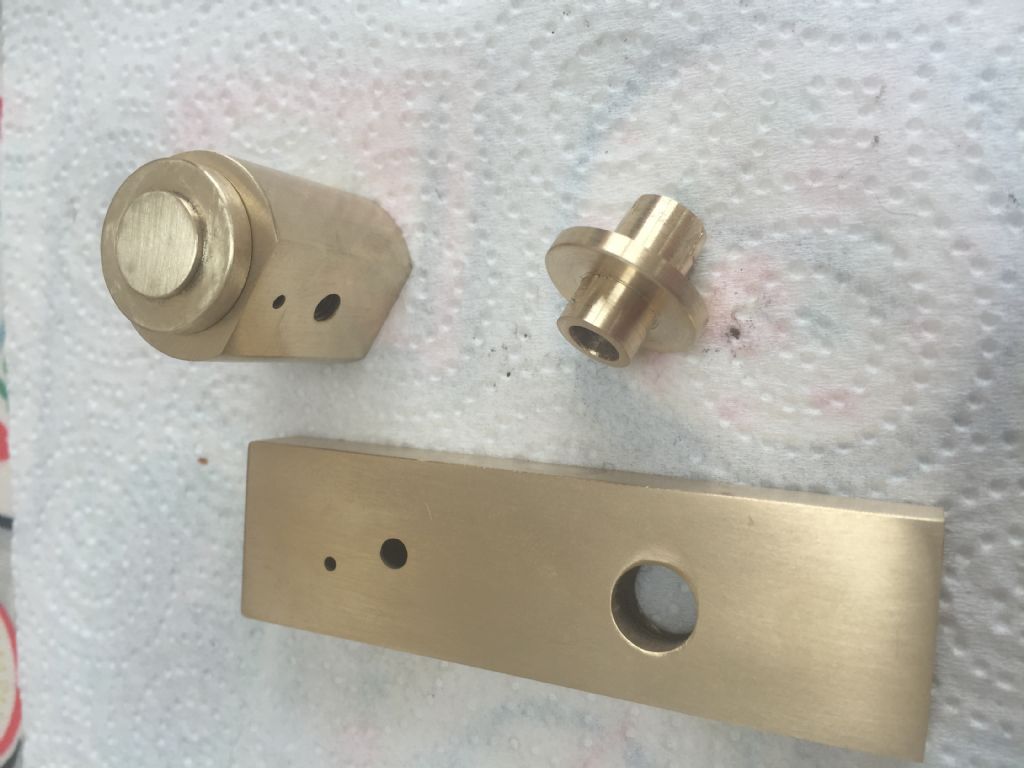
        The picture above shows the cylinder with its cap sat in place (top left), I still need to drill these to fix the cap on, next is the crank bushing (top right), again needs drilling for fixing to the frame and last is the frame also requiring drilling to take the bushing however all of the other holes are drilled including steam inlet hole on the reverse side which enters on the top, also fixing holes have been drilled and threaded on the bottom ready for mounting.

        image.jpeg

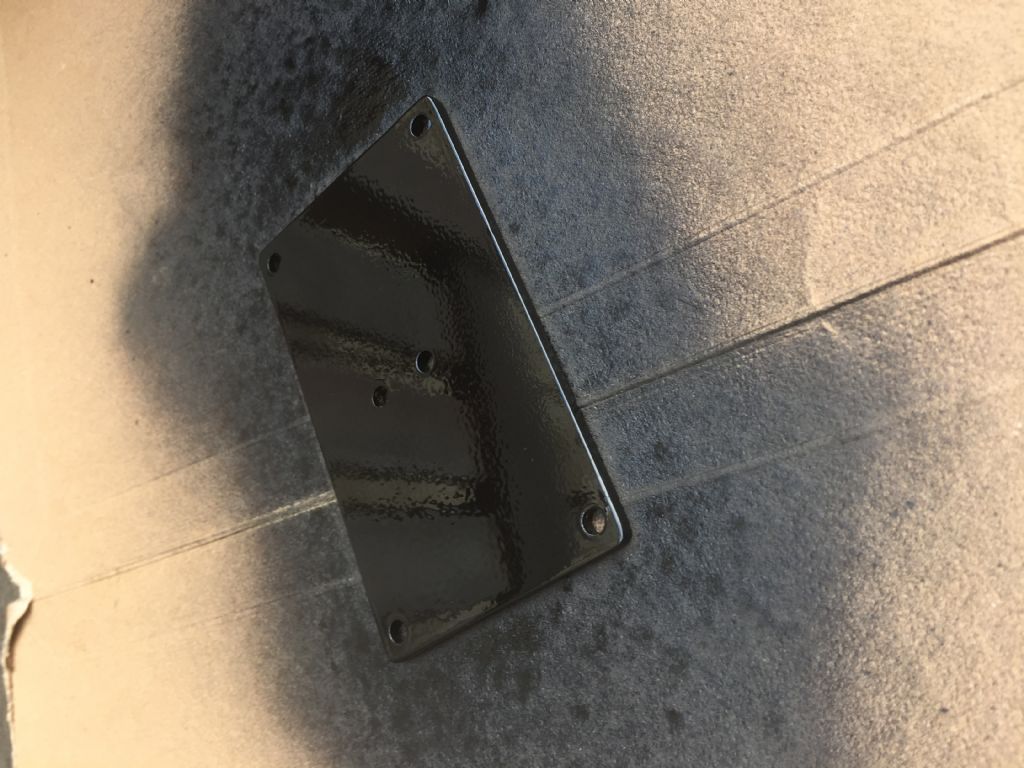
        Not the best picture I know and for some reason it turned 90deg between taking it with my phone and uploading it to here. This shows my base plate just sprayed with black enamel paint and drying in sun.

        The parts shown aren't absolutely perfect but for my first project and with little to no engineering/machining experience I'm pretty happy and I've learned loads already.

        More progress pics to follow!

        Mark

        #242804
        Thor 🇳🇴
        Participant
          @thor

          Hi Mark,

          Your oscillator is coming along nicely, looking forward to see your progress. I have made a few oscillators myself, both single-acting and double-acting, great fun.

          Thor

          #242805
          Mark Williams 21
          Participant
            @markwilliams21
            Posted by Thor on 14/06/2016 16:23:54:

            Hi Mark,

            Your oscillator is coming along nicely, looking forward to see your progress. I have made a few oscillators myself, both single-acting and double-acting, great fun.

            Thor

            Thanks Thor

            #242808
            Neil Wyatt
            Moderator
              @neilwyatt

              Hello Mark,

              Looks like you are making good progress!

              Neil

              #242814
              Peter Krogh
              Participant
                @peterkrogh76576

                Oscillators are fun and satisfying to build. Looking good so far!

                Pete

                #242816
                Mark Williams 21
                Participant
                  @markwilliams21

                  Thanks Gents

                  #242818
                  Bazyle
                  Participant
                    @bazyle

                    As you mentioned "bushing" and "sun" I figured you weren't from the UK, but seeing another post about purchasing tools from an UK supplier now I'm confused. frown

                    #242821
                    Mark Williams 21
                    Participant
                      @markwilliams21

                      I beg your pardon, bearing and cloud with more than occasional rain 😛

                      #242875
                      Mark Williams 21
                      Participant
                        @markwilliams21

                        UPDATE:

                        resize 1.jpg

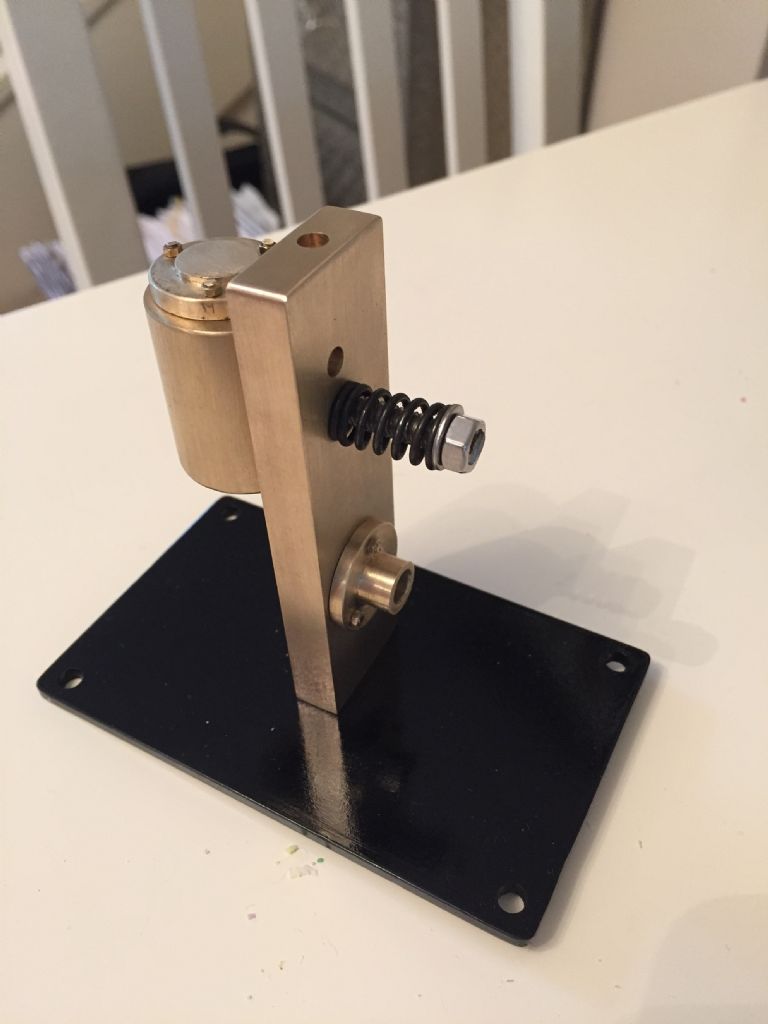
                        Piston cap and main bearing drilled, threaded and bolted to the necessary parts,and assembled what I have up to now

                        resize 2.jpg

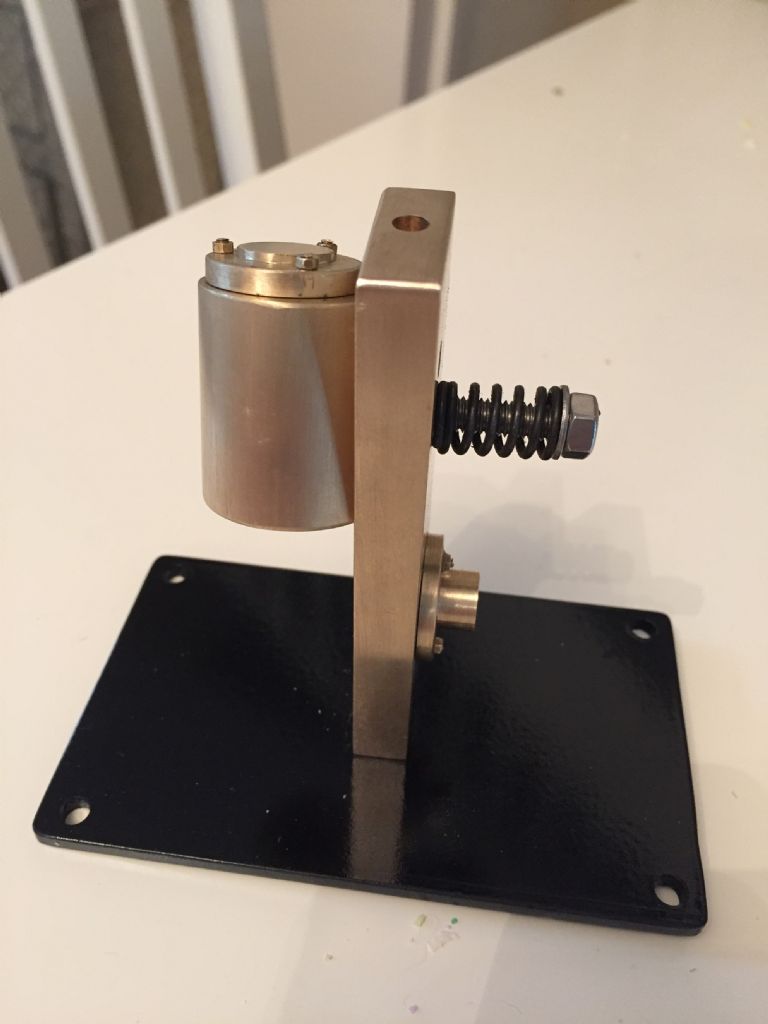
                        From a slightly different angle, I have also opened up the inlet/exhaust holes slightly ready to silver solder copper tube in.

                        I think its looking ok, certainly coming together!!

                        #242877
                        Mark Williams 21
                        Participant
                          @markwilliams21

                          P.S. Used M1.6 threaded rod and nuts which was fun…..not 😎

                          #242880
                          mechman48
                          Participant
                            @mechman48

                            Coming along nicely there Mark.

                            George.

                            #242892
                            Thor 🇳🇴
                            Participant
                              @thor

                              Hi Mark,

                              You are making good progress on the engine, nice photos.

                              Thor

                              #242901
                              Neil Wyatt
                              Moderator
                                @neilwyatt

                                smiley

                                #242907
                                Mark Williams 21
                                Participant
                                  @markwilliams21

                                  Thanks Gents, am going to see how much I can get done tonight, would hope for the piston assembly and maybe the flywheel but we'll see 👍🏻

                                  #242917
                                  Maurice Cox 1
                                  Participant
                                    @mauricecox1

                                    Hi Mark, nice work! There is one point that I would like to raise. It is helpful to relieve the area round the trunion pin, as, when the two surfaces wear as the engine runs, the centre area will wear more slowly than that which is moving faster and further. Relieving it will allow the faces to remain in contact more easily. On the Stuart Turner oscillator, they mill a slot across the port face on the standard, about 5/32" wide. An old Bowman that I had, had a 3/8" counter bore round the trunion pin hole. There is something similar on the remains of another old engine I have, only it's 1/2" diameter. I'm sure your engine will run perfectly without this relief, but it will remain, well not exactly leak proof, but in good working order for longer if you do it. Keep up the good work.

                                    Regards Maurice

                                    #242918
                                    Mark Williams 21
                                    Participant
                                      @markwilliams21

                                      Hi Maurice, thanks for the advice however being a complete beginner I am unsure of what you mean, any more pointers or pics you could give to aid my understanding as any modifications I can make to add longevity to my engine would definitely be considered

                                      thanks

                                      Mark

                                      #242930
                                      Maurice Cox 1
                                      Participant
                                        @mauricecox1

                                        Hi Mark; yes, certainly. I will post a couple of pictures tomorrow. The idea is that the two flat faces only touch in the area of the ports, and are able to bed together without the unworn central area stopping the process. Can't take the pics before that; sorry. Will do A.S.A.P.

                                        Maurice

                                        #242934
                                        Anonymous
                                          Posted by Mark Williams 21 on 15/06/2016 11:53:50:

                                          I think its looking ok, certainly coming together!!

                                          Looks a darn sight better than ok to me. I'd be happy if my stuff looked like that.

                                          Andrew

                                          #242984
                                          paul asselin 1
                                          Participant
                                            @paulasselin1

                                            looks cool, keep it up

                                            #242985
                                            Mark Williams 21
                                            Participant
                                              @markwilliams21

                                              thanks guys!

                                              UPDATE:

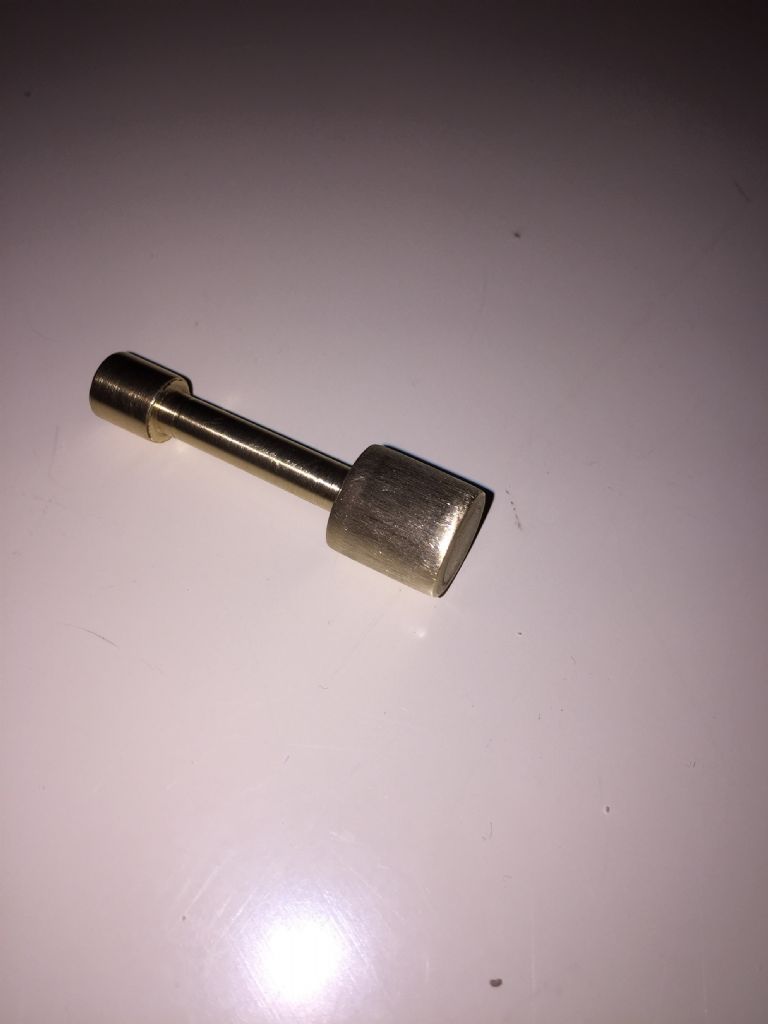
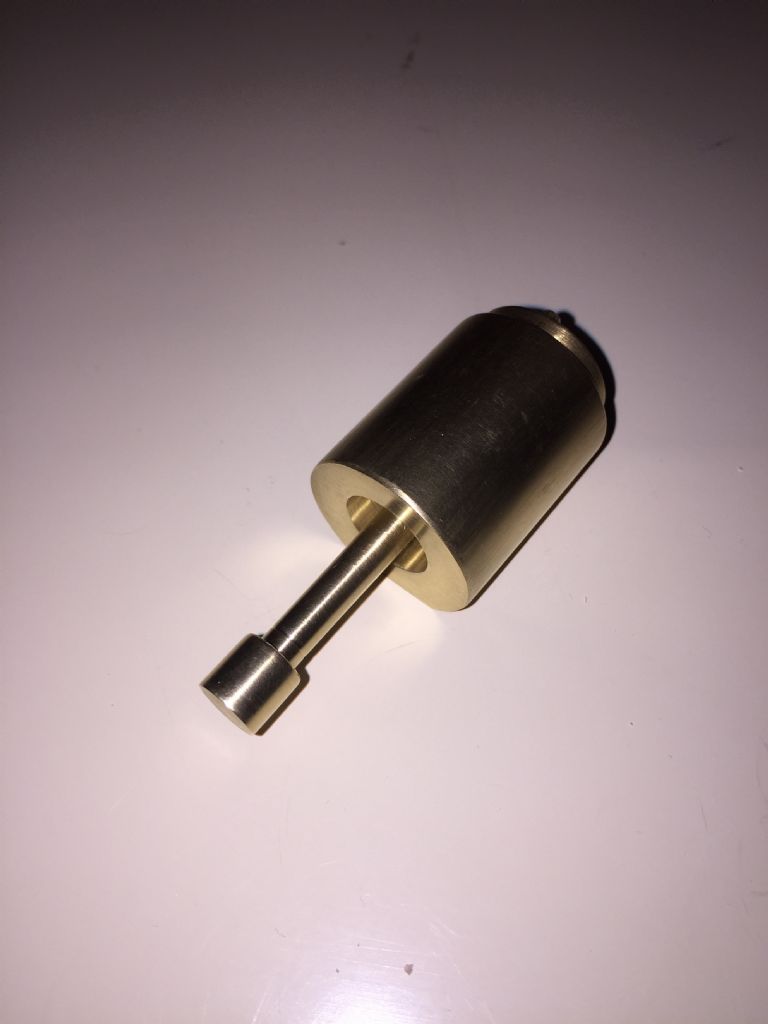
                                              Piston/conrod assembly machined just requires hole for fitting onto crank

                                              risize3.jpg

                                              Piston in cylinder, I hand finished with 400 grit paper to get the best fit I could

                                              resize 4.jpg

                                              I also learned a valuable lesson about the sharpness needed on your lathe tools

                                              #243024
                                              Maurice Cox 1
                                              Participant
                                                @mauricecox1

                                                Very old engine portface.jpgold osc.portface.jpgS.T. portface.jpgHi Mark, here are the pictures of port faces that I promised. Sorry for the delay. The Bowman I no longer have, but here are An old Stuart ( I have five of various ages, all have the slot); The remains of a horizontal engine of uncertain make, with a circular relief round the trunion pin, and finally a German engine from before WW1. The port face is actually a brass pressing. It has the slot pressed in. In the well known book by K.N.Harris on making stationary engines, chapter 2 is devoted to oscillating engines. The drawings he includes show both circular and the slot type of relief, although curiously he does not mention it in the text. Personally , I prefer to put a slot across the face where the trunion pin is. It is easier than counter-boring, and I believe it is more effective. Keep up the good work on your engine; I look forward to seeing it finished.

                                                MauriceS.T. osc complete.jpg

                                                #243026
                                                Maurice Cox 1
                                                Participant
                                                  @mauricecox1

                                                  Sorry the text is mixed in with the pics, I always manage that! Sorry!

                                                  Maurice

                                                  #243030
                                                  Mark Williams 21
                                                  Participant
                                                    @markwilliams21

                                                    Thanks for the pics and information Maurice I see what you mean now, I may have a play on my milling machine later 😉 I'll post pics if I get the bottle lol

                                                    #243041
                                                    Maurice Cox 1
                                                    Participant
                                                      @mauricecox1

                                                      Hi Mark, just been thinking about your trunion pin. How exactly did you go about tapping the hole in the cylinder? When tapping almost anything, I drill the tapping size hole, then follow with a clearing size drill to the depth of one, to one and a half threads. Then I tap it. This avoids the little "volcano" that appears as the tap goes in; particularly with ductile metals. If you flatten a scrap piece of brass, tap a hole in it, cover the flat surface with marking out blue, then rub it it on a piece of emery paper, you will be surprised how far the raised are round the tapped hole can go. This could stop your engine from working well when it is finished. Putting a clearing drill in after tapping seldom works, as the lump will be of a greater diameter than the clear drill, and it will not look good as the thread will make the drill start off centre. Hope this might be of help.

                                                      Maurice

                                                    Viewing 25 posts - 1 through 25 (of 46 total)
                                                    • Please log in to reply to this topic. Registering is free and easy using the links on the menu at the top of this page.

                                                    Advert

                                                    Latest Replies

                                                    Viewing 25 topics - 1 through 25 (of 25 total)
                                                    Viewing 25 topics - 1 through 25 (of 25 total)

                                                    View full reply list.

                                                    Advert

                                                    Newsletter Sign-up