A couple of years ago I bought a cheap laminator from WH Smiths, at the time they were just under £20.
I thought I'd share how I'm using it in the the workshop:
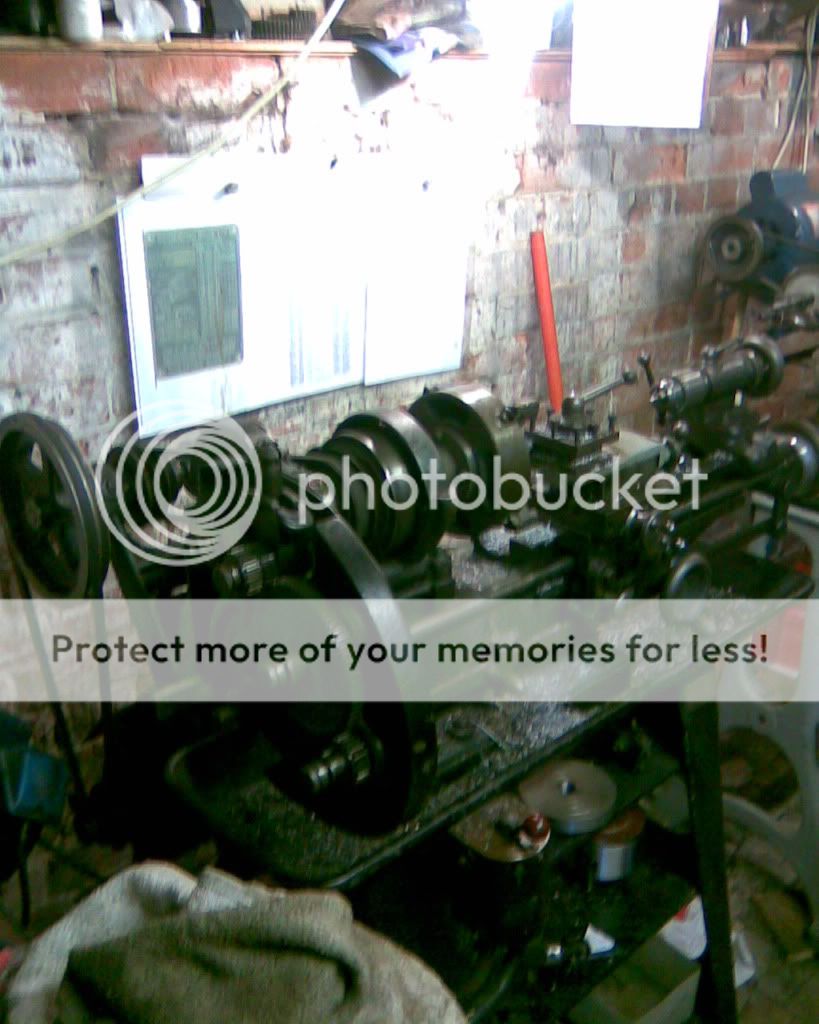
I started off setting up conversion tables in Excel – bottom left is imperial fraction to metric, using only the range I need for the work at hand, then printing it as big as it will go onto an A4 sheet, laminated it and now I've got a really handy chart that sits on the bench as work progresses. (I've also Imperial fraction to Imperial decimal etc). The point is it's only the range I need in the increments I need in a very easy to read format because I've used the biggest possible font, consistent with getting on a single age.
A while back I designed some bevel gears for an engine I built, so repeated the trick – Printed off the data as big as possible onto A4, laminated it (top left)
When ME kindly provided the PDF's for the Whittle engine and I decided to have a crack at it , I cut and pasted the crank drawings from the PDF into Word, then stretched the image until it just fit the page, banged it into the laminator and now I've a copy that's very readable, and has survived coolant spills, tools left on in etc. See bottom left.
At top right is a Stuart Models plan. My last one was in a very poor state by the time the engine was complete, so this time I took the the scissors to it and cut it into four seperate pieces and laminated them double sided using a plain A4 sheet of paper as a background.
I find it beneficial not having to have an A1 / A2 drawing on the bench when in the case of the Whittle engine, there was many hours expended on just one component. So the handy size is good.
The other obvious benefit is that the laminated version will stand a lot of mistreatment, but if you want to draw on them, well you can use either permanent or non-permanent markers over the top if you want.
Hope this is of interest!
Edited By Katy Purvis on 01/06/2015 12:07:08
Springbok.


 ) and laminated but oh so handy and as you point out Steve very hardy.


