My very own Quick Change toolpost

Advert

My very own Quick Change toolpost

Home Forums Workshop Tools and Tooling My very own Quick Change toolpost

Viewing 25 posts - 1 through 25 (of 32 total)
  • Author
    Posts
  • #318373
    Iain Downs
    Participant
      @iaindowns78295

      As expressed in another thread, I'm fed up with the aluminium QCTP I got for my SPG0618A. (Real Bull 7×14).

      It's a piston type and deforms easily.

      So I'm planning to build my own. I've had an idea for how it should work, but there could be any number of reasons why it's a poor idea. I'm hoping that the collective can expose them to me before I start making swarf!

      The toolpost base on the topslide is 50mm square with an M10 thread. Standard stuff,.

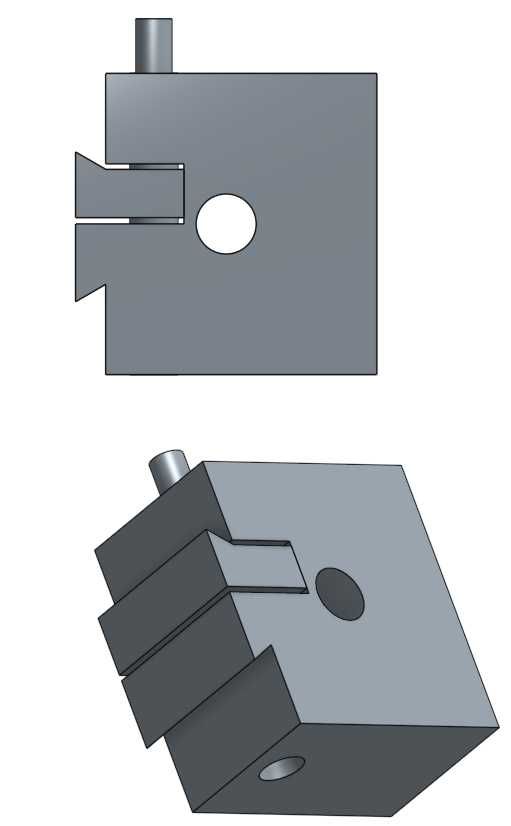
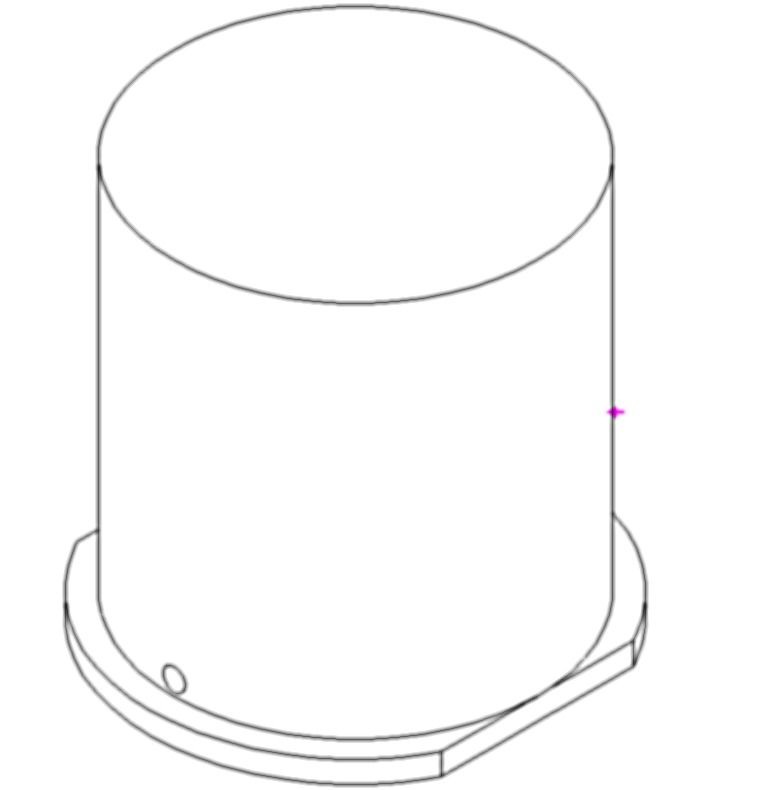
      The basic idea is to have the dovetails pull in to the toolpost not push out. In the image below the tool would be pointing downwards. The rod at the top, would be threaded with a nut on it pulling the moving dovetail up. I'd put a pin through the moving dovetail and bar.

      I'd make the bar and the bore a tight fit to restrict the movement of the dovetail to lateral only.

      Toolholders would be the same shape as the current piston based ones albeit steel and perhaps slightly different dimensions.

      toolpost 1.jpg

      My concern is the rigidity given that there is quite a small volume of metal between the central bore and the trough for the moving dovetail. An option would be to bolt plates top and bottom.

      I'd clearly need two dovetails so that both turning and boring tools can be supported

      Any views would be welcome!

      Iain

      Advert
      #18667
      Iain Downs
      Participant
        @iaindowns78295

        Expert advice sought…

        #318385
        Jeff Dayman
        Participant
          @jeffdayman43397

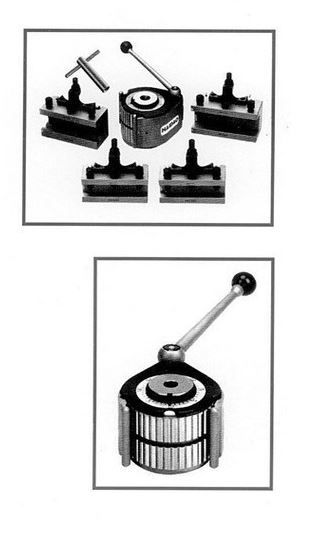
          euro-style-40-pos-toolpost.jpgMy advise would be to forget dovetails altogether, adjustable or not, and look at an Aloris ring/pin style toolpost. They are best in my industrial experience. Jpeg of this style from a Far East tool supply website is shown.

          Edited By Jeff Dayman on 24/09/2017 15:19:09

          #318386
          Robin
          Participant
            @robin

            I would be hugely inclined to bend it rather than slide it to get the grip. That looks a bit wobbly. OTOH, what do I know laugh

            #318390
            Rainbows
            Participant
              @rainbows

              I would drill and ream holes for 2 dowel pins and make them what locates the dovetail.

              I wouldn't massively worry about the material between the hole and the dovetail, I don't think too much force would transfer through it.

              Not sure if the general concept is better or worse than the usual methods of toolpost design. I guess if you can't make cams too easily it makes sense though.

              #318415
              Thor 🇳🇴
              Participant
                @thor

                Hi Ian,

                Jeff (on the Madmodder site) has a QCTP with a clamping that is somewhat different to yours, see here.

                Thor

                #318419
                Jeff Dayman
                Participant
                  @jeffdayman43397

                  Hi Thor, thanks for link. The HH design is an improvement on other dovetail toolholders I've seen.

                  I don't recommend dovetails in general because they are fundamentally flawed for tool holding – they do not fully restrict all 6 degrees of freedom of the tool, they are bulky, and are more work to make than simpler designs for no real benefit. However, they are traditional and conventional, which a lot of people seem to gravitate to. I suggest a few minutes study with google on jig and fixture design theory, regarding restriction of the degrees of freedom of items for good workholding and good tool design. It may change your way of thinking about many everyday shop operations.

                  Also a google of "principles of kinematic location" is useful. A link to a good article on the subject is below.

                  The Principle of Kinematic Constraint

                  Just food for thought before cutting metal. (A lot of metal, if making dovetails)

                  #318422
                  Thor 🇳🇴
                  Participant
                    @thor

                    Yes Jeff,

                    I would prefer something like the Dickson or the Multifix, but the OP asked about a QCTP with dovetails, I just tried to suggest an alternative way of clamping the toolholders.

                    Thanks for the link about kinematic constraint, interesting reading.

                    Thor

                    #318424
                    Clive Foster
                    Participant
                      @clivefoster55965

                      With these small machines you are inevitably on the wrong side of the size – strength curve so its hard to get enough material into the tool post and holders to make them strong enough. The overhang and round the corner load path inevitable with any form of QC system doesn't help.

                      As regular forumites will know I've always maintained that quickly interchangeable block style tool posts are a better approach for a home made QC system. Especially as they give a direct load path from tool to slide, inevitably stiffer than a conventional QC and these small machines need all the stiffness you can get. Shimming the tools to the correct tip height is pretty much unavoidable with any block system but arranging to set-up off the machine with a suitable jig makes it a fairly simple task. Indicators are inexpensive these days so working by direct measurement becomes easy. Especially if you have a nicely sorted set of shims. Probably generally more accurate than setting tool height on the lathe with a QC system which needs a certain extra care to get just so. Close enuf, usually, being easy of course.

                      The major issue with interchangeable block systems is how to arrange quick release and how to index the base so they always go back in the same place.

                      For these small machines a simple pin in hole indexing system should be fine. Put the holes in a suitable intermediate plate rather than direct on the topside to avoid irredeemably altering the lathe. Pin should be double diameter with a screw thread at the top end so it can easily be retracted when you need funny angle on the post.

                      My concept of the quick release system involves a hollow castellated nut in the top of each block fitting over a rotating tool post stud that is cross drilled near the top for a tommy bar. The tommy bar engages in the castellations so a third of a turn or so covers the range between locked down tight and loose enough to pull the tommy bar out. Stud needs to be around 20 or 25 mm diameter at the tommy bar end which may be too big for these small lathes. Rotating bearing part can be much smaller of course. Similar effects can be achieved with bayonet and spline set-ups but maintaining the appropriate timing between the components could be tricky as there is only a limited angle of rotation when engaged. Interrupted threads have similar issues. The uber neat ideal would be a locking lever which could be engaged with the stud and turned or pulled down to lock things. Serious engineering time.

                      Actually I'd be unsurprised to discover that a simple thick washer with a slot cut through one side so it can be slid out when loose would suffice to hold the tool block down on such a small machine. Hole in the tool post needs to be large enough to slide over the nut so you need a new stud with larger main section and a smaller thread at the end. Loosen the nut by 1/3 or 1/2 turn, pull out the washer, swop blocks, slide washer in and tighten. Sounds fast enough to me.

                      Clive

                      #318427
                      Michael Gilligan
                      Participant
                        @michaelgilligan61133
                        Posted by Jeff Dayman on 24/09/2017 17:02:34:

                        … I suggest a few minutes study with google on jig and fixture design theory …

                        Also a google of "principles of kinematic location" is useful. A link to a good article on the subject is below.

                        The Principle of Kinematic Constraint

                        Just food for thought before cutting metal. (A lot of metal, if making dovetails)

                        .

                        Brave Man, Jeff yes

                        More than once, I've tried to get people here interested in kinematics

                        … Hopefully you will get a better response.

                        MichaelG.

                        #318432
                        Jon Cameron
                        Participant
                          @joncameron26580

                          On my myford, the simple pin method is employed, this is located to the side of a M10 nut, under the nut that is tightened, although mine is not exactly a quick change toolpost, as it does take some time, the principle of the pin locating, and against the side of a larger nut, work very well for repeatability. I do think that some dowls to the top and bottom of the sliding dovetail will be very beneficial so as to keep the dovetail to run true.

                          #318467
                          Iain Downs
                          Participant
                            @iaindowns78295

                            What a diverse set of responses! Excellent.

                            Jeff. In principle I can see that's a better design, It's beyond my skills and tooling to make, unfortunately.

                            Thor – that's still a push type clamp. The metal in contact is a few mm wide and 20mm or so high. I'm trying to get a system where the contact area is in 10s of mm x 20mm for more rigidity.

                            kinematics.

                            My feeling on this is that if I prevent the sliding dovetail moving away from the centre (with the bar that clamps it), and clamp it to the toolholder dovetail, which in turn pulls it against the toolpost, then I will have removed all degrees of freedom of movement – and provided a good friction surface.

                            It's actually beneficial if the moving dovetail can rotate slightly as it will take up any (inevitable in my case) errors in the dovetail cutting.

                            Pins.

                            IN the top of the top slide is a small hole which is intended to orientate the normal toolpost (it normally contains a spring and an bit of angled rod that sticks up. I'd thought to carefully drill holes for the orientations I wanted and pin this for alignment before clamping the post in place.

                            Iain

                            #318481
                            Ian Skeldon 2
                            Participant
                              @ianskeldon2

                              Hi Iain,

                              Check out Harold Hall's web site, he desinged and made a very robust qctp. **LINK**

                              #318484
                              Neil Wyatt
                              Moderator
                                @neilwyatt

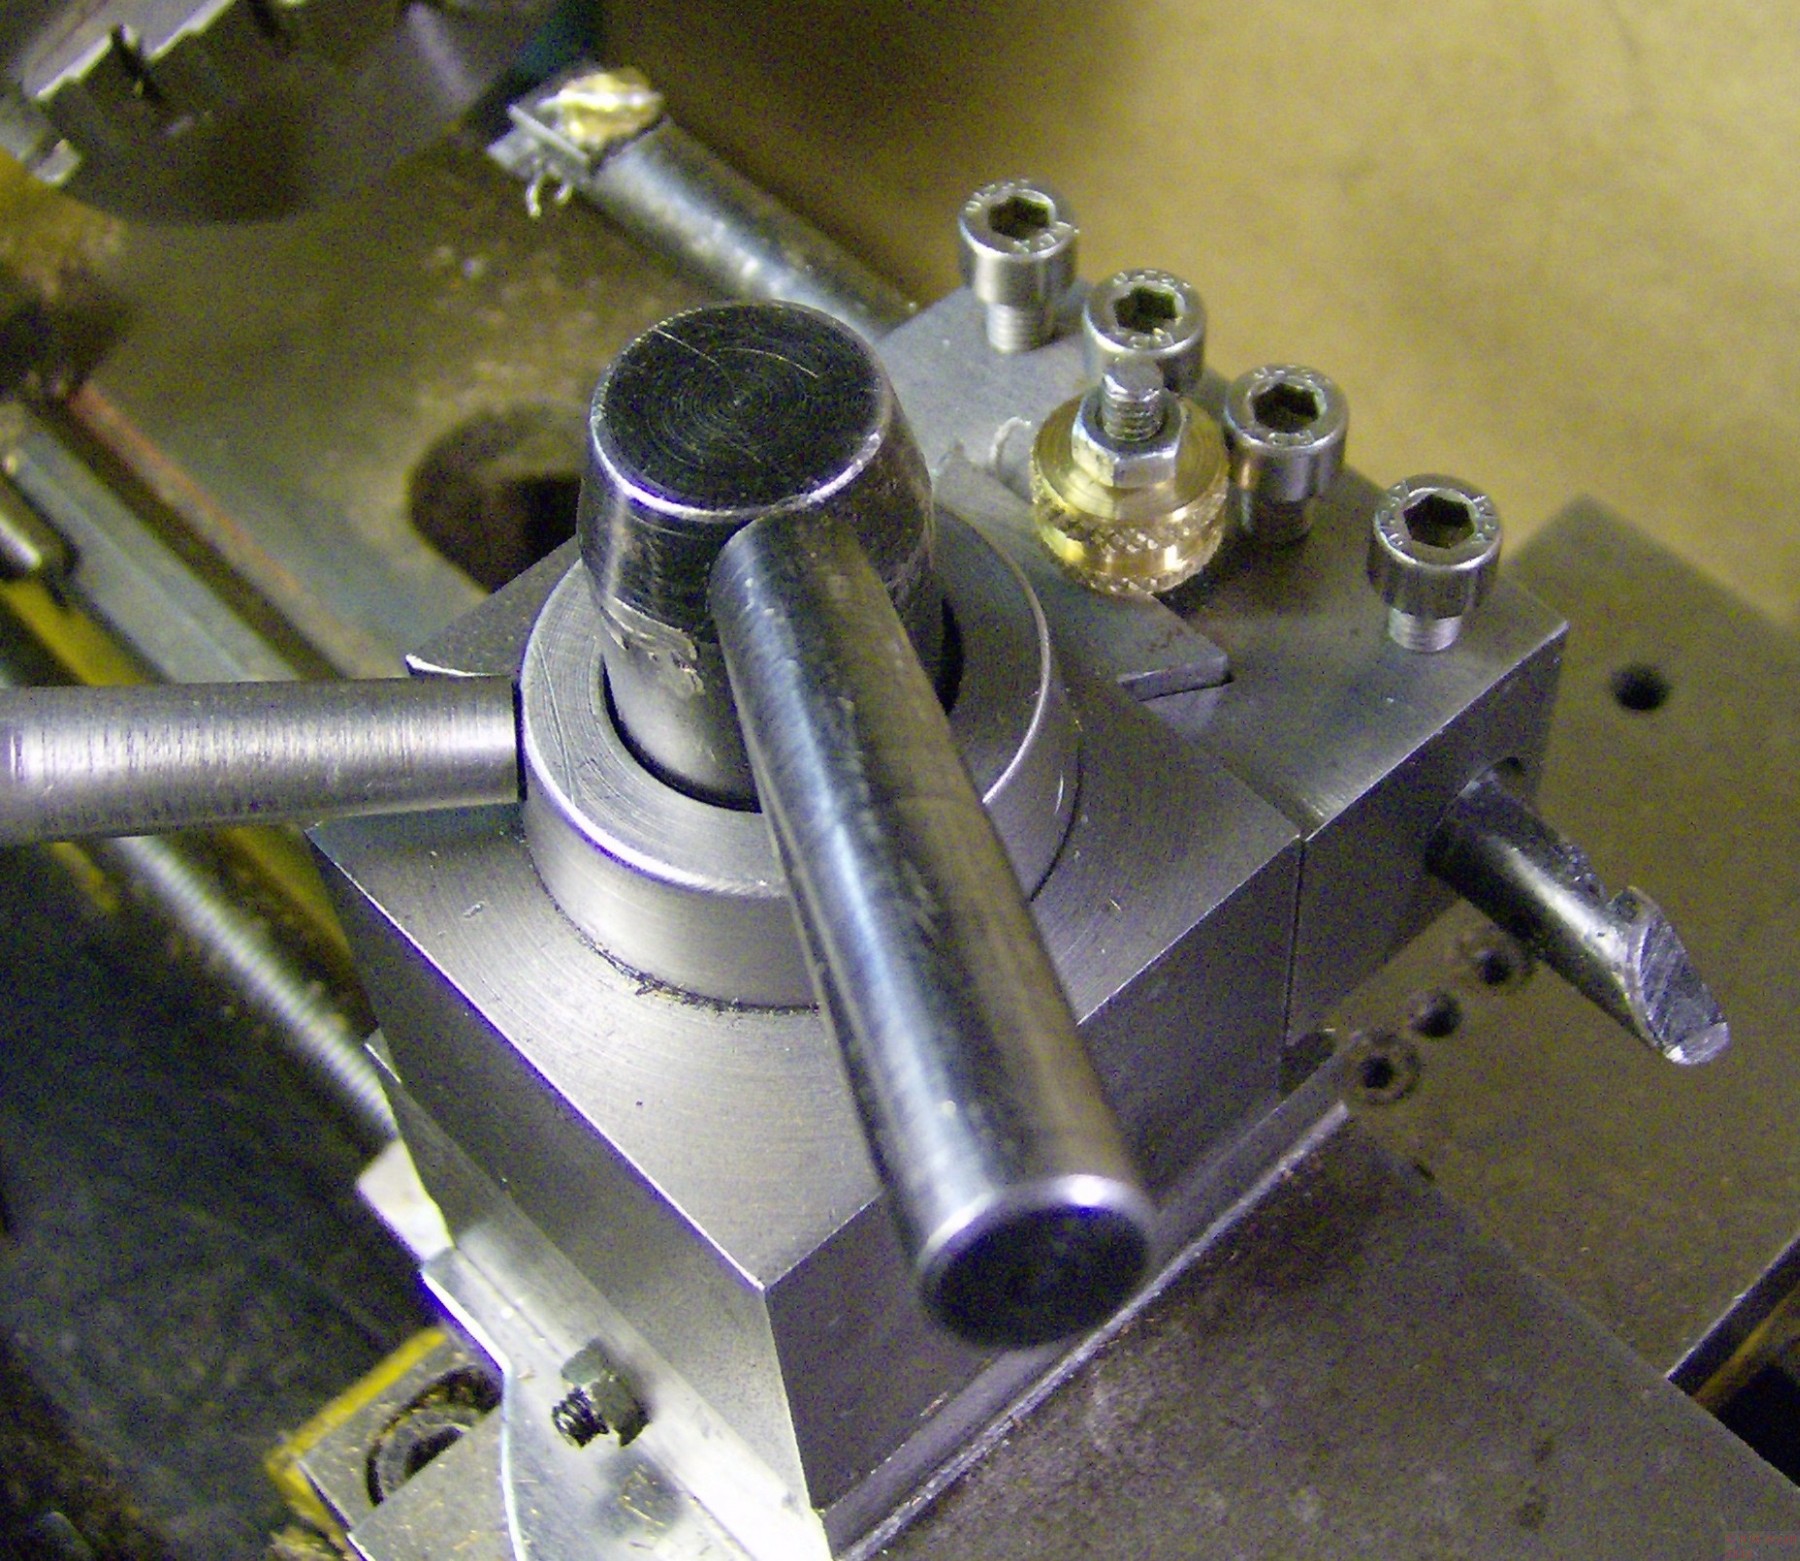
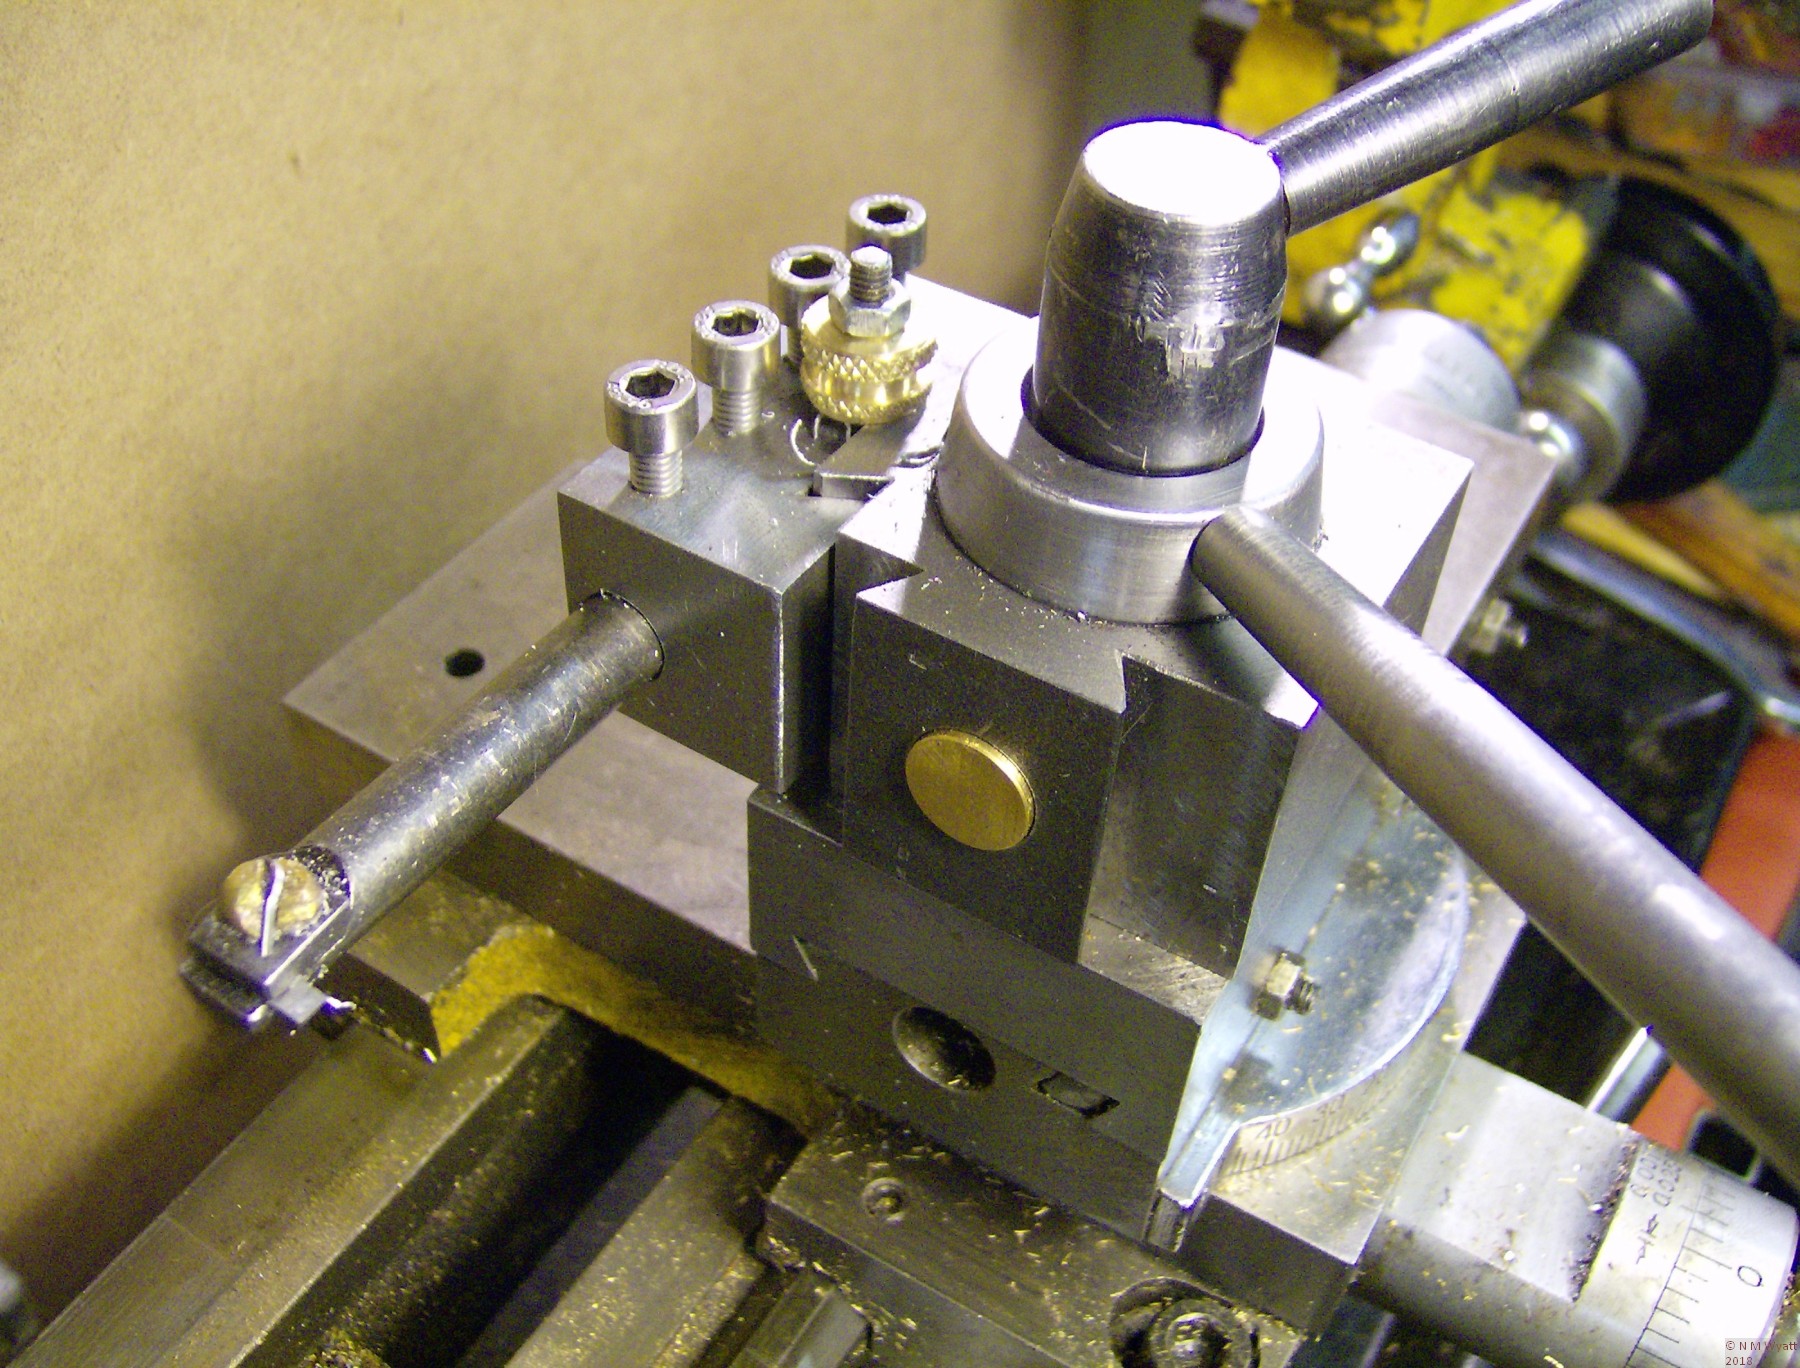
                                In my humble opinion, you could do worse than copy this design

                                Full plans here:

                                http://www.stubmandrel.co.uk/workshop/88-make-a-quick-change-toolpost

                                #318637
                                Ian Skeldon 2
                                Participant
                                  @ianskeldon2

                                  Only had a quick look Neil and it looks very functional, can I ask why brass pistons, is it the lower friction?

                                  #318642
                                  ChrisH
                                  Participant
                                    @chrish

                                    Neil . I have also looked at your plans and it seems well worth a go. I like the simplicity.

                                    But a question Neil, also re the pistons, I see the diameter is 9/16" reducing to 1/2" for the last 1/32" at the back. Why is this? And is it a step down or is it a 'taper' or reduction to provide a sort of bevel, perhaps for when inserting the cam?

                                    And also, why brass, would MS not do as well, or even a hardened cam?

                                    Chris

                                    #318647
                                    Neil Wyatt
                                    Moderator
                                      @neilwyatt

                                      Brass is just to reduce the wear of having two similar metals against each other.

                                      The little step is in case the corner of the groove isn't perfectly square, so that cam seats properly.

                                      Hardened cams might not grip as well hard=slippy.

                                      Neil

                                      (Plus a bit of brass looks nice).

                                      #318654
                                      ChrisH
                                      Participant
                                        @chrish

                                        Humm, the 'slippy' bit is food for thought. Thinking out loud – might a MS or hardened piston slip against the cam when under high load and/or vibration from an intermittent cut, or is the diameter of the cam sufficiently large so as to grip whatever? Definitely don't know! (Might be worth a trial.) That has to be set against the possibility a softer material like brass may 'weaken' in a similar high load situation when up hard against the toolholder whereas MS might not? Only pondering! Needs better brains than mine, esp this time of night!

                                        Chris

                                        PS But I prefer the concept of this QCTP compared to the OP one – sorry Iain!

                                        Edited By ChrisH on 25/09/2017 21:41:17

                                        #318659
                                        Neil Wyatt
                                        Moderator
                                          @neilwyatt

                                          All I can say is it's been in use for over five years and it's probably the single most-used of all my home made tools. I haven't had it come loose although I have forgotten to lock it a couple of times.

                                          Neil

                                          #318660
                                          ChrisH
                                          Participant
                                            @chrish

                                            That's a good endorsement Neil, and add to that – "if it looks right it probably is right". Something else now to add to the "To Do" List! Now to check prices of metal stock!!

                                            Chris

                                            #318818
                                            ChrisH
                                            Participant
                                              @chrish

                                              Either something isn't right or I'm reading the drawing wrong Neil!

                                              So another query, piston drawing shows piston at 9/16" diameter reducing to 1/2" at the end, but the toolpost block drawing shows the piston bore at 0.502"? Typo? Or is the piston really 1/2" diameter? Plus the cam is shown as being only 0.510" width, smaller than 9/16" that the piston is shown at – so only the very last 1/32" of the piston will fit on the cam itself as it comes round, the rest sits on the bit of the cam shaft above and below the cam?

                                              I am querying as I am having to enlarge the toolpost block – and probably everything else – as my lathe has a bit bigger toolpost currently. To me I supposed the piston would always sit on the cam whatever position it was in?

                                              Apologies to Iain if I seem to be sidetracking this thread, but if Iain is following this design it will be relevant to him too!

                                              Chris

                                              #318824
                                              Iain Downs
                                              Participant
                                                @iaindowns78295

                                                It would be much more confusing and against the nature of this forum if it didn't go haring off in quite unexpected directions!

                                                For myself, I'm going to follow through on my idea. Not so much because it's better as because it's mine!

                                                I expect it will take a few weeks to get round to completing it. If it succeeds even marginally I shall boast unreservedly. If not….. (silence is golden …).

                                                iain

                                                #318825
                                                ChrisH
                                                Participant
                                                  @chrish

                                                  Well good on you Iain for having the courage of your own convictions. Shall expect to hear great sounds of boasting from your direction in due course,

                                                  all the best, Chris

                                                  #318851
                                                  Neil Wyatt
                                                  Moderator
                                                    @neilwyatt

                                                    DOH!

                                                    I should have looked at my drawings and not worked from memory.

                                                    The piston is turned from 5/8" brass to be 0.500" diameter with a 9/16" flange on the end.

                                                    The flange is milled or filed off top and bottom. This means the piston seats fully in the cam, but can't rotate which stops the spring wire getting out of line. The flange also stops the piston dropping out should the spring go astray or if you leave it out.

                                                    piston.jpg

                                                    In my defence, the web page does explain the flanges!

                                                    Neil

                                                    Edited By Neil Wyatt on 27/09/2017 09:37:38

                                                    #318990
                                                    ChrisH
                                                    Participant
                                                      @chrish

                                                      Many thanks Neil – all is now clear! I must admit also that I did not study the web pages closely. merely skipped through them to look at the drawings – sorry – and so missed the flange. I saw a 9/16" piston reduced to 1/2" for the last 1/32", not the other way round. Your sketch all makes sense of it all now! I do like the concept of this QCTP.

                                                      Chris

                                                    Viewing 25 posts - 1 through 25 (of 32 total)
                                                    • Please log in to reply to this topic. Registering is free and easy using the links on the menu at the top of this page.

                                                    Advert

                                                    Latest Replies

                                                    Viewing 25 topics - 1 through 25 (of 25 total)
                                                    Viewing 25 topics - 1 through 25 (of 25 total)

                                                    View full reply list.

                                                    Advert

                                                    Newsletter Sign-up