John,
Mia culpa if I've used poor descriptions but its actually quite straight forward.
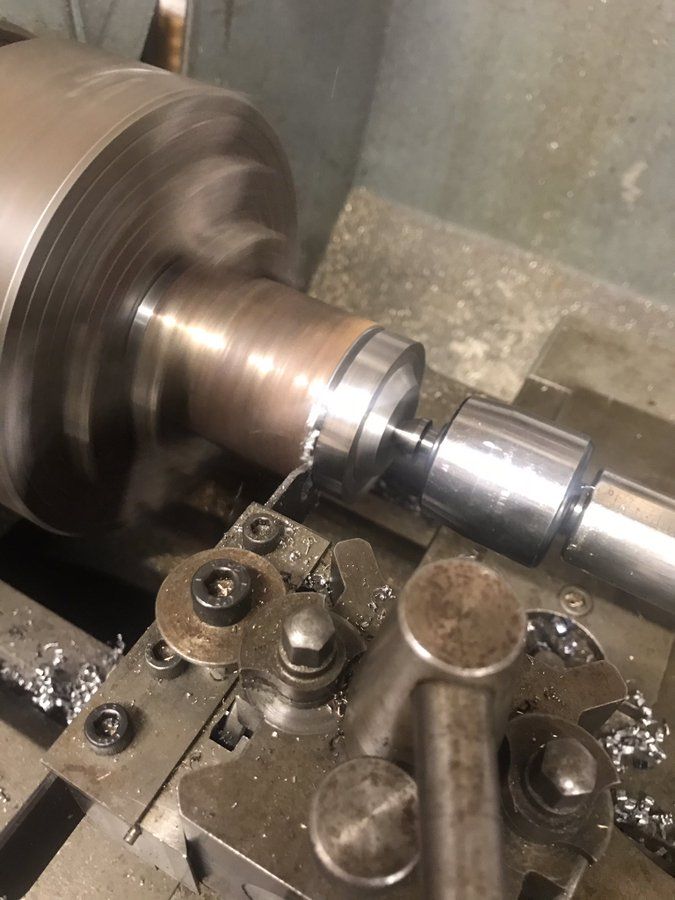
The ID not OD of the spindle is 10mm and the Lathe chuck – 3 or 4 jaw is as you say 3/4 – 16tpi. This means that the spindle with the chuck on it has a 10mm hole right through is axis.
A stock piece to make say, a brass pulley, which is 10mm OD fits nicely through the hole and is clamped in place with the chuck. I then bore a hole in it with a 'drill' chuck fitted to the tailstock, say 3mm.
I can then place a 3mm rod into the tailstock drill chuck and use this as a dead centre poking it into the hole in the workpiece. When parting the workpiece can slide further onto the rod but is supported laterally.
Alternatively, if working from stock with a max diameter of 10mm I can position it so that it extrudes from the lathe chuck by say 25mm. Work on the end then loosen the chuck and slide it out another 10mm. This is not ideal as I lose indexing but with care this can be re-established. Ergo, the piece remains well supported laterally.
Stuart Munro 1.


 and the hacksaw not much less, so it takes care not to damage the finish.


