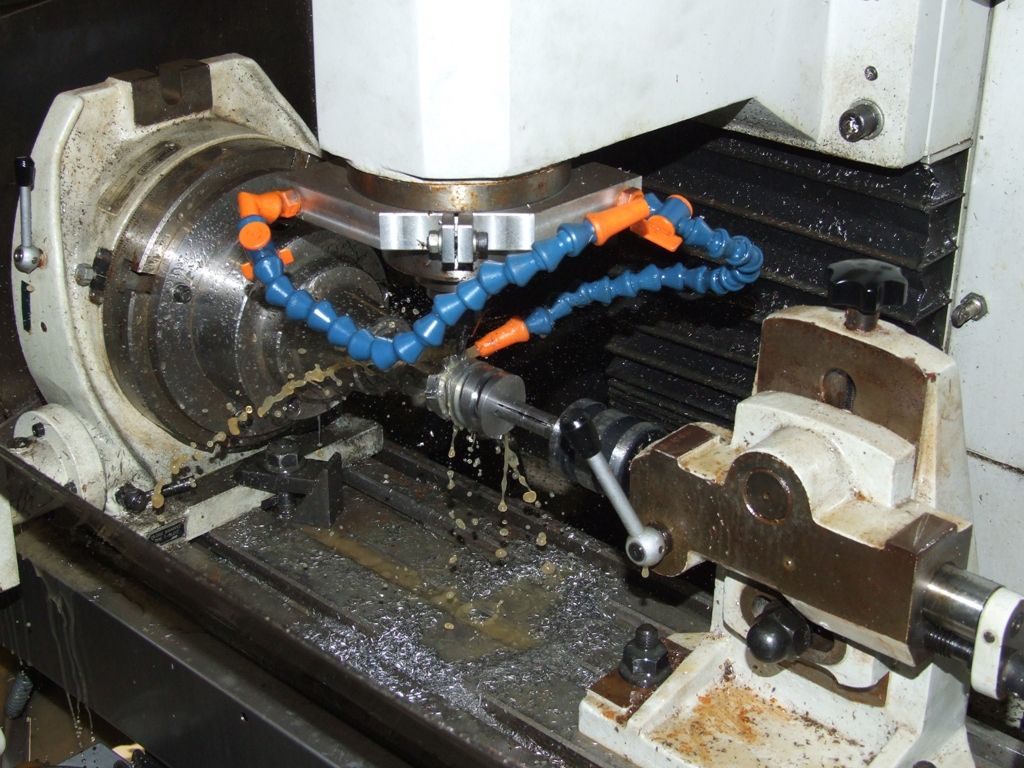
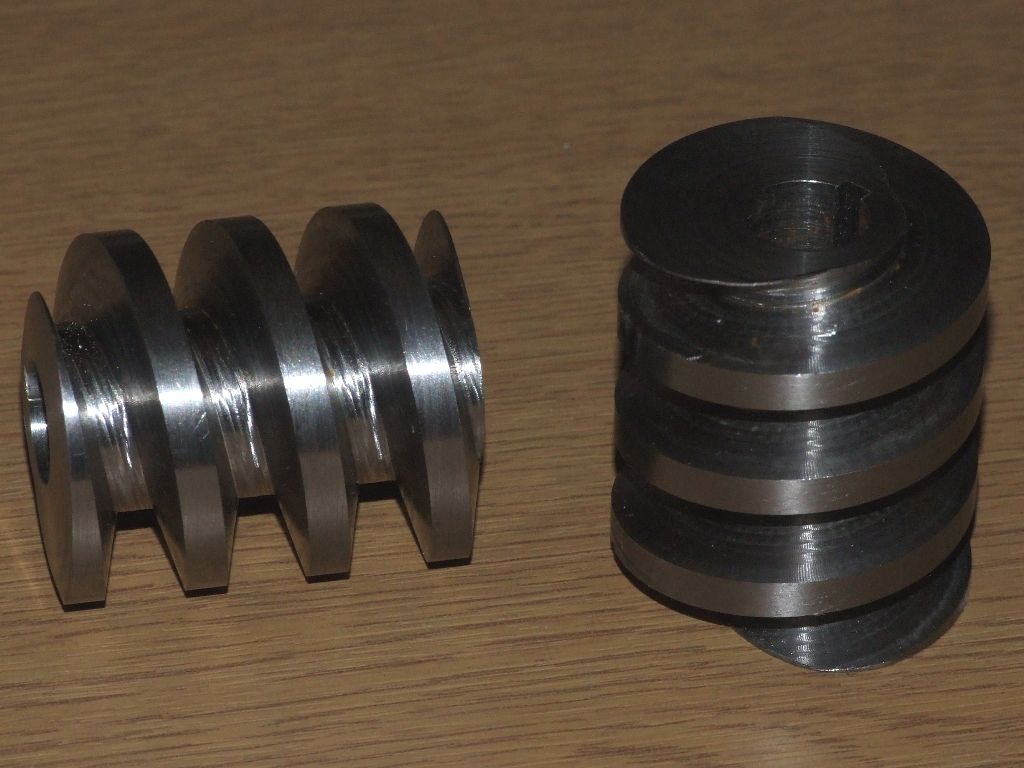
The job isn't very demanding in terms of compute power or pins, so I think a Nano will do the job.
There are two types of controller:
- the first is more basic and requires some circuitry & setting up of electronics. There is a standard library.
- the second controller is more sophisticated and can be controlled directly by the Arduino. Simple enough to program but I don't think there's a standard library. I'd recommend this approach.
Pin count is important, the Nano has 20. The second type of controller requires three inputs. They are:
- Enable can be controlled by an Arduino pin or permanently wired ON
- Direction (forward or reverse). Probably has to be controlled by an Arduino pin.
- Step (Moves the motor 1 step). Must be controlled be an Arduino pin. The Arduino controls speed by varying the pulse-rate, and the distance moved by counting pulses. No pulses and the motor stops.
I'd permanently wire ENABLE (or connect it to an emergency stop button), so 6 Arduino pins are needed to control the x,y, & z motors.
You also need pins for the control interface. Choices include:
- A 2×16 character display with 5 push buttons like this. It needs 8 pins.
- A stand-alone 2×16 display ( or 4×20 ), with an I2C interface it needs only 2 pins, plus a push-button membrane keypad ( 8 pins, unless you can find an I2C version; if so this can share the same pins as the display.)
- A TFT Display; these combine input & output on a graphics screen but need a lot a pins. A Nano doesn't have enough, use a Mega. More complicated to program.
- Control the Arduino from a connected PC. Need to understand two different platforms. Complicated and you may not want a PC in your mucky workshop.
Option 1 typically uses the 5 buttons for data entry using some sort of nested menu system.
Option 2 has 16 buttons, which will make the interface more human friendly.
You may want extra pins to detect running out of room, and for a dedicated stop/go button, say 3 pins. So Option 1 would need a total of 17 pins, and the Nano has 20. There are ways of increasing the effective number of pins available to the Nano but they require additional electronics and programming best avoided on a simple project.
Driving three motors with an Arduino calls for a programming trick. It's trivially easy to drive one motor by using a built in delay() function to set pulse lengths. The technique doesn't work with two or more motors because delay() stops everything. To keep two or more motors stepping together, you have to program the Arduino to emit motor pulses after a certain time has elapsed whilst continuing to service everything else. This is more advanced programming than waking up after given time-delay.
Designing & programming the control interface will be more complicated than driving the motors. You have to enter data, allow corrections, and provide stop/go control. Once the data has been entered, the code has to do the necessary maths to move the three motors in step. Depending on the form of the helix, the maths might be quite demanding (for the programmer, not the computer). Producing a screw-thread is easy, I'm not so sure about a rope form table leg, where the tool point has to follow a curved path within the helix. Definitely do-able, I don't know how.
Final point, you said "I don't need anything too sophisticated. I'm not sculpting in 3D." Albeit in simple form, I think you are! A mechanical helix turner would follow a template made by a toolmaker. The Arduino eliminates the toolmaker and cam-following problems, but needs to have a numeric template instead. However, once it can follow a numeric profile, it really is a 3D sculptor. No reason why it wouldn't cut splines and grooves just as well as helices.
I've probably made it sound complicated. Taken step by step it's achievable.
Dave
Edited By SillyOldDuffer on 10/07/2018 17:15:44
 JasonB.


