Many visitors to this website probably don’t have a clue about fitting a backplate to a chuck. This article aims to rectify that.
At one time, my only workshop tool was an old second hand Myford. I did not even have a drilling machine. The lathe had to do everything. Although I purchased a brand new four jaw chuck with a threaded body, I could only afford a three jaw chuck with a separate backplate that needed fitting.
I had to turn the backplate on the lathe and then find a method of drilling it without the use of a pillar drill. As a lot of model engineers may be in the same position, I decided that when it came to fitting a new chuck to my new (second hand but unused) Myford, I would use the same method as used with the old lathe although I now have a mill and also a drilling machine.
Enjoy more Model Engineer reading in the monthly magazine.
Click here to subscribe & save.
This particular chuck was only a small one and I intend it to be used with soft jaws as I already have a larger three jaw chuck and also a self centering 4-jaw chuck. First, clean the chuck backplate thread and the mandrel nose then fit the backplate to the mandrel.
 Photograph 1
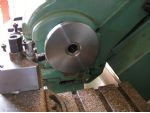
Turn the outside diameter of the chuck backplate and face it off so it is true. If you ever want to drill holes in a component in the milling machine, all you have to do is clock the outside diameter of the backplate with a test indicator and the work will be set dead on centre.
I used an oversize backplate and deliberately left it large as I intend to drill it with a 24 hole circle so I can do simple dividing in the lathe.
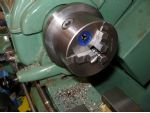
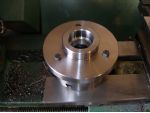
 Photograph 2 turning the register. With a three jaw chuck, the outside register of the chuck should fit against the turned step and the centre part of the chuck should be clear of the backplate.
 On a four jaw chuck, the reverse is true.
The turned backplate is shown in the photo, the tool is set to 45deg. to lightly chamfer the outside diameter of the backplate.
The register is now finished turned to size so the chuck is a shake free fit.
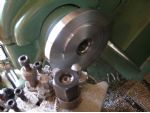
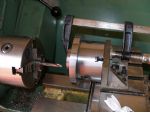
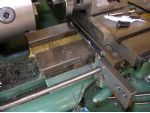
 Photograph 3 is the first stage in setting up to drill the backplate. Clamp an angle plate square onto the cross slide using the chuck (minus the jaws) as a parallel spacer. You need to use two Tee nuts and bolts to ensure the angle plate can’t turn on the cross slide.Ideally the angle plate also needs to just hang over the cross slide for clearance.
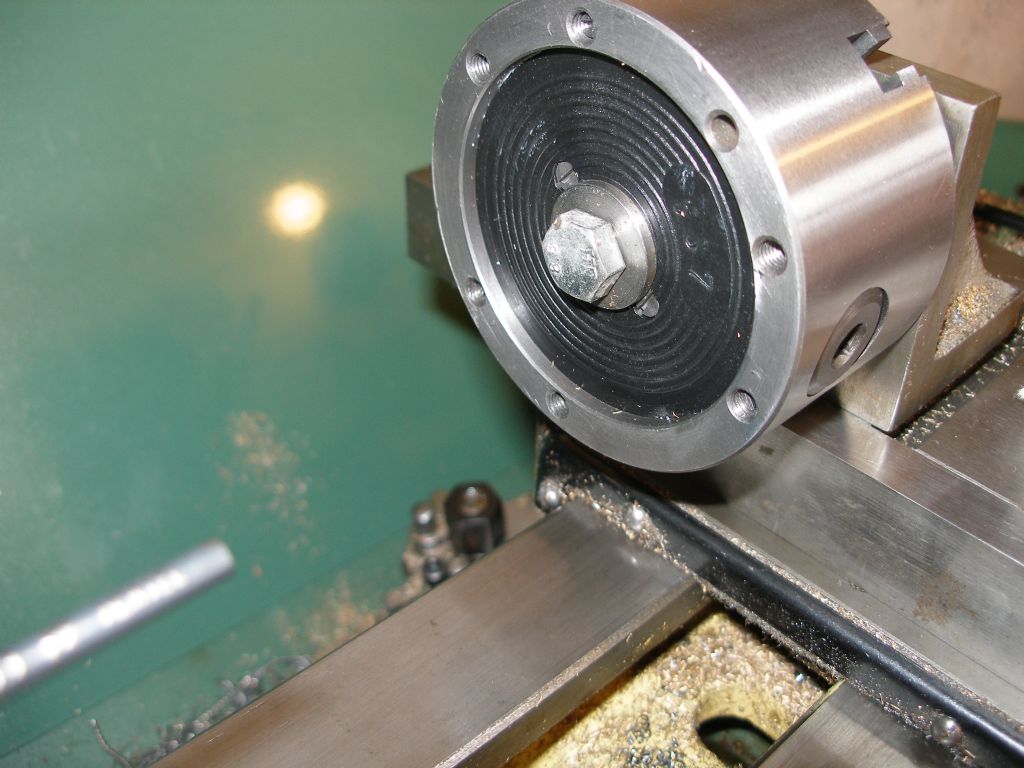 Photograph 4 shows the chuck clamped to the angle plate, ensuring that one of the three mounting holes is in line with a drill shank in the lathe headstock. Note that the fixing bolt nees to be smaller than the centre hole in the chuck backplate.
 Photograph 5 shows how the drill goes into the mounting hole in the chuck. A drill chuck in the mandrel will be accurate enough if you don’t have a spare 3-jaw chuck. Notice the parallel to support the chuck while you tighten it up. It is important to only drill through the backplate and not to continue drilling and remove the chuck in the thread. If at all possible, set a carriage stop to stop yourself drilling too deep. This can be as simple as a toolmakers clamp fixed to the lathe bed.
 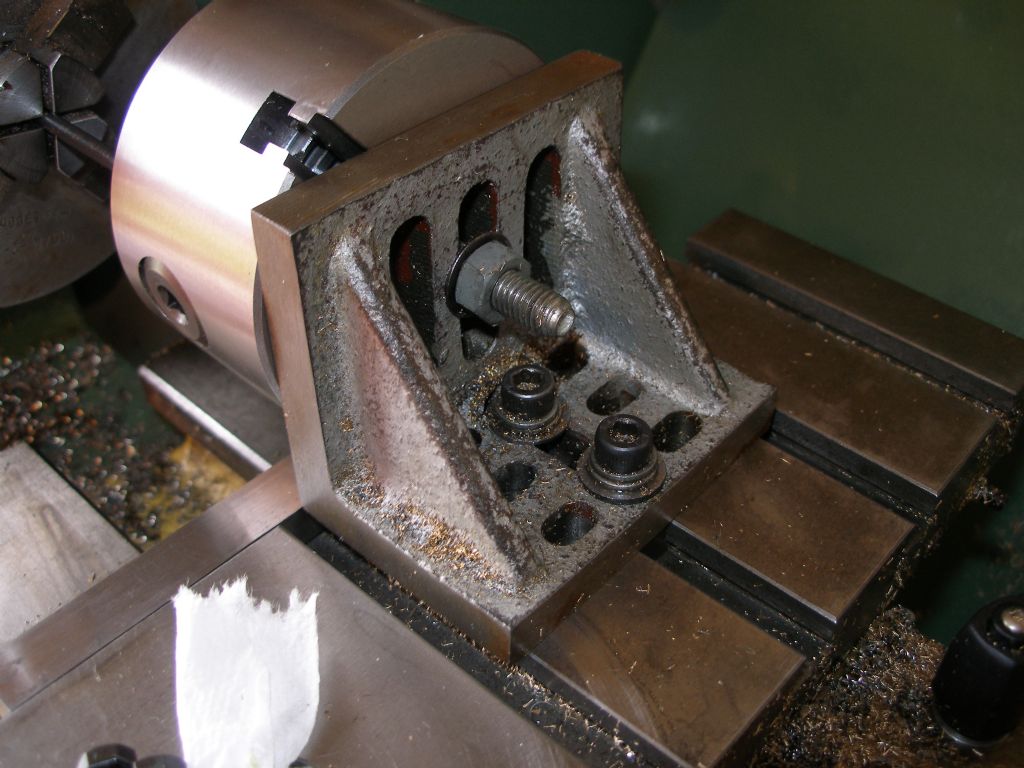 Photograph 6 shows how a piece of studding through the centre of the chuck together with a couple of washers and a nut holds the chuck to the angle plate. As we are only drilling into the backplate and not milling. the chuck is unlikly to rotate but I did put a clamp right accross the backplate, the chuck and the angle plate. See photo below.
 Photograph 7 shows the backplate clamped to the chuck with a centre drill in the 3-jaw chuck. This is a CNC centre drill but an ordinary centre drill will be fine. Do not try to drill too deep with the centre drill. All that is required is a small dimple so the drill can start properly.
Note the clamp to hold the backplate onto the chuck. Next, change to a clearance drill that is a few thou larger than the thread size.
 Photograph 8, when we break through the backplate, it is all too easy to go too far into the chuck and drill out some of the thread so what I do is to get a piece of metal the same thickness as the backplate plus 1mm to use as a stop spacer. Traverse the cross slide so the drill is in the centre hole and lock the carriage. Put the spacer against the cross slide and bring the stop up to touch the spacer and lock the stop in position.
 Photograph 9, now remove the spacer and you can drill through the backplate with no risk of the drill going through too far. When you have drilled the hole, try putting a bolt through the hole and screw it into the chuck. If it screws in great, if not you may have to drill slightly deeper into the backplate. (You did check the screw fitted the chuck before clamping the backplate on didn’t you?)
Unclamp the backplate, rotate it 120 degrees and put a bolt through the hole just drilled and lightly tighten up while trying to centre the screw in the hole. Refit the clamp and drill the next hole. Repeat for the third hole.
 Photograph 10 shows the backplate bolted to the chuck. You should lightly countersink both sides of the holes first; a variable speed pistol drill fitted with a countersink will do the job in no time at all.